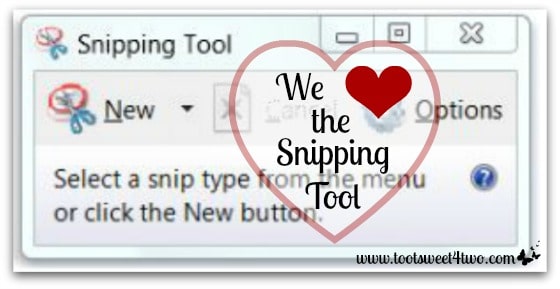
Why do we heart the snipping tool you may ask? Or maybe you are thinking, “what the heck is a snipping tool?”
Until a couple months ago I had no idea that this simple tool would be life changing, at least in my blog world. Literally, you can just “snip” anything from any page on your computer. Virtual scissors!
Did I mention that we heart the snipping tool?
If you are new to this club, like we were, here is how you find the tool (please note that Snipping Tool, a Microsoft product, is only available on Home Premium, Professional, Ultimate and Enterprise editions of Windows 7):
- Go to your “START” menu in the bottom left corner.
- In the “search all programs and files” box, type “snipping tool”.
- This should bring you to the tool itself where you can choose to pin it to your “Taskbar” or “Start Menu” so it is easy to access whenever the urge to snip something presents itself.
- To pin it to your “Taskbar” or “Start Menu”, hover over the tool and right click. This will bring you a drop-down menu and you choose either “Pin to Taskbar” or “Pin to Start Menu.”
- That’s all. Seriously.
How to use the Snipping Tool:
- Since you now have pinned the Snipping Tool to your Taskbar or Start Menu, just click to open the tool.
- Click on “New” (illustrated very appropriately with scissors).
- Your entire screen will now take on a shadow-like look.
- Now with your cursor, click and hold your mouse and select the area that you would like to snip, like cropping a photo.
- Release the mouse and ta-da! You have a snip that you can now save, copy, send or use as you would like.
Here’s a link to Microsoft’s website for this free Snipping Tool. On their site, you can view a short video, get detailed instructions and read FAQs.
Have you used the Snipping Tool before? How do you like it? If you haven’t used the Snipping Tool, try it and let us know!
Happy Snipping!
Tootles,

Can’t wait to try it this weekend. I’m too busy during the week.