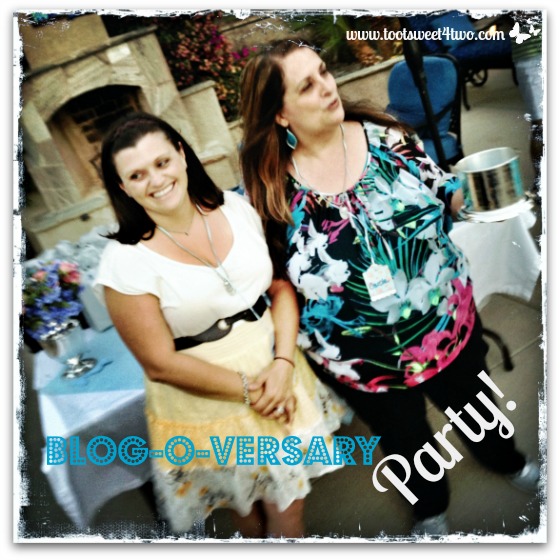
Blog-o-versary Party – Tiffany and Carole get ready to hand out door prizes with a “thank you” speech first!
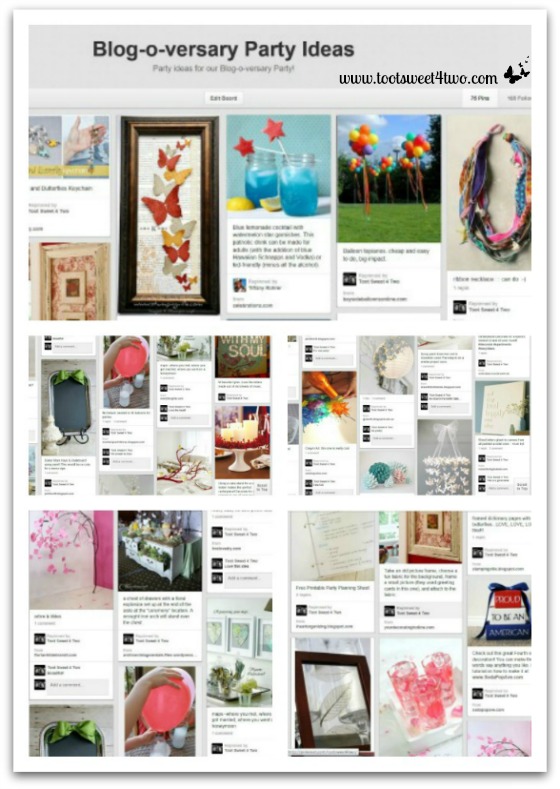
Toot Sweet 4 Two Turns One: Blog-o-versary Party Recap has a lot of moving parts! We celebrated our 1st anniversary as a blog on July 28th and in honor of this auspicious occasion, we had a party on July 27th (cuz it was a Saturday!). To get this shindig going, Tiffany and I had much planning to do. Of course, we turned to Pinterest for inspiration!
With so many fabulous ideas at our fingertips, narrowing our focus because of time (and money) constraints, we came up with a few ideas to make our party special without blowing the budget! We knew we wanted the party to be blue and gray to match the color of our blog and we knew we wanted to incorporated butterflies. But, since the party was primarily for women, we didn’t want it to be childish. But, more about our crafting adventures later…
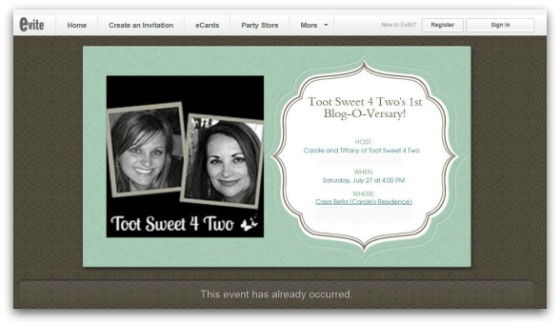
First, we needed to send invitations. So, Tiffany turned to Evite to send out a mass mailing to family and friends. Here was our first minor hurdle – Evite didn’t have a blue and gray color scheme and we didn’t have time to try and learn to create it ourselves! So, we went with chocolate and mint! Pretty combination of colors, don’t you think? Maybe we should choose that color scheme for our next blog redesign!
We chose 4:00 in the afternoon for party time thinking this would allow family and friends to spend time with their kids and spouses during the earlier part of the day and then join us for cocktails and dinner. I’m so glad we didn’t start until 4:00 – we would have never been ready!
I always “bite off more than I can chew” when planning parties. Even if I work weeks and weeks ahead of time (and I did), it always comes back to a last minute crunch and as the zero hour approaches, I’m either not dressed in my party clothes or I haven’t done my make-up or I haven’t done my hair or all three! Most of my friends are used to it and most of my friends arrive fully expecting that they will be recruited to do last minute things! {grin}
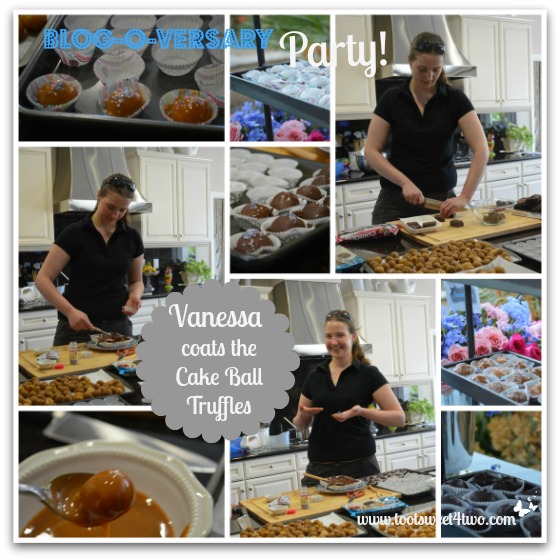
First, I asked my blogging friend, Vanessa from Australia (see her blog: The Teensy Tiny Insignificant Details) to finish the Cake Ball Truffles. Now mind you, this is mid-morning on the DAY of the party. I’d conned my mother and another friend, Anita (and poor Anita couldn’t even come to the party because of a prior commitment!), into helping me make the Cake Ball Truffles earlier, in fact, weeks ahead. The little uncoated balls were in my freezer (they are actually delicious frozen and uncoated, but I digress!).
But, once you coat them, they should be stored in the refrigerator and not the freezer and I didn’t have room in my refrigerator! I wanted to make sure that we had enough so that each guest could try one of each flavor coating (they all had the same inside flavor): chocolate, white chocolate and caramel. And, if that wasn’t enough, I wanted our guests to be able to take some home. So, I had 180 total – 60 for each flavor coating. So, dear Vanessa became the Willy Wonka of Casa Bella, trying desperately to coat all the little balls while I ran around in a zillion different directions trying to get something, anything, everything done!!!
Now, here’s the kicker:
Vanessa had just arrived from Australia the evening before. Do you know how long it takes to get from Australia to San Diego? 25 hours. Yep, 25 hours. So this young lady was suffering from jetlag, big time. But, she wanted to jump right in there and help plus she knows her way around the kitchen and is a fabulous cook on her own!
Anyway, coating the little Cake Ball Truffles was problematic. You may remember that I made these before; for the Fairy Festival. You can check our The Magic of Fairy Days post to see them. When I made them back in June, the coating was problematic, too. I used a different chocolate candy coating and you had to work quickly. So, this time, I bought a different brand and the same problem – you had to work quickly and the chocolate needed to be reheated and reheated in the microwave, making each subsequent reheating a little more problematic! {sigh}. Anyway, you’ll have to wait for that post until I’ve refined the recipe. {sad face}.
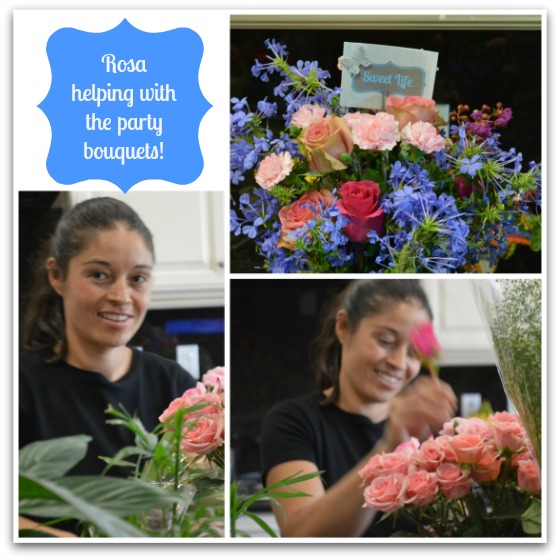
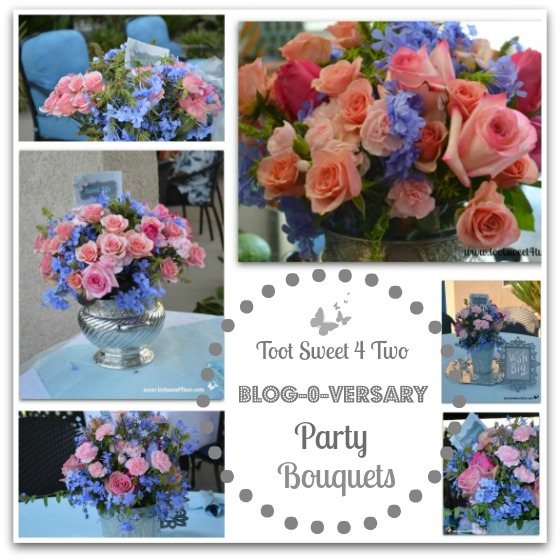
In the meantime, my friend and neighbor, Rosa, was outside putting tablecloths on the tables. When she was done, I recruited her to help with the flowers. We needed a total of 7 bouquets and I’d only made 4! Below are pictures of the gorgeous bouquets we created – a combination of purchased carnations and roses plus plumbago growing in my garden.
Plus, I had to make Charlie’s Lite Layered Mexican Casseroles NOW, because I couldn’t make them ahead of time because I didn’t have room in the refrigerator to store them (because, because, because)! So, now that you have a picture in your head about the minor chaos going on in my house, let’s back up a bit…
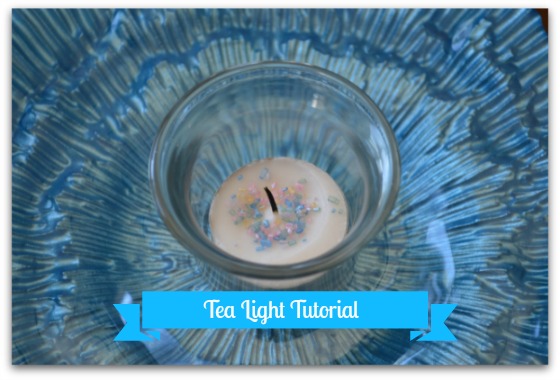
Weeks before, I started on my projects and the first one was my Tea Light Tutorial. I wanted tea lights on the tables if people stayed late. I thought it would add some ambience to our outdoor party. Well, they were pretty, but I never lit them! Just too busy visiting with guests and having fun and completely forgot!
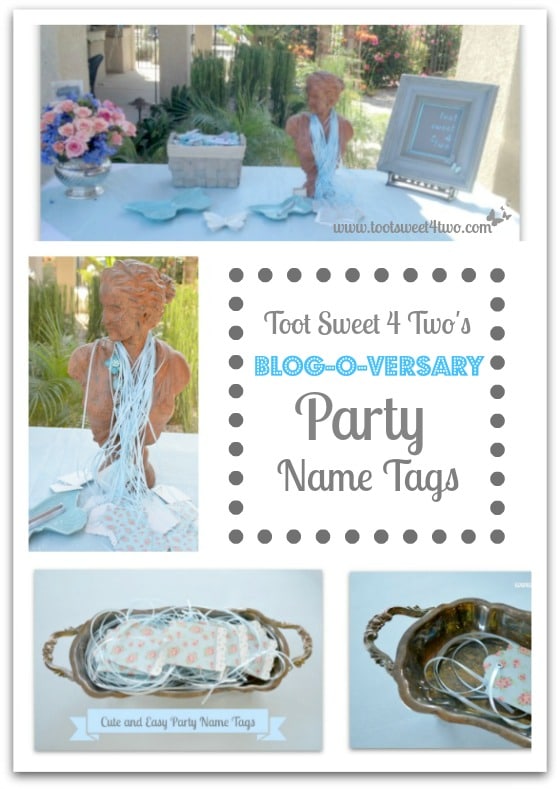
Then, I made Cute and Easy Party Name Tags because many of the guests coming didn’t know each other. I wanted them to be “lanyards” instead of stickers. So, I found cute, shabby, chic gift tags at the craft store and tied long ribbons to them. I didn’t want the name tags to get tangled up, so I used the lady’s bust I purchased a few years ago from Pottery Barn to hold them. She normally holds several of my necklaces, so I have her displayed in my bedroom closet. So, out of the closet she came!
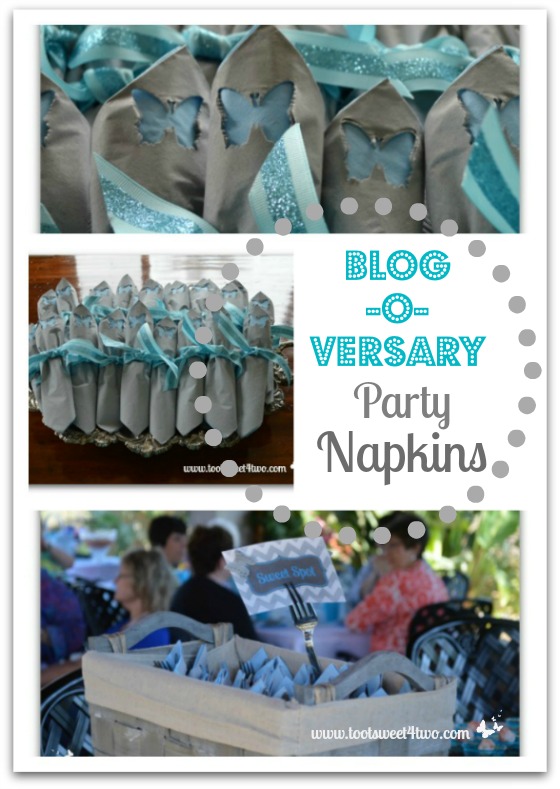
Then, with my mother’s help, I made our party napkins special. Here’s the post: How to Make Paper Napkins Special. I couldn’t find napkins I liked with butterflies in our blue and gray scheme. So, I bought blue napkins and gray napkins the same size and used a butterfly punch to make them special. Fair warning: it was hard work to get the butterfly punch to punch through layers of paper napkins! And, there was a bit of waste in the process because of misalignment!
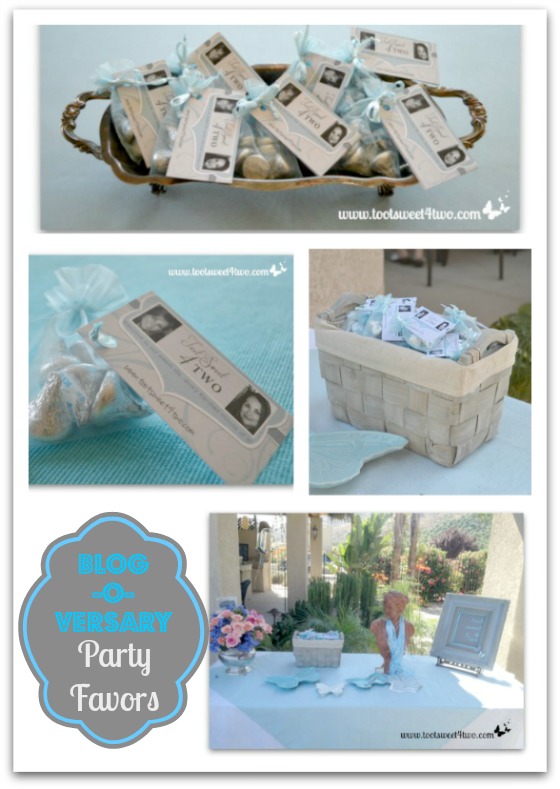
Then, I made party favors. Here’s a link to that post: Easy Party Favors Featuring You! We want people to visit our blog (obviously!), so we handed out bags of chocolate with our business cards attached.
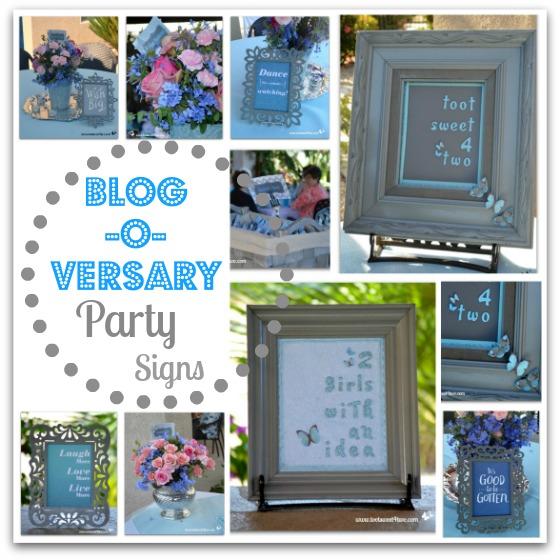
Then, I made party signs for the tables. Here’s the post: Ideas for Reusing Old Picture Frames. Then, I ran out of time. Yep. I. ran. out. of. time. Big surprise…too many projects because of that darn Pinterest! Well, my other ideas will have to wait for the next party!
From a food perspective, only the Cake Ball Truffles could be made ahead of time. The rest of the menu required fresh food. Want to know what was on the menu? Of course you do!
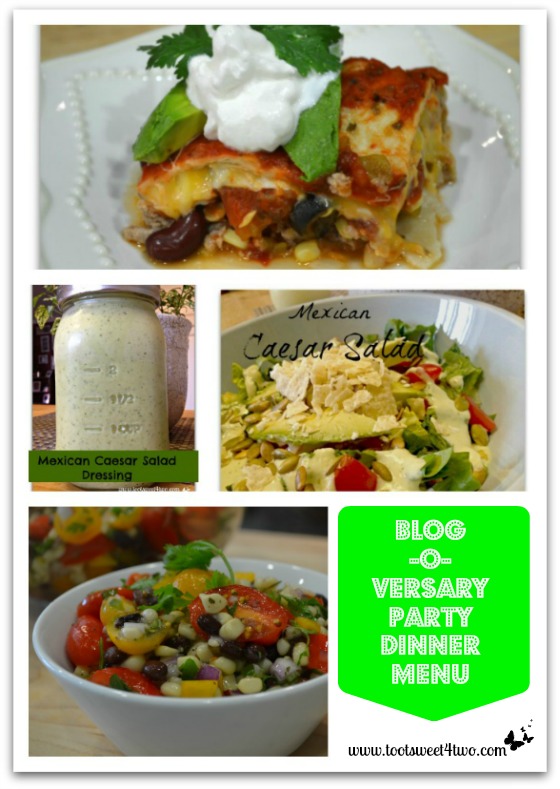
When we started planning the party several months ago, Charlie’s Layered Mexican Casserole was our most pinned recipe on Pinterest! So, in honor of this recipe, we decided to go with a Mexican-themed menu. So, while our decorations were decidedly NOT Mexican (they were very feminine), our menu was. The above photo collage are the three main components of the dinner:
- Charlie’s Lite Layered Mexican Casserole (I’m on a diet; so I made everything lighter)
- Mexican Caesar Salad with Mexican Caesar Salad Dressing
- Mexican Corn Salad
With that decided, we planned the rest of the menu:
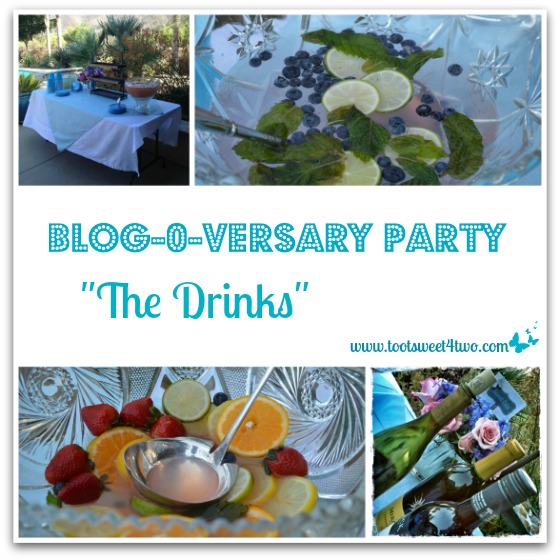
To keep costs down, we opted for a Sangria. In the photo collage above, the empty punch bowl with the strawberries is the Sangria! I forgot to take a picture of the Sangria before it was slurped down by our guests! Yes, it was that good – no leftovers! The top left picture, of the beverage table partially set up, shows the punch bowl full of Sangria. And, the non-alcoholic punch, Lime Fizz (the one with the disintegrated blueberry ring in the photo collage), was equally delicious! Stay tuned for future posts with those recipes. Fortunately, our guests brought bottles and bottles of wine, so no one went without!
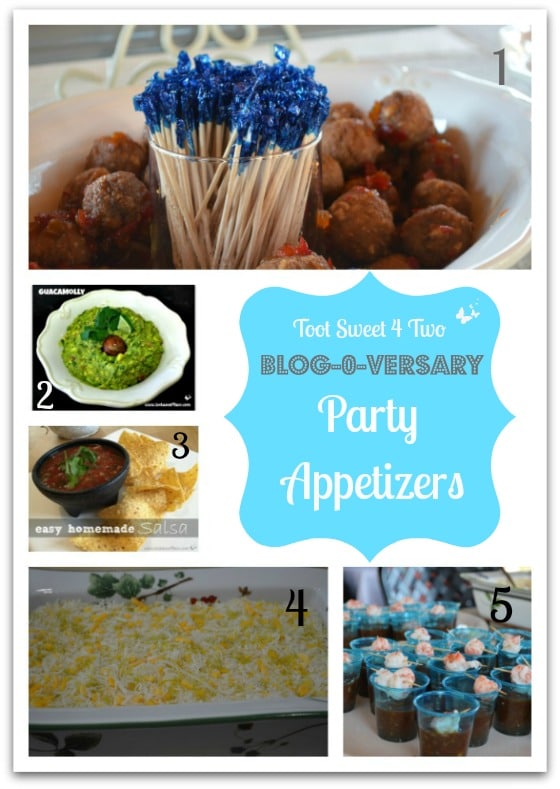
For the party appetizers, we had:
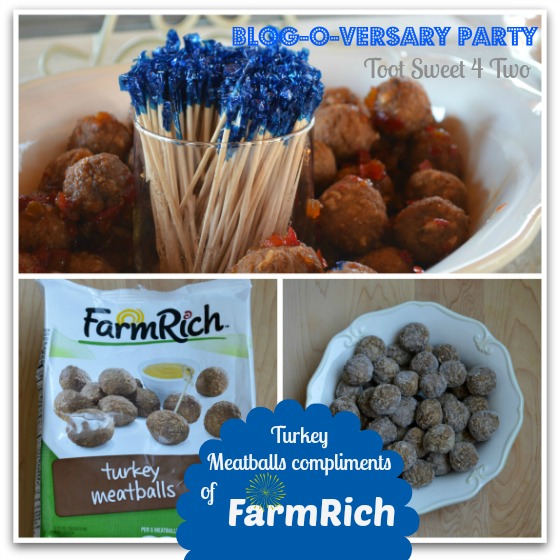
- Turkey Meatballs, courtesy of Farm Rich products, coated with Jalapeno Jelly
- GuacaMolly with tortilla chips
- Easy Homemade Salsa, also with tortilla Chips
- Lite Cheesey Jalapeno Popper Dip with a fresh baguette and sourdough baguette crisps (stay tuned for future recipe post!)
- Gazpacho with Langostinos (stay tuned for future recipe post!)
Thank you to our friends at Farm Rich for providing the turkey meatballs! They were a snap to make and a delicious accompaniment to the party appetizers! I can think of 10 ways to use them, can you? Here are my ideas:
- Turkey Meatballs and Spaghetti
- Turkey Meatball Sub Sandwich
- Albondigas Soup
- Italian Wedding Soup
- Sweet and Sour Turkey Meatballs over rice
- Turkey Meatball Stroganoff over noodles
- Turkey Meatball appetizer with barbeque sauce
- Turkey Meatball Lasagna Roll-ups
- Turkey Meatballs with cornbread stuffing
- Turkey Meatball Kebobs
See – wasn’t that easy?
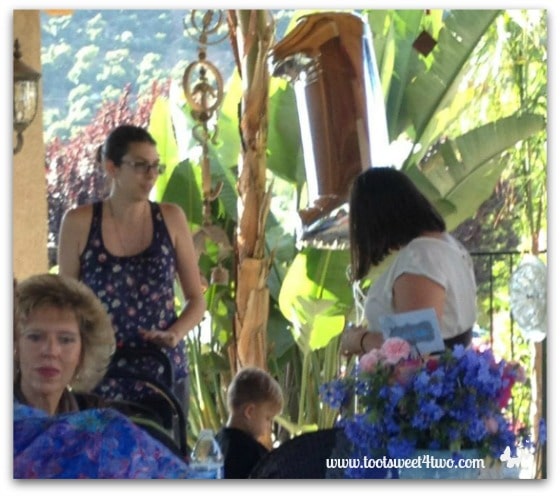
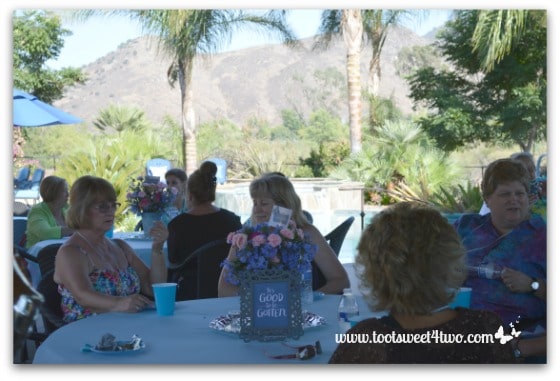
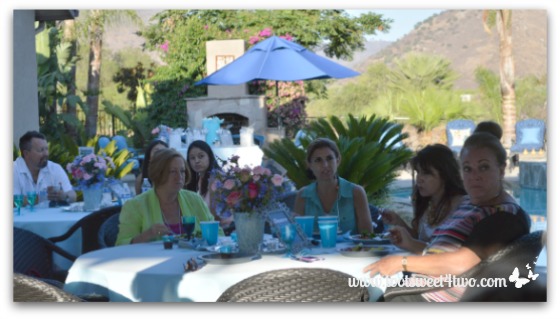
Then, guests started arriving and the party was underway! The above photo includes Chelsea, another blogger, from Someday I’ll Learn.
That’s my husband, Charlie, chillin’. Looks kinda like one of the guys from ZZ Top, doesn’t he? He’s old enough to be a member of ZZ Top {grin}!
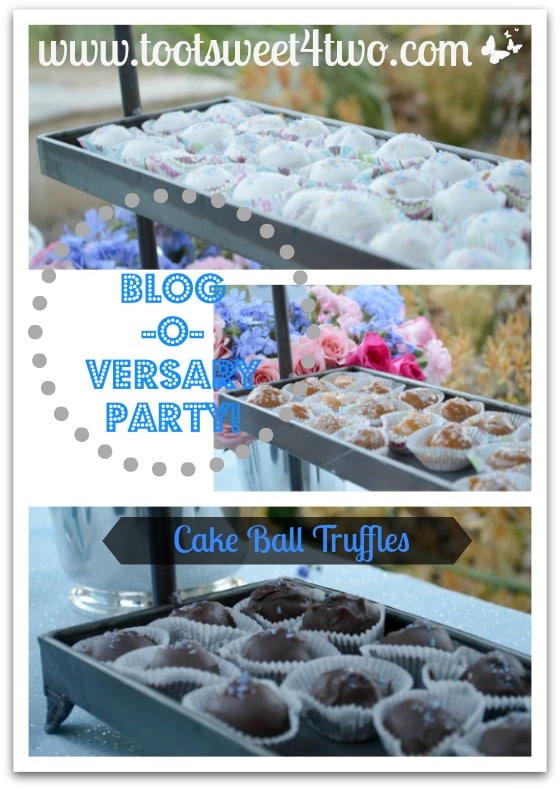
Above are the Cake Ball Truffles. They were delicious! The favorite – the White Chocolate Cake Ball Truffles. There were none left! The least favorite – the Caramel Cake Ball Truffles. Too sticky and too sweet! Imagine that – too sweet! As soon as I perfect this recipe, I’ll post it, so stay tuned! Although a little labor intensive, if you make them in several steps over multiple days, you won’t be overwhelmed. And, they are a party hit!
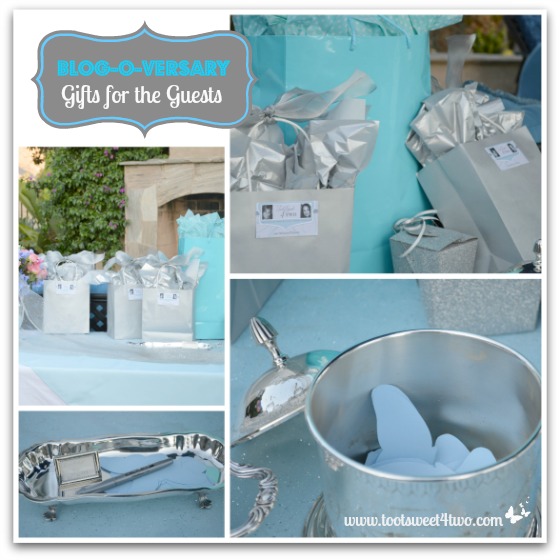
On top of receiving two gifts from sponsors, Tiffany and I had our own gifts. Silly me forgot to take pictures of them before I wrapped them, so all you get to see are the wrapped gifts! The ones from us had our business cards taped to the bags with double-sided tape. Plus, we put them in identical silver-gray bags with silver-gray tissue paper and a silver-gray wired ribbon bow! They looked pretty and were simple to do.
Keeping with our blue and silver color scheme, I created butterfly cards from cardstock and a butterfly template and cut them out. Then, I put them in a beautiful small silver tray with a pen and a little sign that said “Enter to Win!” Our guests then put their name on a butterfly, folded it in half and put it in the round silver container for the drawing.
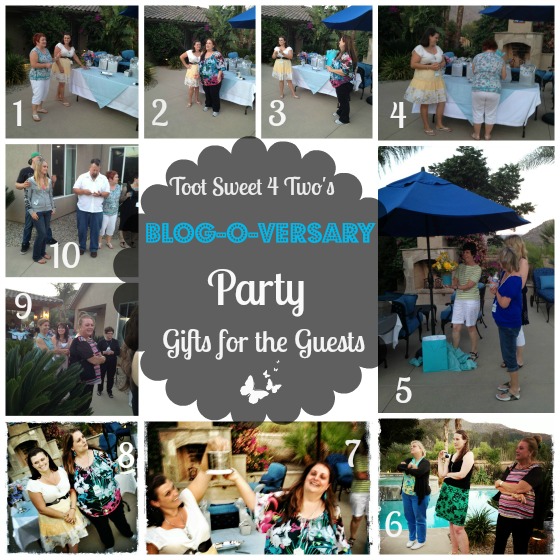
- Tiffany showing Patti how to “Enter to Win.”
- Me giving a speech thanking our guests for coming and telling them about our blog.
- Tiffany thanking our gift sponsors.
- Patti entering to win. She ended up winning the gift from The Dailey Method!
- Lorraine winning the bouquet from Canterbury Gardens & Gifts.
- Dawn, Vanessa and Jeannette listening to our speeches.
- Tiffany drawing names.
- Me (still talking) and Tiffany.
- Left to right: Lisa, Sharron, Jeannette and Kay.
- Left to right: Justin, Samantha, Patti, Joel and Rhianna (partially cut off – sorry Rhianna!)
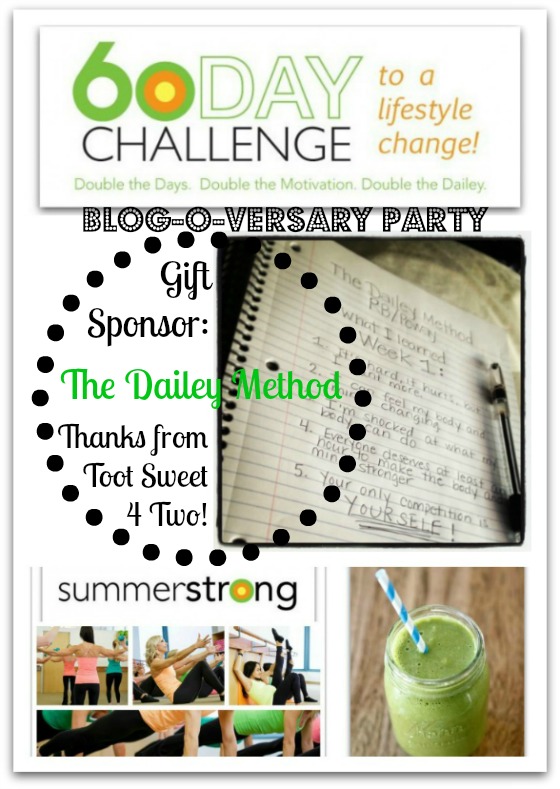
The Dailey Method contributed a gift certificate for one month of unlimited classes with childcare! What a great gift for busy women!
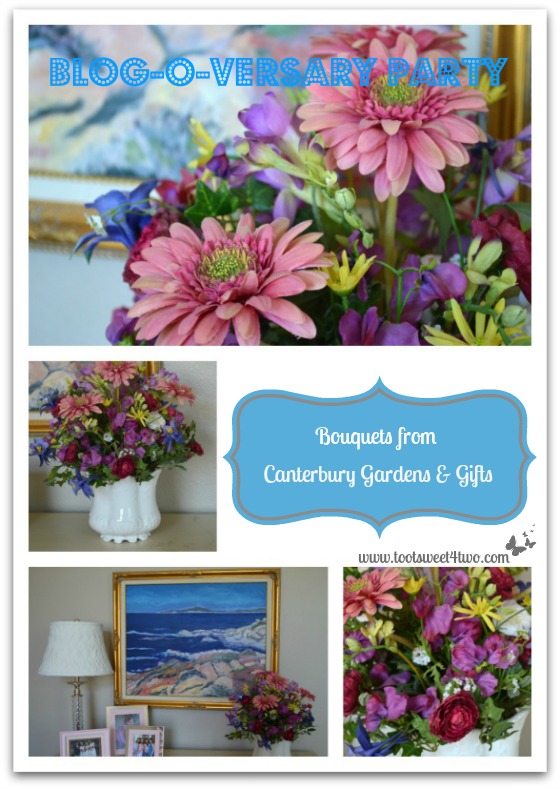
Canterbury Gardens & Gifts donated a beautiful bouquet of bright yellow flowers in a turquoise ceramic vase. I, of course, forgot to take a picture of that gift, too, before I wrapped it! What’s up with that? Do I tend to get a little distracted, or what??? Anyway, the above photo collage is of another Canterbury Gardens & Gifts floral bouquet that I purchased years ago. It resides in the “pink guest bedroom” in my house! I have a pink guest bedroom because I have so many nieces (as opposed to nephews) and they absolutely love the pink bedroom.
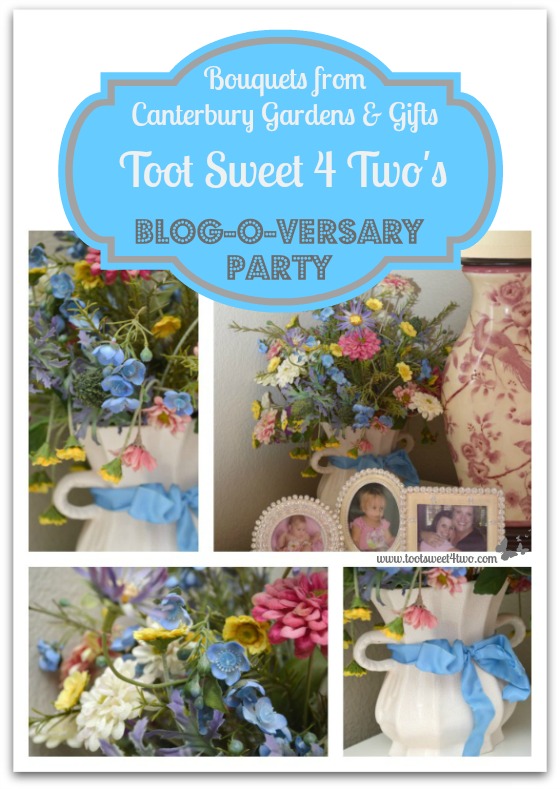
Here’s another Canterbury Gardens & Gifts bouquet that I purchased years ago. It, too, is in the pink guest bedroom. Many thanks to Dave from Canterbury Gardens & Gifts for contributing the beautiful arrangement and to Happy (yes, her name is Happy), for attending the party!
Disclaimer: while this is not a sponsored post in that sponsors paid us to write it, it is “sponsored” in that a few sponsors donated items for the party. We wish to thank Canterbury Gardens & Gifts, Farm Rich Products and The Dailey Method for their support in providing food and gifts for this party!
Many thanks to family and friends for attending this special party to celebrate our anniversary! And, especially to Vanessa from Australia for jumping on a plane and traveling over 50 hours round trip to be with us!
Do you have party ideas for our next Blog-o-versary Party!
Tootles,
Related Posts:
(other Blog-o-versary Party craft posts)
- Cute and Easy Party Name Tags
- Easy Party Favors Featuring You!
- Easy and Creative Tabletop Signs for Your Next Party
- How to Make Paper Napkins Special
- Ideas for Reusing Old Picture Frames
- Tea Light Tutorial: Adding Edible Sprinkles for a Bit of Sparkle
(other Blog-versary Party recipes)


Leave a Reply