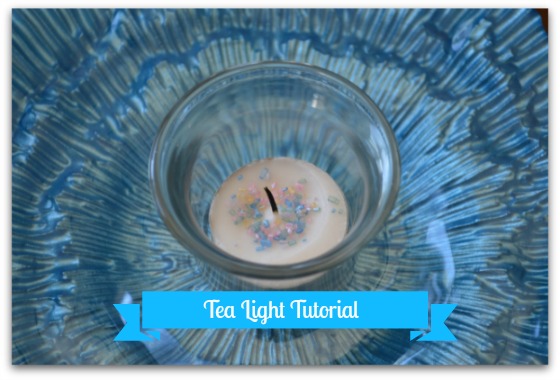
Did I mention that we are having a Blog-o-versary Party? On July 28th, we celebrate one year as a blog! We are so excited about our anniversary that we are going all out, pulling out all the stops to throw a fabulous party for all our girlfriends – family girlfriends, long-time girlfriends, new-found girlfriends, new blogger girlfriends! It promises to be a great event! This Tea Light Tutorial: Adding Edible Sprinkles for a Bit of Sparkle is the first in a series of posts related to our upcoming party. It’s easy, fun and does just that – adds a bit of sparkle to plain old, everyday tea lights.
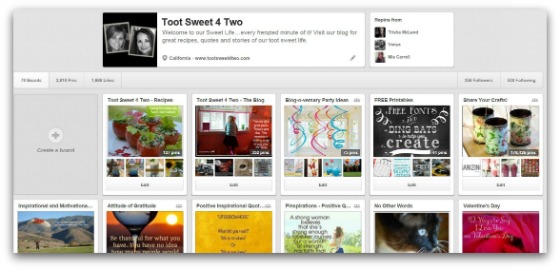
Where did I get this idea? Pinterest, of course! Where do we get all of our ideas these days?!?! If you aren’t, yet, a Pinterest user, I invite you to check it out. You’ll love it! Here’s a link to our Pinterest board: Toot Sweet 4 Two Pinterest boards
Here’s a picture of our Pinterest board:
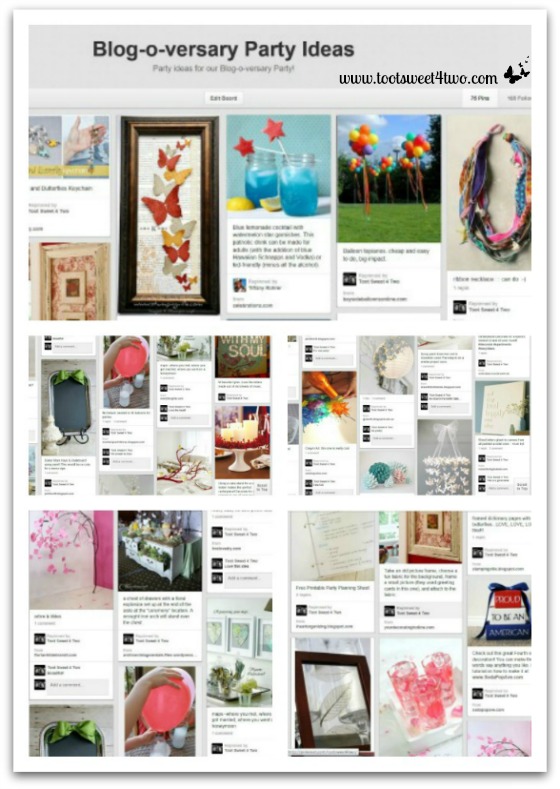
We’ve collected several ideas for our Blog-o-versary Party and have created a board just for those ideas. Here’s a picture of our Pinterest Blog-o-versary Party Ideas board:
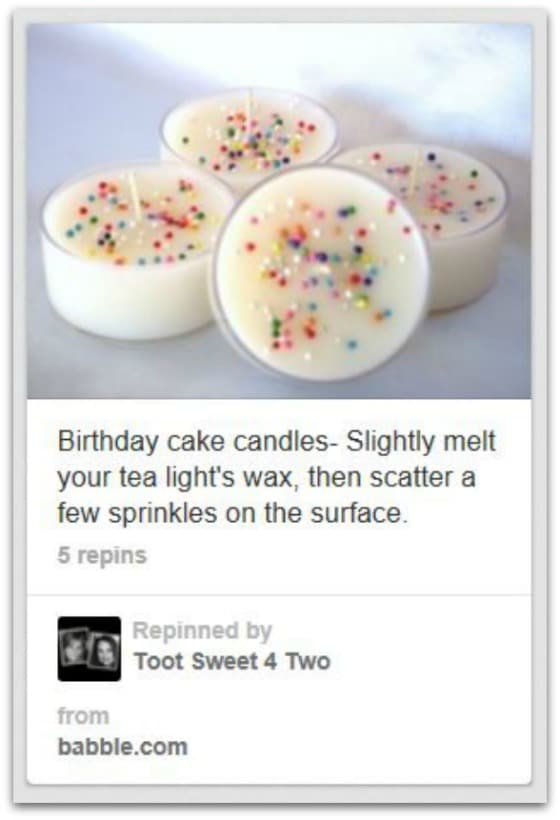
And, here’s a picture of the actual pin on this board (it’s wayyyy down on the Pinterest board, so I didn’t copy the entire Pinterest board in the collage above {grin}).
Well, you’ll see that I didn’t come up with the idea of using sprinkles in tea lights; someone else did. But, here’s the conundrum about Pinterest. You are supposed to include the URL to the original source when you download a pin to Pinterest. Most of the time, users do that. Sometimes the pins will take you to a completely different site (Pinterest has a mechanism for reporting this and they work diligently to keep up with it!) and are useless. In this case, the pin does take you to a legitimate site, Babble, but there are no instructions! Instead, Babble refers you to an Etsy site. Well, the Etsy link takes you to a candle shop, but this candle shop doesn’t sell Sprinkle Tea Lights! So, I decided to make them myself because it’s not hard at all.
- In case you are interested, here’s a link to the Babble page with the Sparkle Tea Lights: 15 Super Sprinkle Party Ideas
- And, here’s a link to the Etsy shop featured by Babble: Caribbean Scents
Anyway, here’s what you do:
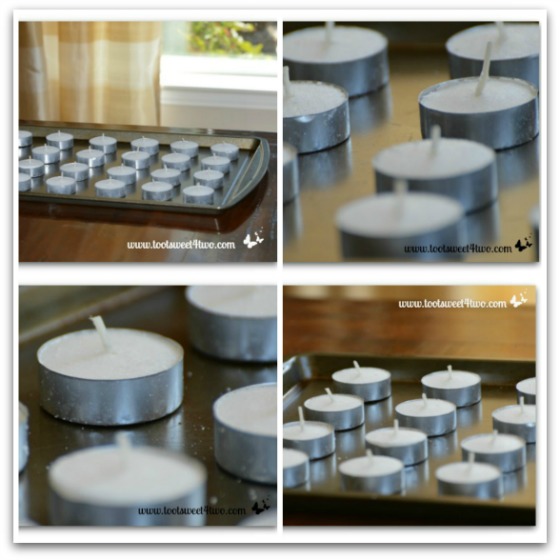
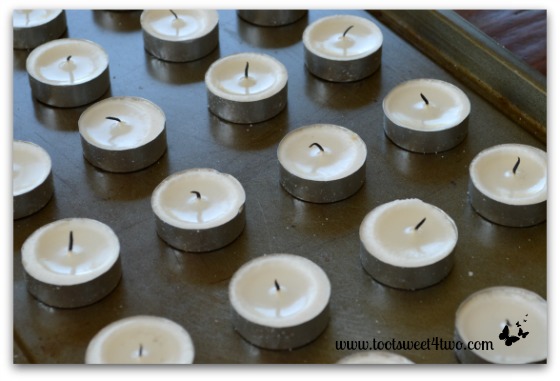
Place your tea lights on a flat, fire-safe surface. I used an old cookie sheet to contain them all. I did this on my kitchen table to take pictures by the window, but you could do it on your kitchen counter.
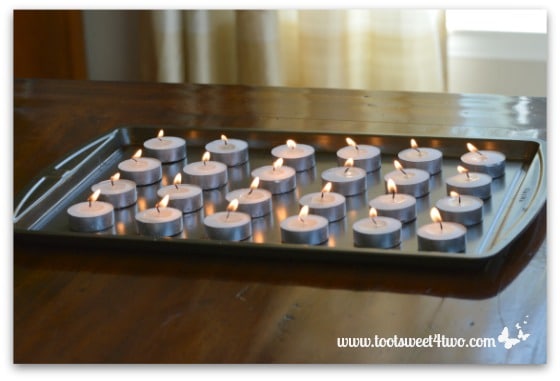
Next, light your tea lights. I used matches because I didn’t have one of those hand-held lighters. Using a lighter would be easier, but I’m always doing things the hard way {grin}!
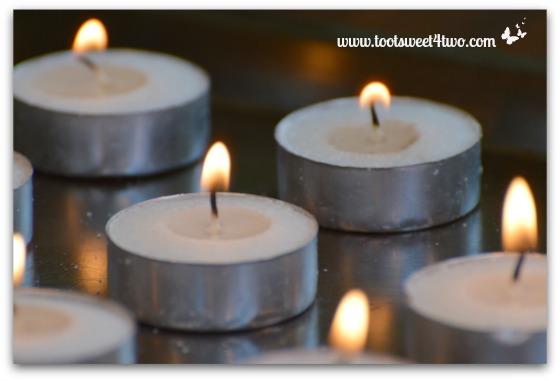
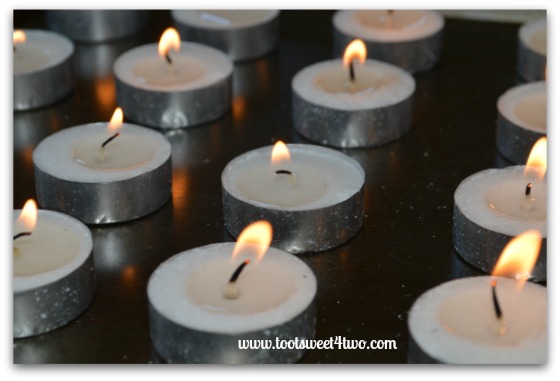
Let the wax melt for a while. Mine took about 10 minutes to create the size of “puddle” I wanted.
In the picture above, you can see the wax “puddle” is almost just right!
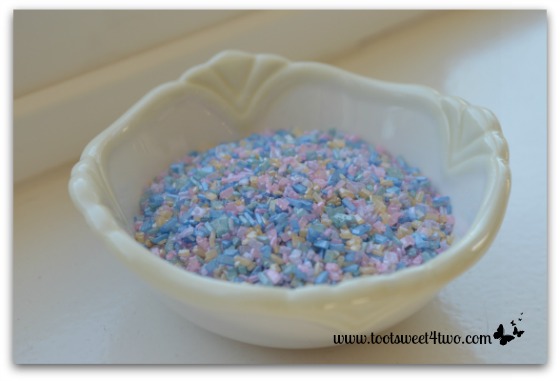
Get out your edible sprinkles and put them in a little bowl. This bowl is a teeny, tiny bowl from Princess House; about 3 inches in diameter. The sprinkles I used are Cake Mate Cupcake Gems Pearlescent Sugar in a 2.2 ounce container. This is less than 1/2 an ounce of the gems so you’ll have plenty leftover for other projects.
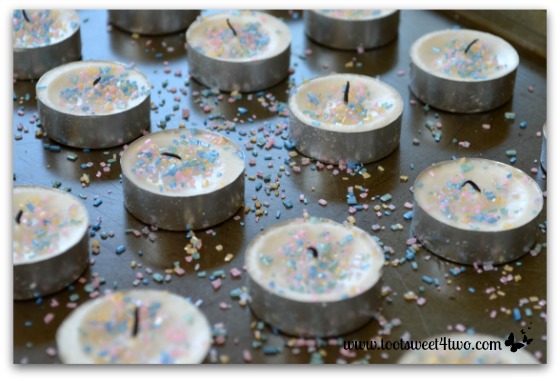
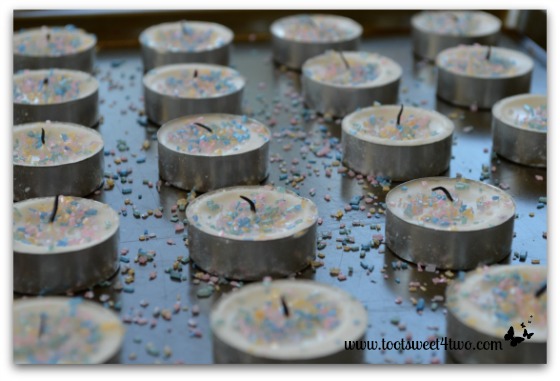
Blow out your candles and working very quickly (the wax starts to harden immediately), sprinkle the sprinkles on each tea light.
I held my hand up high above the tea lights just like the chefs do with salt and pepper on TV. This is because it makes distribution and coverage easier over all these tea lights. If you do them one by one, it is possible that you will have a gloppy mess with too many sprinkles in only one area of your tea light. Plus, if you don’t work quickly, you will have to relight the tea lights and melt the wax again!
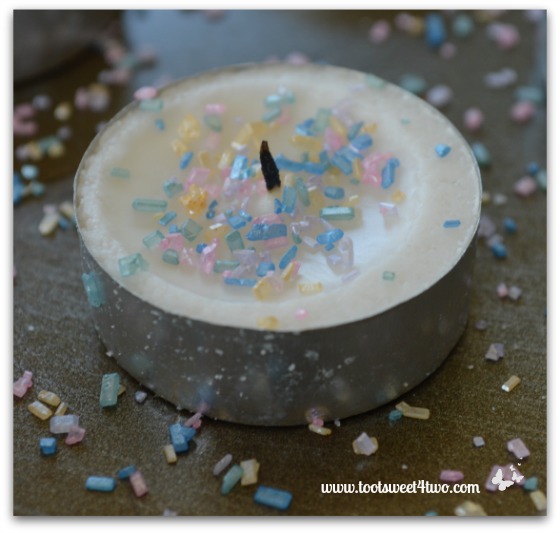
Close-up of tea light with sprinkles in melted was.
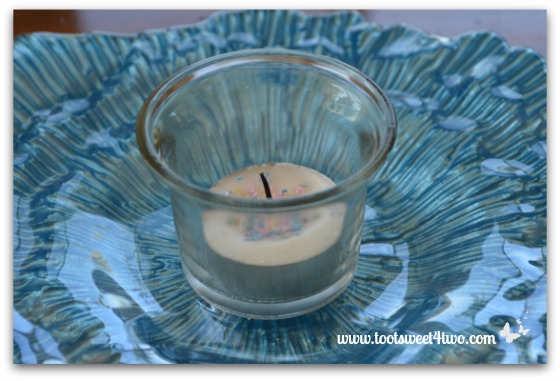
Pretty Sprinkle Tea Lights all in a row!
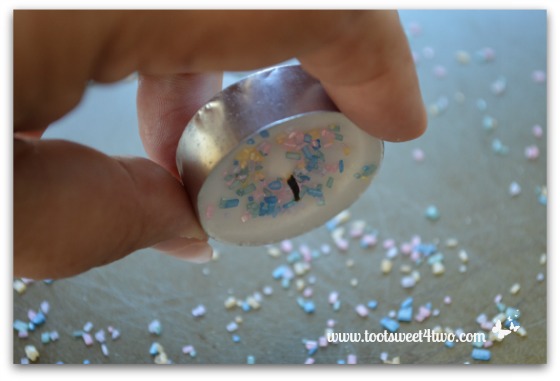
Next, one-by-one, turn each tea light over and gently shake the loose sprinkles onto the cookie sheet. Once all done, discard the sprinkles on the cookie sheet in the trash. You’ll have the leftovers in the jar for other uses, so you don’t need these!
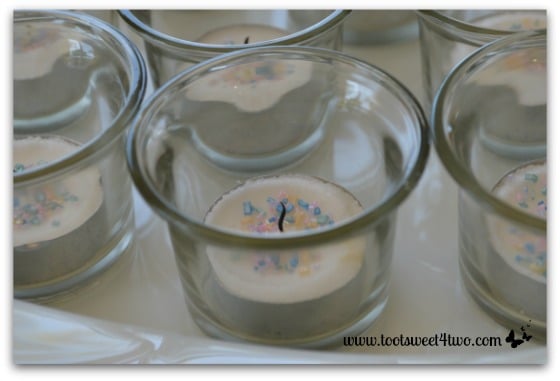
Place each tea light in a tea light holder.
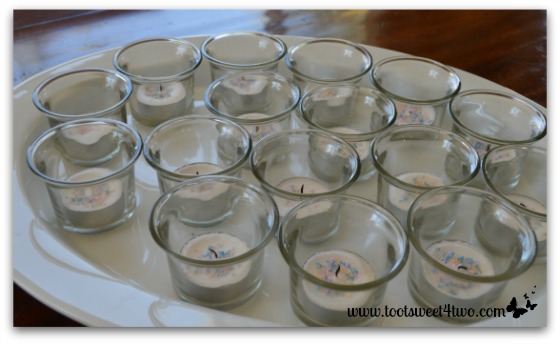
Place all of your finished tea lights on a platter, tray, storage box until you are ready to use them for your party!
The possibilities are endless! Use them for:
- Baby Showers
- Birthday Parties
- Tea Parties
- Wedding Showers
- Weddings
- Or, just around the house!

Here’s one to pin to Pinterest! So simple and pretty! Let me know what color you’ve made in the comments below!
Tootles,
Related Posts:
(other party idea posts)
- 15 Tips for an Easy Stress-free Kid’s Birthday Party
- 42 Things to do when Planning Your Next Party
- 42 Party Supplies for Your Next Party
- How to Make Paper Napkins Special
- Toot Sweet 4 Two Turns One: Blog-o-versary Party Recap
- Easy Party Favors Featuring You!
- Easy and Creative Tabletop Signs for Your Next Party
- Cute and Easy Party Name Tags
- Ideas for Reusing Old Picture Frames
- How to Make an Easy No Sew Table Runner
- Smash Cake: 1st Birthday Party Must-Have

Very cute idea! Can’t wait to see them.
Thanks, Dawn. So easy and fun!