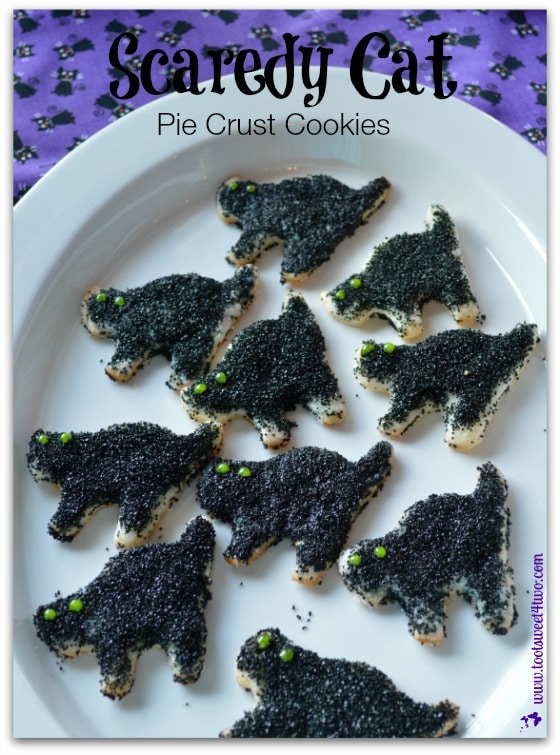
Scaredy Cat Pie Crust Cookies are an experiment gone awry! Inspired by two of my most pinned recipes, Sweetheart Pie Crust Cookies and Firecracker Pie Crust Stars, I set out to create pie crust cookies for Halloween. Looking through my collection of cookie cutters and being a lover of all things “cat”, my choice was clear – a black cat pie crust cookie for Halloween!
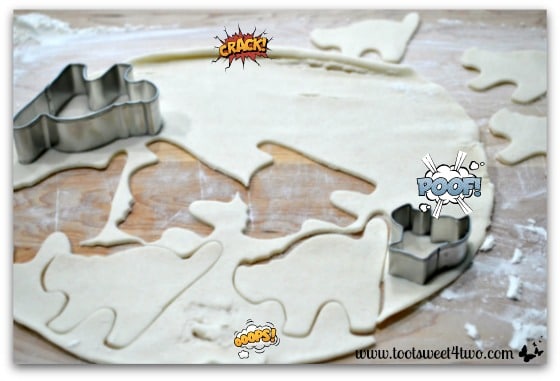
So, I got out a box of pre-made pie crust, floured the back of my large wooden cutting board and went to work. First thing I did was make a smudge in the pie crust dough (ooops!). And, when I unrolled it to the end, it had a large crack (crack!). Not to worry; I use as much of the pie crust dough as possible by re-rolling it as I work on cutting out cookies.
I have a small (one inch) cat cookie cutter, so decided to try that out, too, and use it for the nooks and crannies left by the larger cookie cutter. But, after baking the first few, I decided the finished product didn’t look “cat-like” at all, so that idea went Poof!
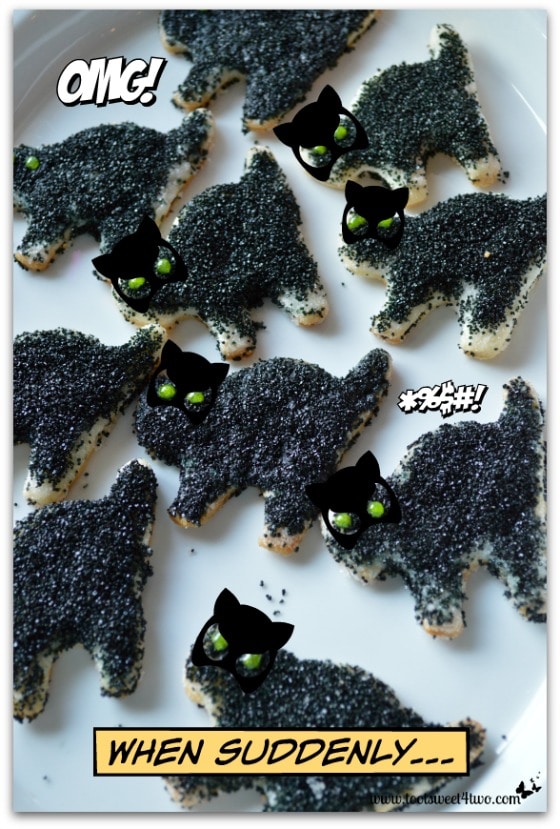
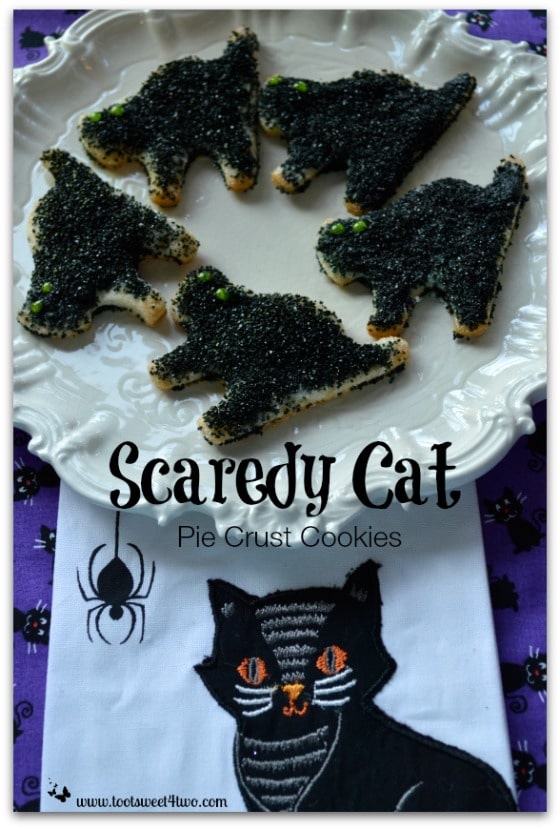
Once they were baked and cooled, I plated them and decided to attempt to use green sparkle food gel to make eyes and whiskers when suddenly I realized OMG! these Scaredy Cat Pie Crust Cookies weren’t very attractive!
Where was my niece, Erin, the one who is a “master” cookie maker and decorator (see Erin’s Iced Sugar Cookie Cutouts), when I need her? Not able to fly 3,000 miles across country to retrieve her for this project, I scraped off the whiskers leaving my black sprinkled cats with hideous green eyes! So, I placed a Catwoman mask over each in PicMonkey!
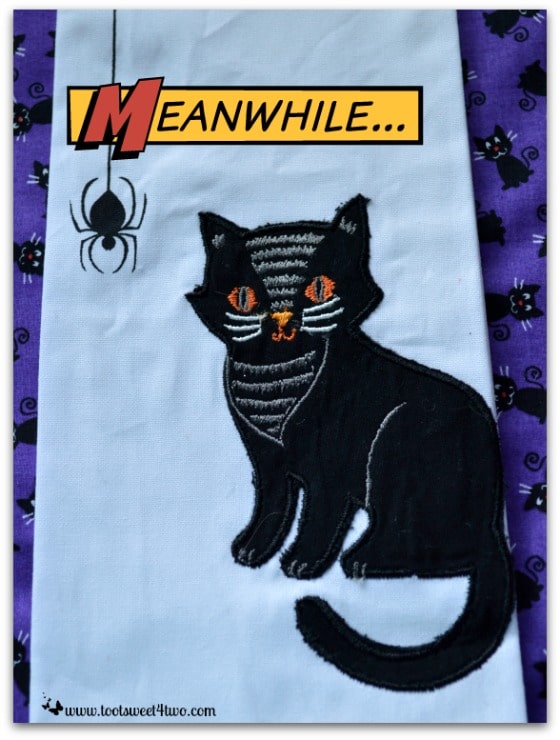
Meanwhile… I had this adorable black cat tea towel that I wanted to use for the photo shoot and I’d made the underlying table runner from purple fabric emblazoned with black cats just for these cookies (and also to decorate Charlie’s office)! Maybe if I plated my Scaredy Cat Pie Crust Cookies on a smaller plate and used this cute towel, they would look more pleasing, I wondered?
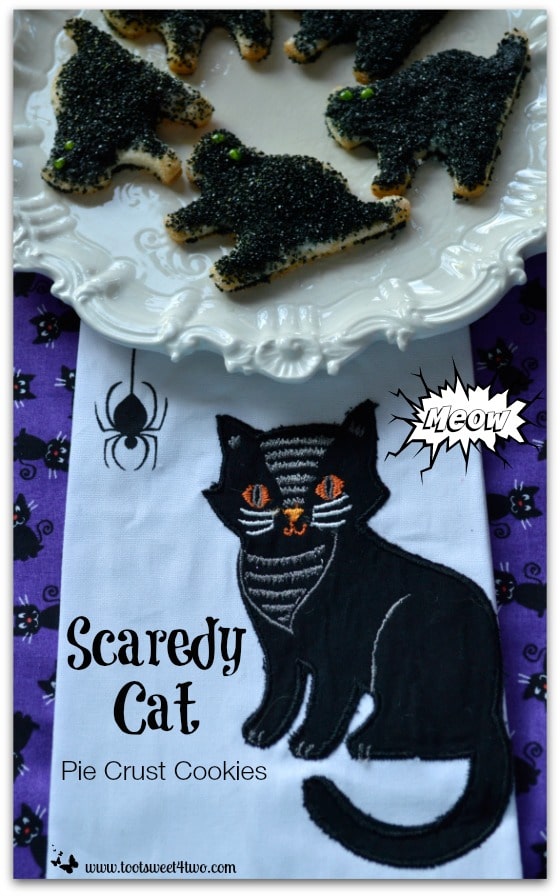
So, implementing “Plan B”, I took this first shot. Meow…
Not convinced, I took a second photo.
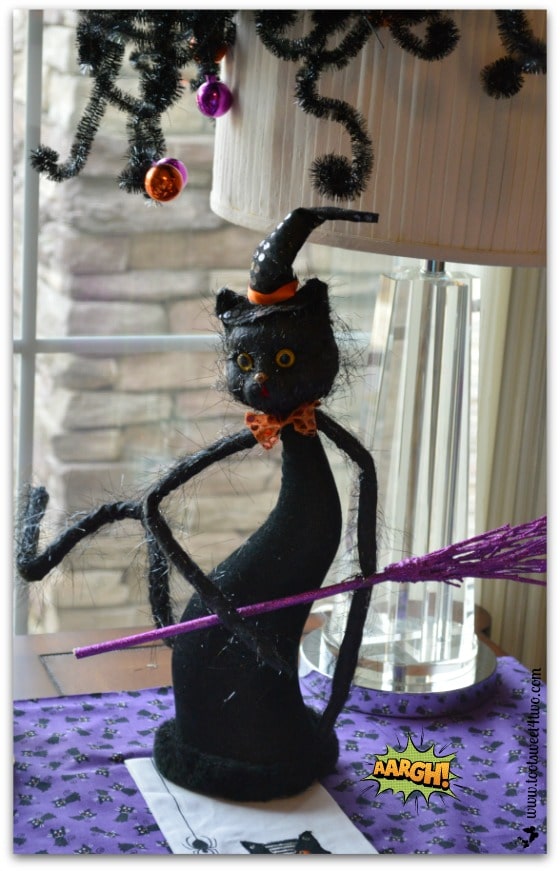
Maybe I should put the black cat tea towel under my tall standing Halloween Black Cat? Aargh! To get both the towel and the Halloween Black Cat in the photo was impossible!
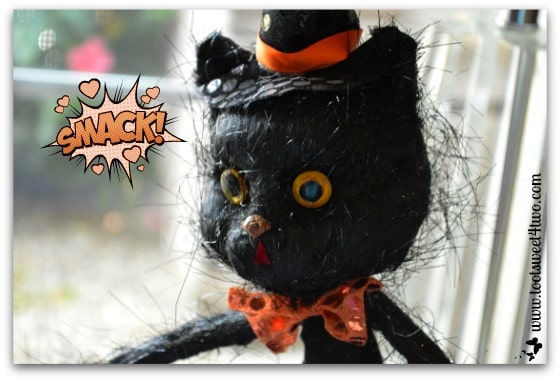
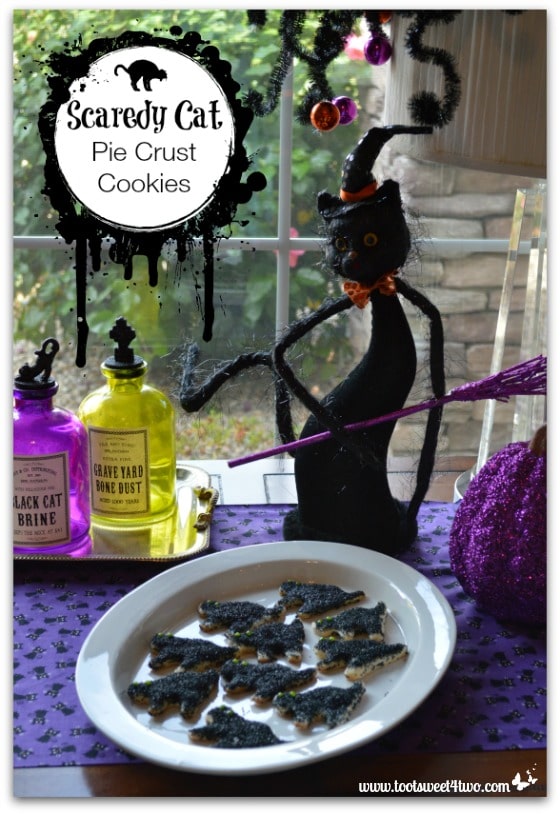
He’s so cute that I just had to use him in some way! How can you resist that fuzzy face, witch’s hat, orange bow tie, curly tail and purple broom (Smack!)? Plus, with orange eyes, he matched the black cat tea towel!
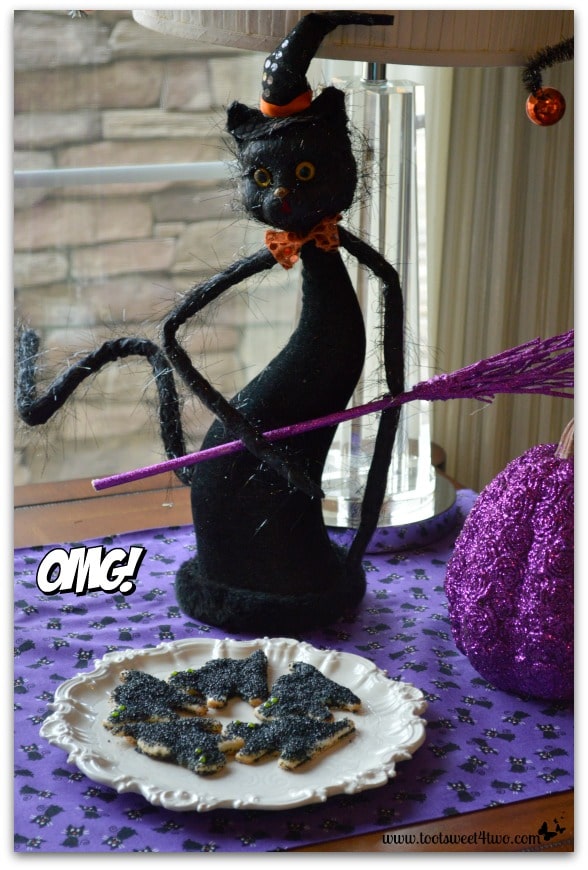
But, I decided to take the black cat tea towel out of the picture and just try to get the cookies on the same page with my Halloween Black Cat. Then I noticed all the wrinkles on the table runner! OMG! Was nothing going to go right with this photo shoot?

Just at that moment, I thought if I took the photo from a greater distance and got more of the Halloween decorations in the photo, the cookies would look cuter? Instead, they just looked like black 3-legged shapes of something unidentifiable! Maybe some type of alien spiders?
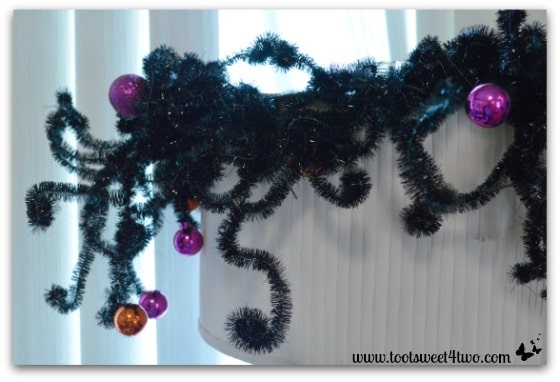
But, I like my spidery black Halloween wreath that I just plunked on top of my lap shade, so decided readers needed a close-up of that idea!
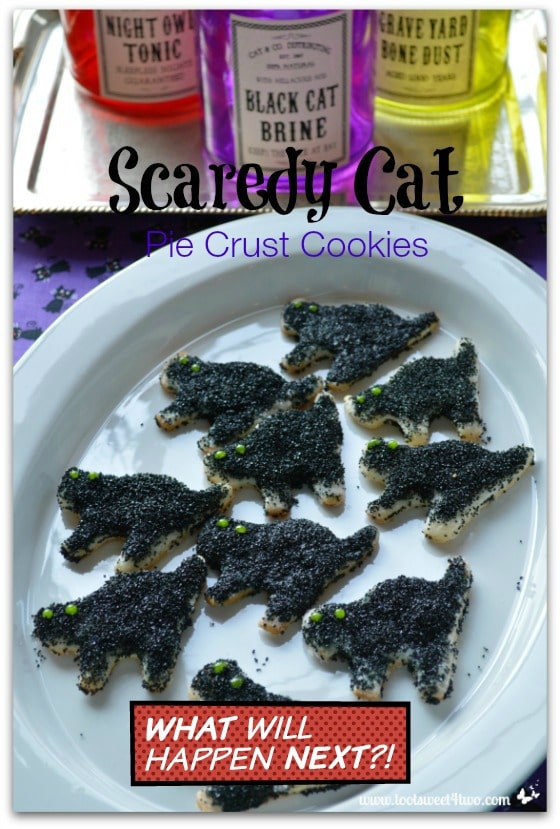
So, I decided to change tactics and go back to the Scaredy Cat Pie Crust Cookies on the platter. What will happen next if I placed them in front of the Halloween magic potion bottles instead? After all, one says “Black Cat Brine” and has a black cat on the top of the bottle stopper. But, alas, getting both the cookies on the platter and the Halloween magic potion bottles all in the same photo was a stretch!
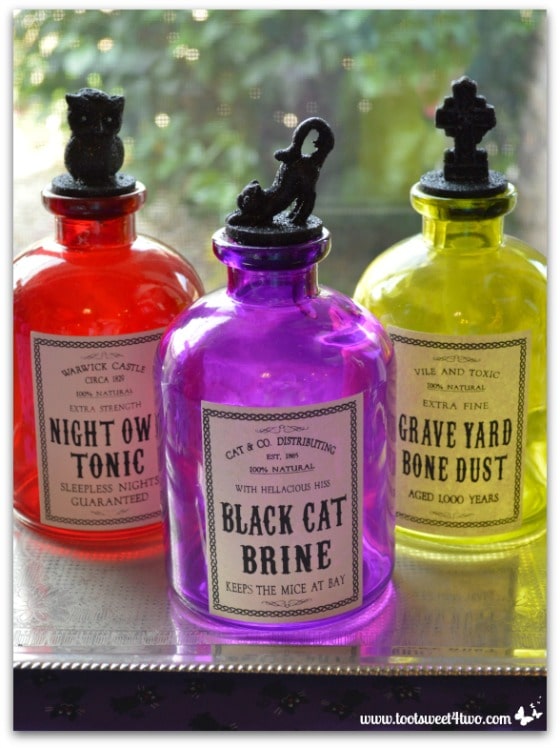
So, here’s a close-up of the Halloween magic potion bottles. I just love these bottles – they are large (9 inches tall to the top of the bottle stoppers) and have such cute labels!
So, finally, I tried to get everything in the photo (except the black cat tea towel) and still the cookies were out of focus!
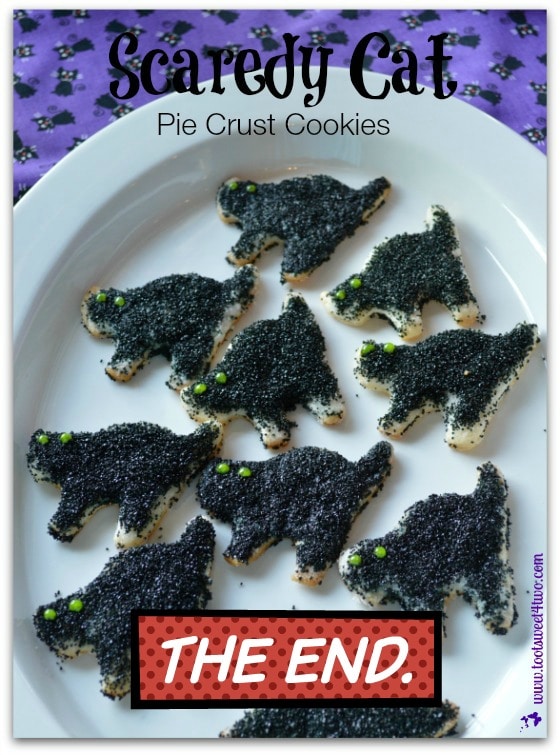
These cookies are delicious; sweet and salty, crunchy from the sprinkles and crumbly from the pie crust. But fair warning: Scaredy Cat Pie Crust Cookies will stain your fingers and tongue. And, probably your furniture, if you let little ones eat them unattended! So, make them at your own risk!
But, if you are going out treat-or-treating right after eating a few, you’ll be able to stick out your tongue and have all the neighborhood fairies, princesses, monsters and ghouls exclaim “eewww yuck!” The End.
Here’s the recipe (if you dare):
Scaredy Cat Pie Crust Cookies – Eat Them at Your Peril!
Sweet, salty, crunchy and crumbly, these pie crust cookies will temporarily stain your fingers and tongue black! All the better for Halloween!
- Prep Time: 40 mins
- Cook Time: 40 mins
- Total Time: 1 hour 20 mins
- Yield: 36 1x
- Category: Dessert
- Cuisine: American
Ingredients
- 1 package 2-crust (9″) refrigerated pie crust dough
- 1/2 cup flour
- 1/2 cup unsalted butter, melted
- 1/2 cup granulated sugar
- 6 1/2 ounces (two 3.25 ounce bottles) of edible black sugar sprinkles
- Tube of edible green sparkle gel
Instructions
- Remove pie crust sleeves from package of pie crust and allow to come to room temperature (about 20 minutes).
- Preheat oven to 375 degrees F.
- Line 4 cookie sheets with parchment paper.
- Prepare work surface (I use the back of my large wooden cutting board) by lightly sprinkling flour over surface (reserve the rest of the flour to use as needed).
- Also, flour a rolling pin.
- Carefully unroll dough (one sleeve at a time) onto the lightly floured surface.
- Using cat cookie cutter, press the cutter firmly into the dough, wiggling to cut all the way through, cutting out cookies.
- Using rolling pin, re-roll dough, as needed, to maximize use of the pre-made dough.
- Transfer each cut-out to parchment-lined cookie sheets.
- Using a pastry brush, brush each cookie liberally with unsalted butter.
- Sprinkle each with granulated sugar.
- Then, sprinkle each with black sugar sprinkles.
- Bake in preheated oven for 10 minutes.
- Remove from oven and allow to cool 2 minutes.
- Transfer to wire cooling rack and allow to cool completely.
- When cool to the touch, use your fingers to pinch off the extra sugar that attaches on the edges of each cookie (be careful of the feet and tail; NOTE: your fingers will be temporarily stained black).
- Transfer to serving platter in a single layer.
- Use green sparkle icing gel to place 2 “eyes” on each Scaredy Cat.
Notes
(1) Be sure to use unsalted butter. Pie crust is salty, so if you use regular butter, your cookies will be too salty! (2) Don’t overbake. The cookies will be light brown underneath the black sprinkles. (3) I was able to get 3 dozen cookies with my cat cookie cutter. You may get more or less depending on the size of your cutter and how close together you are able to cut them out. (4) Any sugar “overflow” onto the parchment paper, will attach to the edges of the cookies. Once cool, it is easy to remove by using your fingers to pick it off. However, if you are able to figure out a way to get the granulated sugar and the black sugar onto each cookie without spreading beyond the cookie border, you can skip this step {grin}!

P.S. I had some fun with PicMonkey’s new Comic Heroes theme with this post. Check out PicMonkey to see what’s new!
Tootles,

Related Posts:
(other Halloween recipes)
- Easy Jack-O-Lantern Cheesecake Pie
- Cryptically Easy Chocolate Milk with Halloween Oreo Cookie Straws
- Beefy Pumpkin Ghoulash
- Ghosts in the Clouds
- Spooktacular Halloween Party Mix
- Fright Night Mini Pizza
- Salted Caramel Candy Corn Pretzel Crack
- Creamy Pumpkin Soup
- Pumpkin Patch Pals Pumpkin Pie
- Crazy Chocolate Cake with Homemade Chocolate Frosting
Leave a Reply