
Trust us when we say that we are not DIY furniture experts! That being said, there are things you can learn from our mistakes and what we learned throughout the process of refinishing wood furniture.
If you’re working from home due to COVID-19 like us, you might be in need of a new desk! We didn’t want to spend a fortune on a new desk, so this was our first experience refinishing wood furniture.
Refinishing Wood Furniture Mistakes: DIY Desk Edition
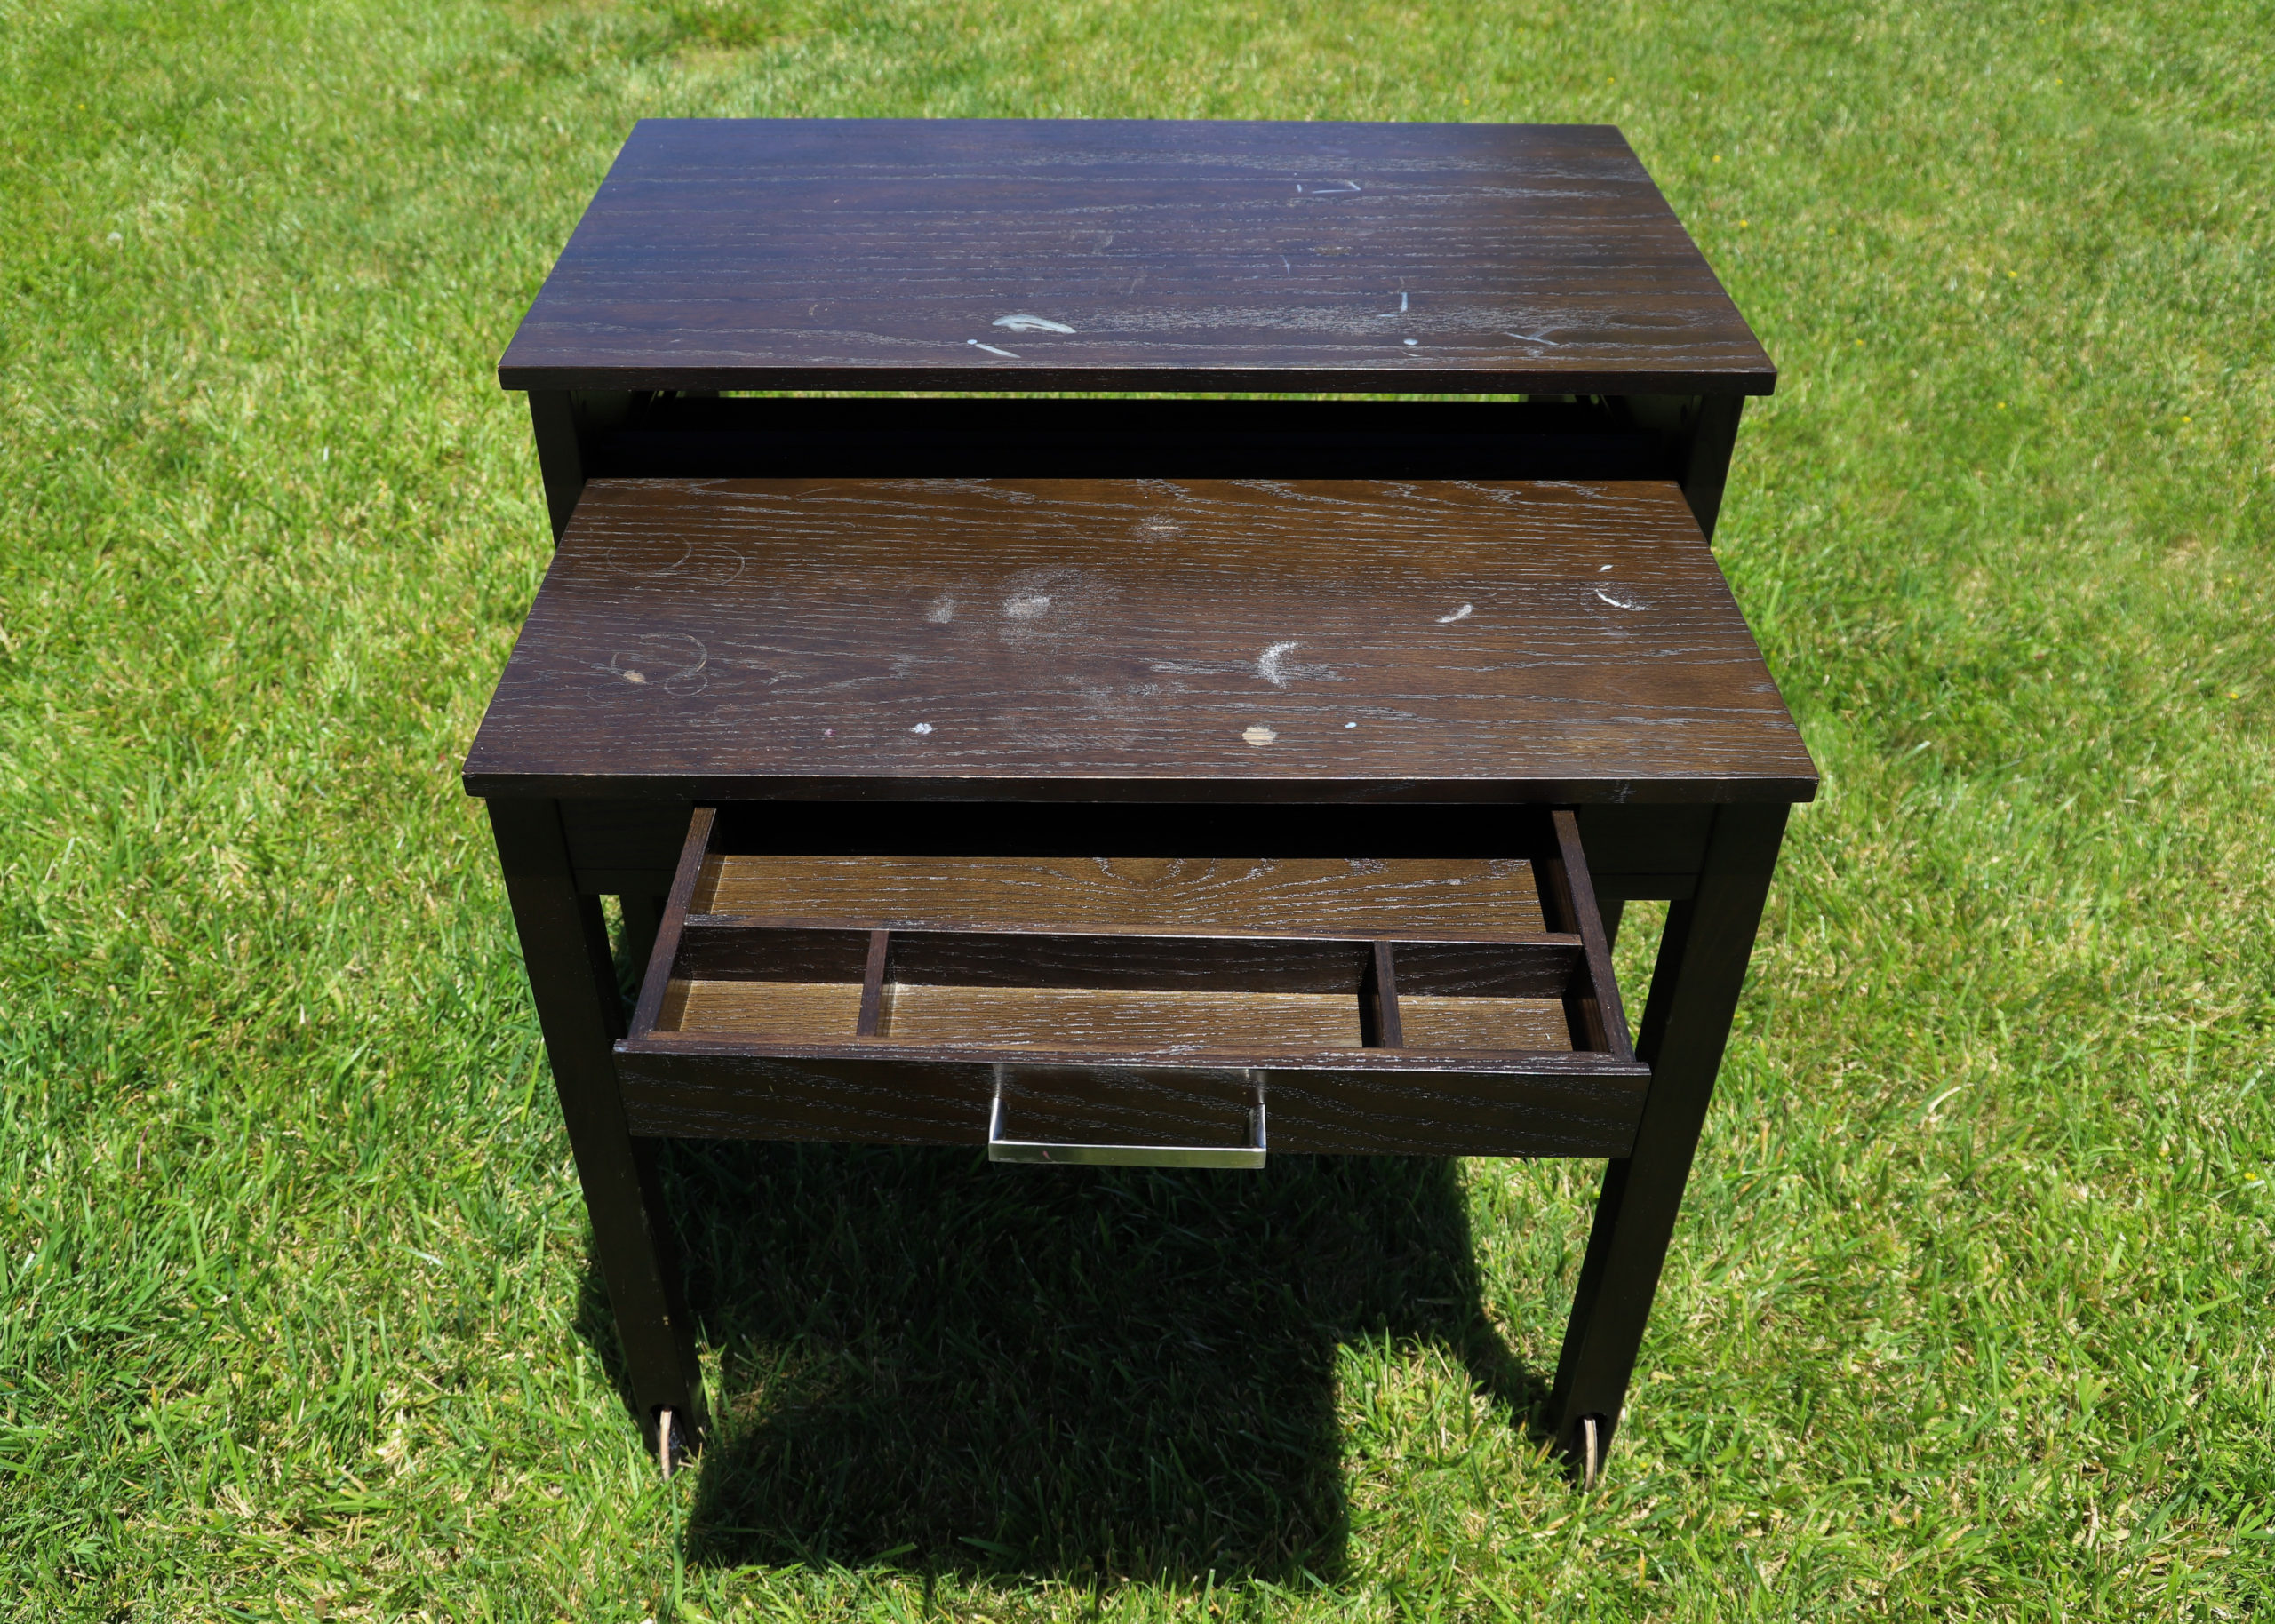
Before!
Mistake #1: Being too Quick to Trust the Seller
When we found the desk on Craigslist, one of the first things we asked was, “Is it solid wood? The person responded, “It is solid wood. I can’t say for certain, but I believe I purchased it from Crate & Barrel.” For us, $35 for a solid wood desk potentially bought from Crate & Barrel was a steal.
We showed up to the person’s house, quickly checked out the desk, and purchased it! It was in rough shape, which was fine since we were planning on refinishing it completely.
As it turns out, it wasn’t solid wood, but a layer of veneer over particleboard. Unfortunately, we did not discover this until mid-way through sanding when small areas of particleboard started to peek through… Let’s just say it gave the desk a more rustic look!
The more likely scenario is that the seller did not know that the desk wasn’t solid. It’s not the end of the world if you purchase veneered furniture, but you’ll have to be more careful than us!

Fluffy Assistant #1
How to tell if furniture is solid wood or veneer?
One of our neighbors, a carpenter, gave us some tips for determining if it’s wood veneer or solid wood:
- See how heavy it is. If a piece of furniture is constructed with solid wood, it tends to be much heavier than if it was made using particle board and veneer. Our desk felt pretty heavy, but since it had a pull-out writing desk, this made sense.
- Study the grain! If the grain on top of the furniture does not line up with the sides, it’s probably not solid. If we had known this when we saw the desk in person, it would’ve been a dead giveaway. The grain on top of the desk went one way, and the grain on the sides went in a completely different direction.
- Look for uniformity. Does the grain have a repeating pattern or symmetrical sides? Does the grain appear to have a “finished” or uniform appearance across the piece of furniture? If you answered yes to these questions, it’s likely veneer.
Disclosure: This post contains affiliate links for your convenience. Click here to read my full disclosure policy.
Mistake #2: Using the Wrong Materials for the Job
Before our carpenter neighbor lent us an orbital sander when we were almost done sanding, we used a Black+Decker detail mouse sander, which, as the name suggests, is great for tight spaces and more detailed work. It worked perfectly for the edges, sides, and other tight spaces, but made the job of sanding the major surfaces take A LOT longer and might have resulted in a less even job (hence the particleboard peeking through).
Instead of buying new paint, we used a leftover can of Rust-Oleum protective enamel flat black paint. While this can be used wood furniture, it’s designed for preventing corrosion and rust on metal surfaces. Its age or needing a proper mixing in a machine might have led to the paint turning out glossy instead of matte (whoops). We also used a paint roller that was a tad too big for the tray.
In the end, we utilized the materials we had on hand, which saved us quite a bit of money!
Step-by-Step Guide to Refinishing Wood Furniture
1. Purchase materials
After you determine what you’re working with (solid wood vs. veneer), you can buy supplies online or head to Lowes. Here’s what you’ll need:
- All-purpose cleaning spray and paper towels (bonus points if it’s eco-friendly).
- If you’re working with veneer, it’s probably best to use a chemical stripper to avoid sanding through the thin layer like we did!
- A mechanical palm sander, unless you want to go the block sander route.
- If you’re working with solid wood, you’ll want to buy sandpaper (60-, 120-, and 220-grit).
- Depending on the look you’re going for, you might need stain, polyurethane, and/or paint.
- New hardware if you decide to replace drawer pull(s) or knob(s).
- 100% cotton cloths for staining.
- Tack cloths for removing dust and debris before painting or staining and in between coats.
- Brushes or rollers for painting and applying the polyurethane topcoat.
- Painters tape so you don’t ruin all of your hard stain and polyurethane work!
- Dropcloth and workbench.
If you’re looking for the specific stain, polyurethane, and paint that we used, you’ll find that below!
2. Prepare the surface
Before diving into your wood refinishing journey, clean the surface thoroughly to remove any built-up dirt, oil, or grease. You’ll want to do this before you start sanding, painting, and sanding, and especially in between coats!
3. Get your sand on
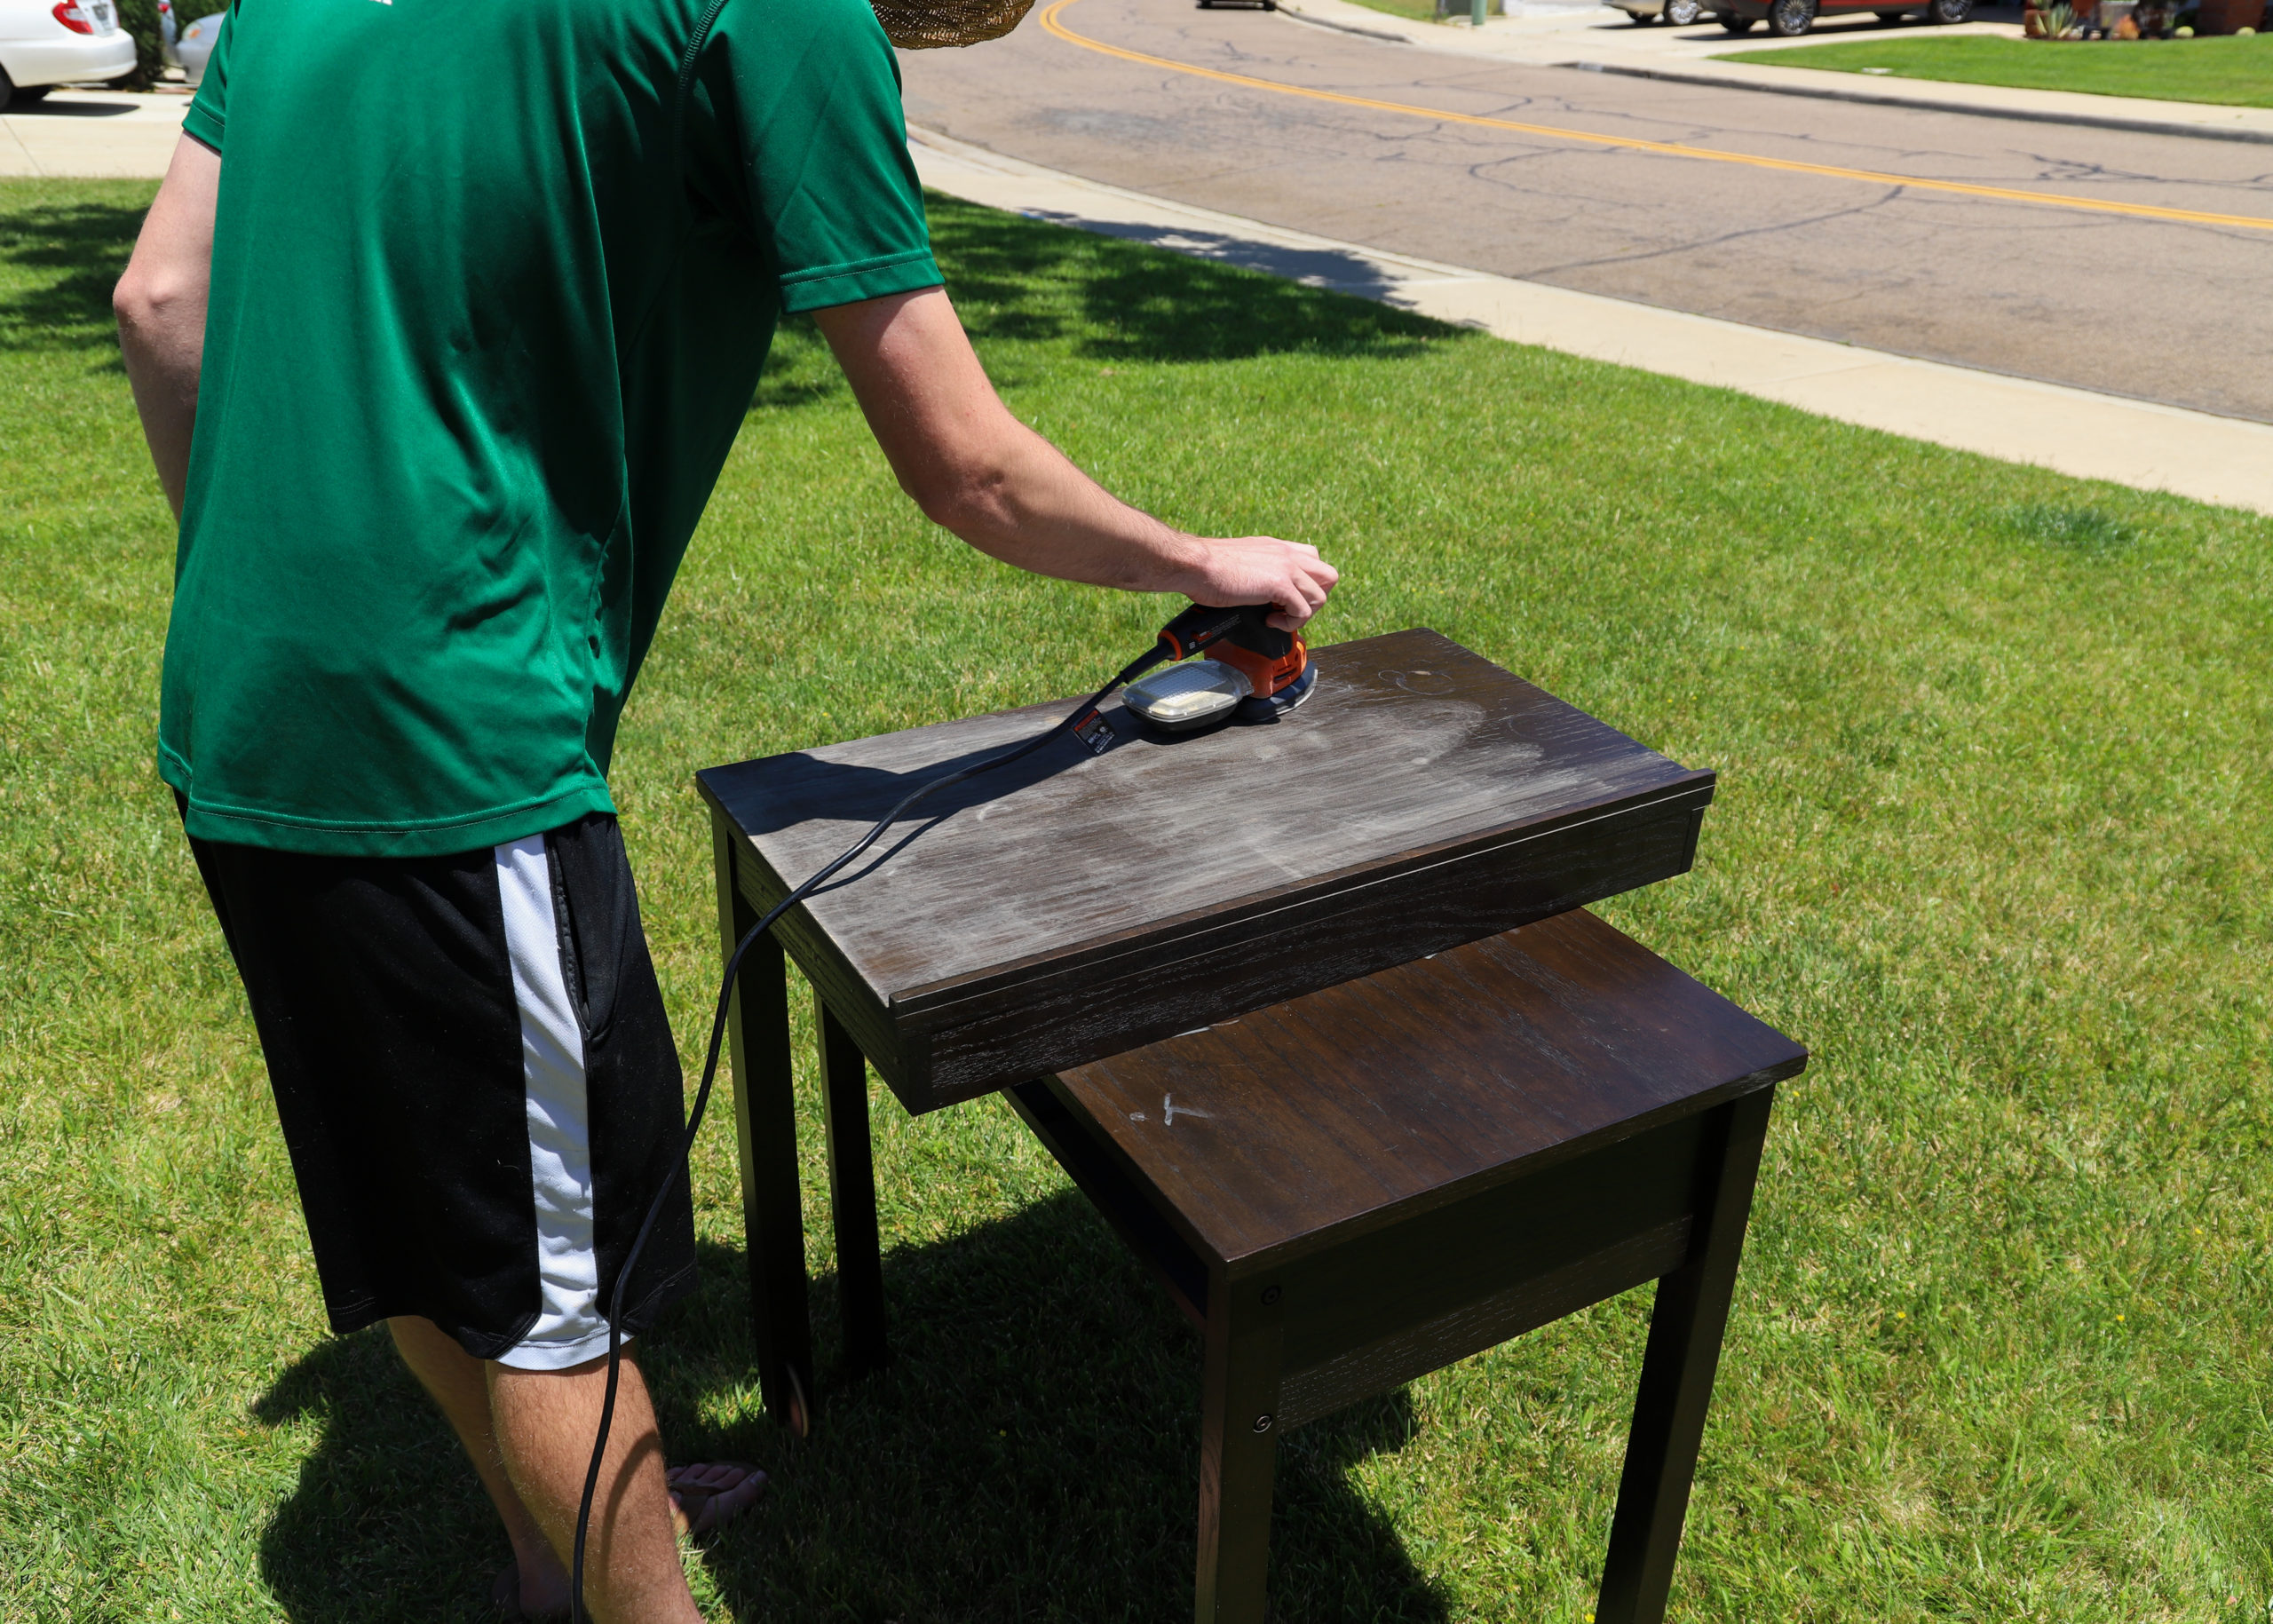
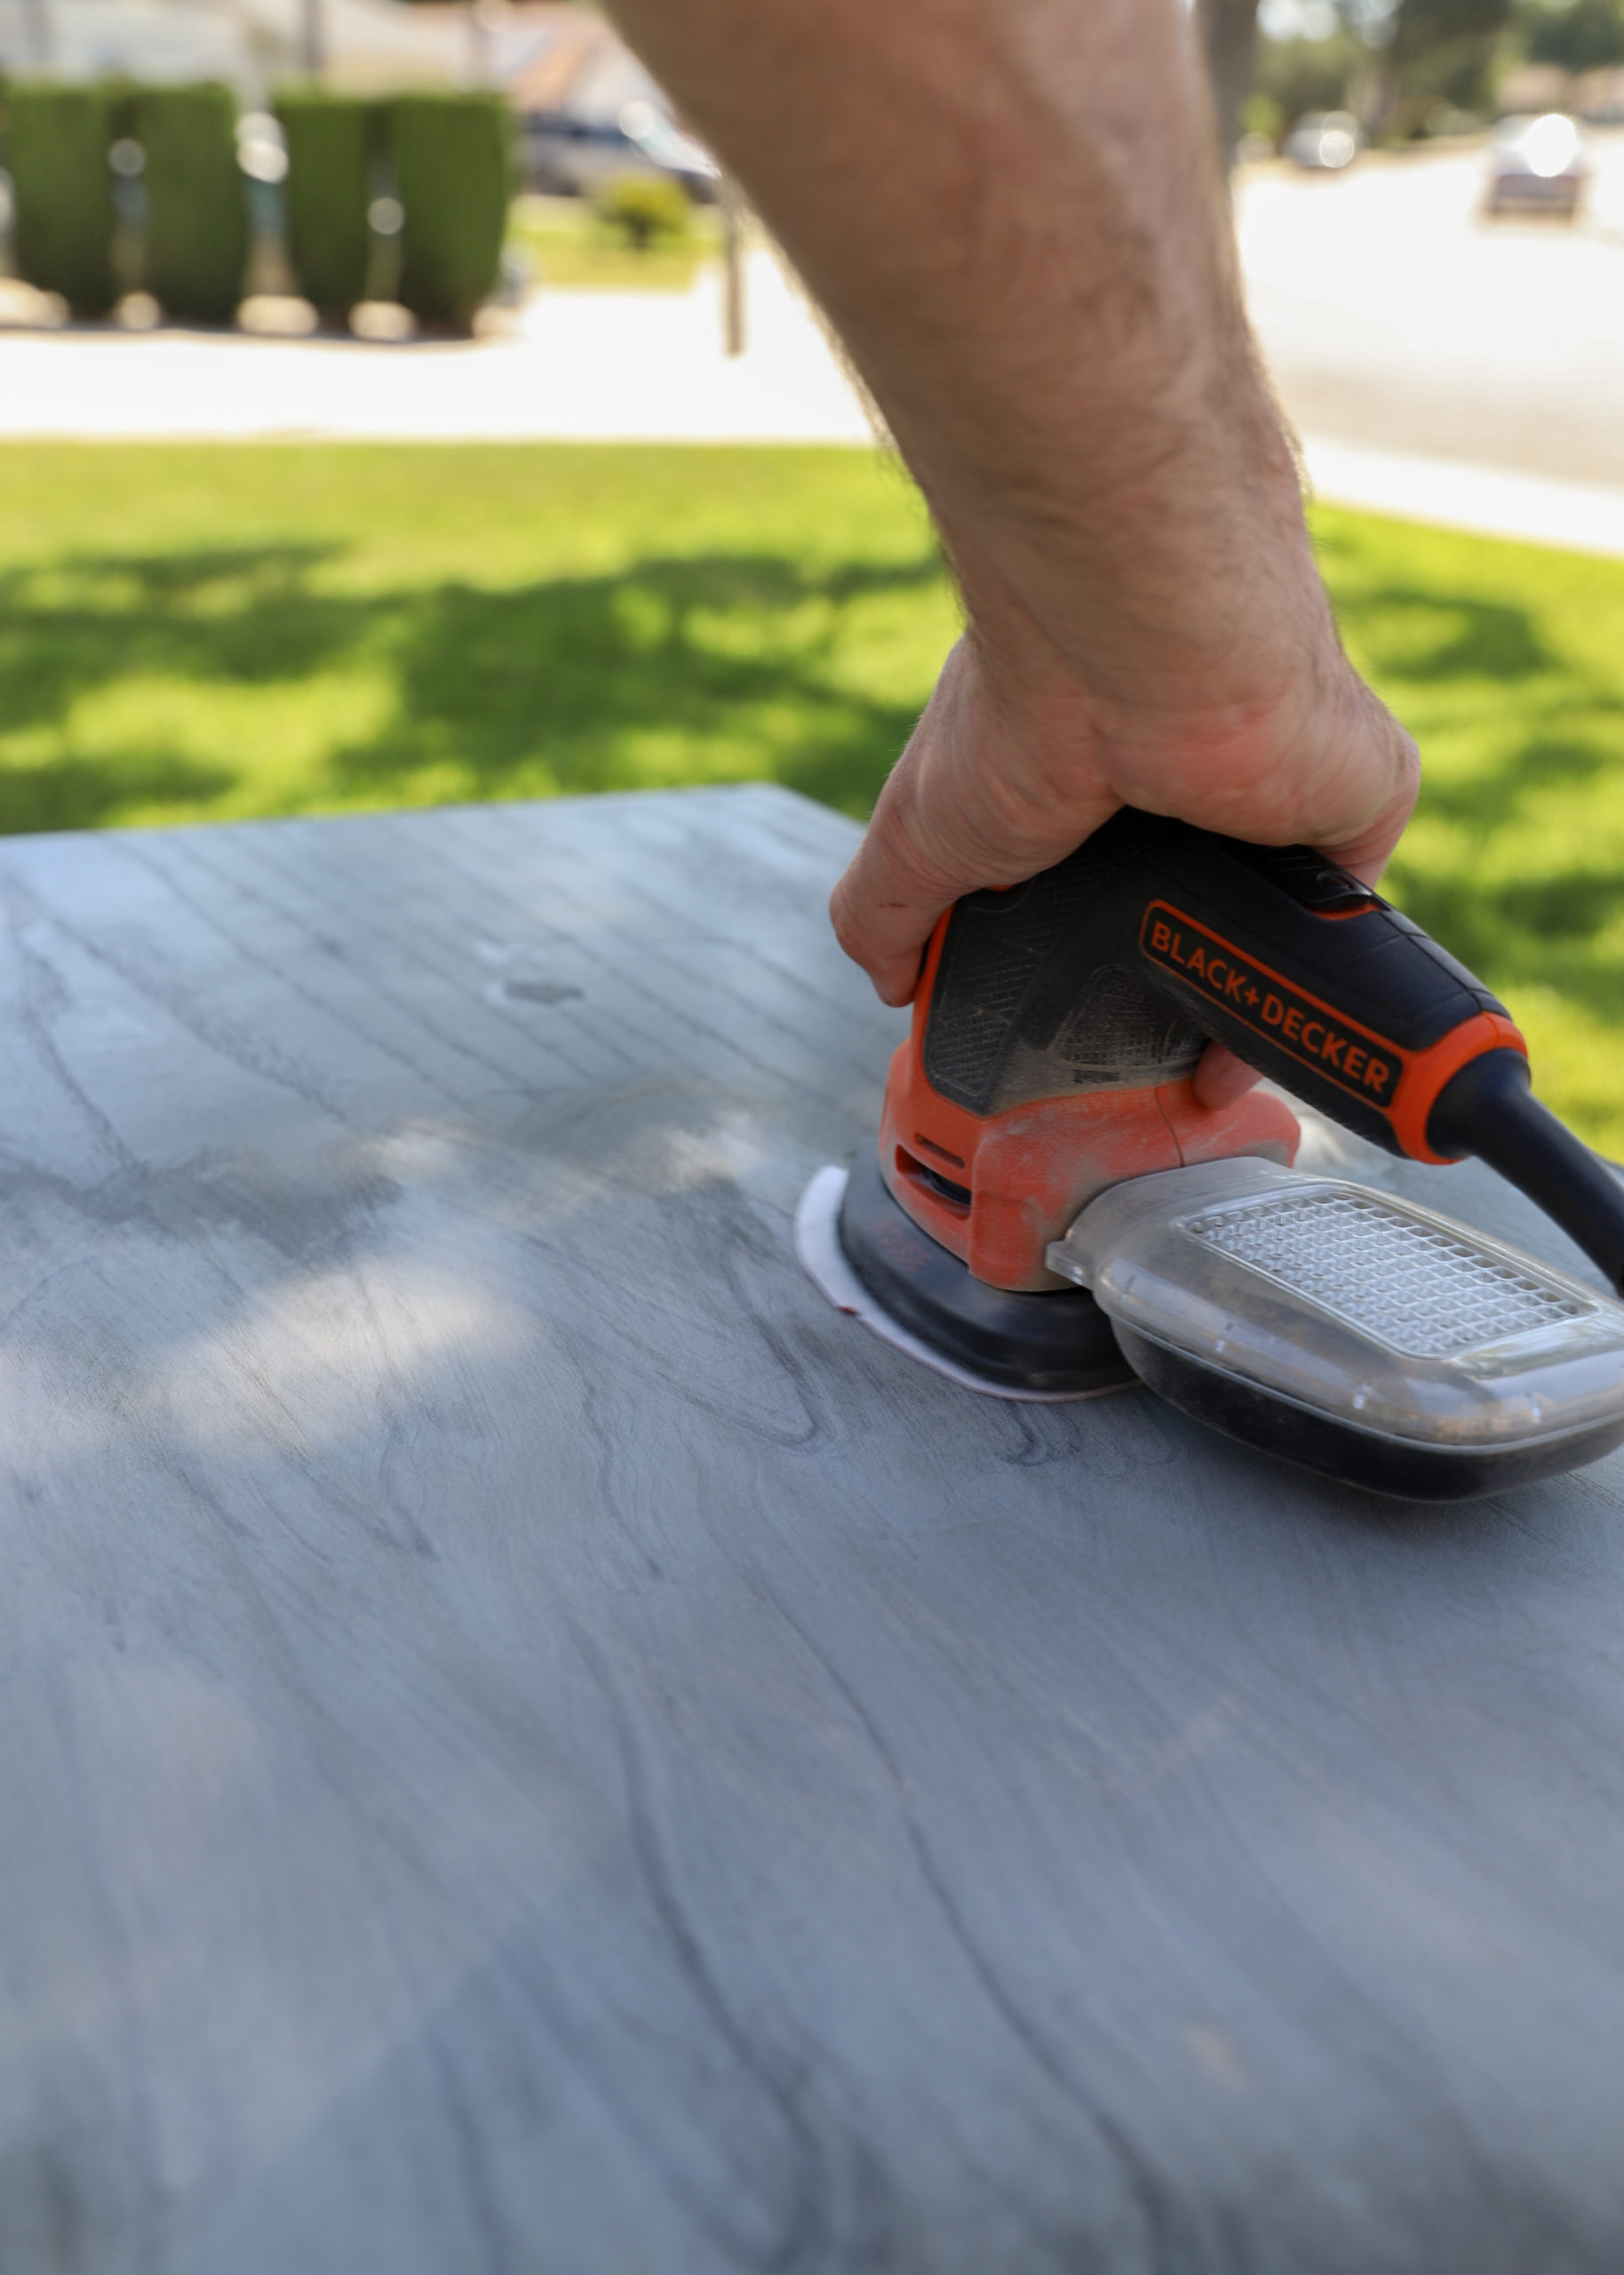
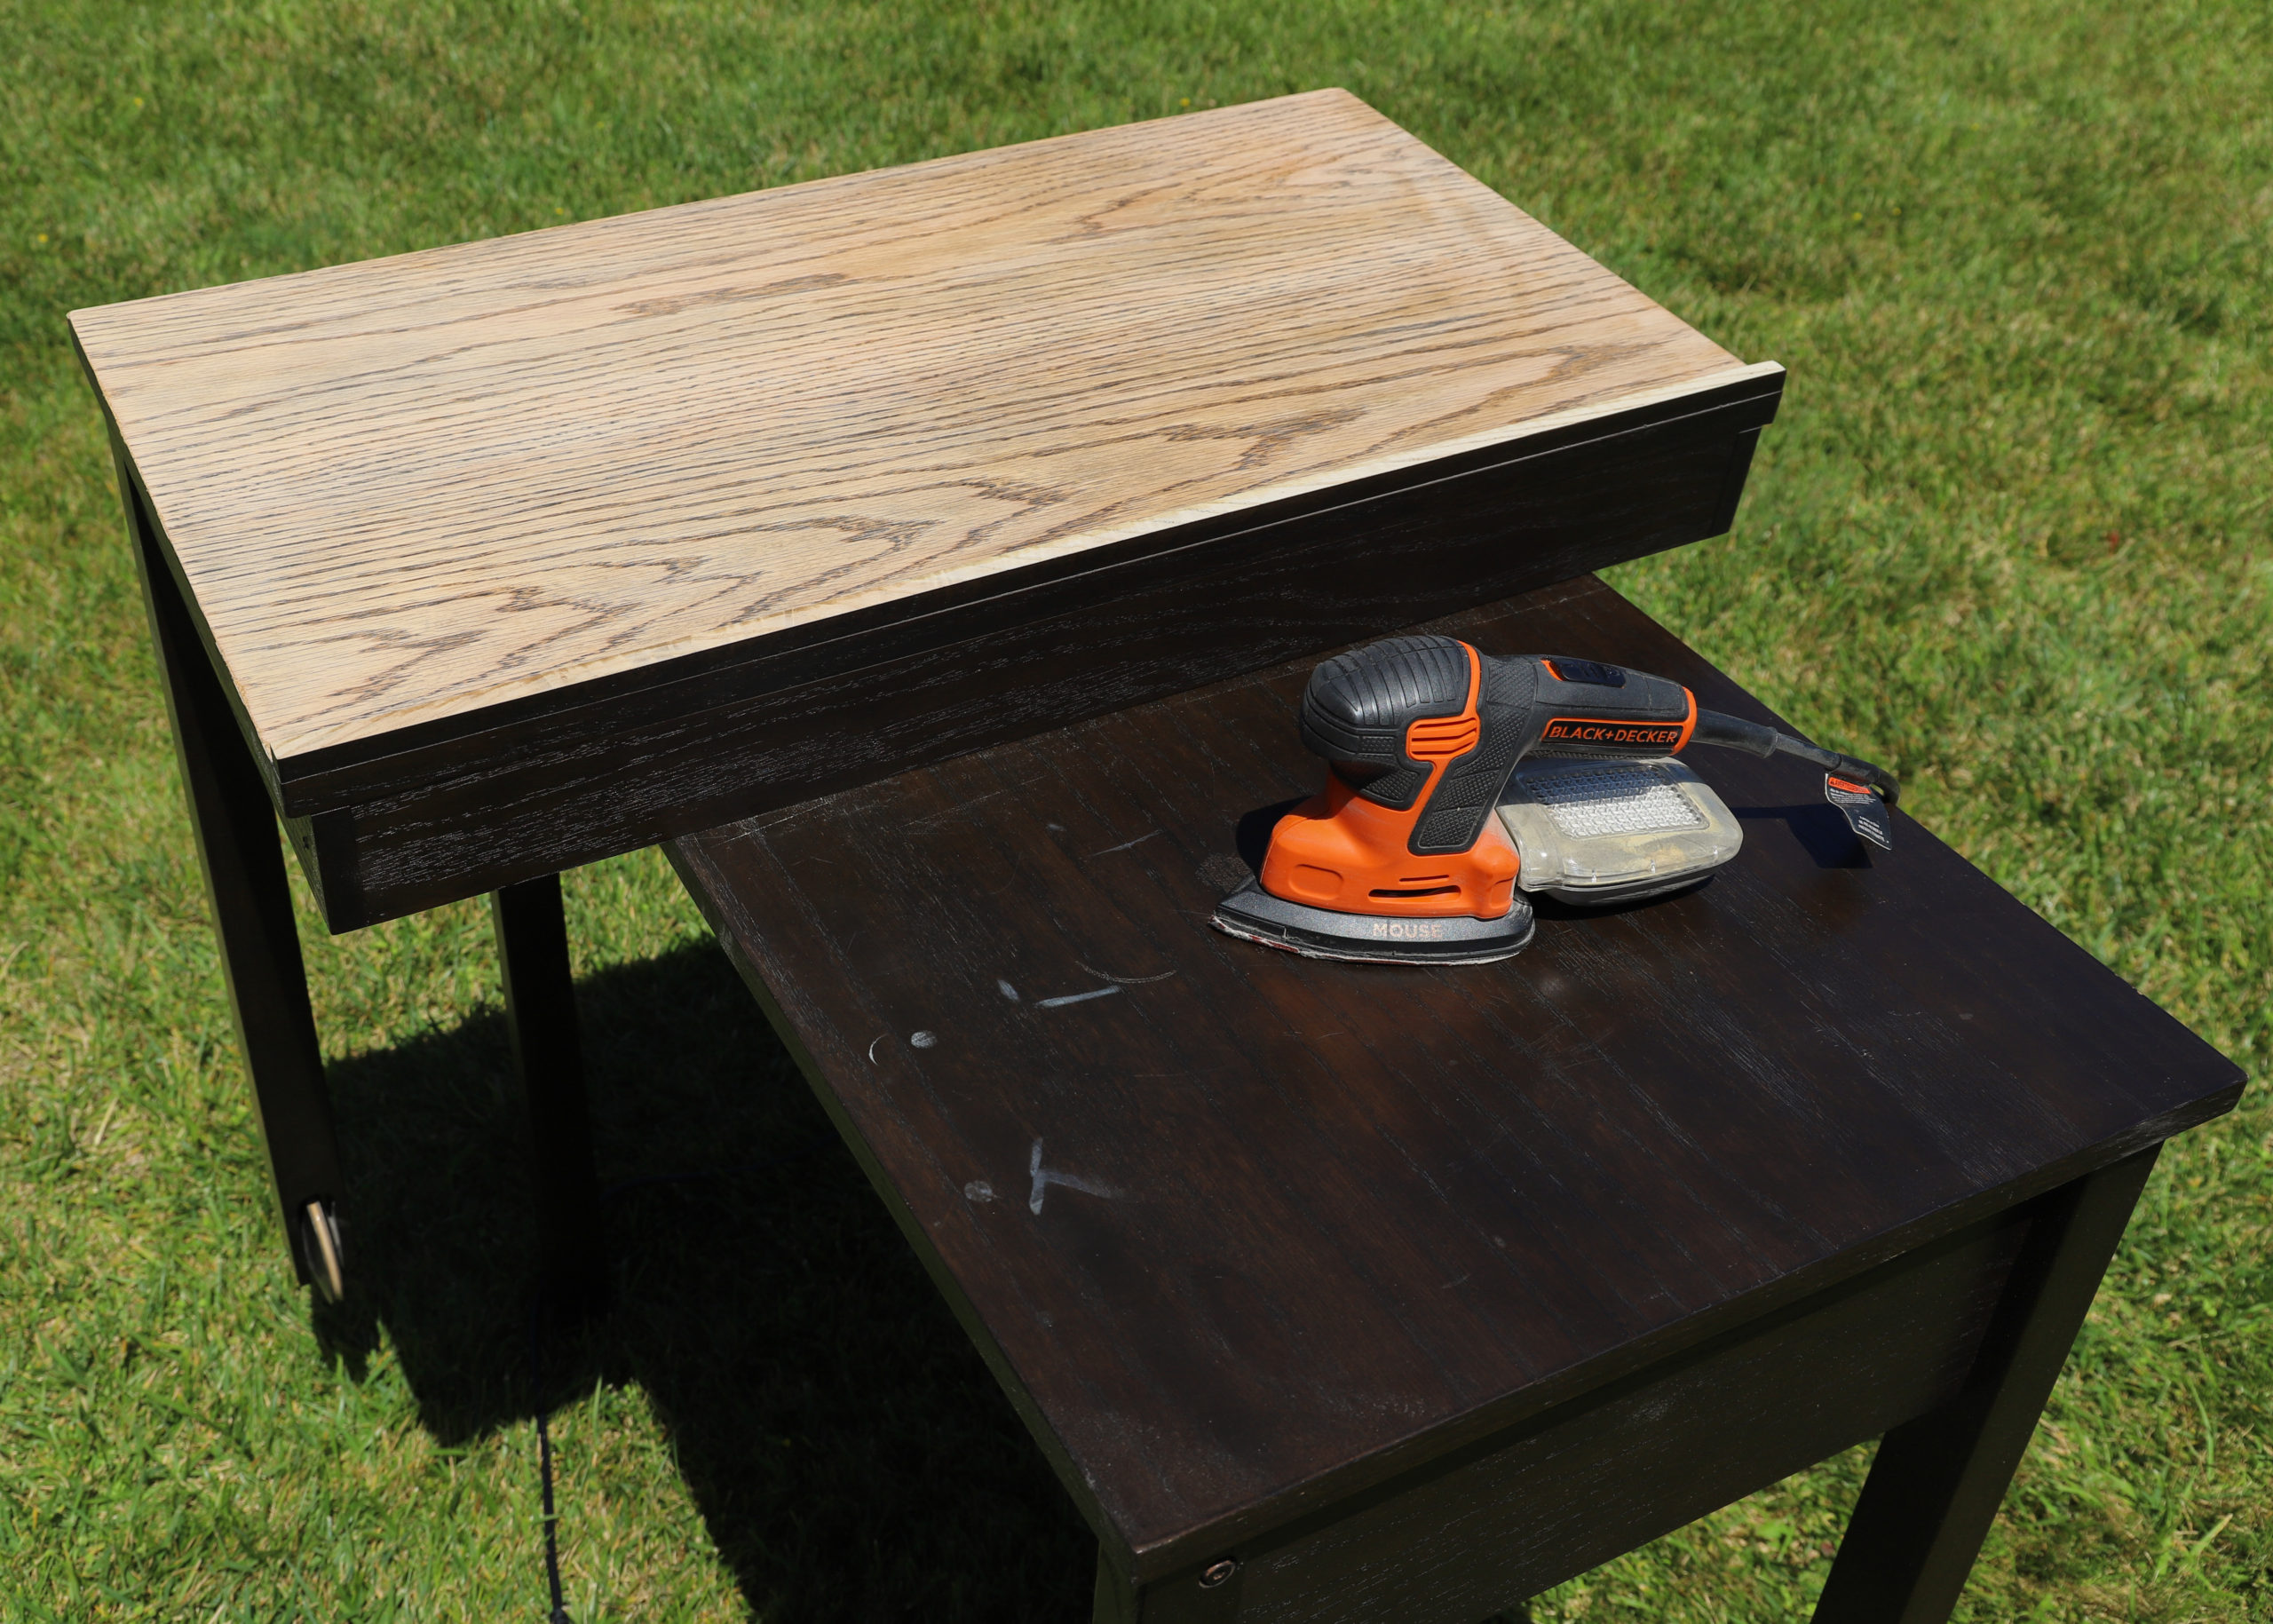
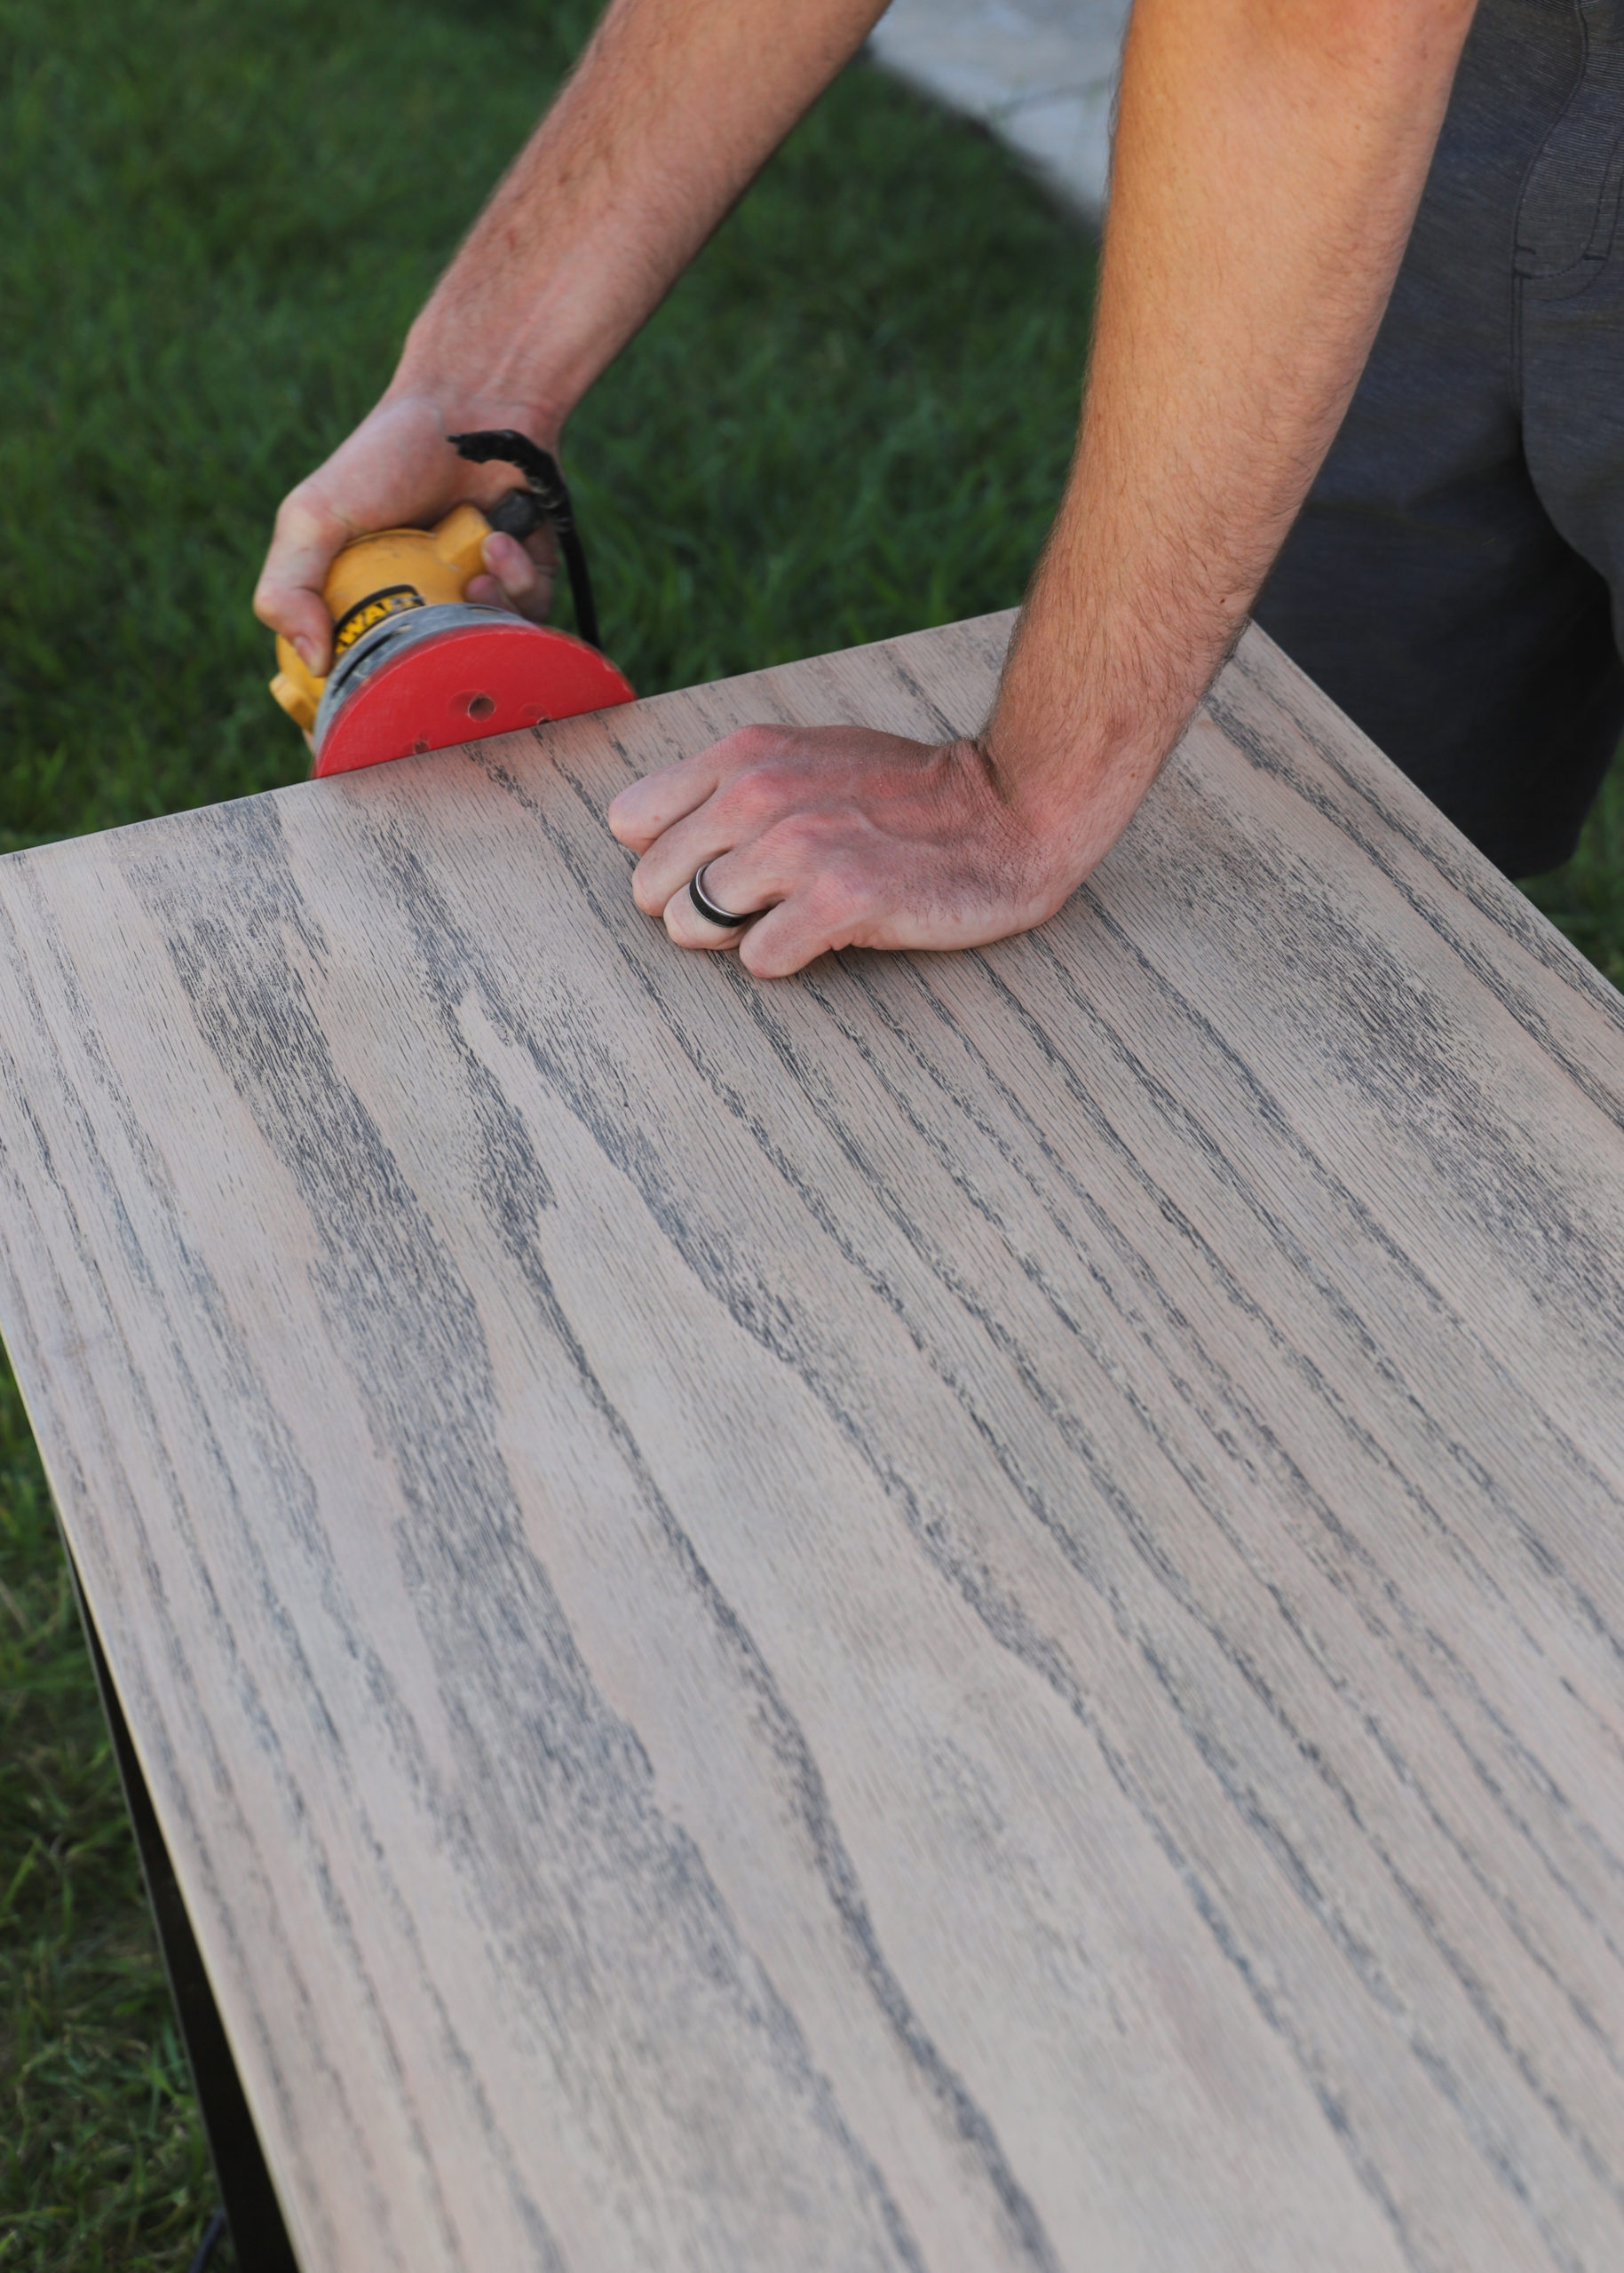
Get your sand on with a mechanical sander, starting with 60-grit sandpaper (the roughest). Always sand in the direction of the grain, and keep working your way through all of the old paint, stain, or whatever else is on the surface. The top of our desk looked like it had a combination of stain, watermarks, and nail polish remover (or so they said).
Once you’re confident that the surface is free from old paint, stain, etc., it’s time to move on to 120-grit sandpaper. But before you do that, hit the surface with a tack cloth so it’s free from dust. After you’re done with 120-grit, wipe down the surface again, and repeat the process with 220-grit.
While sanding, it’s helpful to wipe your surface with a damp cloth to give you a better idea of what’s been sanded and what you still have left.
We decided to completely sand the top of the desk and the top of the pull-out using 60-, 120-, and 220-grit sandpaper to prepare it for stain. We used 120-grit to quickly “roughen up” the sides and legs to prepare them for painting. Roughening up the surface better allows the paint to adhere.
4. Apply the stain
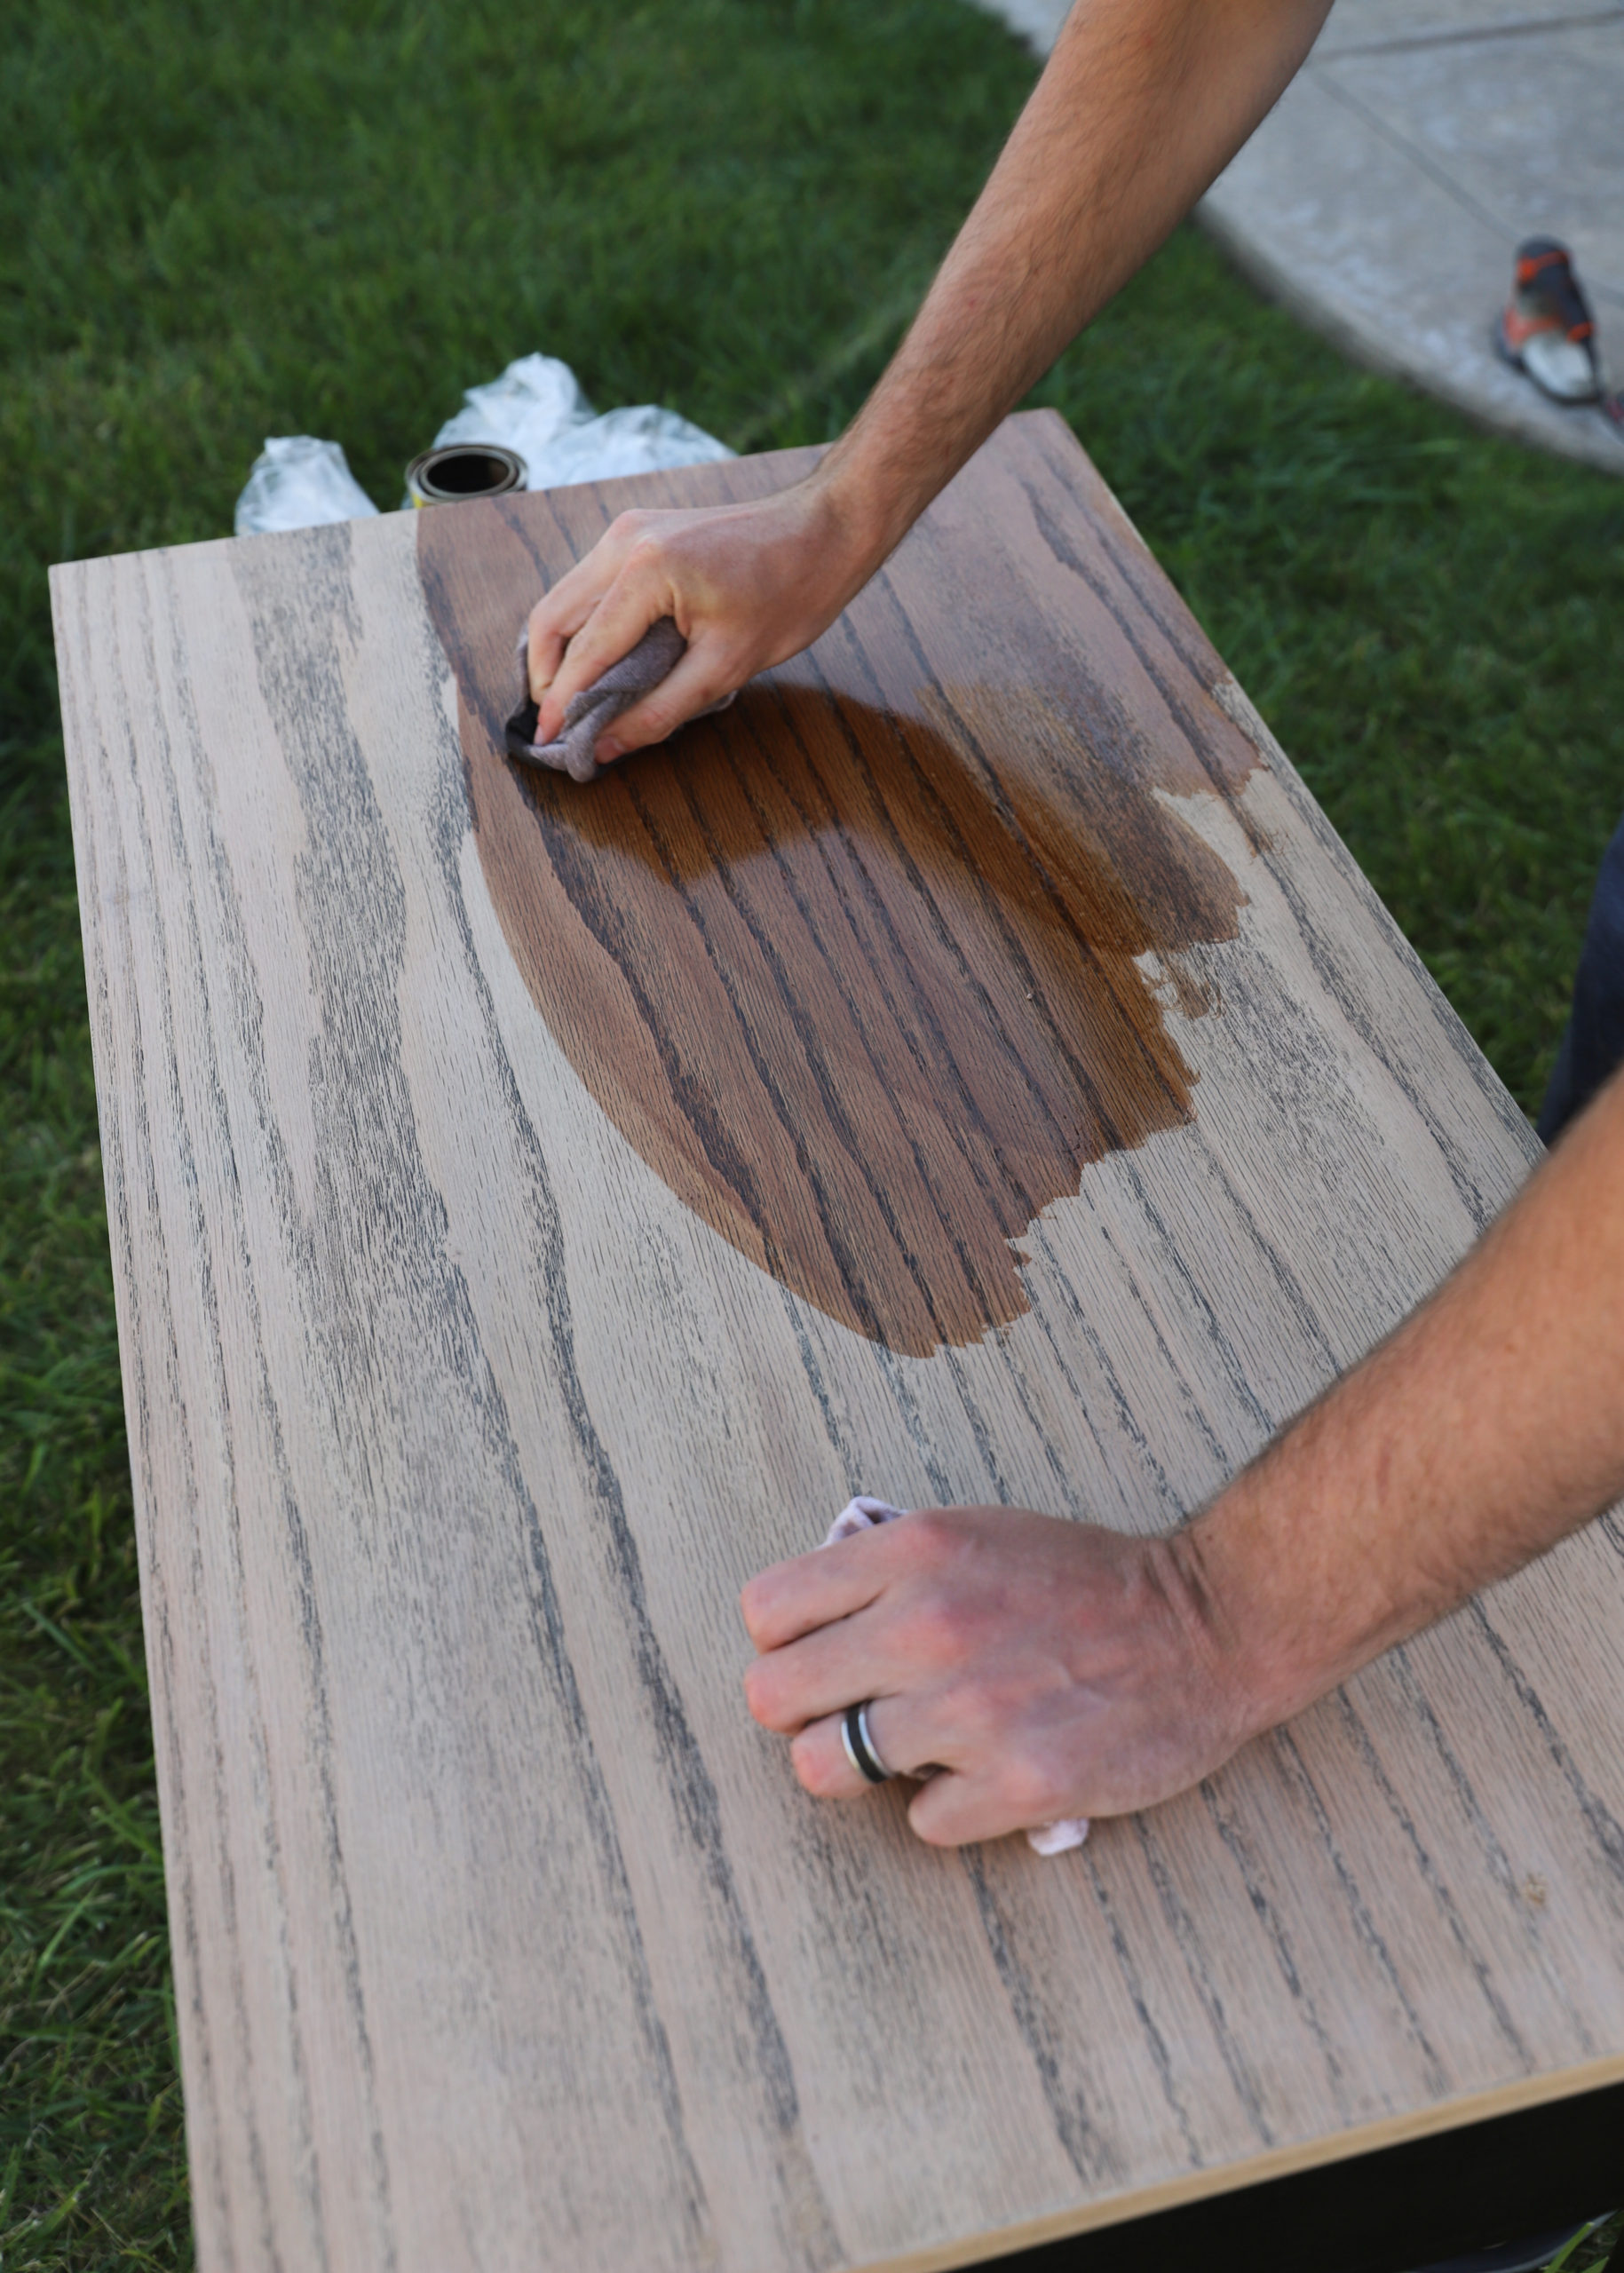
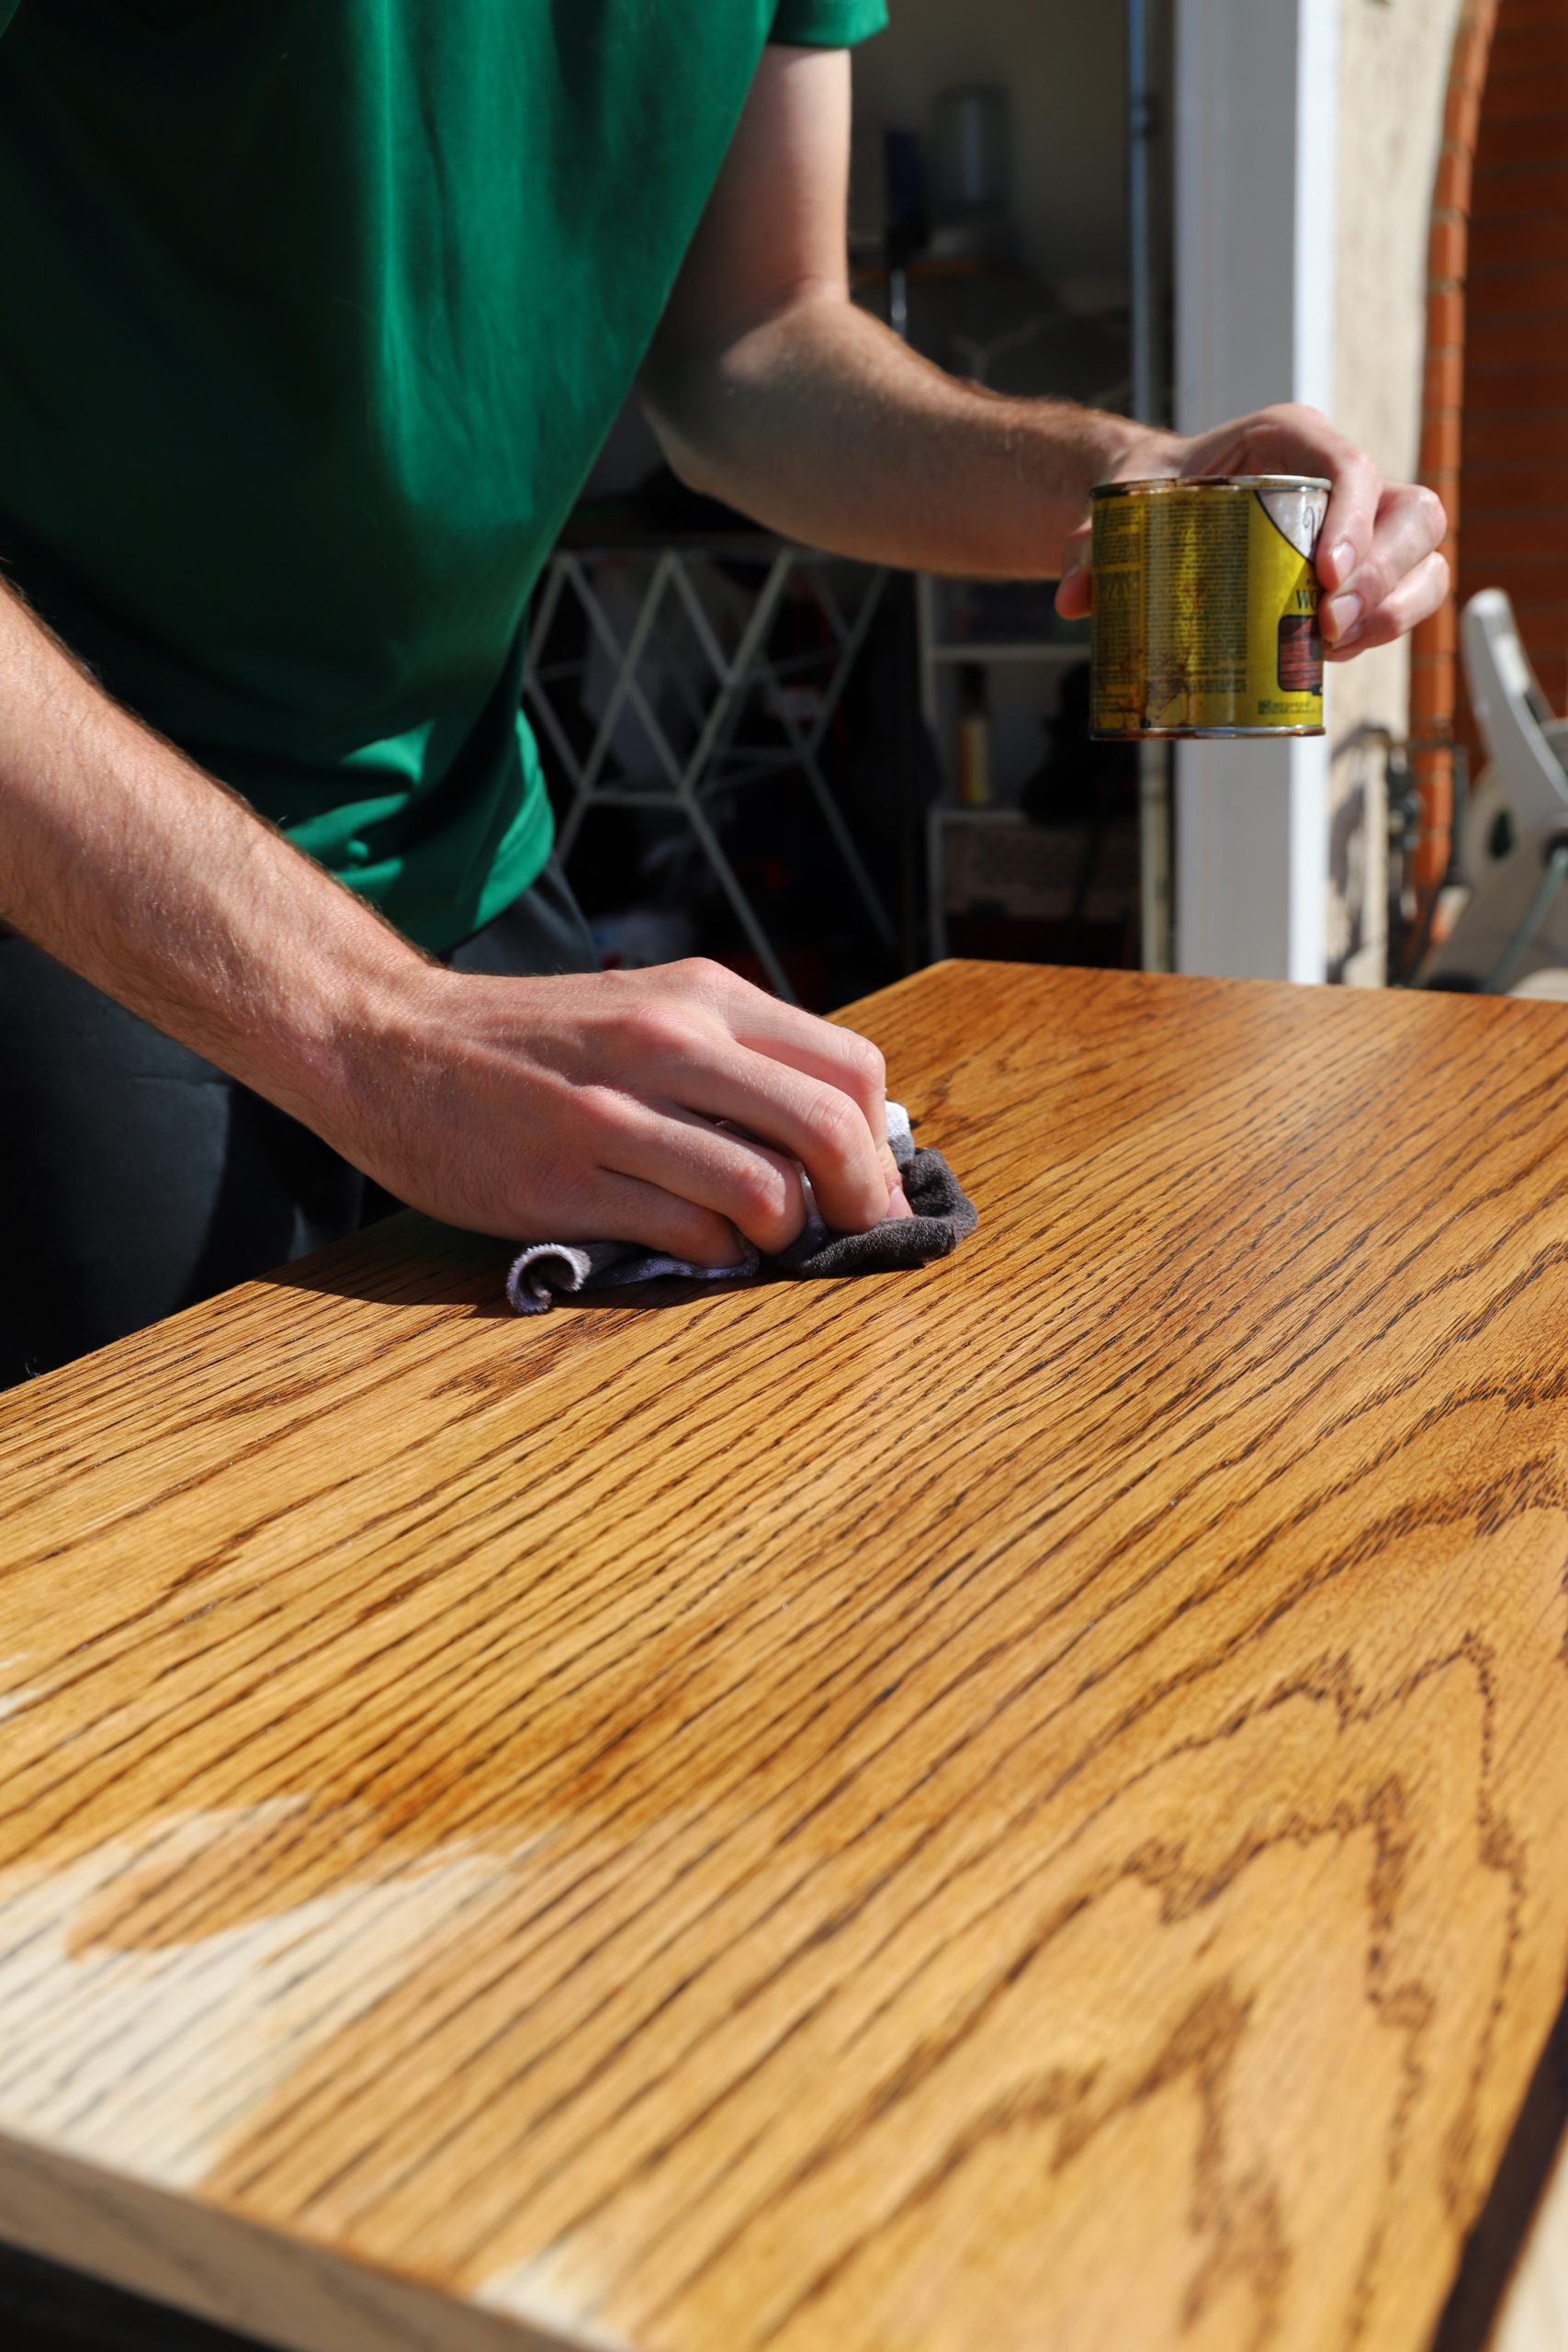
After you finish sanding, make sure every last particle of dust is cleaned off. Once it’s clean, start applying the stain with a cotton cloth. Using a clean cloth, wipe off the excess stain immediately or after waiting a few minutes, which will result in a darker stain. Repeat this process until you are happy with the color!
We decided on a gorgeous red oak Varathane stain. We couldn’t have been happier with how it applied and looked in the end!
5. Apply the polyurethane topcoat
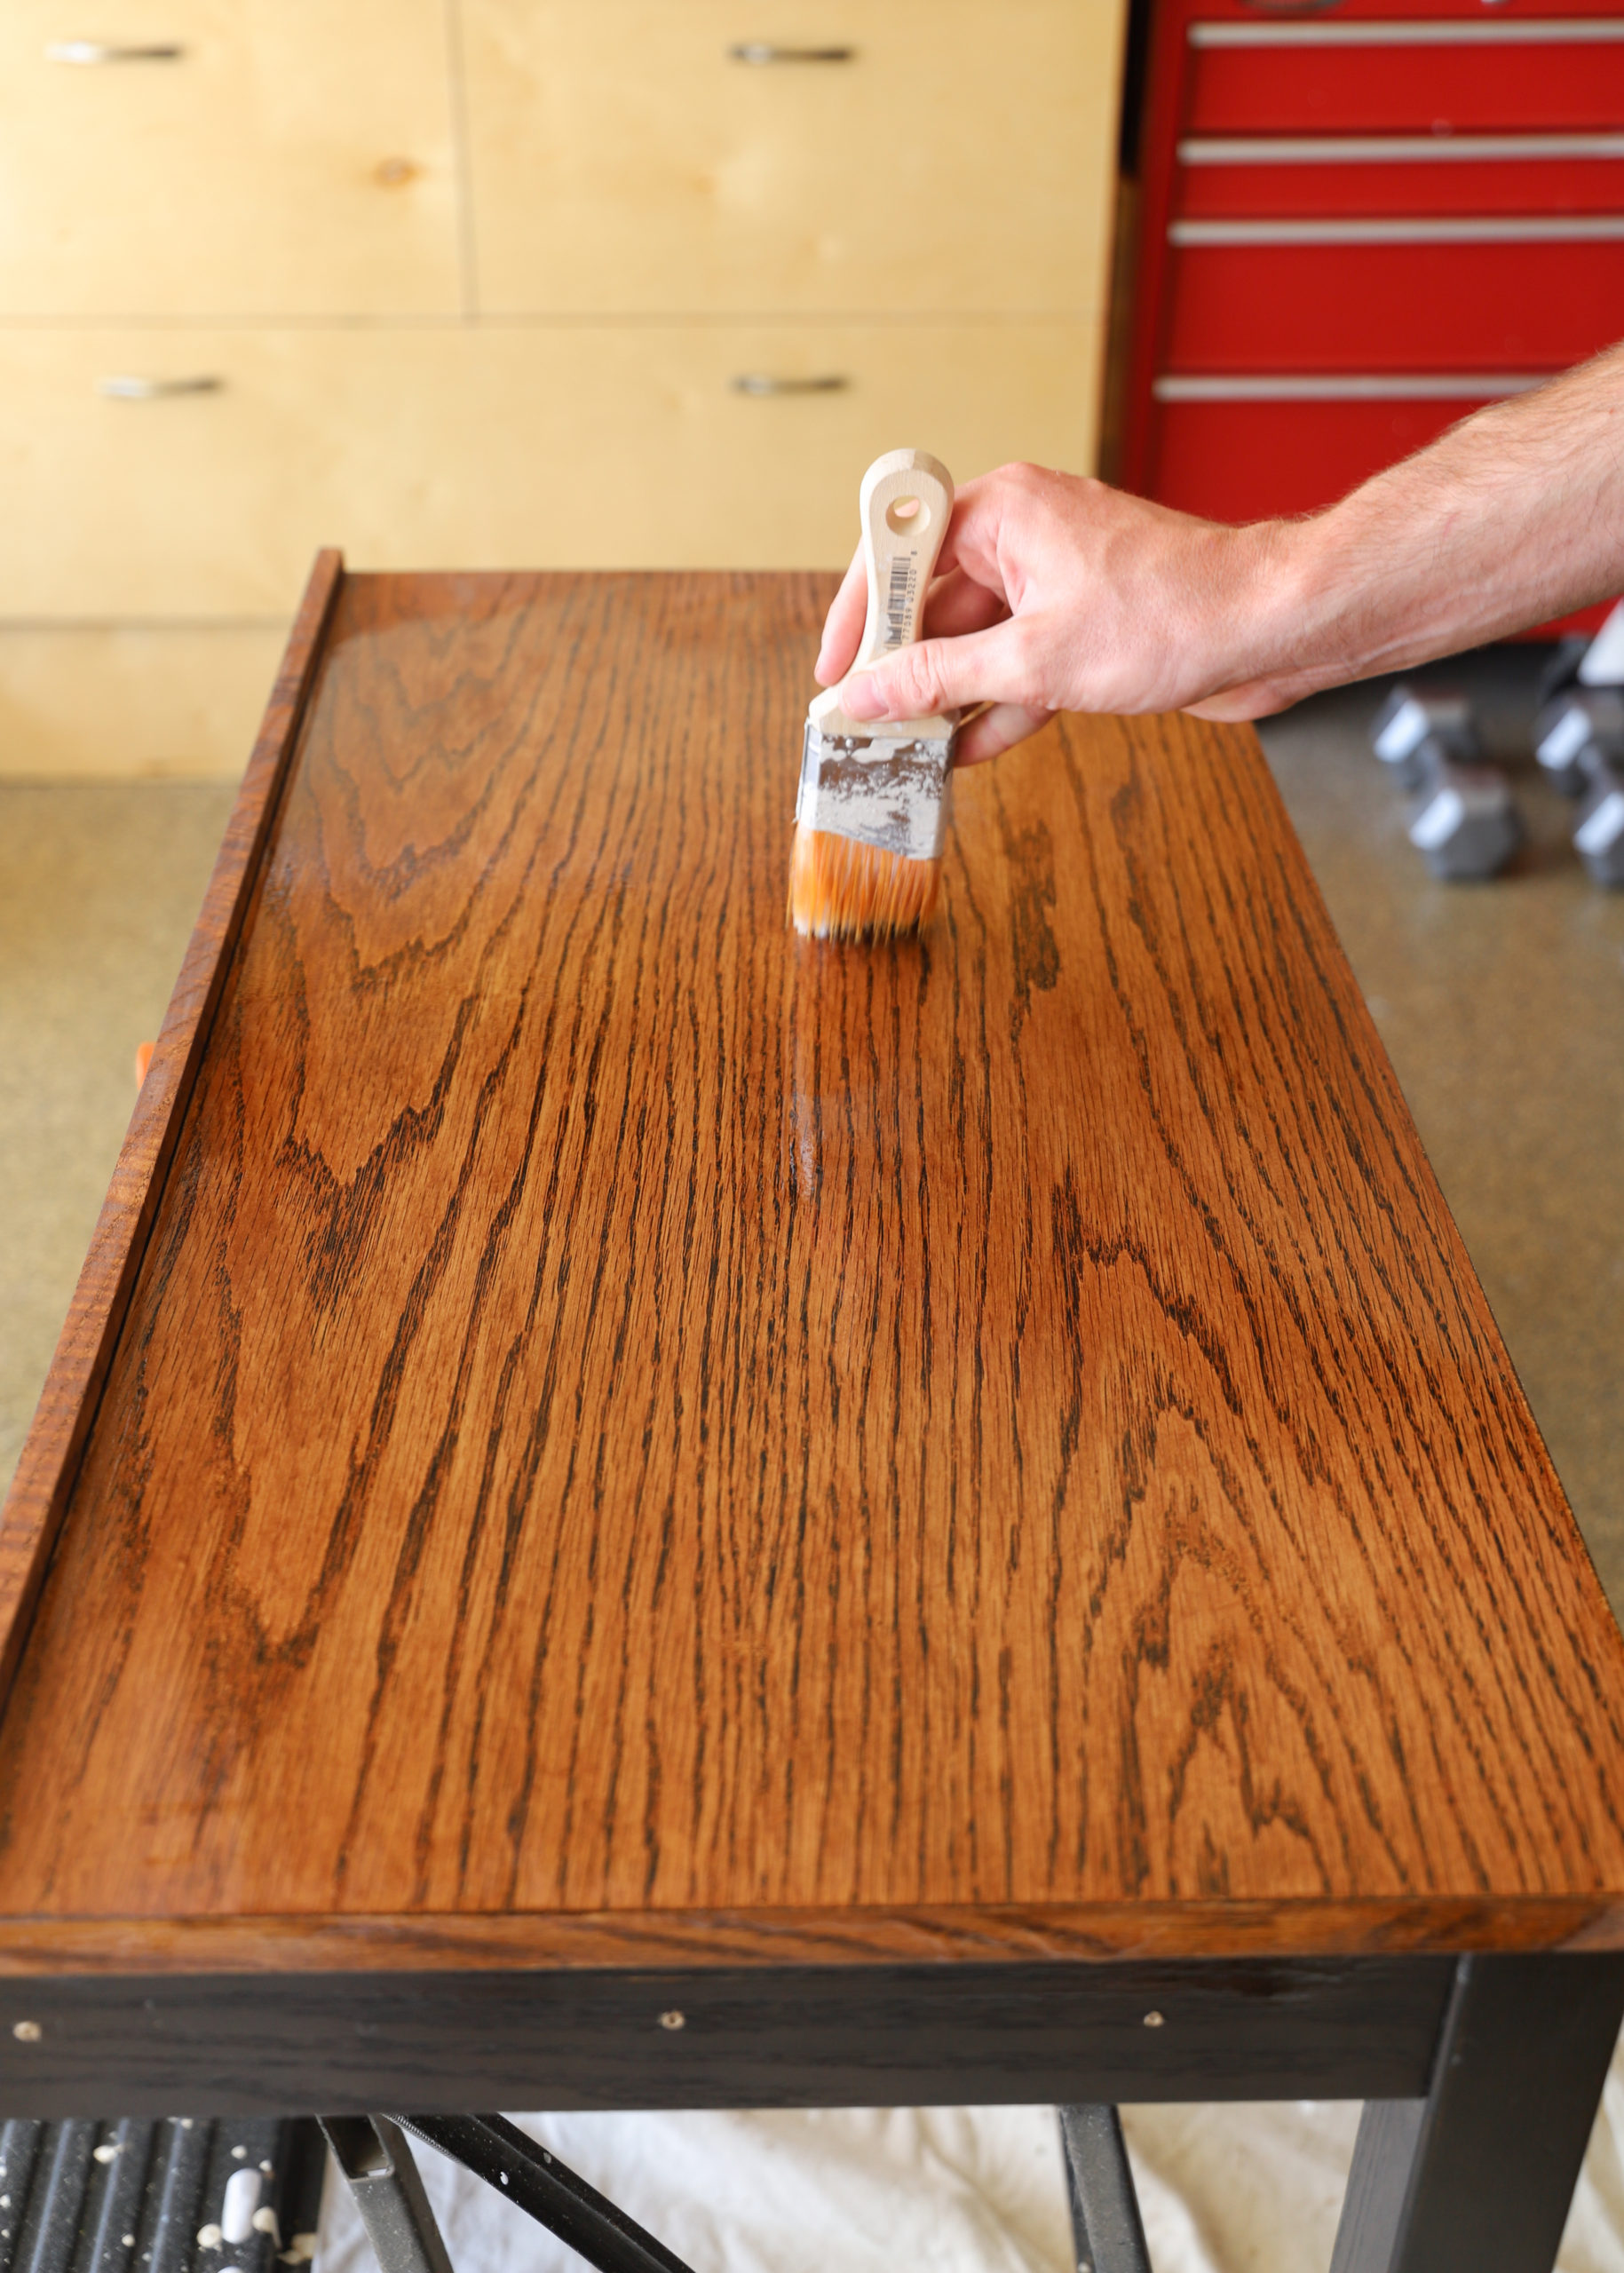
If you forget to wipe off the desk using a tack cloth before applying the topcoat, you’ll end up with lovely specs of debris perfectly protected by the polyurethane!
Before painting on the topcoat, be sure to stir the can well! Don’t shake the can or go over the same spots too many times or you’ll end up with mini air bubbles. Besides having the particleboard peak through due to over sanding, we found that applying the polyurethane was the hardest part. We had a hard time finding the balance between covering the entire surface and overdoing it. Our topcoat isn’t perfect, but we are still happy with the final result!
After painting on the first polyurethane coat, wait for an hour or two (or more) until it’s dry. You’ll want to bring out the 220-grit sandpaper again and lightly sand the surface. Clean the surface yet again and apply the second coat. After applying the second coat, clean and sand the surface using the same 220-grit sandpaper. Finally, apply the third and final coat of polyurethane, but this time let it dry for 24 hours before using the desk to let it harden.
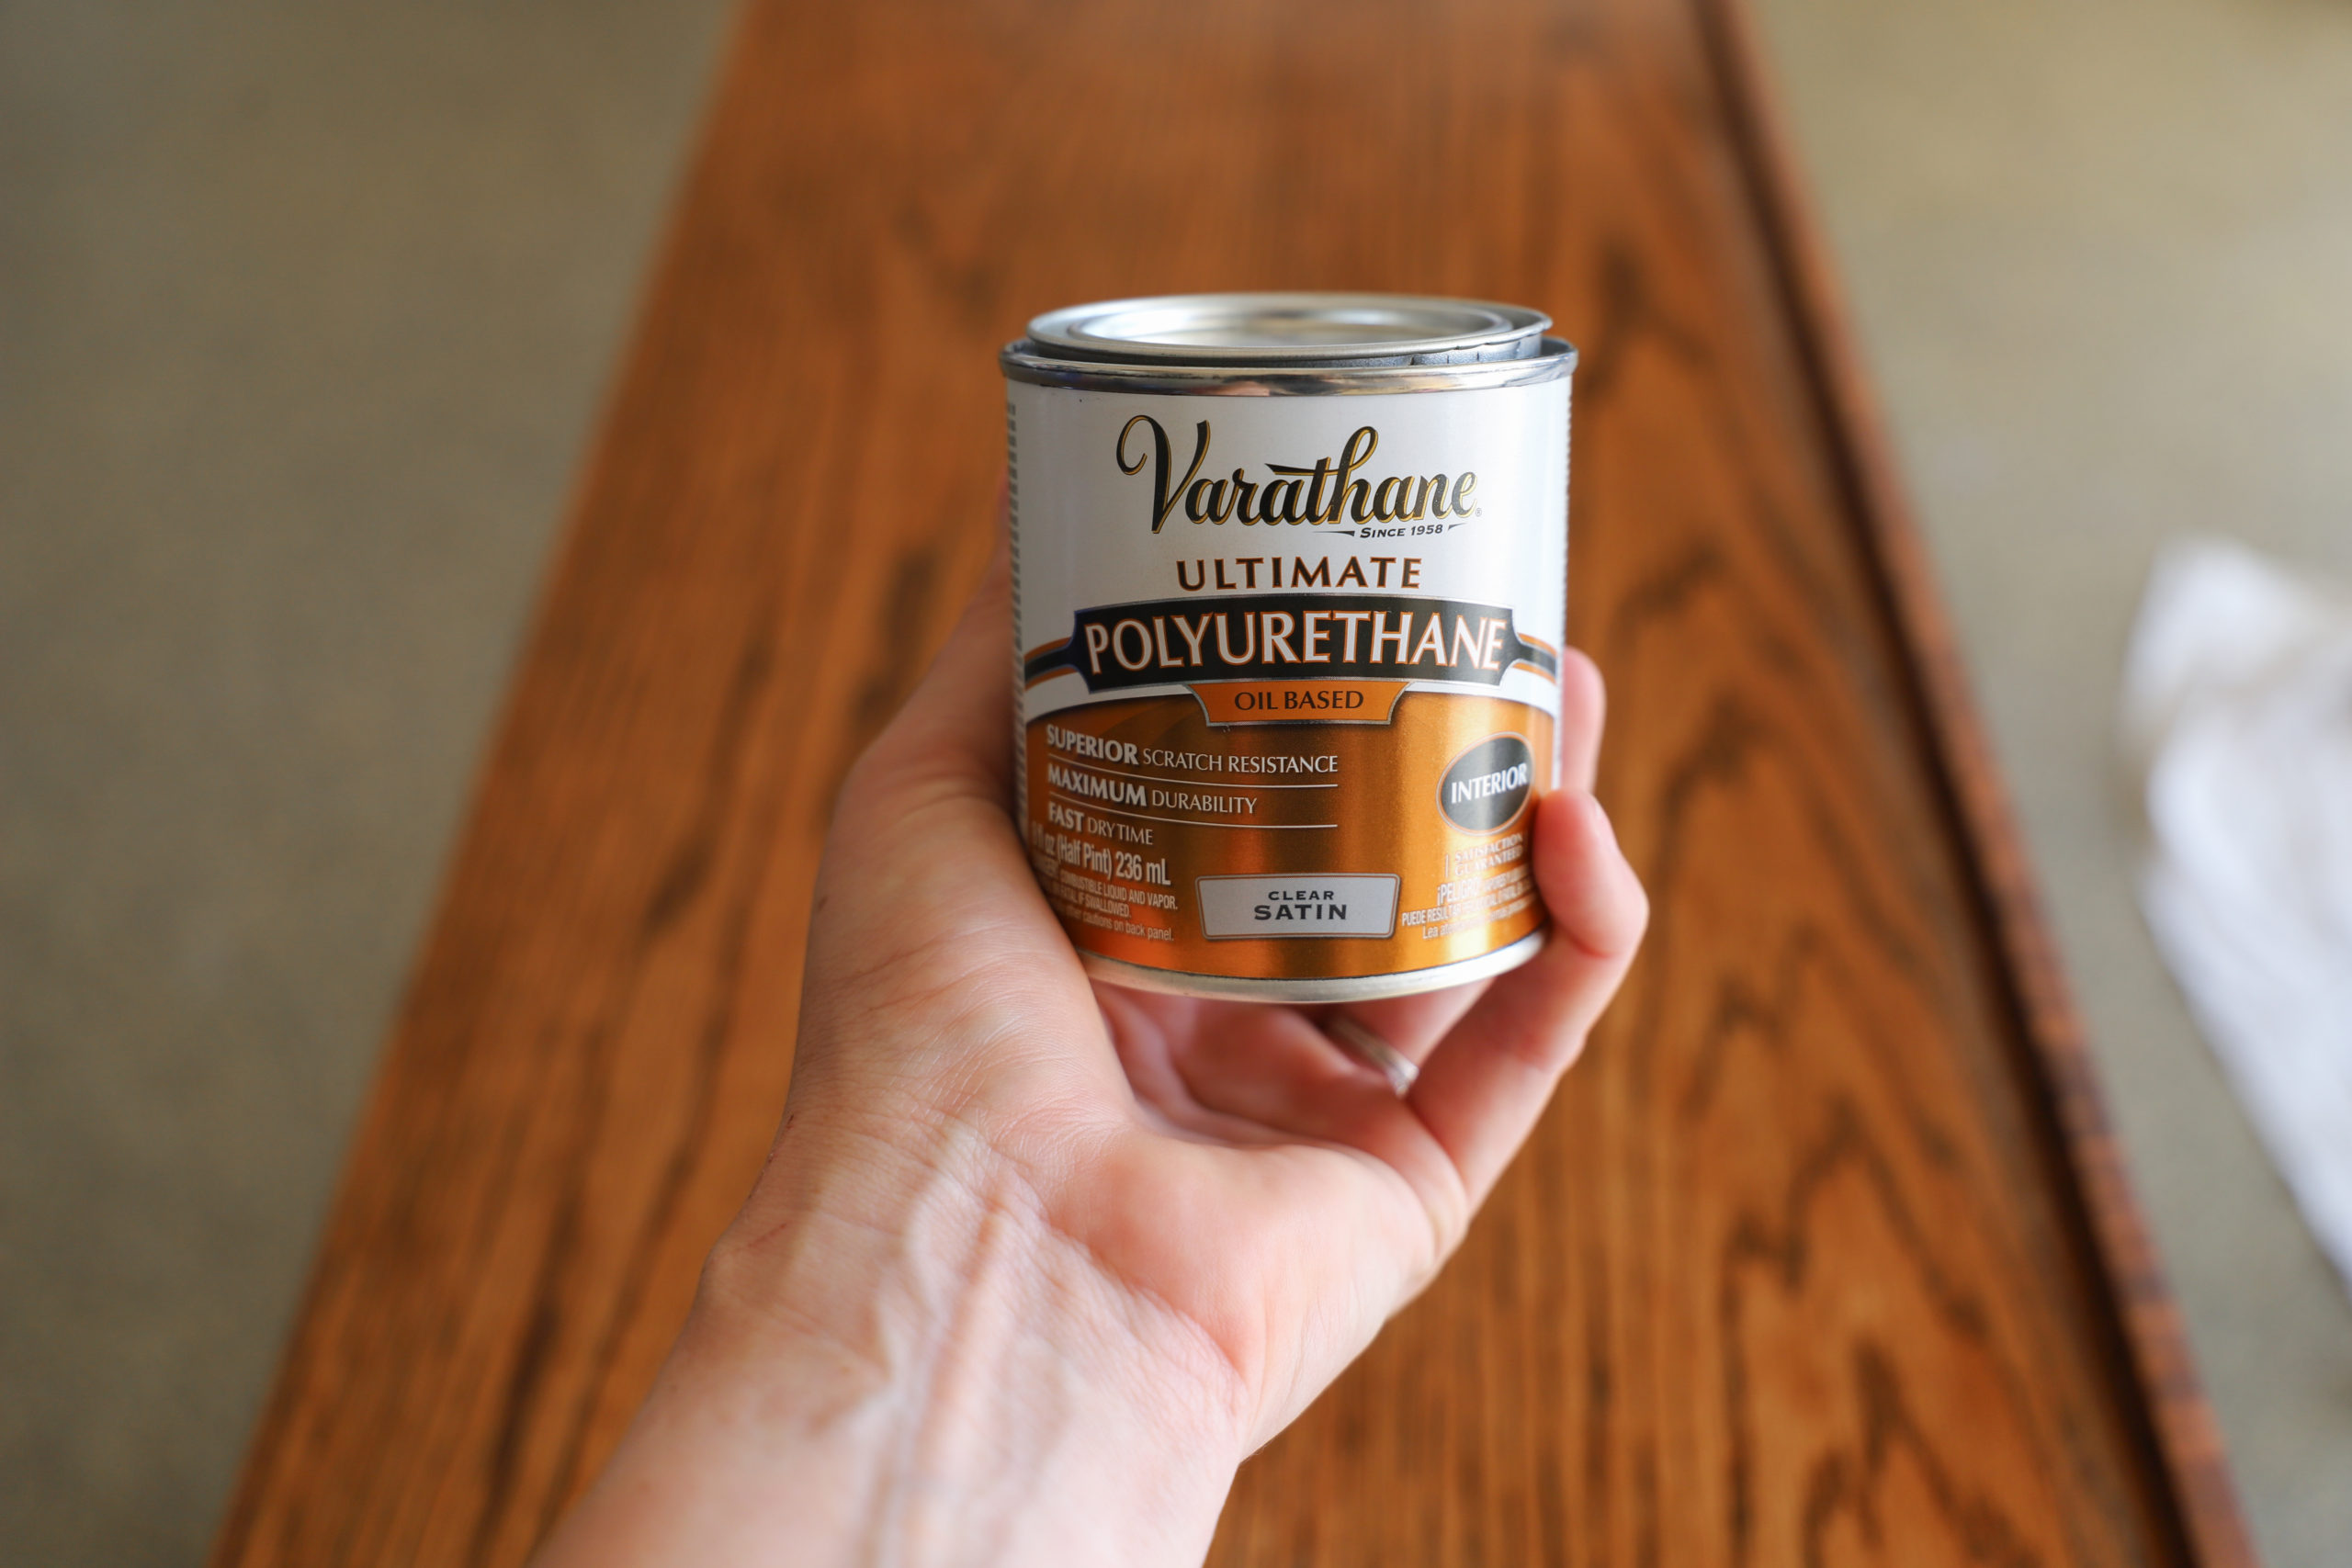
We went for a Varathane oil-based polyurethane with a clear satin finish.
6. Paint the sides and legs
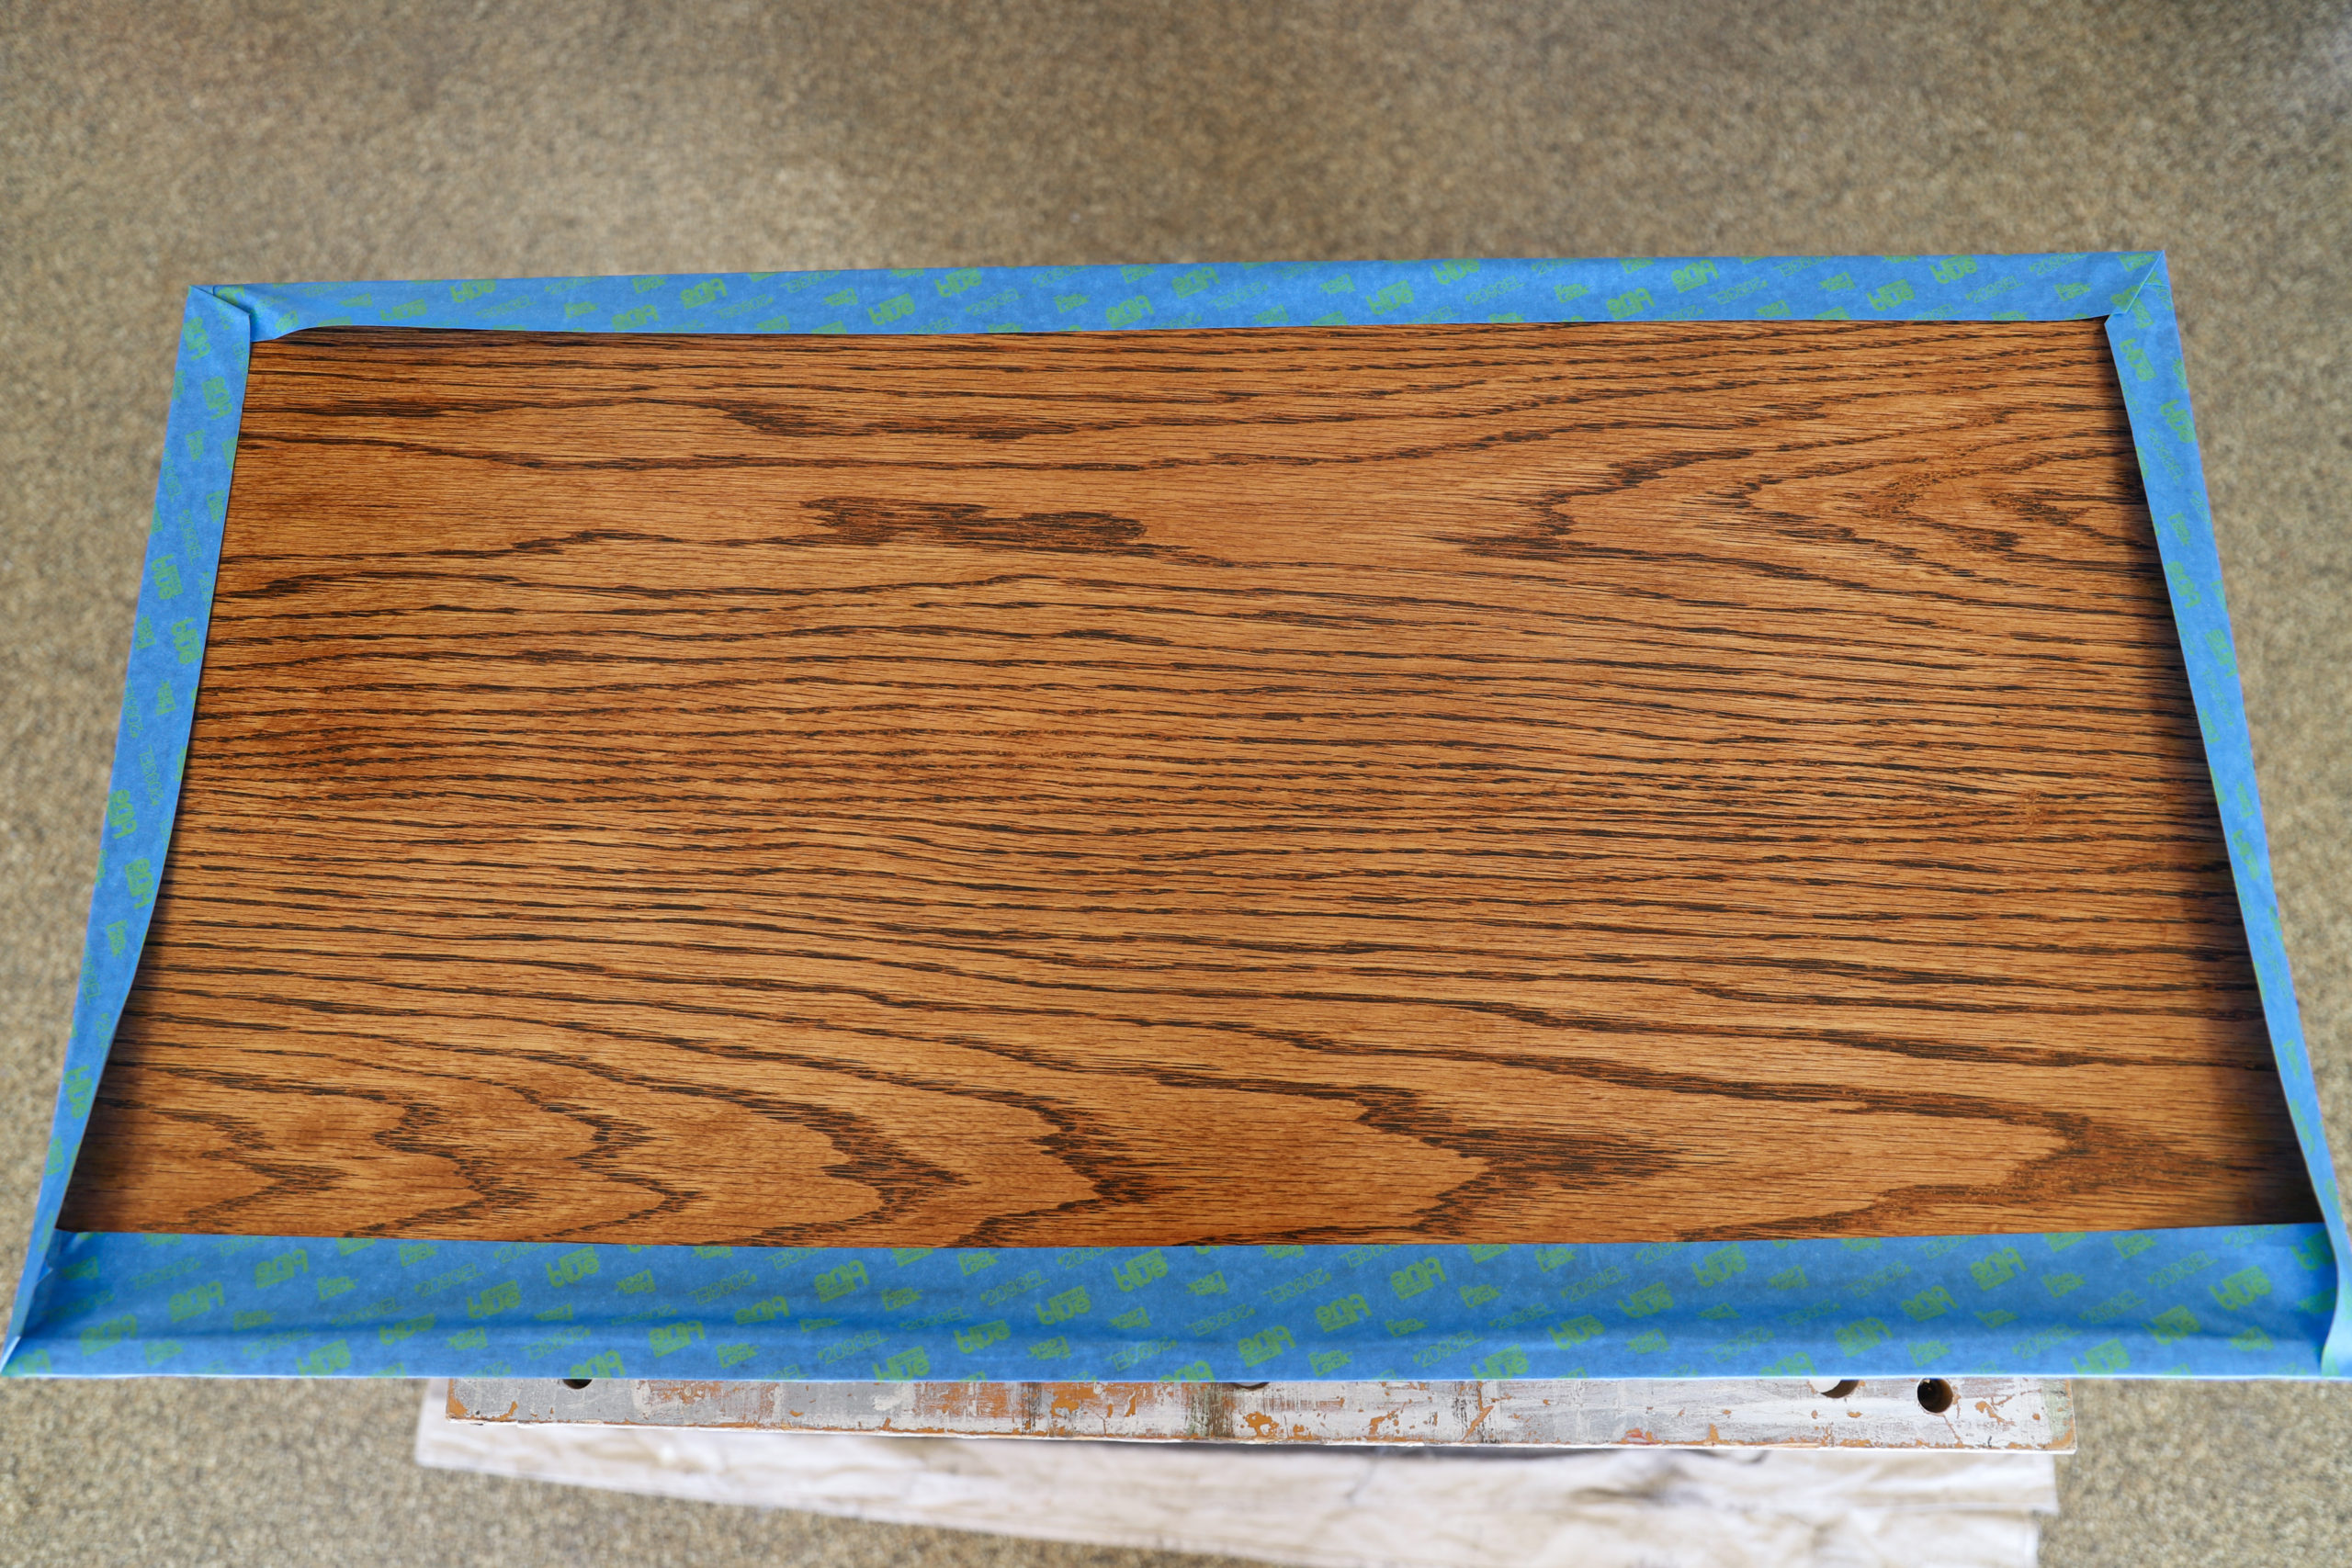
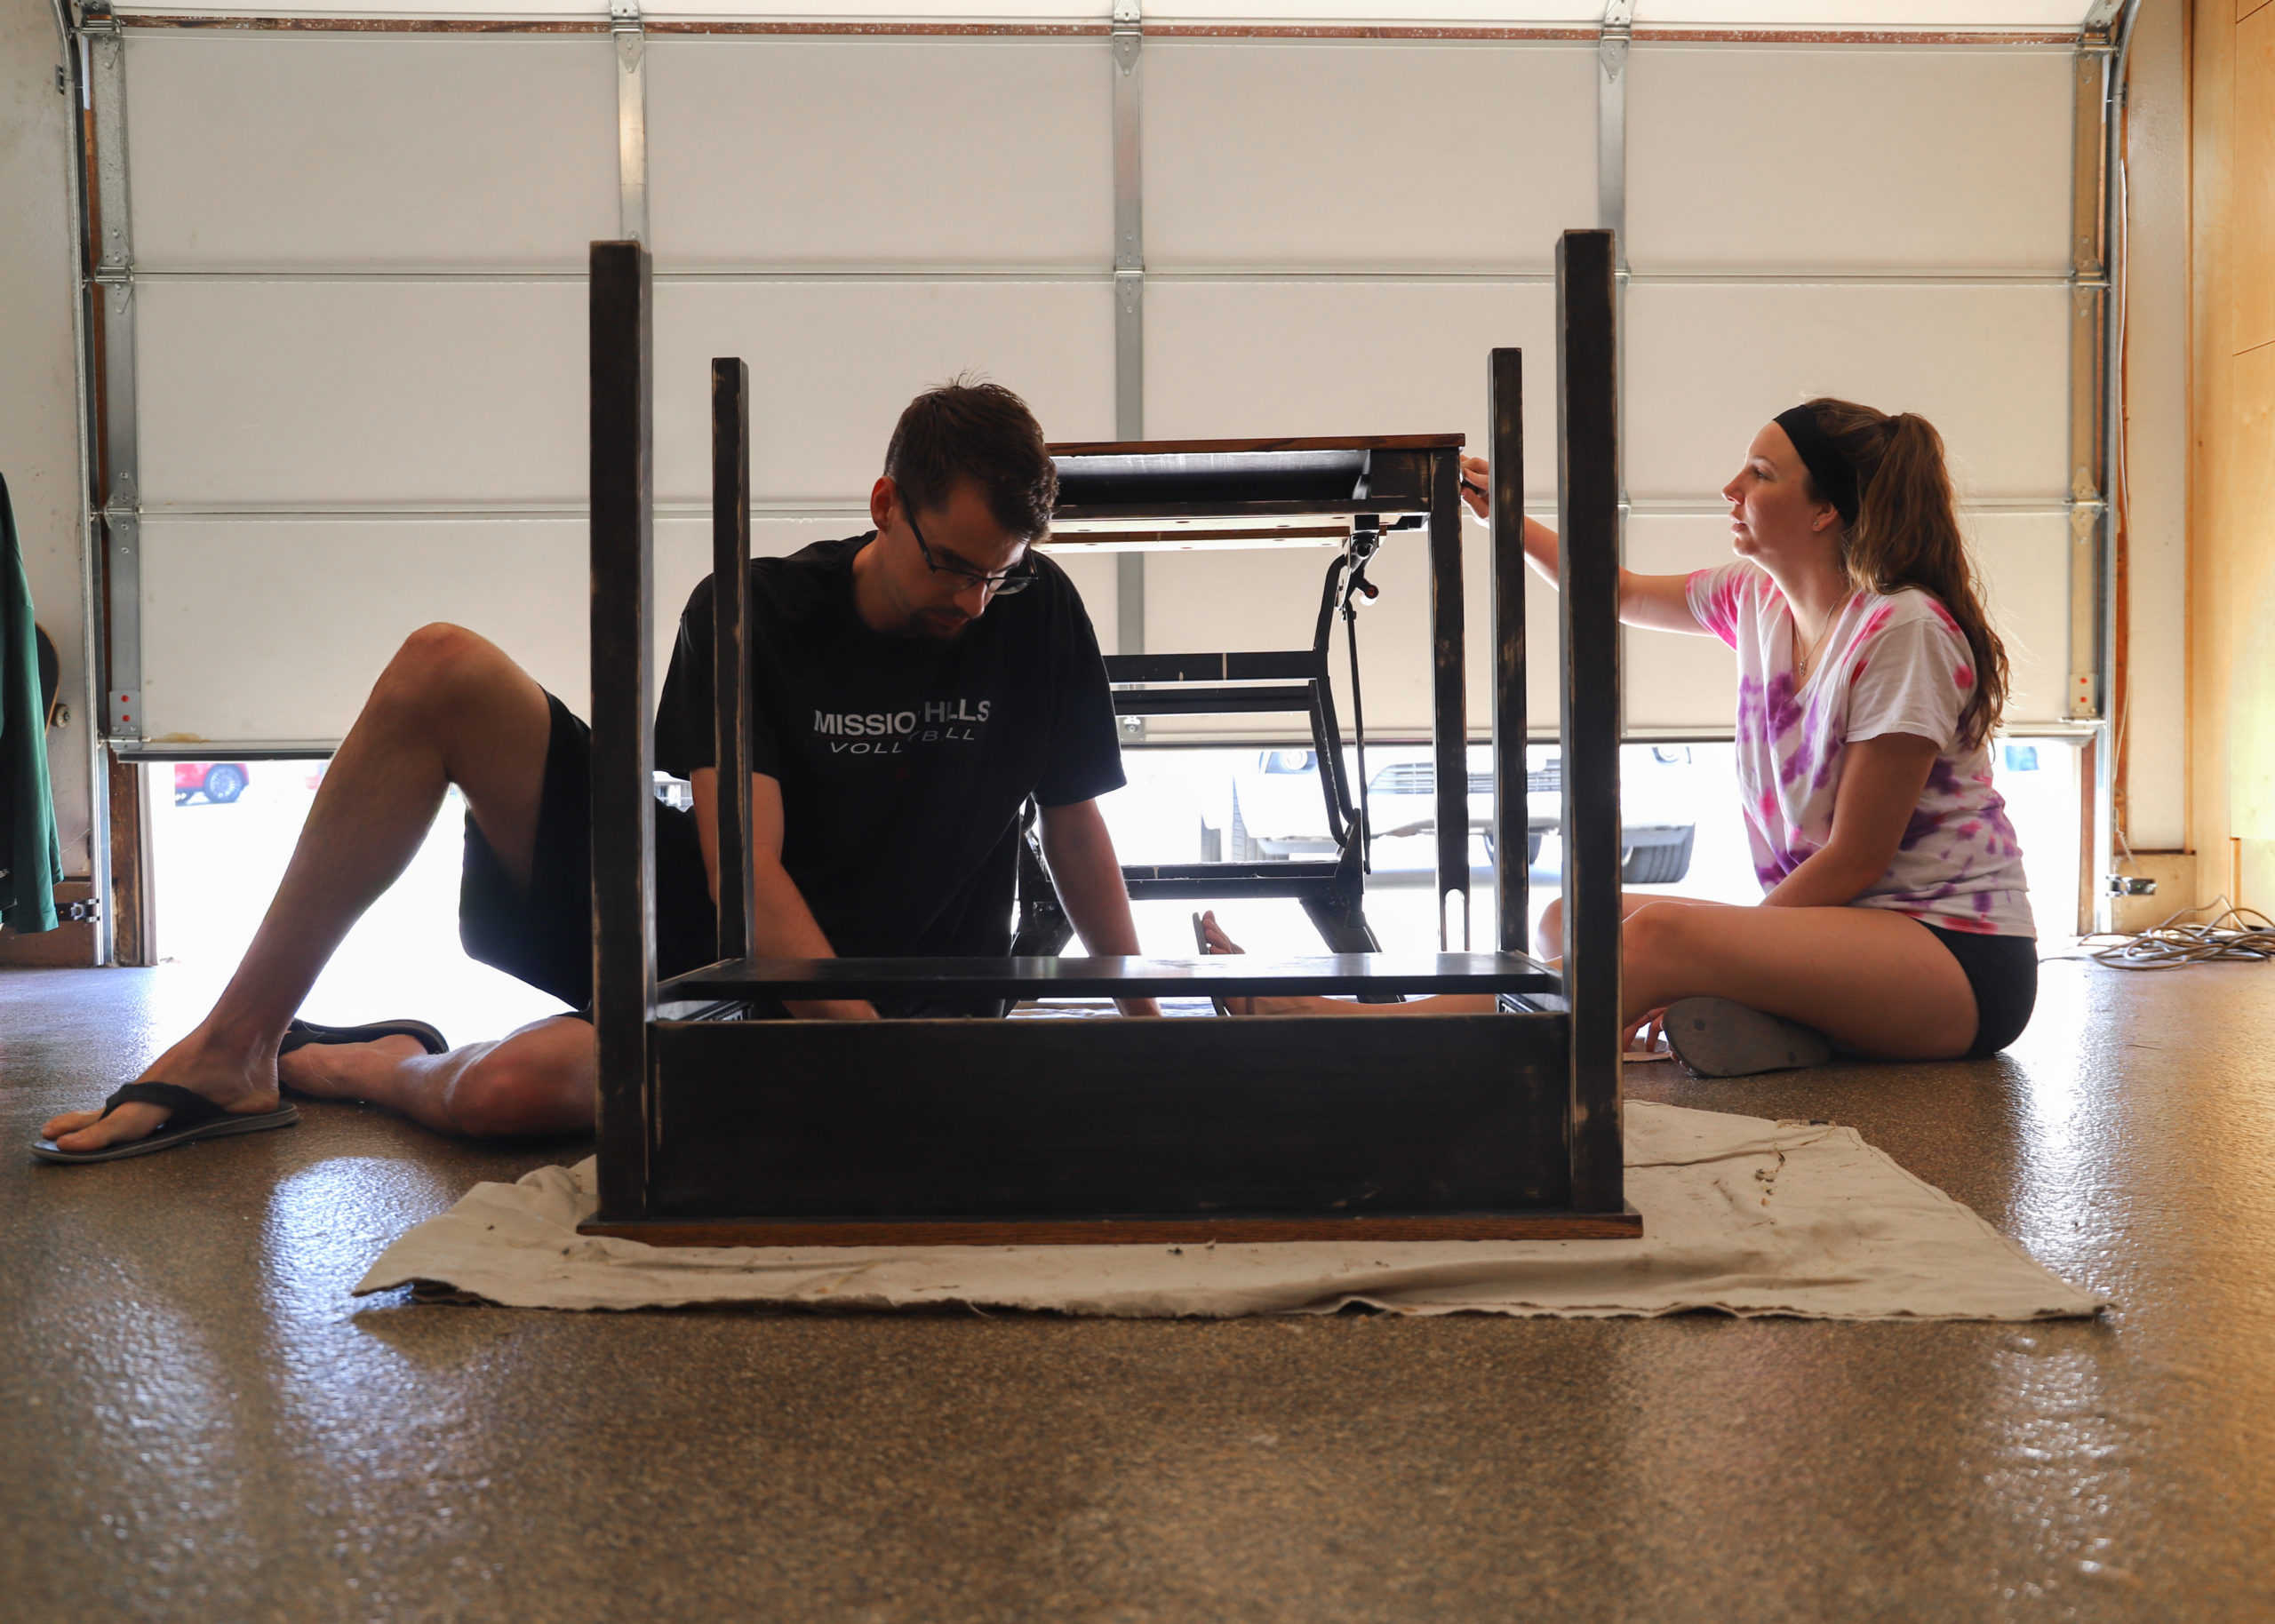
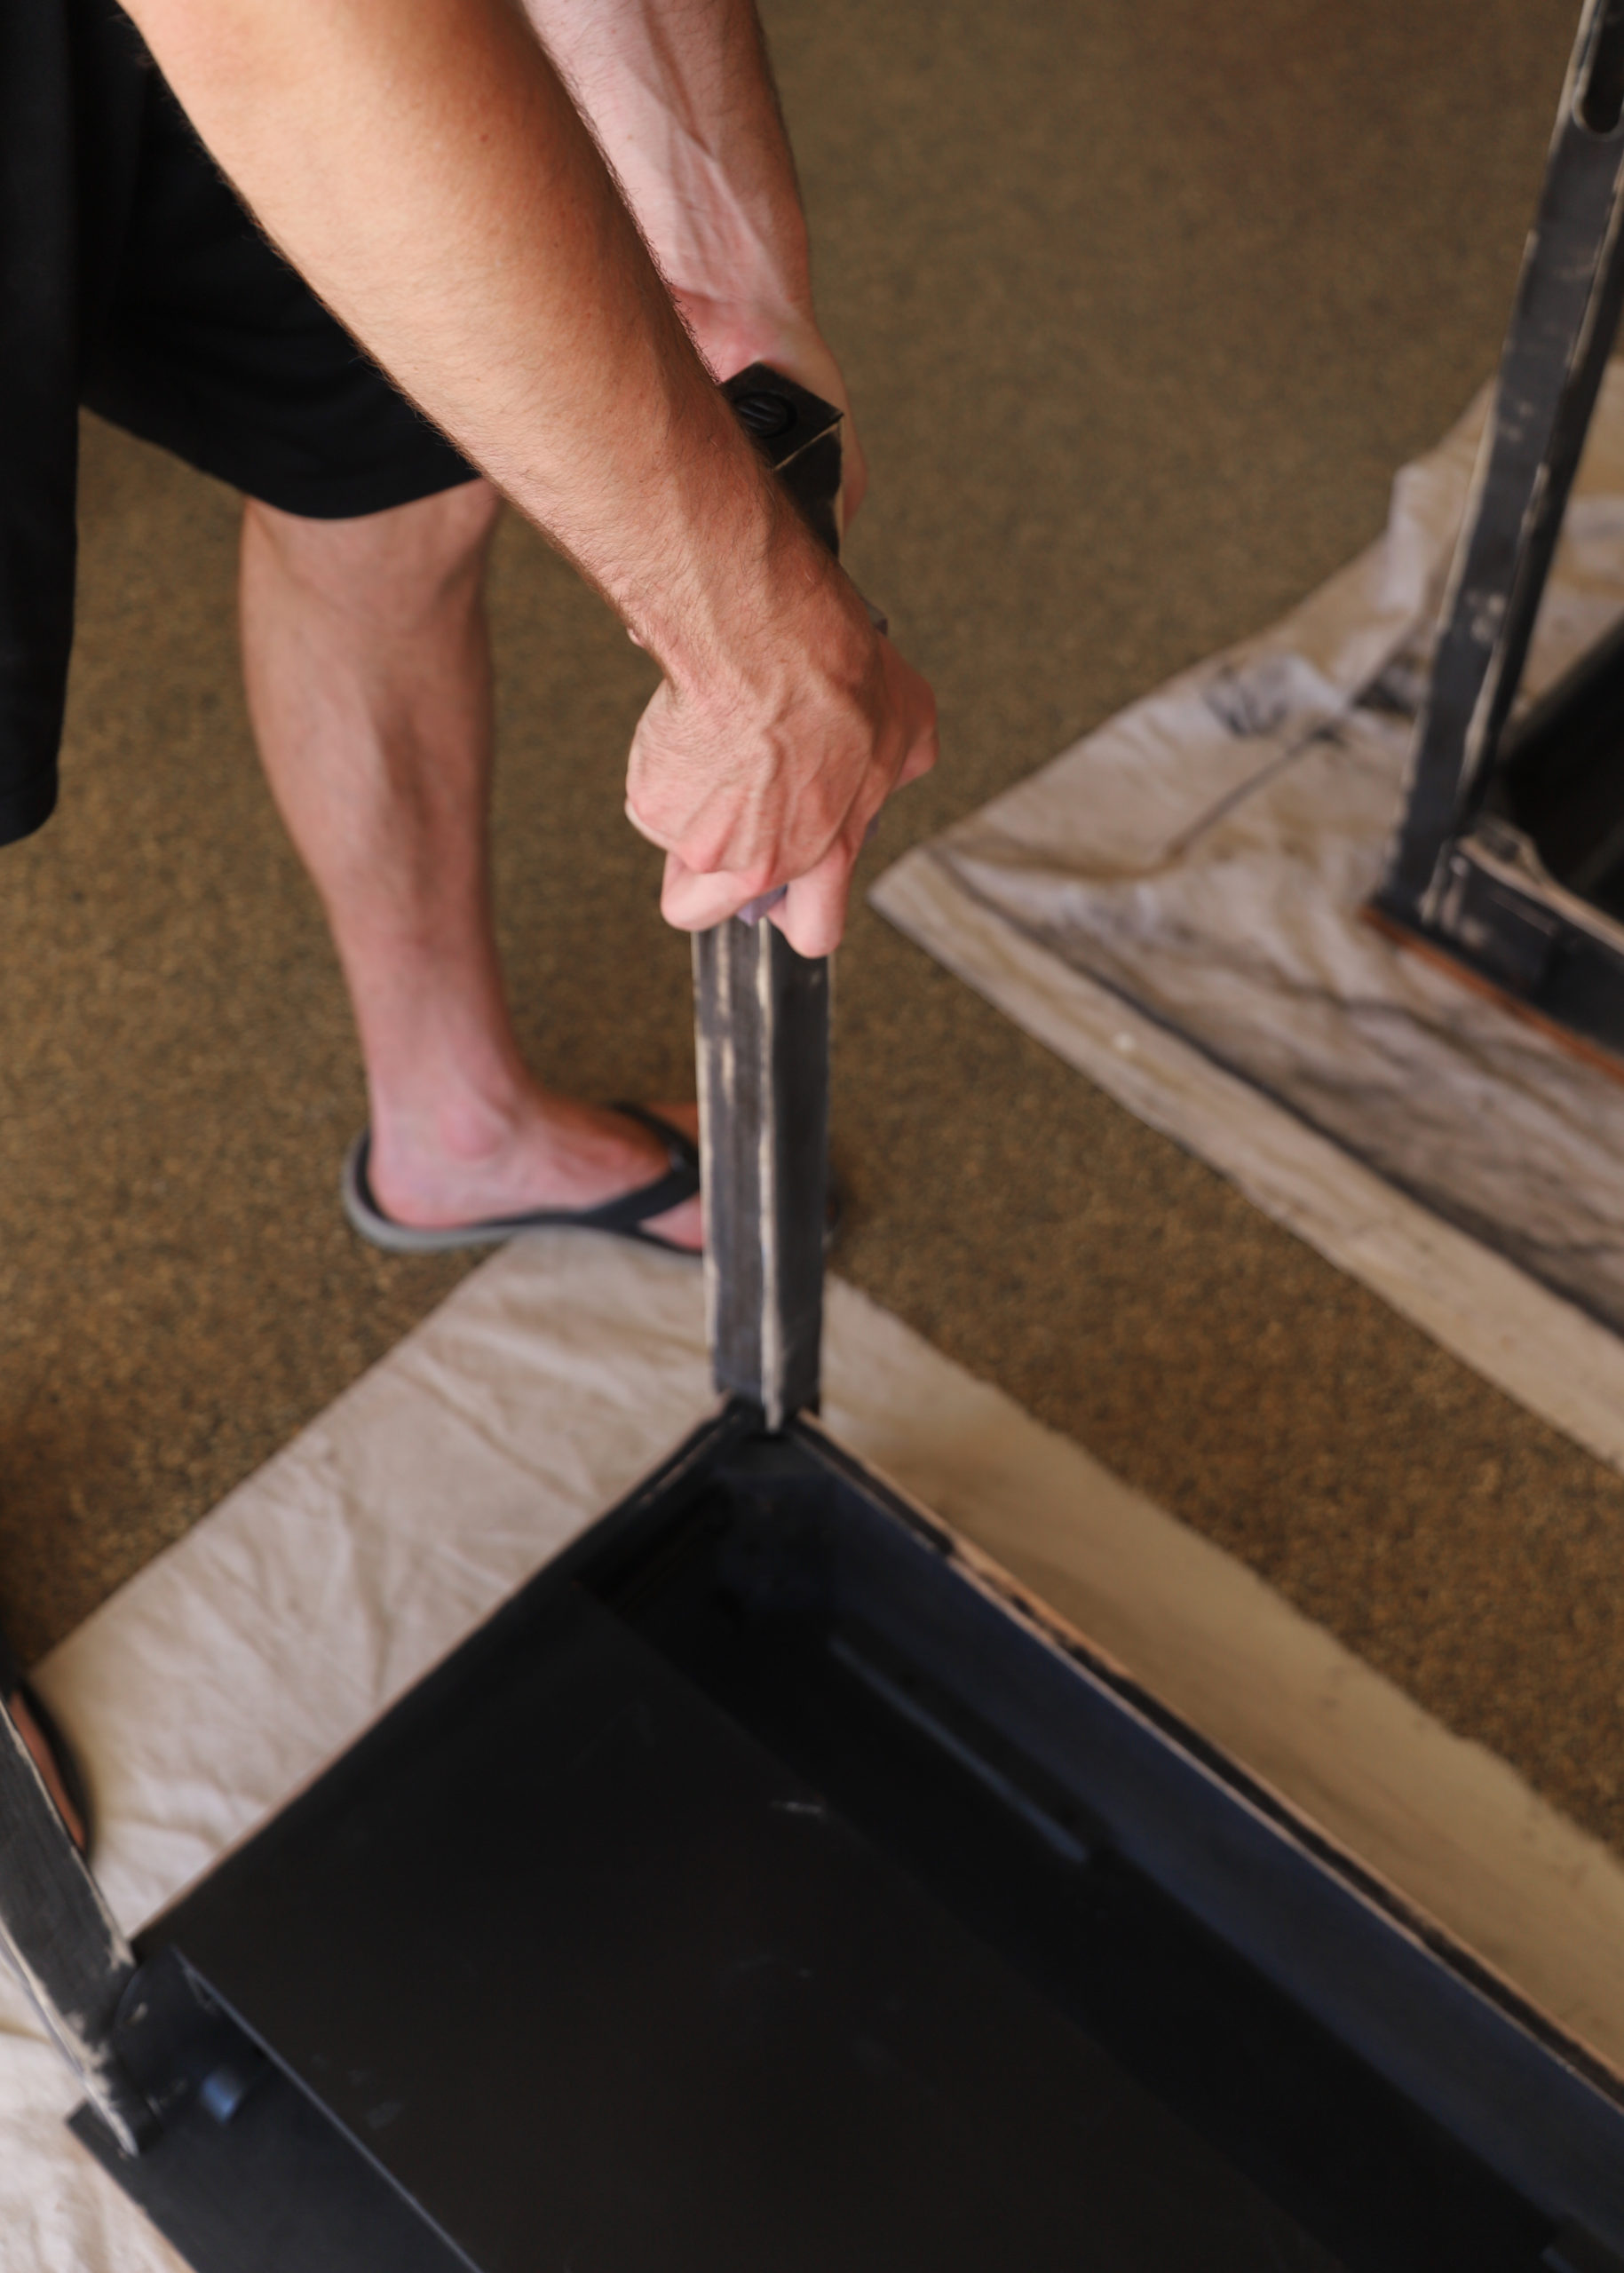
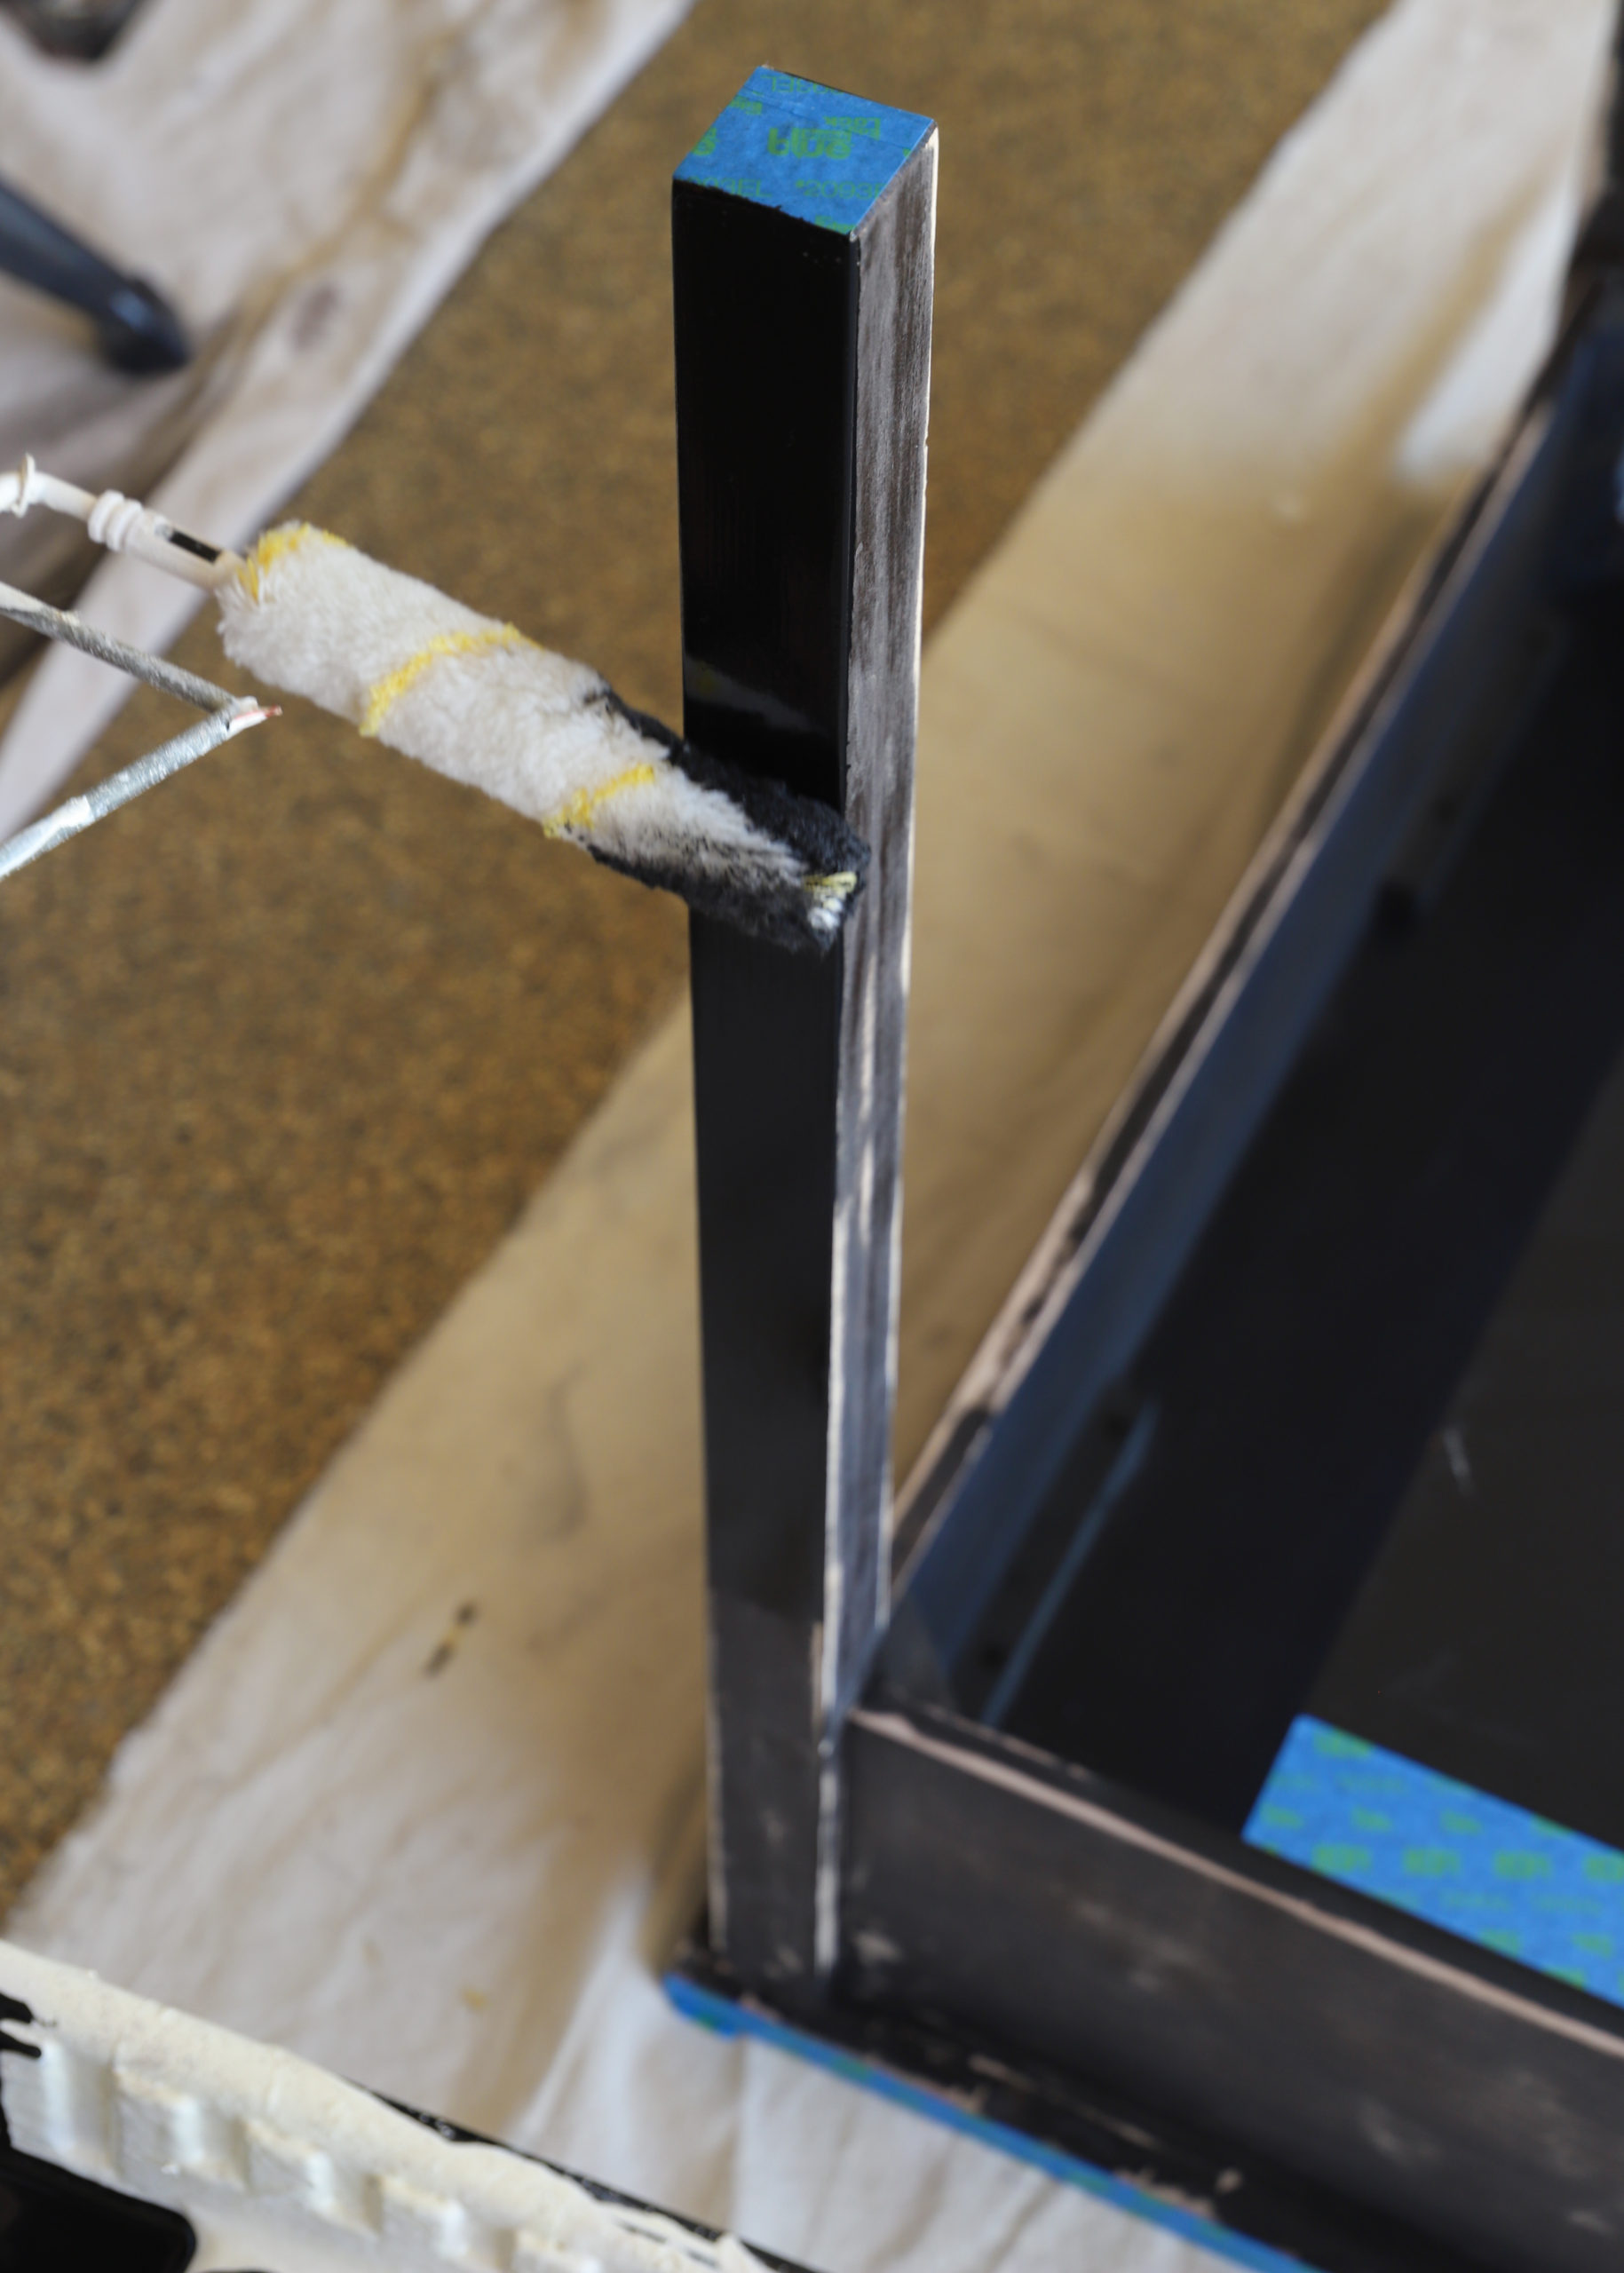
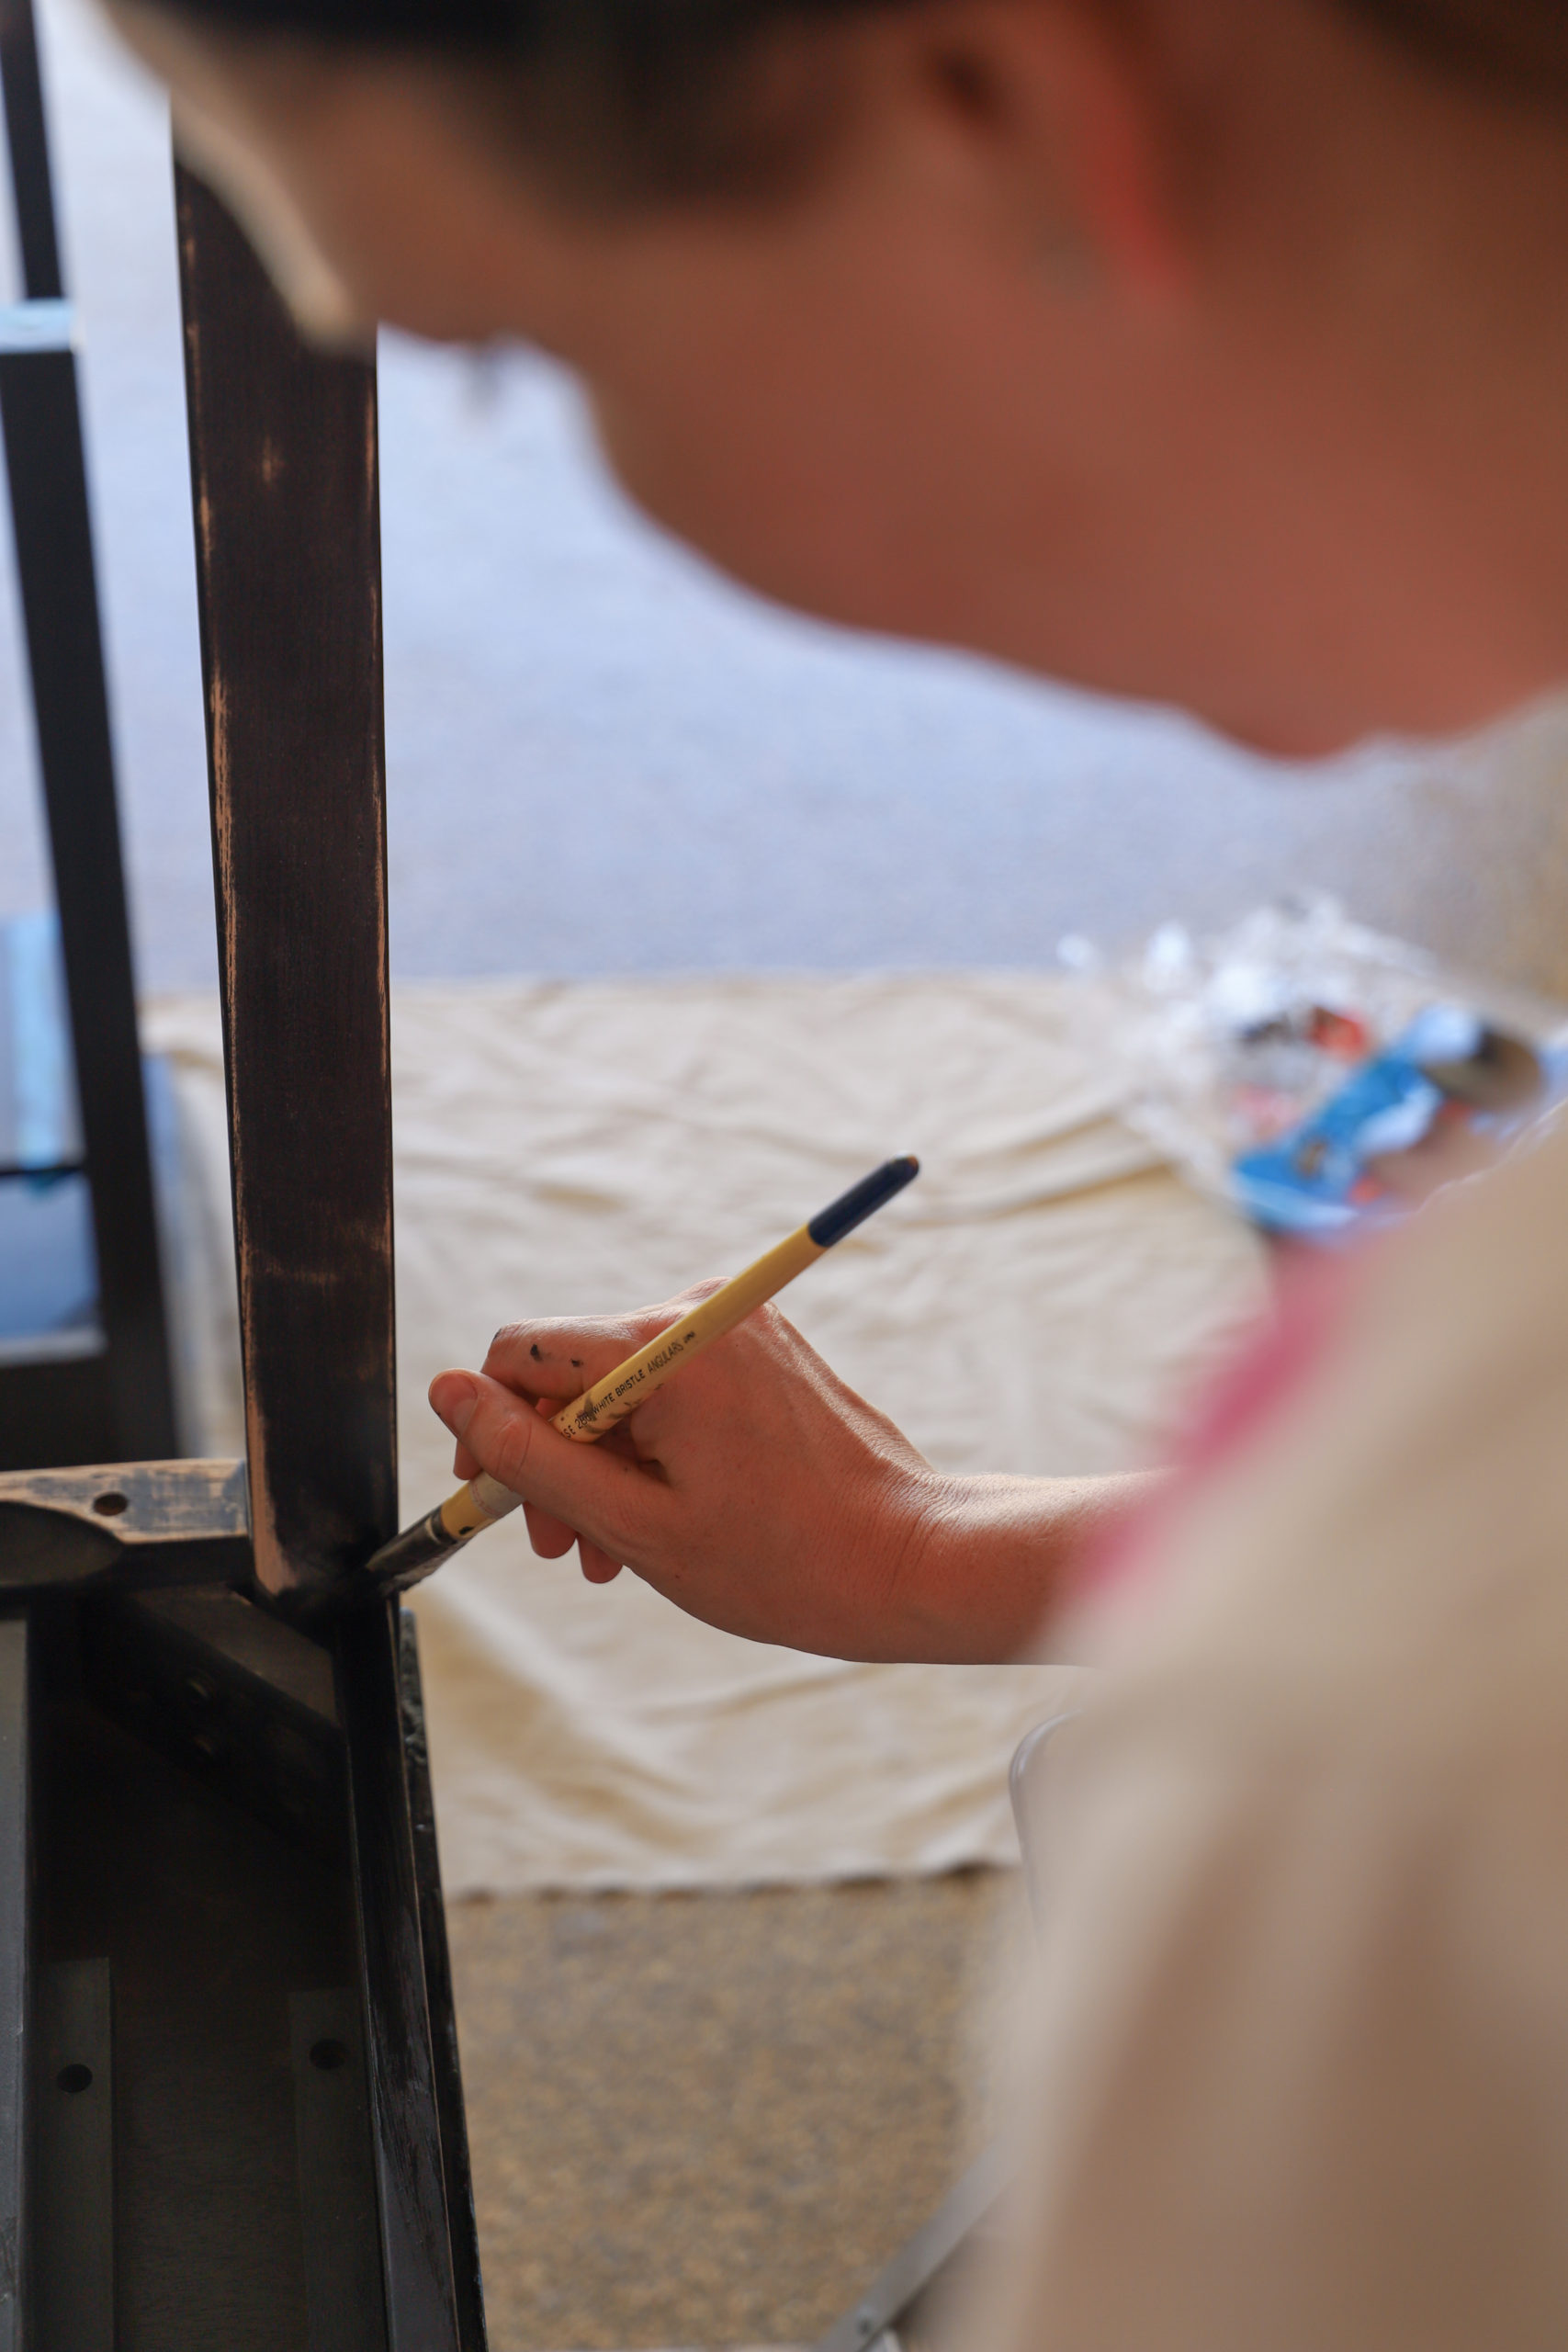
As we mentioned in the third step, go over the areas that you plan on painting with 120-grit sandpaper. You’re not trying to remove all of the old stain or paint, but just enough to provide a “rougher” surface for the paint to adhere to. Before applying the first coat, don’t forget to use painters tape!
You can tackle this part of the project with a brush, roller, or a combination of the two. We stopped after one coat, but you might need two! Make sure that the first coat is completely dry before moving onto the second.
Our paint was rather old and was clearly not shaken or stirred well enough as the finish turned out to be glossy, not flat black. Regardless, it turned out pretty nice!
We opted for the Rust-Oleum flat black paint we had on hand, we’d recommend something more specific to interior wood furniture like Rust-Oleum Painters Touch in the color of your choice!
7. Reassemble your furniture (if needed), attach the hardware, and enjoy!
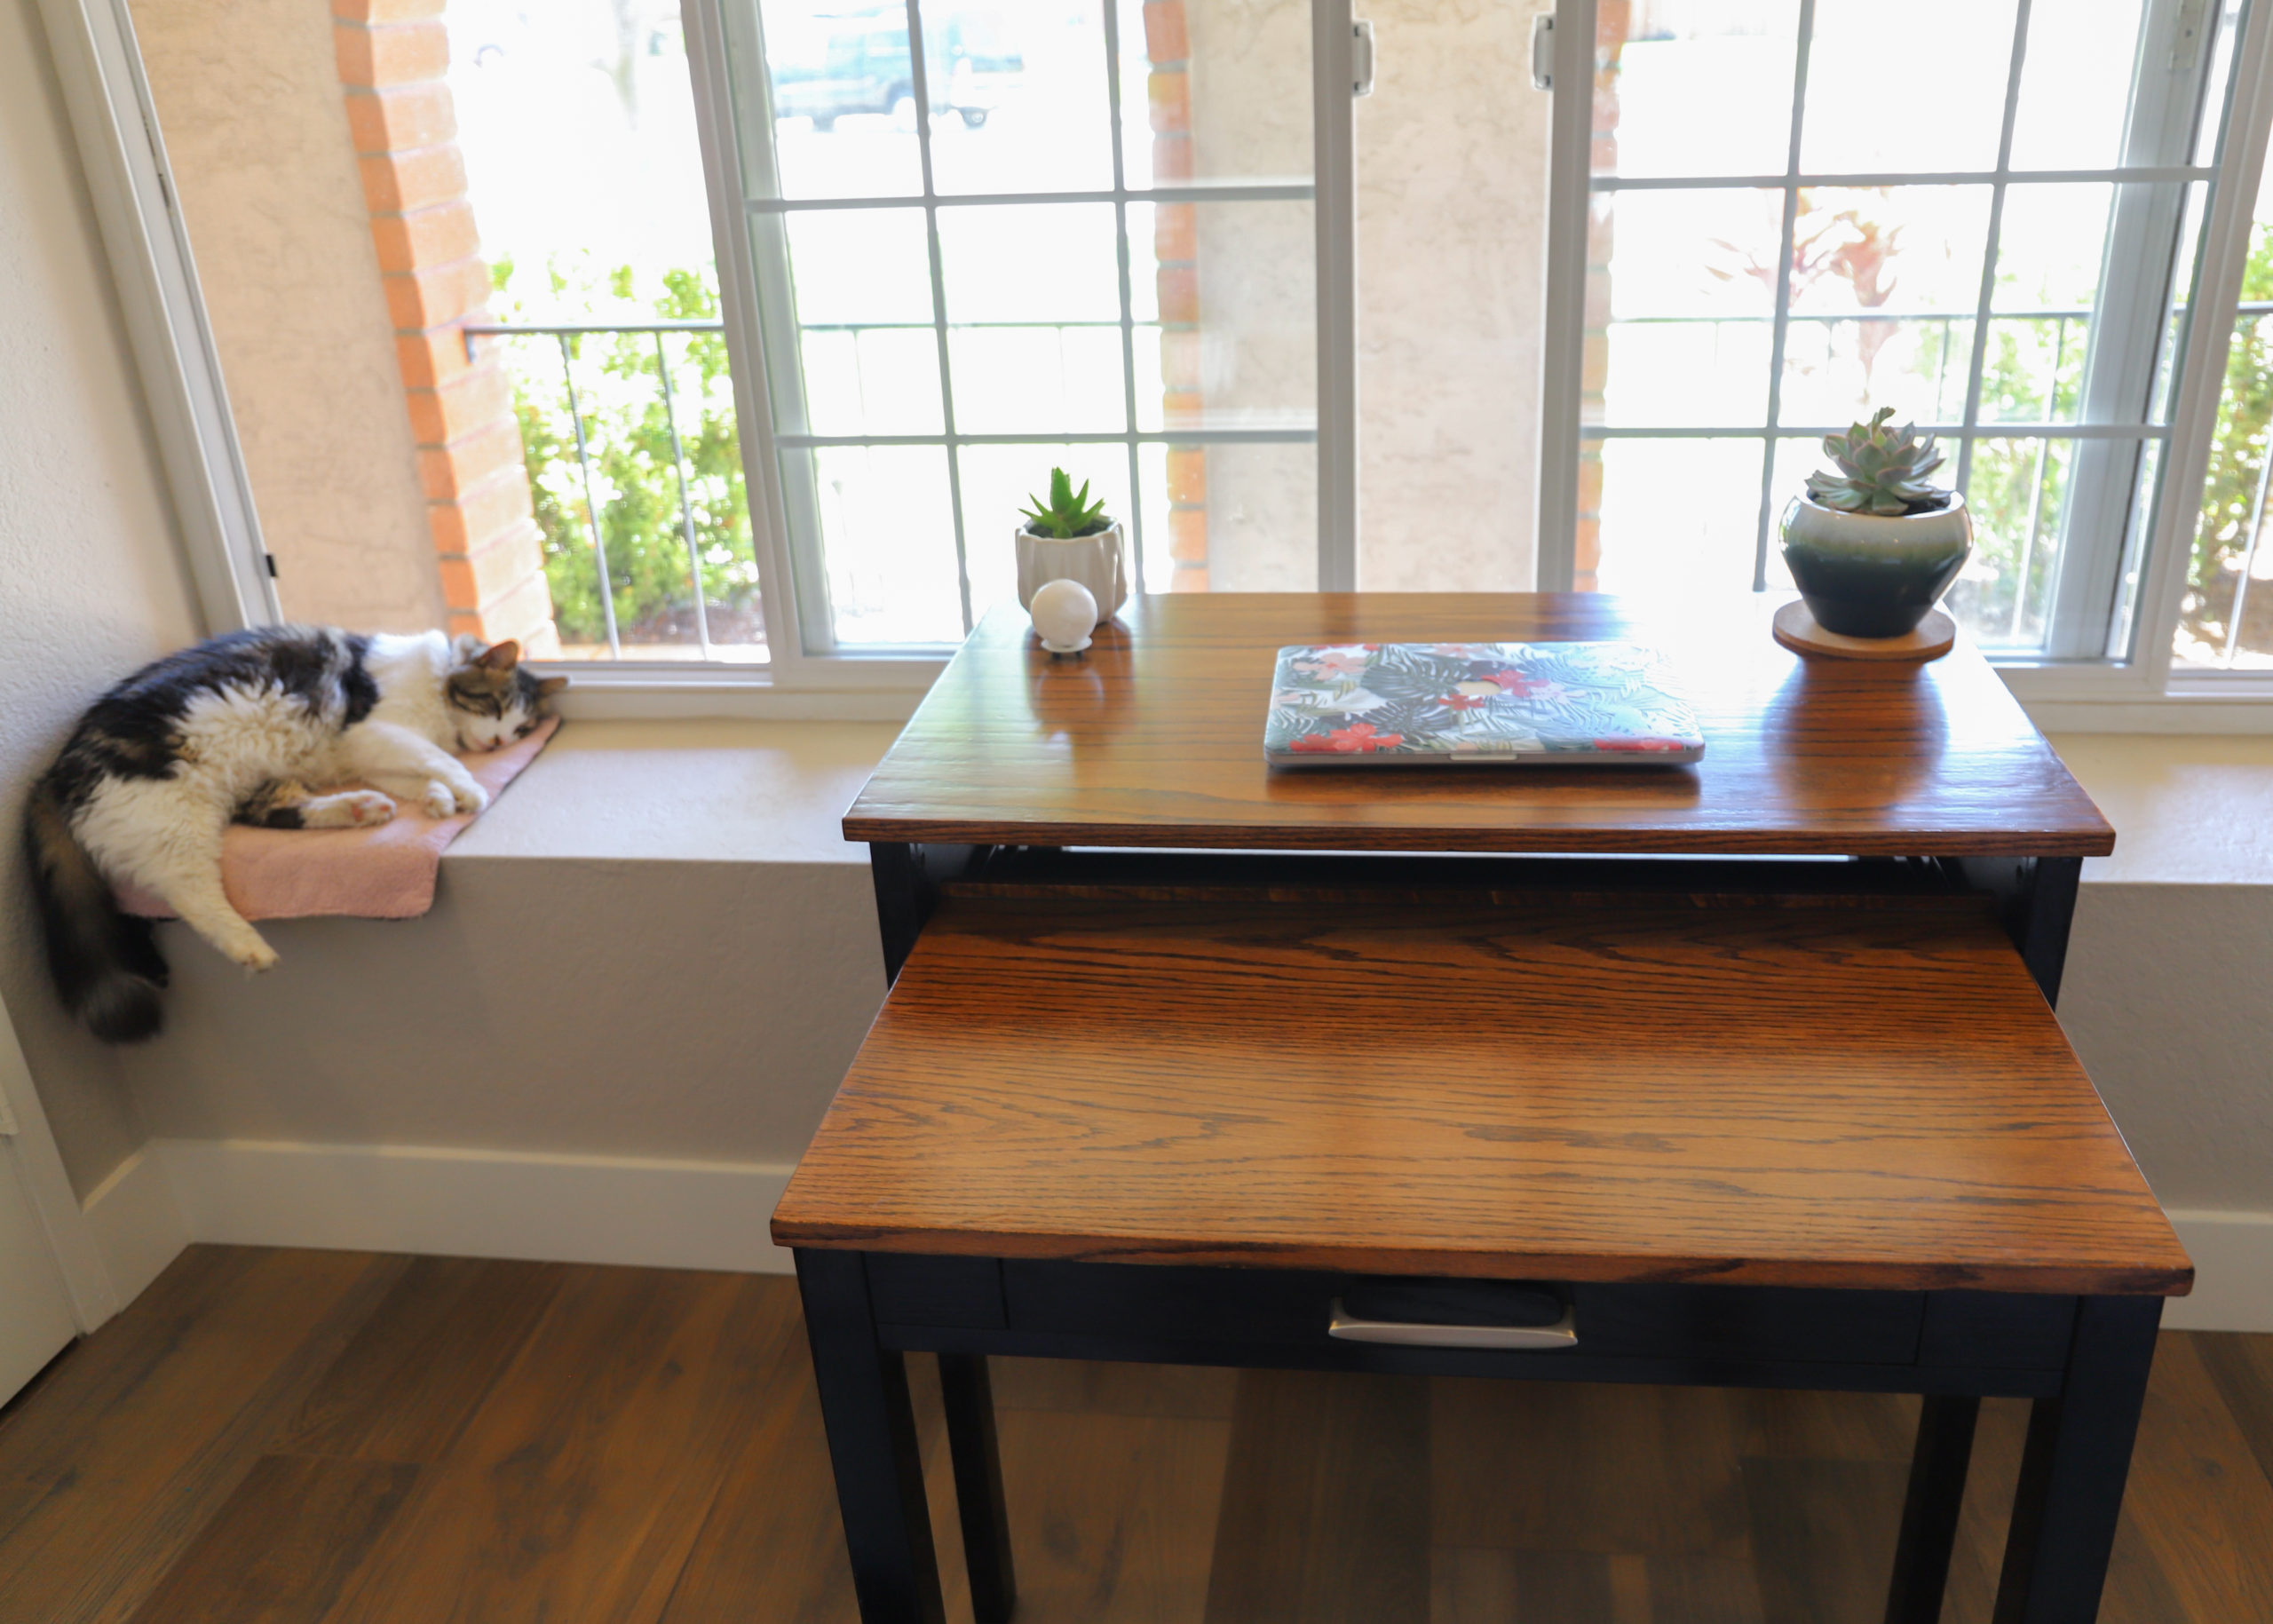
After + Fluffy Assistant #2
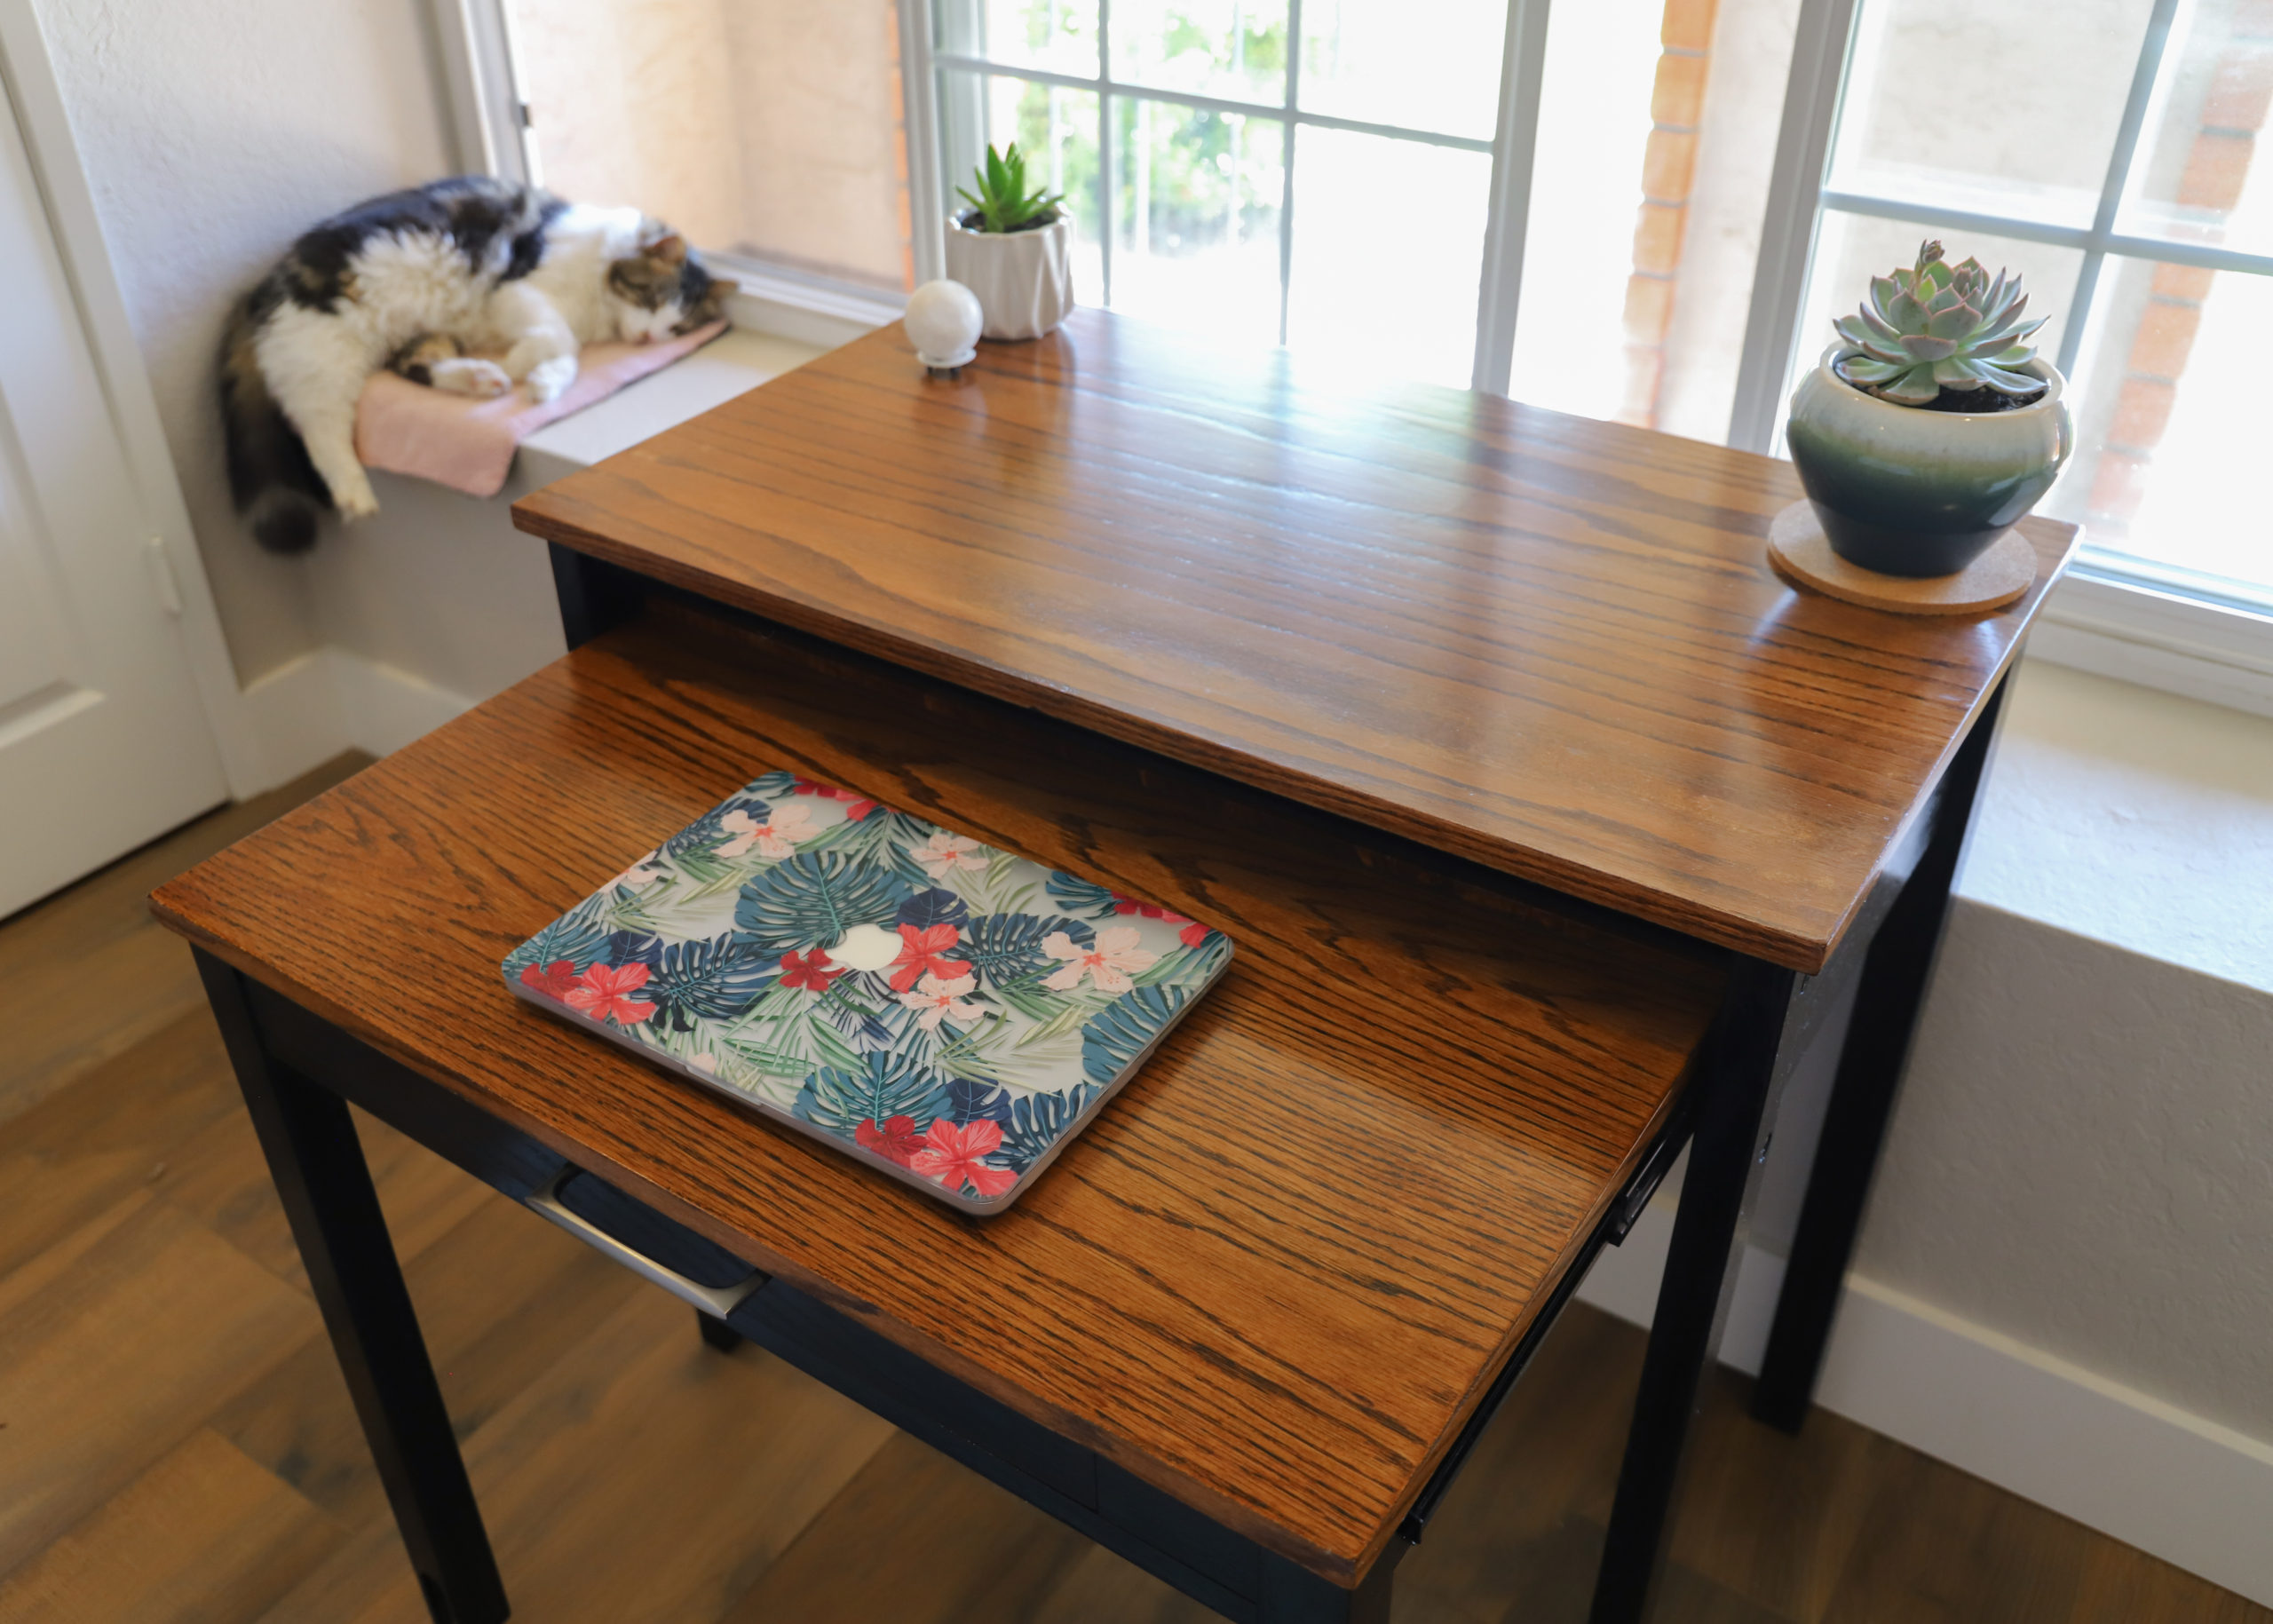
After + Fluffy Assistant #2
If your piece of furniture requires any disassembly, reassemble it and enjoy!
Although the existing hardware looked fine, we purchased a brushed nickel drawer pull to complete the look! The only thing we have left to do is purchase a chair.
Refinishing Wood Furniture Conclusion
We hope that you learned something from our DIY furniture experiment, so while you are refinishing wood furniture, you won’t make the same mistakes we did!
The great thing about DIY projects is that they are entirely up to you! This is just a reminder that this is only a guide, not a definitive step-by-step process. You can paint the entire desk or even stain it. You can skip the staining entirely and apply a topcoat to your already beautiful wood grain.
If you learned something from our refinishing wood guide, please leave a comment or send an email. We’d love to see it!
 Author Bio
Jacqueline and Dylan are recently evacuated Peace Corps Volunteers who served in Morocco for 18 months. Now, they run two websites. The first covers all things about the world wonders, and the second is a Peace Corps and travel blog that dives into topics like ethical volunteering, the outdoors, and responsible lifestyles!
RELATED POSTS FROM TOOT SWEET 4 TWO’S ARCHIVES:
How To Create An Eco-Friendly Home
15 Kitchen Update Ideas for 2020
9 Top Kitchen Decor and Design Trends
5 Ways to Unplug Your Family Room and Spend Quality Time Together on a Budget
Hello Carole, I really found this article informative! All the information provided by you is really helpful for all. Whenever we do a paint job so the problem we face is to remove dust particles from the surface. By using a tack cloth we can easily remove small dust particles from the surface and make our project dust-free. Thank you for sharing! Keep posting! Keep sharing!
I like how you mentioned that cleaning spray, sandpaper, cotton cloths, and a mechanical palm sander are just some of the equipment needed to refinish wood or veneer. My wife and I are thinking of looking for a hardwood refinishing specialist because her mother gave us an antique dresser that’s old and worn down. It seems like a good idea for us to think about hiring a reputable professional that can help us make our wooden antique dresser look as nice as possible so that we can keep and use it for a long time.
Hi, fortunately I have a very good woodworker who made a new desk out of walnut to my personal specifications. Finishing is his least favorite thing to do on a wood project. So that goes to show it’s a bit challenging. These tips are a very good help to the DIYer. The desk looks great! Hope you are Charlie are well. Love and hugs to you both. Anna