I’ve never made a pumpkin pie from scratch before. We have this awesome restaurant chain in Southern California (Marie Callender’s) that makes great pies and I always buy pies from them during the holidays. Why fix it if it ain’t broke, right? But, when I saw this Pumpkin Patch Pals Pumpkin Pie baking kit in the grocery store, I was intrigued and had to buy it! You know I caught Pumpkin Fever this year, so resistance was futile!
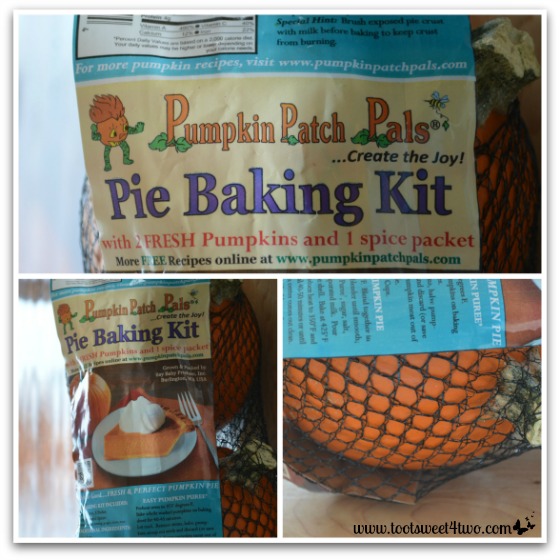
This pie baking kit comes with two Pie Pumpkins (yes, that’s what these small jewels are called), a packet of spices, and instructions. What could be easier? What could go wrong? And, really, truly I wasn’t making this pumpkin pie from scratch entirely because they provided the spices plus I used a pre-made pie crust. Easy, peasy, right?
See the little packet of spices in the close-up photo above on the right? Isn’t this the cutest way, ever, to package a “kit”? So, after releasing these little pumpkins from their net bag trap, I followed the instructions and baked them in the oven.
How to Make Pumpkin Pie from Scratch
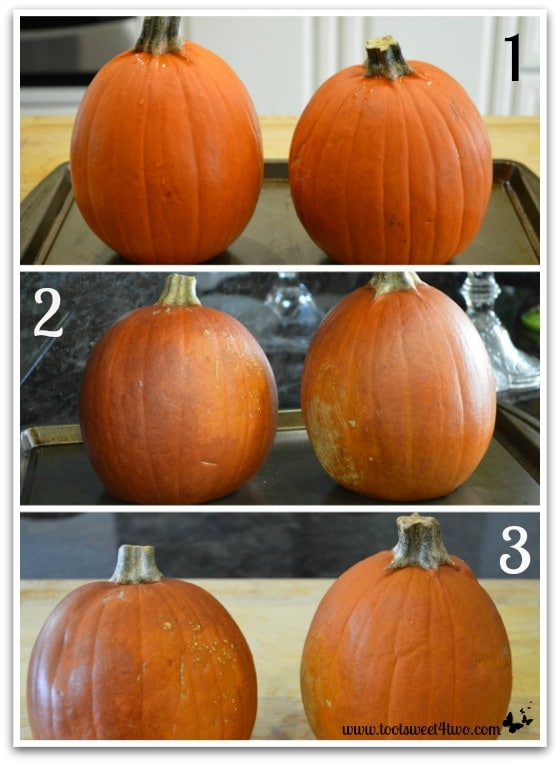
- Rinse pumpkins in cold water and pat dry. They may have some dirt from the pumpkin patch still on them, so don’t skip this step! You can see by the glistening water droplets that I didn’t pat them completely dry. Always looking for short-cuts!
- Place the pumpkins (on a baking sheet) in a preheated 375 degree oven and bake for 40 to 45 minutes. NOTE: these are the instructions on the package, which I followed. One of the pumpkins was a little larger than the other, so not as cooked through as the other at the 45 minute marker. I ended up cooking the meat of that pumpkin in the microwave to soften it more, so depending on the size of the pumpkin, I would cook it as long as an hour!
- Allow pumpkins to cool completely. This is the second area where my inexperience at making pumpkin pie from scratch shined! I set the timer for one hour and came back and checked them. Hot, hot, hot. I set the timer for another hour and checked them. Still hot! We were expecting company for lunch; yes, I was making this in the morning, expecting to have pumpkin pie from scratch for our guests for lunch! Silly girl! Anyway, by the third hour, I gave up and put them, baking sheet and all, in the refrigerator overnight! So, picture #3 above is of the pumpkins 24 hours later after cooling in the refrigerator!
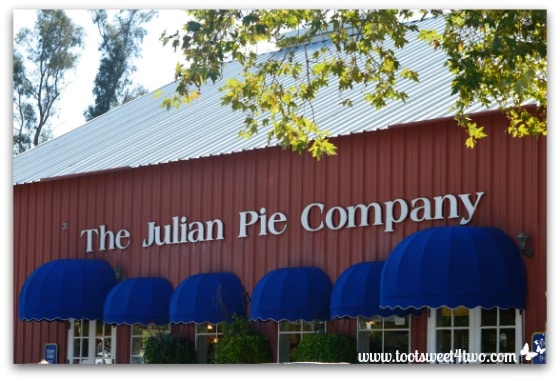
A few weeks before, Charlie and I had gone for a drive in the backcountry of San Diego County. We stopped at the Julian Pie Company in Santa Ysabel and I bought an Peach Apple Pie and an Apple Mountain Berry Pie. The Peach Apple Pie was baked and we ate it over several days (yum!), but the Apple Mountain Berry Pie was frozen, so I saved it in the freezer for another time.
Well, that time was now! My guests needed dessert! It wasn’t going to be pumpkin pie from scratch! And, the peach apple pie was soooo delicious! Anyway, if you are ever in Julian or Santa Ysabel in San Diego County, drop by for a slice of pie! Or, you can order them from their website: Julian Pie Company.
Here’s a picture of their Santa Ysabel store:
Cute, huh? The place is always packed; must mean they make goods pies! Anyway, my lesson for that day: have a backup plan!
Back to the Pumpkin Patch Pals Pumpkin Pie from scratch story:
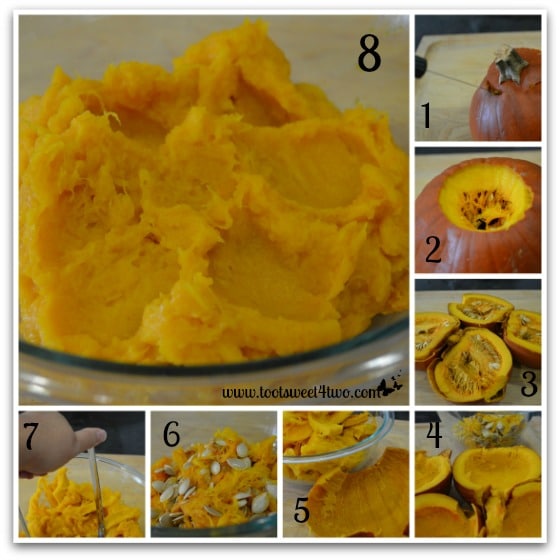
- I cut the stem out of the pumpkin using a big knife. You could use a small knife because this part is easy. Since the pumpkin is cooked, a knife pierces the pumpkin like butter; unlike an uncooked pumpkin pie, which is just an accident waiting to happen, if you want to know my opinion (you do, don’t you?).
- The stem cut out.
- Then, I cut each of the pumpkins in half and ended up with 4 halves.
- I scooped the seeds out and placed them in a separate bowl. You can discard the seeds, if you want, but I saved them and made Roasted Pumpkin Seeds with Sea Salt.
- Next, I used a spoon and scooped the pumpkin meat out of the pumpkin shell and placed the meat in a separate bowl. I suppose you could also use a knife and peel the skin, but I scooped. It was at this point that I discovered that some of the meat was still tough; not tender enough to purée. So, I placed the tough meat in a separate bowl and microwaved it until it was fork-tender.
- Picture of the beautiful pumpkin seeds from the little Pie Pumpkins!
- I used a potato masher to mash the pumpkin meat for my pumpkin pie from scratch. I suppose you could do this in a food processor, but pumpkin meat is very moist, so if you do this in a food processor, you might end up with purée that is more watery than you expected! I mashed by hand…
- Beautiful hand mashed pumpkin…
The instructions on the kit say that it makes 2-2 1/2 cups of pumpkin purée. My 2 little Pie Pumpkins made 4 cups of pumpkin purée! Enough for another pumpkin pie from scratch or another recipe! So, I made Harvest Pumpkin Chili and man-oh-man was that ever good! Stay tuned for that recipe next week!
This is where things went horribly awry…
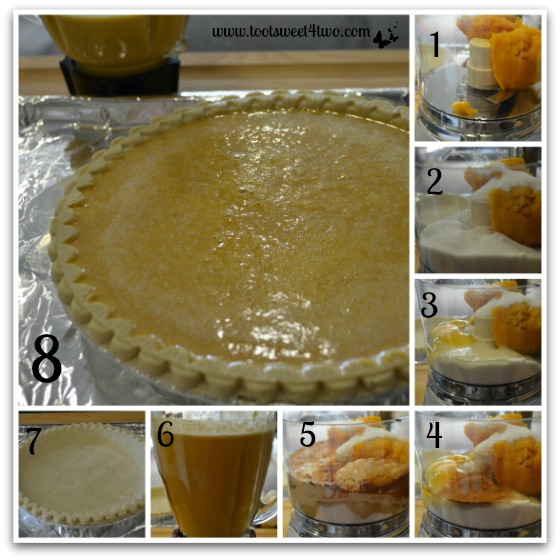
This is what the instructions said: “Preheat oven to 425 degrees F. Blend together in a food processor or blender until smooth, 2 cups fresh pumpkin purée, sugar, salt, eggs, spices and evaporated milk. Pour into 9″ prepared pie shell.” So…
- Pumpkin purée in food processor.
- Sugar and salt in food processor.
- Eggs in food processor.
- Spices in food processor.
- Evaporated milk in food processor. I turned on the food processor and stuff went flying everywhere! I stopped it immediately and tried to take the food processor bowl off the motor! Pumpkin stuff leaking everywhere! My counter top and floor covered in pumpkin goo! What did I do wrong? I was so upset and distressed that I forgot to take pictures, but instead tried to rescue the remaining ingredients in the food processor. You see, I didn’t have another can of evaporated milk, so while I still had 2 cups of pumpkin purée left from the Pie Pumpkins, I couldn’t start from another pumpkin pie from scratch and make a new pie!
- So, I got out the blender, transferred what was left from the food processor to the blender and voilà! Pumpkin Pie filling!
- My 9″ pre-made, store-bought pie shell.
- I poured it into the pie shell and as you can see in the background of this photo, there was still pie filling left! So, in spite of the fiasco, I still had enough filling for a pumpkin pie from scratch! Whew! Disaster diverted!
What went wrong? Well, food processors have a “fill line” (at least mine does) and this recipe exceeded the fill line causing chaos and destruction! I would NOT recommend doing this in a food processor unless you wanted to intentionally mess up your kitchen and create chaos and destruction on purpose! If you look closely enough at photo #5, you will see that these ingredients are over the blade housing on one side of the bowl.
Then, place your pumpkin pie from scratch in the oven and bake for about an hour, reducing the heat to 350 degrees after 15 minutes.
At the 45 minute marker, I decided to check on the pie. Thank goodness I did. Because, I neglected to read the fine print of this “Special Hint” on the kit: “Brush exposed pie crust with milk before baking to keep crust from burning.” Well, I didn’t do this because I didn’t catch this “Special Hint” on the kit because I was too upset about the mess I’d just made and I was upset because I didn’t realize that food processors had a “fill line”! I’ve never, in all my advanced years of cooking and baking, run into this problem before!
But, I must confess: this was the first time I have used a food processor in 6 years. Even though this food processor is 2 or 3 years old, I’ve never used it! I took it out of the box and put it in the cupboard and have never used it! Why? Because 99% of the time it is just me and Charlie and I just use a knife to chop things. Anytime I thought about using the food processor, I’d talk myself out of it because I’d run this scenario through my mind: “should I get out the food processor? It’s heavy and way back in the cupboard, so I’d have to move stuff. Plus, I’d have to wash the bowl, blade and lid and wipe down the food processor after I use it before I put it away. No; I’ll just use a knife and cutting board!”
My food processor comes with a 45 minute DVD that I’ve never watched. So, in addition to the “fill line”, I probably did something else wrong!
Oh, back to the almost burned pie crust…
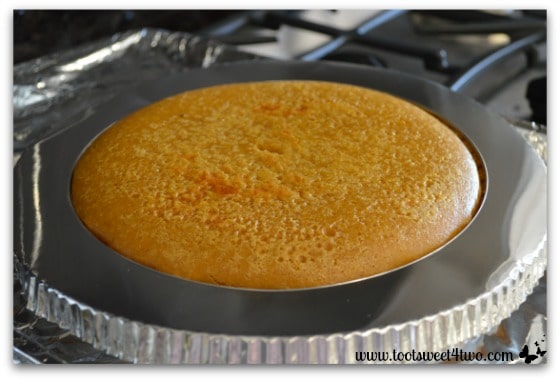
I found this package of “pie shields” in the drawer. I don’t remember where I got them, but I probably got them at the grocery store because I really don’t do much shopping in other stores these days. Anyway, they came 4 or 5 to a package and they are disposable. I’d give you more details about them but Charlie threw the packaging away. He was trying to be helpful because of the mess I’d created and he was trying to come behind me and help where he could. You see, he had a vested interest in the success of this pie. With the 33 pumpkins I purchased because of my Pumpkin Fever, he was looking forward to pumpkin pie from scratch. He loves Pumpkin Pie!
If you don’t have a pie shield, or disposable pie shields like these, you can make one yourself. Just take a length of aluminum foil (about 3 inches by the length of your foil) and fold it lengthwise until it’s about an inch wide and 10 or 11 inches long (depending on the length of your aluminum foil package) and make a circle to fit your pie. Gently lay it on top.
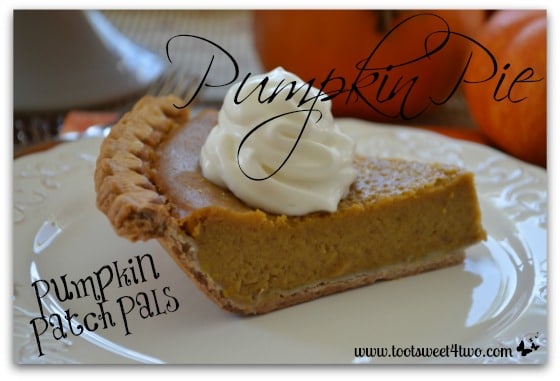
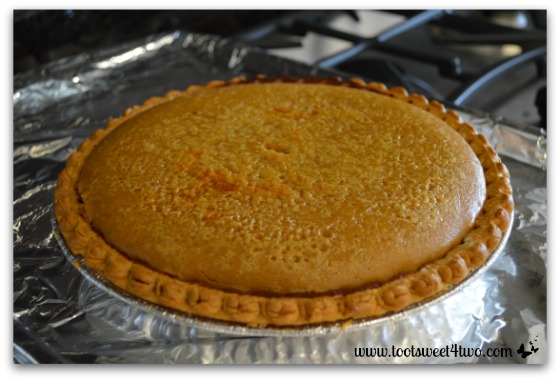
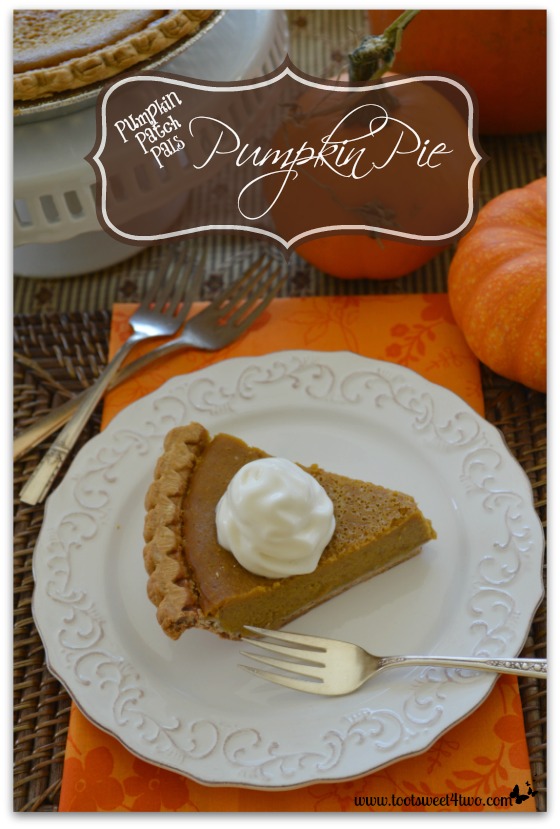
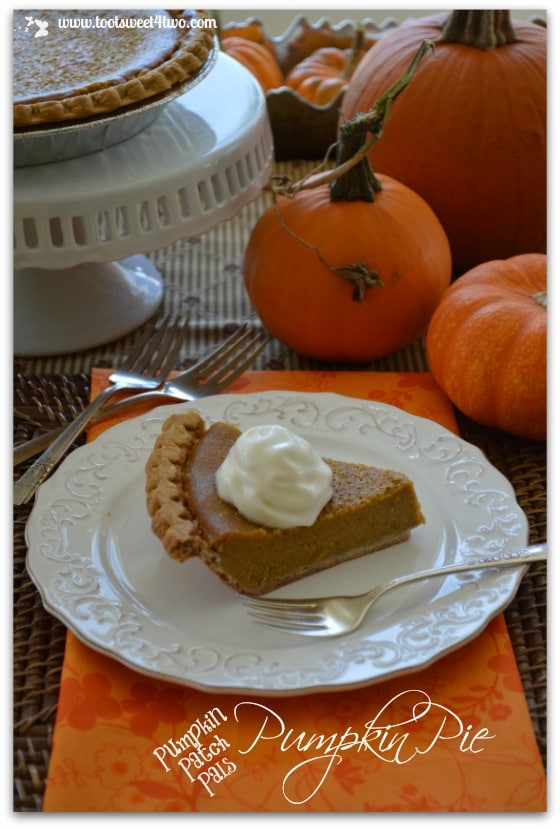
The instructions for these disposable pie shields say to put the pie shield on the pie BEFORE you bake the pie. Well, I didn’t and it turned out just fine. Here’s a picture of my finished Pumpkin Pie from scratch:
Just a tad dark, but not bad considering! And, it tasted delicious, too. But, going forward, I think I’ll stick with my original plan, which is to BUY my pumpkin pies from Marie Callender’s! Less mess, less stress and about the same price! After buying the Pumpkin Patch Pals Pie Baking Kit, plus the pie shell, evaporated milk and the rest of the ingredients, it cost about $14.00 to make pumpkin pie from scratch!
Charlie was chomping at the bit, but I wouldn’t let him have it right away because it had to cool and, of course, I had to set up for the photo shoot! Here’s what I did:
-
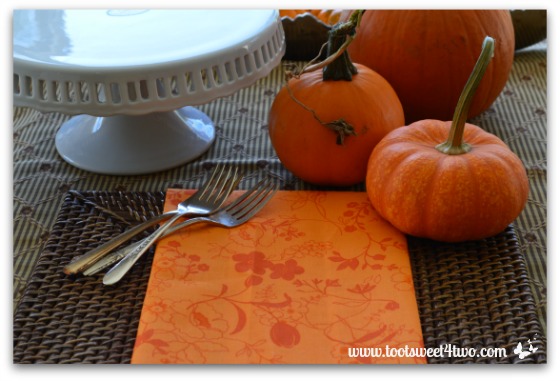
I used a leftover scrap of fabric from furniture upholstery. No, I don’t know how to upholster furniture, but when we’ve had it done by others, they’ve given me the scraps! So, the bottom piece of material is leftover from an ottoman. You see, my wooden kitchen table has a high gloss shine to it, which is horrible for photography; so I cover it up.
-
Then, I put a square rattan place mat on top.
-
The orange fabric is scrap fabric I bought at the fabric store. I turned it under and then used masking tape to adhere it to the backside of the rattan place mat. You can see I didn’t bother to iron it!
-
I got out my cake stand.
-
Then, got a few of the 33 pumpkins. The largest pumpkin in the photo is a Pie Pumpkin. All the rest of the pumpkins are really small. I just love the little one with the stem attached and a vine curling around it with a dead leaf. Precious!
Snap! Then, I decided I needed to add a fork in the picture.
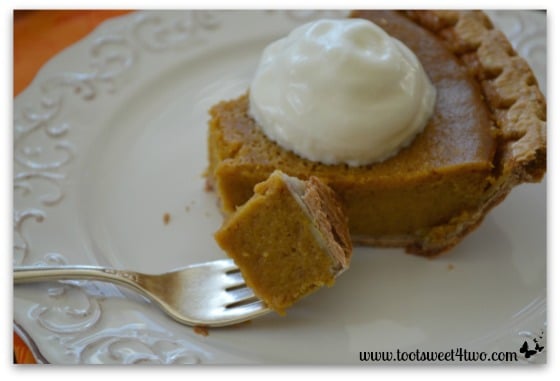
Then, Charlie really wanted a bite. He was drooling at the bit! So, I told him “wait; let me take pictures of the bite!”
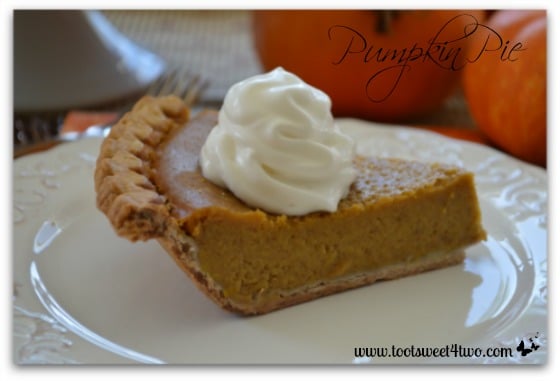
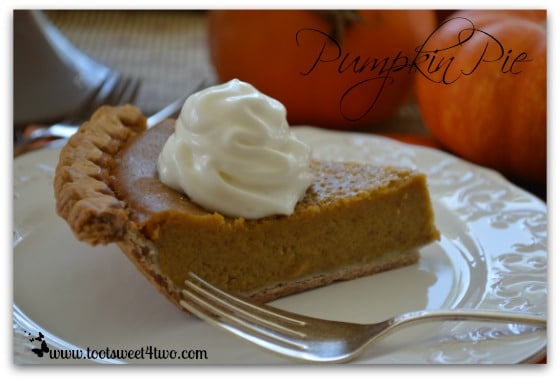
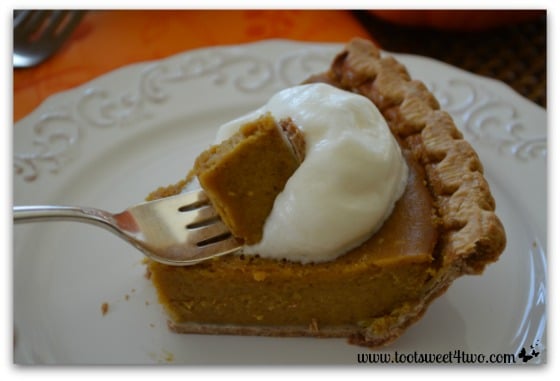
“Put some whipped cream on that bite!” he demanded (he didn’t really “demand”; I just wanted it to sound dramatic!).
He was a happy guy and it was delicious!
Here’s the Thanksgiving Pumpkin Pie recipe:
PrintPumpkin Patch Pals Thanksgiving Pumpkin Pie
Pumpkin Pie made with fresh pumpkin. Delicious!
- Prep Time: 45 mins
- Cook Time: 1 hour
- Total Time: 1 hour 45 mins
- Yield: 1 1x
- Category: Dessert
- Method: Baked
- Cuisine: American
Ingredients
- 1 Pumpkin Patch Pals Pie Baking Kit or 2 whole Pie Pumpkins or 2 cups of pumpkin puree (NOT pumpkin pie filling); if you are not using a kit, you will need 1 tablespoon of pumpkin pie spice
- 3 large eggs
- 1 cup granulated sugar
- 1 pinch Sea Salt
- 1 can evaporated milk
- 1 pie shell – fresh or frozen
- Whipped Cream (optional – for garnish)
- Pecans (optional – for garnish)
- Milk (to brush on exposed pie crust)
Instructions
- To make the pumpkin puree, preheat oven to 375 degrees.
- Rinse the pie pumpkins in cold water and pat dry.
- Place the pumpkins on a baking sheet and bake for 40 minutes to one hour until a knife inserted in the pumpkin yields soft flesh.
- Remove from oven and allow to cool (this will take many hours, so you can refrigerate overnight).
- Remove the stem, halve pumpkins, scoop out seeds and discard (or save for roasting).
- Scoop pumpkin meat out of shells, mash and set aside.
- Makes 2 to 2½ cups (mine made 4 cups).
- To make the pie, preheat oven to 425 degrees.
- Blend together in a blender until smooth, 2 cups fresh pumpkin puree, sugar, salt, eggs, spices and evaporated milk.
- Pour into 9″ prepared pie shell.
- Bake at 425 degrees for 15 minutes.
- Reduce heat to 350 degrees and bake an additional 40 to 50 minutes or until knife inserted in center comes out clean.
- Let cool for 1½ to 2 hours.
- Serve immediately or refrigerate.
- Top with whipped cream and pecan halves.
- Special Hint: brush exposed pie crust with milk before baking to keep crust from burning.
Keywords: Thanksgiving Pie, Pumpkin Pie
Would I make a pumpkin pie from scratch again? Well, probably not normally, but I do have 33 pumpkins. I hate to waste! I might try making a pumpkin pie that is reduced fat and less sugar or with sugar substitute. I’ll let you know…
Tootles,
Related Posts:
(other pumpkin posts)


Like you I was intrigued by the kit and purchased one today. I was excited until I started. I usually make the semi homemade pies using the can of pumpkin but I love to bake and wanted to give this a try. I planned to make this with my 5 year old but after reading your story I think I will go at it alone. my one question is I bought a graham cracker crust that is already “ready” am I suppose to brush that with milk? I can see doing that to one of the frozen or refrigerated crust but not too sure about the premade one. Any tips you have I would appreciate it. Thanks in advanced for your help and I enjoyed reading your story.
★★★★★
On a side note I also followed your link on how to roast the pumpkin seeds I will let you know how both recipes turn out tomorrow! Thanks again!
Great! Looking forward to your report back! Thanks, again, for visiting our blog!
Hi, Cynthia! Thanks for your comment! Unfortunately, I’ve not made a pumpkin pie with a graham cracker crust. It sounds yummy, though! This particular pumpkin pie was the first one I’ve made in many, many years because I normally just buy my pumpkin pies from Marie Callender’s Restaurant! Let me know how yours turns out!