Welcome to PicMonkey Basics: Create a Collage, the 5th post in a 5-part series all about PicMonkey. If you missed the other 4 posts in this series, here’s your chance to get caught up (I’ll wait!):
- PicMonkey Basics: Getting Started
- PicMonkey Basics: Edit a Photo
- PicMonkey Basics: Touch Up a Photo
- PicMonkey Basics: Design Your Own
PicMonkey is a free online photo-editing site with an upgrade option called “Royale”. The “Royale” upgrade is a small month-to-month fee or an even smaller annual fee.
If you’ve followed the series and experimented on your own, I’m sure you are now madly in love with the monkey! Yes, I can safely say that the monkey changed my life! As a budding photographer, PicMonkey made the photo-editing process so much fun and it has changed the look of my blog – all for the better.
Many of the photos (in fact, most of them) in the first 4 posts in this series are collages. PicMonkey’s collage feature allows you to insert multiple photos onto pre-designed grids called layouts. As a craft or food blogger, why would you want to do this?
Well, if you are teaching via step-by-step instructions, it’s not uncommon to have 10, 20, 30, 40 photos to teach a “process”. I don’t know about you, but uploading 40 photos to my blog and then writing step-by-step instructions along the way is a major mind-numbing task.
And, if you are like me and every other woman in the universe, time is at a premium in our toot sweet lives!
Plus, as a blog “reader”, scrolling through a post with oodles of photos is a major commitment! Collages help by limiting the number of photos in your post.
Even if you aren’t a blogger, making collages for other photo projects is just a fun way to share! Composing collages to share on social media is a great way to make your photos stand out among the sea of photos on any social media wall.
So, let’s get started:
When you hover over “Collage” from PicMonkey’s home page, a drop-down box appears asking if you want to select photos from your commuter, Dropbox, Facebook or Flickr. If you just click on “Collage” (rather than the hover drop-down), it immediately opens a window to your computer’s hard drive so that you can choose photos to upload to PicMonkey.
You can select multiple photos to upload at the same time, but if you choose a bunch (like 15 at a time), it can make the monkey have a little hissy fit and he may give you an “oops!” Depending on the number of photos I am uploading to create my collage, I usually upload in batches of 5 or 6 at a time so I don’t get the “oops” from the monkey!
The maximum number of photos that can be added to one of PicMonkey pre-set design collage layouts is 25: a 25-square grid under “Square Deal” and a 25-square grid under “Tile Border”, which is a “Royale” upgrade feature. But, sometimes I’m not sure which pictures I want in my collage, so I’ll upload more photos then the collage layout has room for! That way I can play around with multiple choices until I get the perfect one.
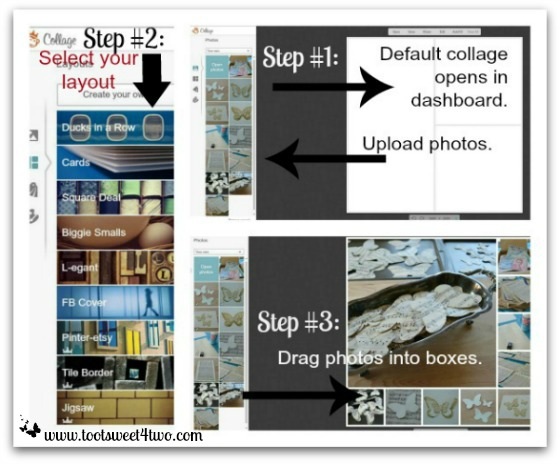
In the photo collage above:
Step #1
I uploaded my photos from my computer’s hard drive and they drop themselves into boxes to the left of my dashboard. PicMonkey’s “default” collage appears on the dashboard.
Step #2
To the left of my dashboard is the menu toolbar. There are only four functions you can do in “Collage”:
- open your photos (upload)
- choose a layout
- choose swatches and
- change your background
Once you’ve decided on the number of photos you want to use in your collage, choose a layout from the menu bar.
NOTE: the layouts titled “Pinter-etsy”, “Tile Border” and “Jigsaw” are premium layouts that are available with the upgrade to “Royale”. For this tutorial, I’ve selected “L-egant” and chose the layout for 8 photos.
Step #3
Once I’ve selected my layout, I drag my photos into the boxes by clicking the photo, holding it and dragging. Easy!
Or, even easier, PicMonkey will “AutoFill” your collage if you click on the “AutoFill” button at the top of the dashboard. This cool feature takes, literally, a split second! In LOVE with the monkey and this feature!
Don’t like where the monkey placed your photos? “Clear All” at the top of the dashboard will give you a clean slate.
And, once the photos are in place on the layout, users can click in each photo within the layout and move them ever so slightly to “center” them or move them left or right – in other words, no need to crop out Uncle Buster’s head on the far left of your photo because he photobombed an otherwise perfectly decent family photo! Just move your photo within the layout and voilà, no Uncle Buster’s head!
I have a confession to make: I’m not a much of a craft blogger {grin}. I used to be. I used to do all kinds of crafts – painting, scrapbooking, crocheting, sewing – and I was always taking crafting classes at local crafting stores.
But, in 2007, I lost my home in a wildfire. And, I lost almost everything in that wildfire (firefighters arrived on-scene and removed a few things from our home before our house burned to the ground). You can read the entire 20-part series about the loss of our home in this wildfire here: Any Way the Wind Blows.
Here’s the thing: since losing all my crafting supplies plus all the things I handmade over the years, I’ve had great difficulty getting back into crafting. It’s an emotional problem that still haunts me 7 years later. So, sometimes I’ll attempt to take a baby step and plunge into a crafting project, usually something I’ve never done before. And, the crafting project I’ve selected to share in the Create a Collage Tutorial is just that – a type of crafting project I’ve never done before.
I found this beautiful paper butterfly chandelier on Pinterest, but the link didn’t take you to instructions on how to do it. That’s happened to me before – my Tea Light Tutorial: Adding Edible Sprinkles for a Bit of Sparkle was the same thing.
I had all this sheet music that belonged to my grandmother. It was in horrible condition and I picked through it and thought making this butterfly chandelier was a great way to use it and remember her. I also thought I could figure out how to go about recreating my version of that beautiful butterfly chandelier.
The end result is that I got some of the butterflies made and lost steam. It just wasn’t coming out the way I’d hoped, so I set it aside. I still have all those butterflies, waiting for the time when I’ll attempt to tackle this project again.
Anyway, I do have a few, simple crafts on my site and you can check them out here:
- Making a Grocery List Clipboard with My Personal Assistant
- Cute and Easy Party Name Tags
- Easy Party Favors Featuring You!
- How to Make Paper Napkins Special
- Easy and Creative Tabletop Signs for Your Next Party
- Ideas for Reusing Old Picture Frames
- Cute and Easy Halloween Candy Packets
- Tea Light Tutorial: Adding Edible Sprinkles for a Bit of Sparkle
That’s it! That’s all of them!
The reason that I’m sharing this with readers?
Because this blog, photography and PicMonkey have filled the creative void in my life left by the fire. Blogging, photography and photo-editing are something completely different and new that I’ve never done before and because of that, I’ve been able to find a new outlet for my creative energy! So, thanks, PicMonkey!
So, back to the collage tutorial and the photo collage above…
In these photos, I was attempting to create the butterfly chandelier I’d seen on Pinterest out of old sheet music. I was somewhat successful {grin} in that I created the butterflies, but not the chandelier part.
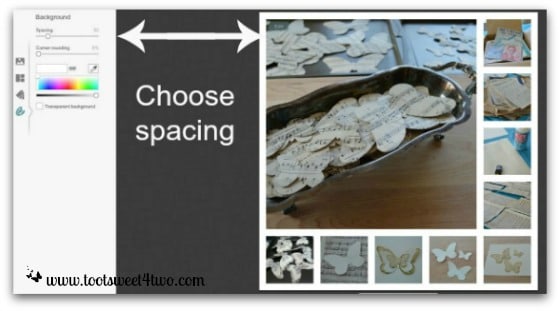
In the photo above, you can see that I’m attempting to teach you how to create “spacing” on your collage. By dragging the bar left or right, you can reduce the spacing or get rid of it all together (left) or increase the spacing between your photos (right).
This spacing bar is one of the few editing functions that you can do in “Collage”. The other “editing” feature that users can do in “Collage” is drag the borders to change the dimensions of your collage.
Users can also delete boxes from the collage, which makes the remaining boxes larger. Play around with this feature and you’ll understand!
All other editing features can be done in “Edit a Photo”. So, once you create your collage, at the top of your dashboard is an “Edit” button. Clicking on that button will transfer your collage to the “Edit a Photo” section and there users can add text, overlays, resize, etc.
Anyway, the “Spacing” tool allows you to create space between your collage photos or no space at all.
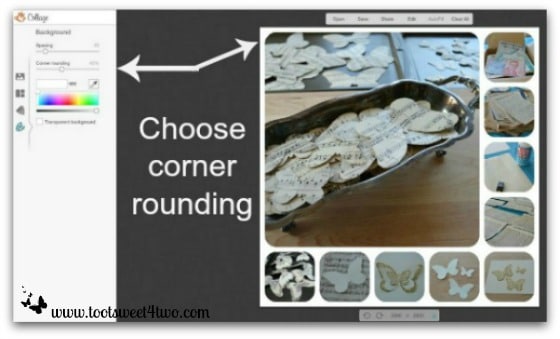
The other limited editing tool in “Collage” allows you to round the corners of the photos in your collage.
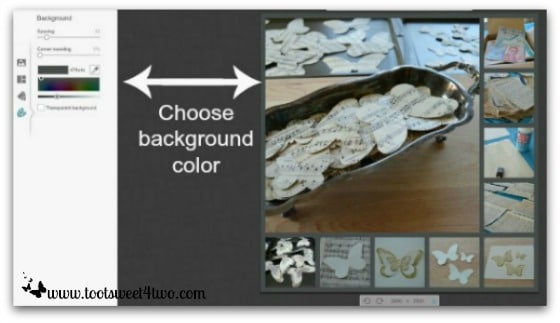
And, you can change the background color by using the color bar. For this tutorial, I chose a shade of gray.
That’s it! All done! Save your masterpiece and click “Edit” to make it even more masterful!
Visit PicMonkey Basics: Edit a Photo for a refresher course on photo editing and take your collage to the next level!
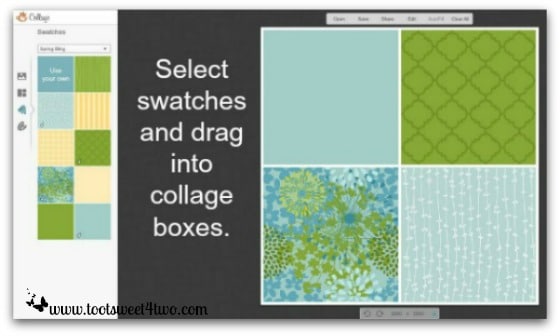
The “Swatch” tool allows you to choose PicMonkey’s swatches and add them to your collage. You can also upload your own swatches.
Here’s an example of how to use “Swatches”: say you love the flowered swatch shown in the bottom left in the photo above. And, you want to use that swatch plus add text, overlays, whatever, in your collage.
Here’s what you do:
- Add the swatch to one of the layout boxes
- Add the photos to the remaining boxes (if you use “AutoFill,” it will load the photos to all the empty boxes and your swatch will still be where you put it)
- Then click on “Edit” at the top of the dashboard and finish glamorizing your collage.
Here are ways that I’ve used the Create a Collage feature personally and for my blog:
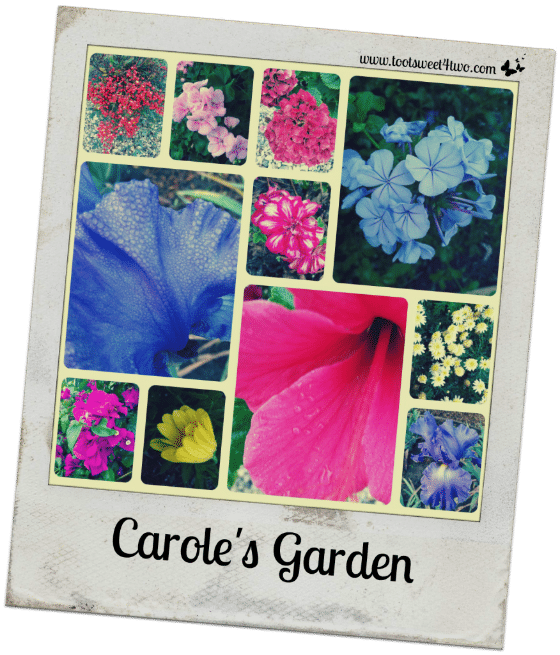
Carole’s Garden is a Polariod created in PicMonkey from my pre-fancy, dancy camera days. I took photos with my iPhone and while somewhat decent photos, they weren’t great photos. By creating a collage and then editing the collage and applying the Polariod frame, I made it special to me! This photo is from my post, Good Photographs.
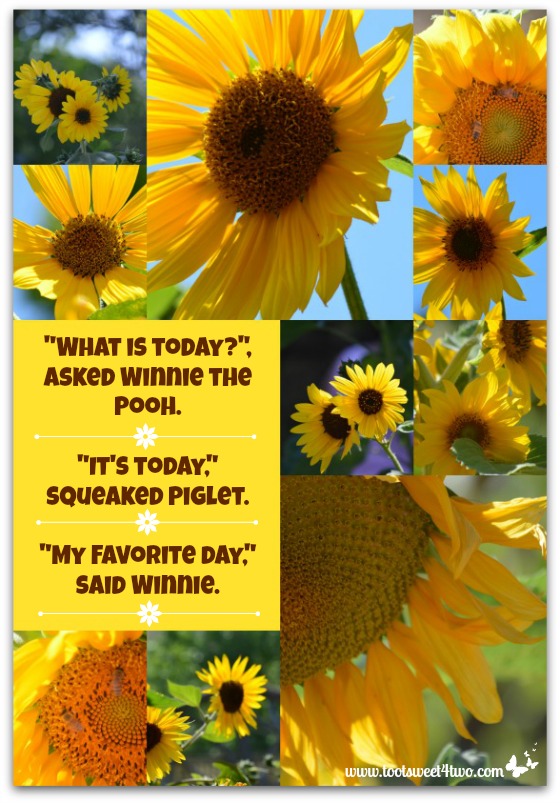
In this collage of sunflowers, I “zeroed” out the spacing in the collage. This photo is from my post, My Favorite Day.
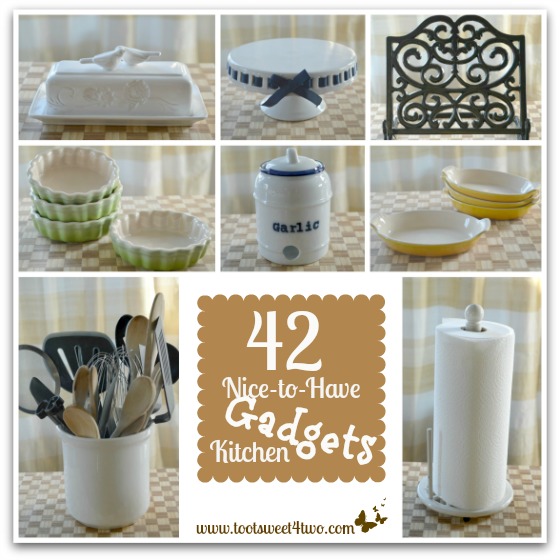
I created this collage for my post, 42 Nice-to-Have Kitchen Gadgets. I create household inventory checklists (as a result of losing my home in the fire) and share them on this blog.
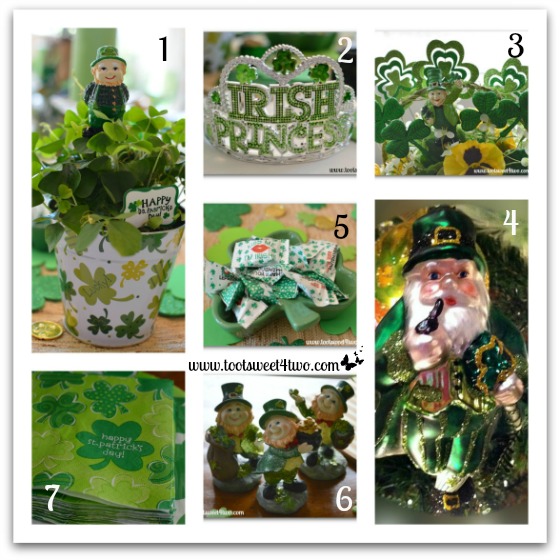
This collage is part of my Decorating the Table for a St. Patrick’s Day Celebration post.
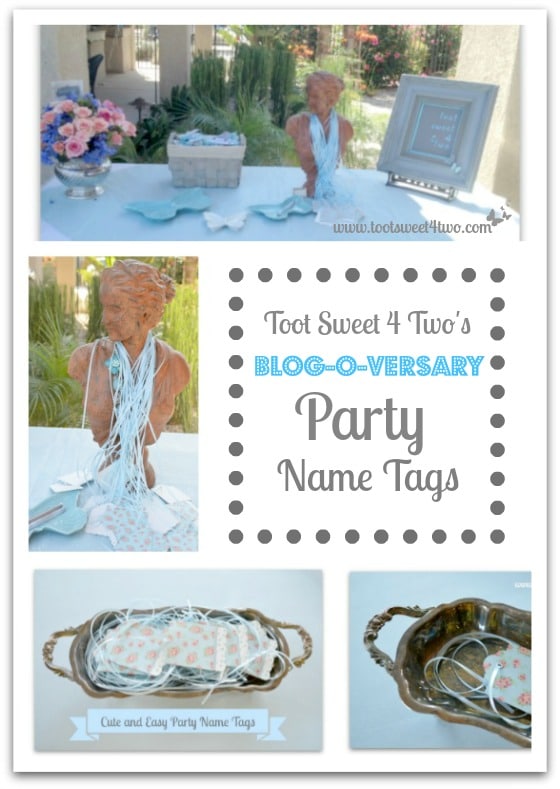
This collage is in my post, Toot Sweet 4 Two Turns One: Blog-o-versary Party Recap.
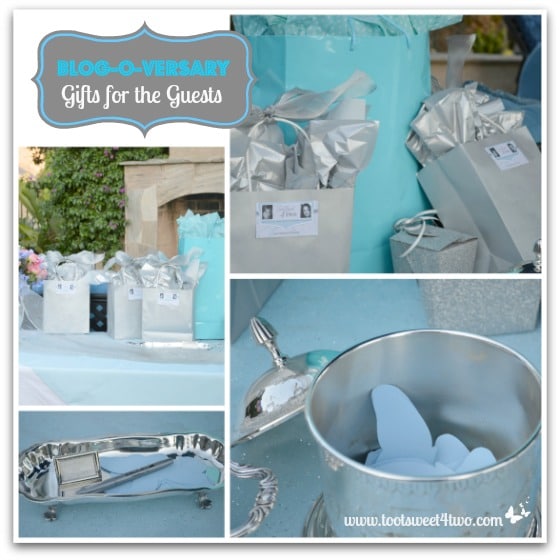
This one, too, is in Toot Sweet 4 Two Turns One: Blog-o-versary Party Recap.
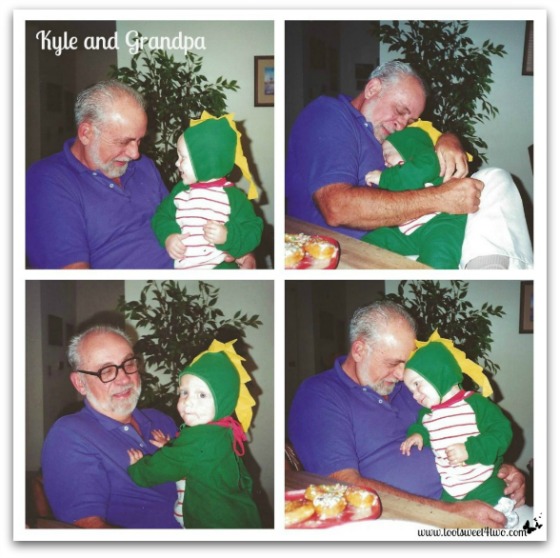
These are 20+ year-old photos of my Dad and my nephew, Kyle. I shared this collage, and other family photos, in a series of posts I did on the loss of my father in 2013 (I still miss him; I guess I always will). This one is part of the post, Sons of My Father.

These photos of the adorable baby panda at the San Diego Zoo were taken with a zoom lens. He was high in a tree and while the photos are okay, in and of themselves, they aren’t fantastic. Combining them all into a collage and sharing it on my post, 42 Things to do at the San Diego Zoo, just made him cuter!
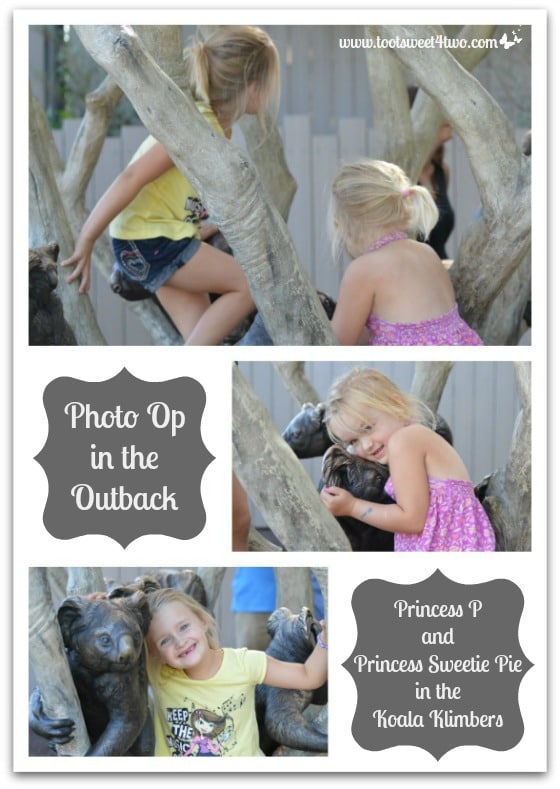
These are my great-nieces, Princess P (yellow t-shirt) and Princess Sweetie Pie (pink dress), at the Zoo in the Koala exhibit climbing all over the area the Zoo has made for family photo ops.
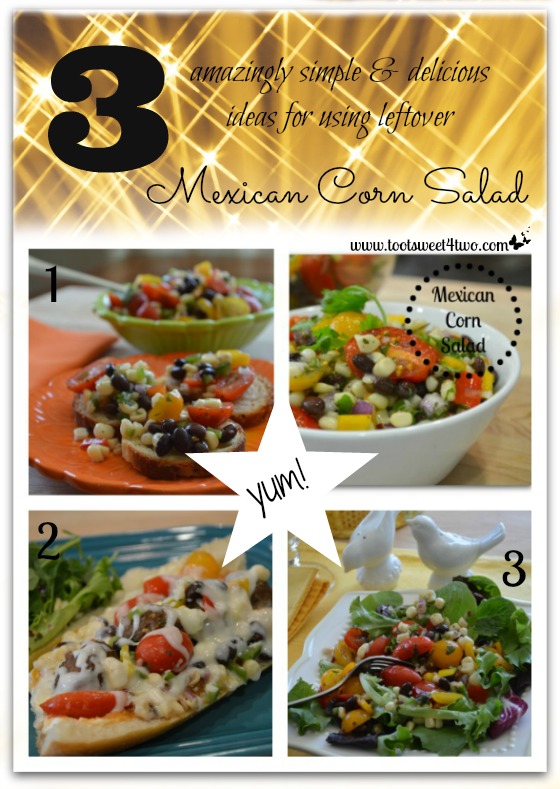
This collage is self-explanatory and here’s a link to the actual post: 3 Amazingly Simple and Delicious Ideas for using leftover Mexican Corn Salad.
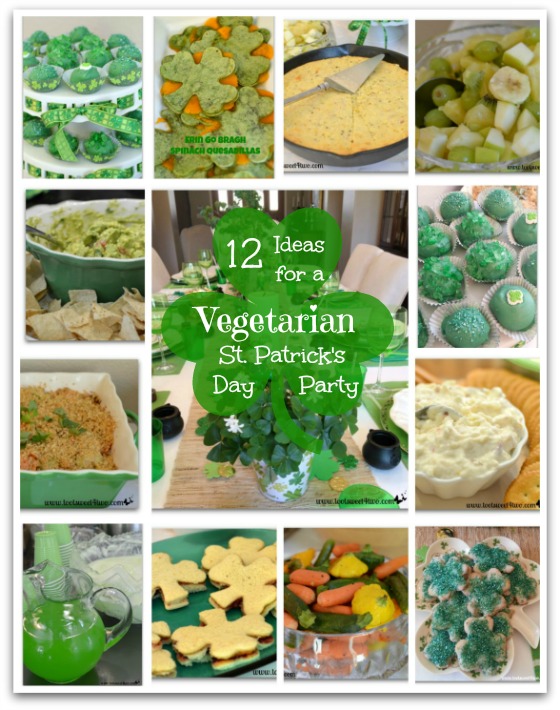
This St. Patrick’s Day party food collage is part of a post called The Post-St. Patrick’s Day Post.
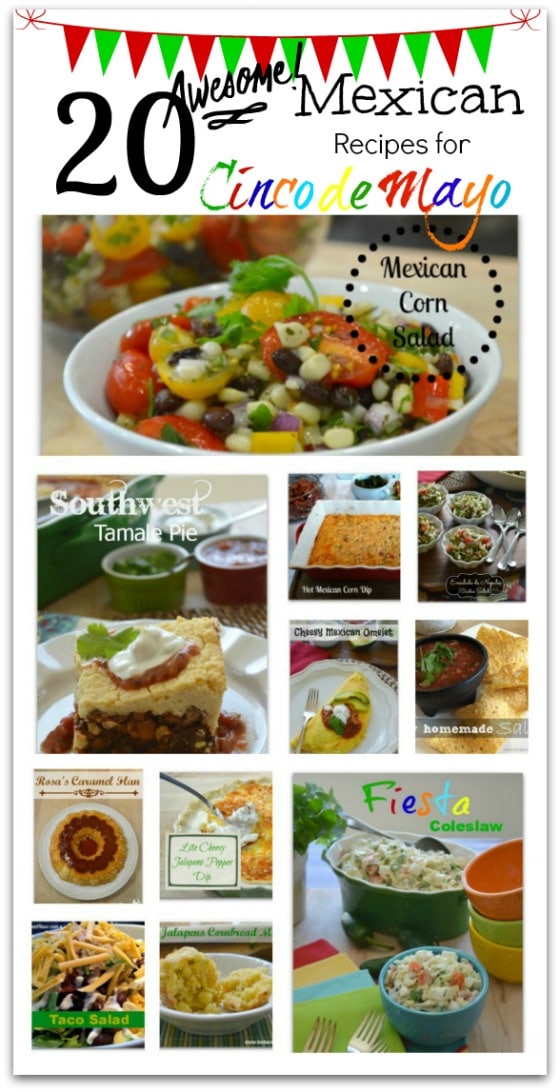
Cinco de Mayo recipe round-up collage, made for Pinterest – 20 Awesome Mexican Recipes for Cinco de Mayo.
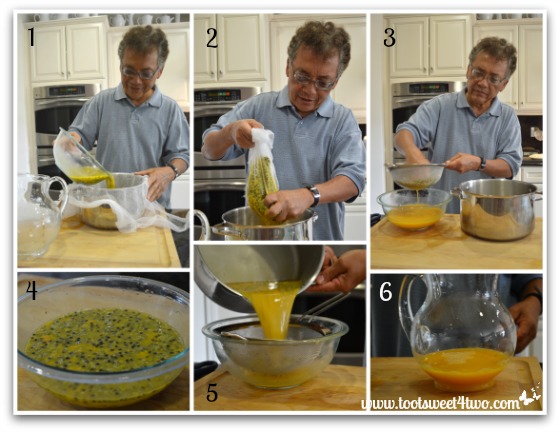
Some of the recipes on my site are “tutorials” in that they include photo instructions. This one, Passion Fruit Punch, features Carl, the husband of my friend Sita. They came over on day for a “Teach Me to Cook” lesson and while Sita whipped up her Sita’s Calypso Rice and Sita’s Curry Chicken, Carl made this delicious punch from a passion fruit tree he has growing in their yard.
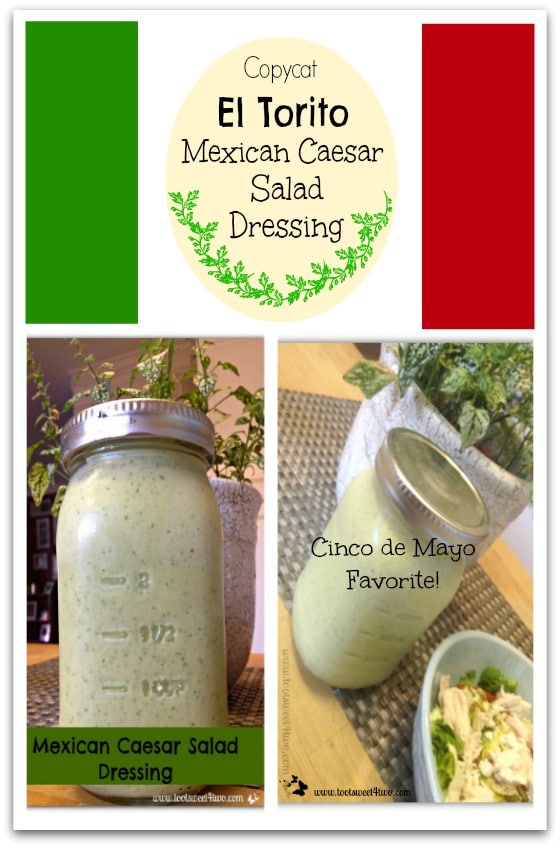
This Mexican Caesar Salad Dressing post’s photos, done by Tiffany, were taken with an iPhone. While the photos are good for an iPhone, they could be improved by reshooting the recipe with a DSLR camera. However, and it’s a big however, this recipe is popular and performs well in the search engines, sending a good amount of traffic to our site. So, my philosophy about this is
“don’t fix it if it ain’t broke”!
So, instead of making the recipe again and reshooting it with my DSLR camera, I took the existing photos and made a Pinterest-worthy, highly-pinnable collage!

This recipe, Goldenrod Eggs, is an older recipe on our site. While taken with a DSLR camera, the lighting is poor and the photos just okay (taken in my early days of learning how to use this fancy, dancy camera – I’m still learning!). Anyway, rather that remake and reshoot an existing recipe, I’ve lifted the old photos from the post, lighten the exposure in PicMonkey’s “Edit a Photo” section, then made a Pin-worthy collage.

Ditto this Grilled London Broil post: rather than remake and reshoot an older recipe, just made it more Pin-worthy in PicMonkey!

This recipe, Firecracker Pie Crust Stars, is huge for me! Huge in that I posted it on July 3rd and pinned it to Pinterest on July 3rd and 4th. Since that time, it has been pinned 496 times, which is huge for me! Have I said “huge” enough? By next year, this could be one of our top pins, all because I made this PicMonkey collage!
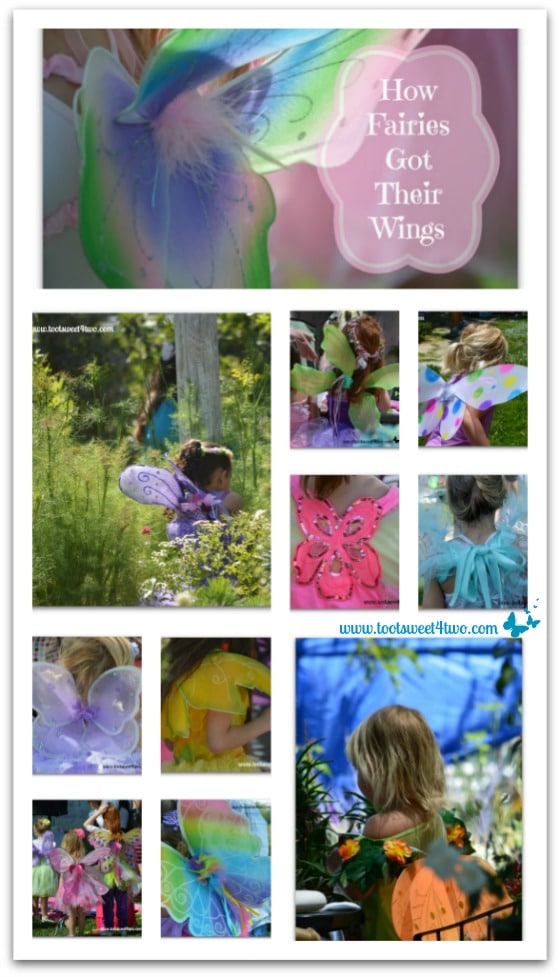
I use PicMonkey’s collage feature to “tell stories”, too. All these beautiful fairy wings are separate photos in my post, How Do Fairies Get Their Wings. I made this collage for Pinterest to reel in readers by telling a story visually.
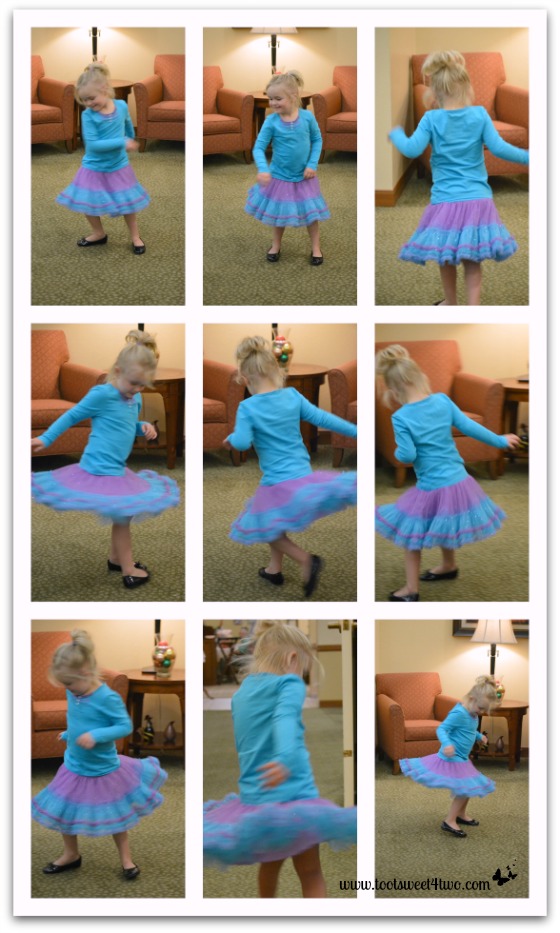
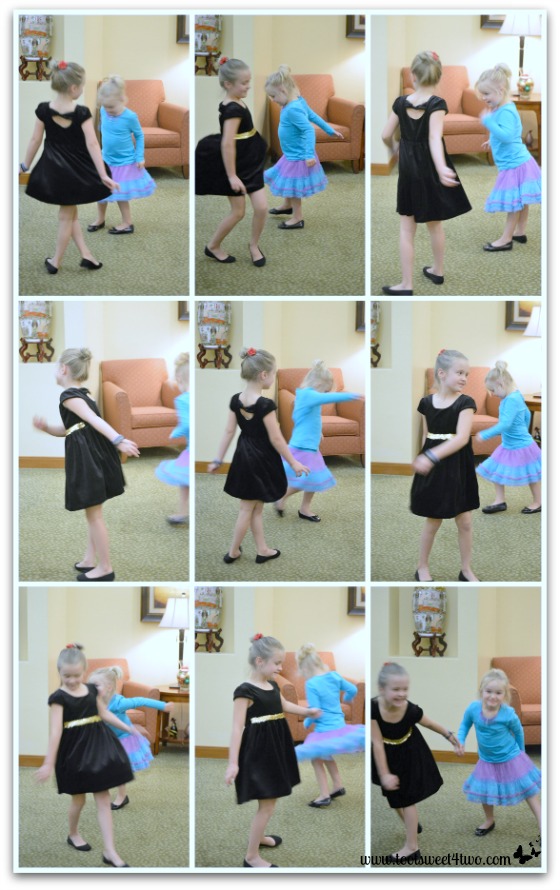
The photos above and below, my great-nieces aka the Dancing Queens, are part of the post, Make Your Own Kind of Music. The photos, in and of themselves, are not that good – blurry, poor exposure, poor color temperature; because when I took them, I still didn’t know much about using my fancy, dancy DSLR camera and it was set on “auto.”
But, I was telling a story and the photos are an integral part of the story, so I used them anyway, but made them into collages in PicMonkey for two reasons:
- so that I wouldn’t have to edit and download 18 photos of the dancing queens individually, and
- I didn’t want to waste readers’ time with visually so-so photos.
By making them into a collage that tells a story, the reader can “see” the story unfold with their own eyes.
You now have mastered the basics of PicMonkey’s four main menu options!
Go forth, have fun monkeying around with the monkey and create all kinds of awesomeness! The world is your oyster…
Tootles,

Related Posts:
(other PicMonkey tutorials)
- Call of the Wild
- DIY Valentine Bookmarks
- Here Comes Peter Cottontail – A PicMonkey Tutorial
- How Did You Do That? A PicMonkey Halloween Tutorial
- How to Make a Horizontal Photo a Pinterest-friendly Vertical Photo in PicMonkey
- How to Make Easter Placecards for Your Holiday Table in PicMonkey
(and a gift to you from PicMonkey)
Leave a Reply