To say I love PicMonkey is an understatement. I’ve written many, many posts about that adorable monkey and the many ways he has helped make the photo editing process easy for me. In fact, I think using PicMonkey is not only easy, but fun!
I have a category on this blog called Sweet Talk. It’s meant for inspirational and motivational quotes. I used to post a quote once a week, either on Sunday or Monday – my attempt to inspire and/or motivate me and my readers for the week ahead.
But, a funny thing happened. When choosing a photo to go along with the chosen quote, I’d end up having more to say then just the quote! Imagine that – me with more to say {grin}!
So, instead of assigning the quote to my Sweet Talk category, it would end up somewhere else on this blog, under a different category! But, here’s the good news: I also “tag” them as quotes, so if you want to see all the quotes on Toot Sweet 4 Two, just search “quotes”!
Why am I sharing this with you? Well, that’s exactly what happened today.
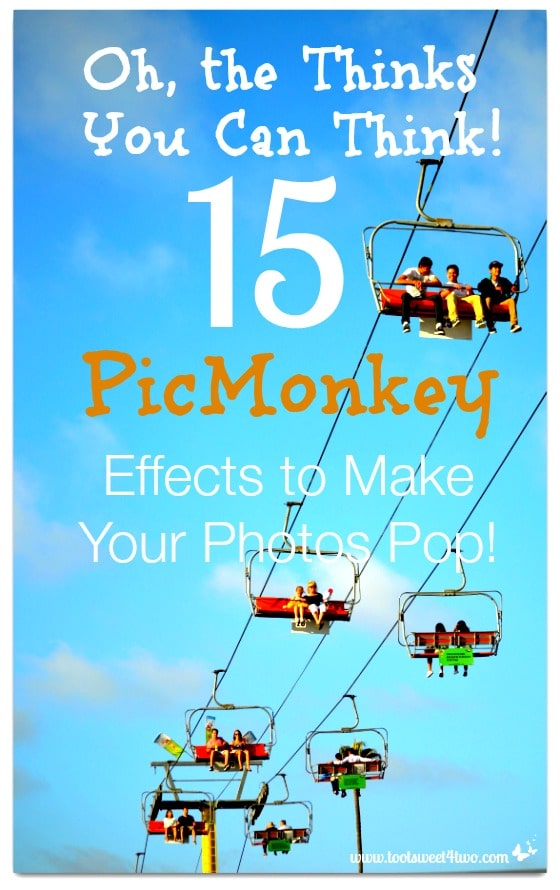
Today I wanted to share a Dr. Seuss quote with readers, Oh, the Thinks You Can Think. And, in the process of photo editing, I was having so much fun with the monkey that I ended up with 15 PicMonkey effects to make your photos pop! I could have ended up with 30+, but I decided to end this at 15 {grin} – a good number, don’t you think?
Think left and think right and think low and think high.
Oh, the thinks you can think up if only you try!
– Dr. Seuss
PicMonkey is a free, online photo editing site, with an optional upgrade to their “Royale” features. More than half the features on PicMonkey are free and you don’t even need to create an account to use PicMonkey. Just upload a photo and start playing around with the monkey!
PicMonkey’s “Royale” plan allows you to use all the photo editing features on their site for a small monthly fee or an even smaller annual fee. At the time of this post, the cost for Royale is $4.99 a month or $33.00 annually.
Here’s my original photo, taken in June at the San Diego County Fair. We (Californians) have regional fairs and county fairs because the State of California is so large, we don’t have just one fair!
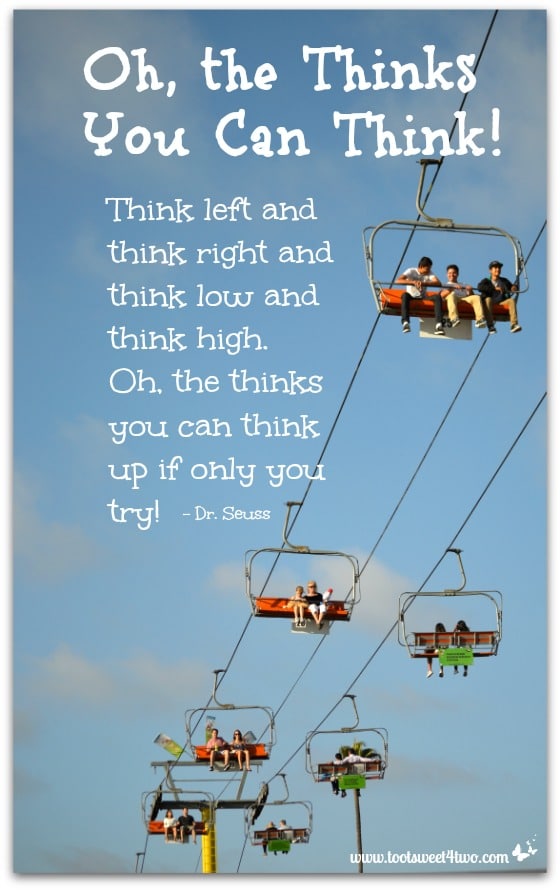
If was a gray, cloudy day (in SoCal, we have what we call “May gray, June gloom”) and I didn’t take many photos because it just wasn’t optimal lighting. Towards the late afternoon, the cloud cover started dissipating and blue skies peeked thru. But how to make this photo “pop”?
Here’s how:
- Open PicMonkey.
- Choose “Edit a Photo” and upload your desired photo.
- If needed, resize it, or crop it in “Basic Edits.”
- Then choose the magic wand icon, which is “Effects.”
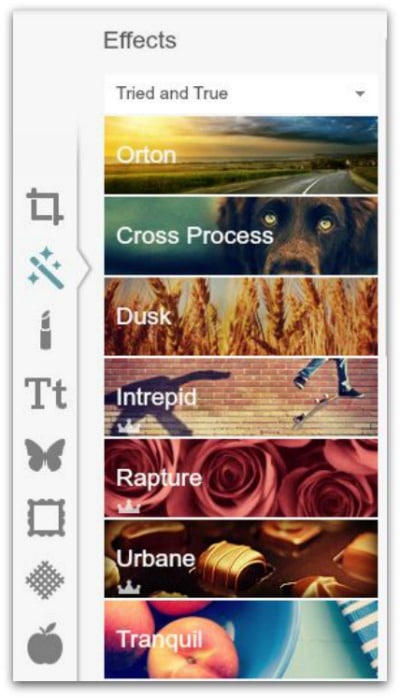
The crown to the right under the name of the “Effect” indicates that the feature is a “Royale” upgrade feature.
I just went down the line, starting with Orton (free) and ended up with 15 PicMonkey effects to make my photo pop in seconds! Thus, this post was “born” {grin}!
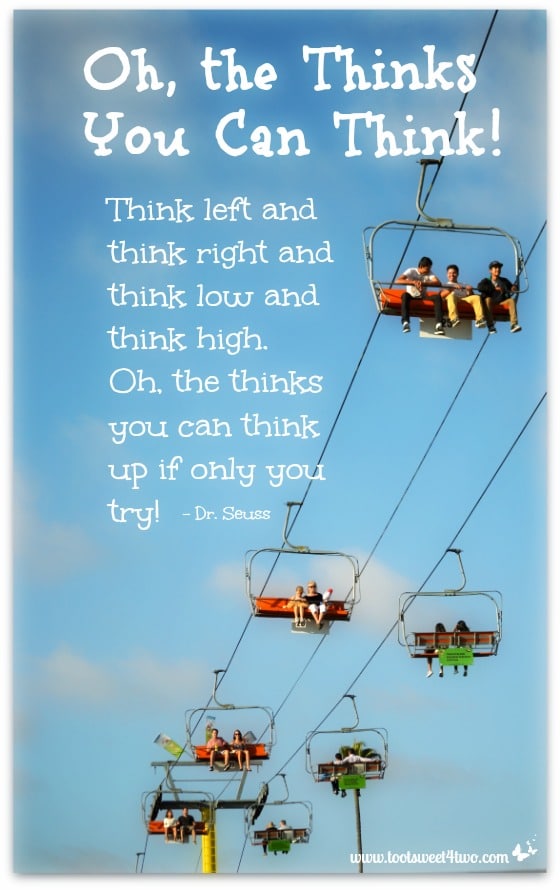
This is the same photo, but just clicking on the “Apply” button in “Orton” and doing nothing else. “Orton” allows you to do other effects, but I just used the defaults.
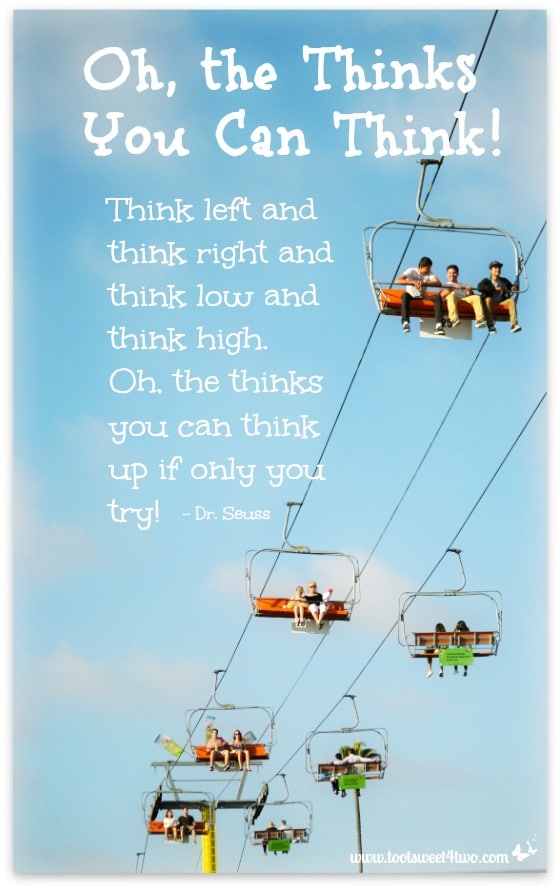
This is “Orton” pumped up in that I moved the “Bloom”, “Brightness” and “Fade” bars.
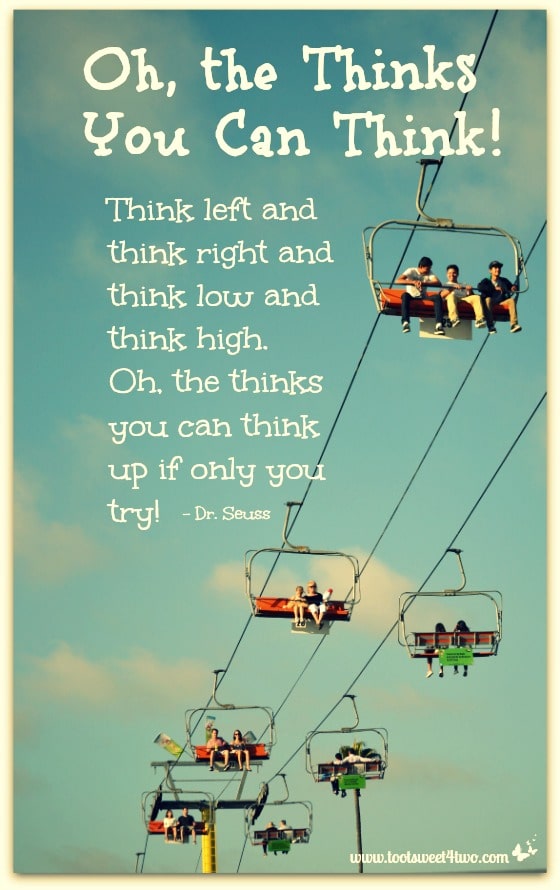
This is “Cross Process – Green” (free).
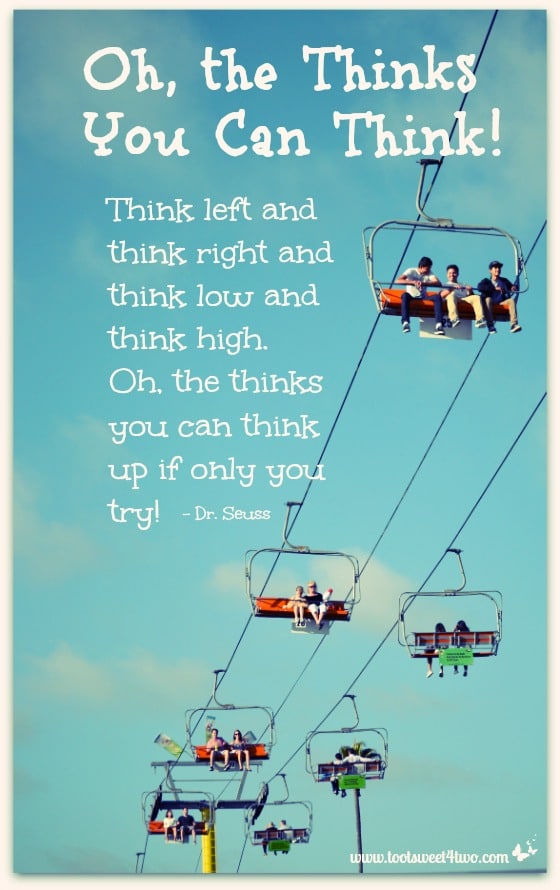
This is “Cross Process – Blue” (free).
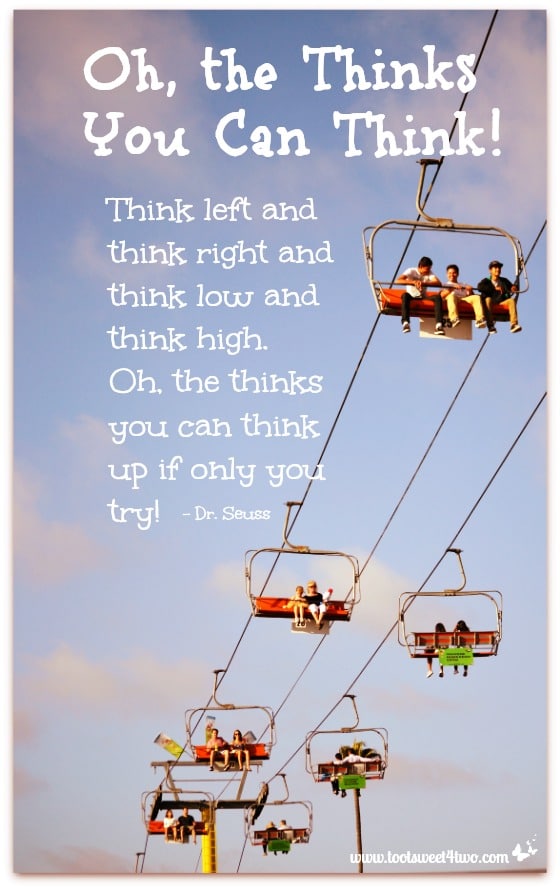
This is “Cross Process – Red” (free). Each of these choices give the photo an “aged” quality. Notice that “Red” makes the clouds appear as if in a sunset sky.
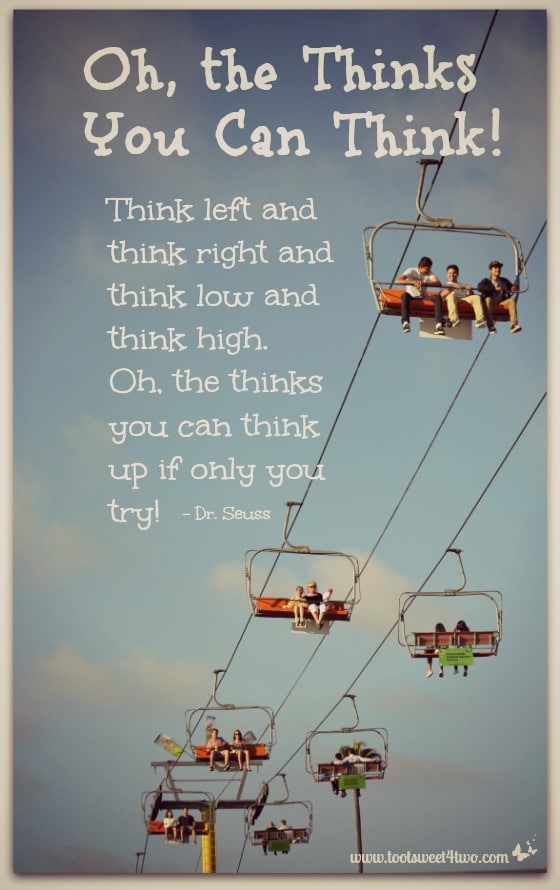
This is “Dusk” (free). I also have a “Drop Shadow” frame around it. Actually, all these photos have a “Drop Shadow” frame. I use the “Drop Shadow” frame on 99% of the photos on this blog because it makes the photos appear to “float” on the screen and I like the look.
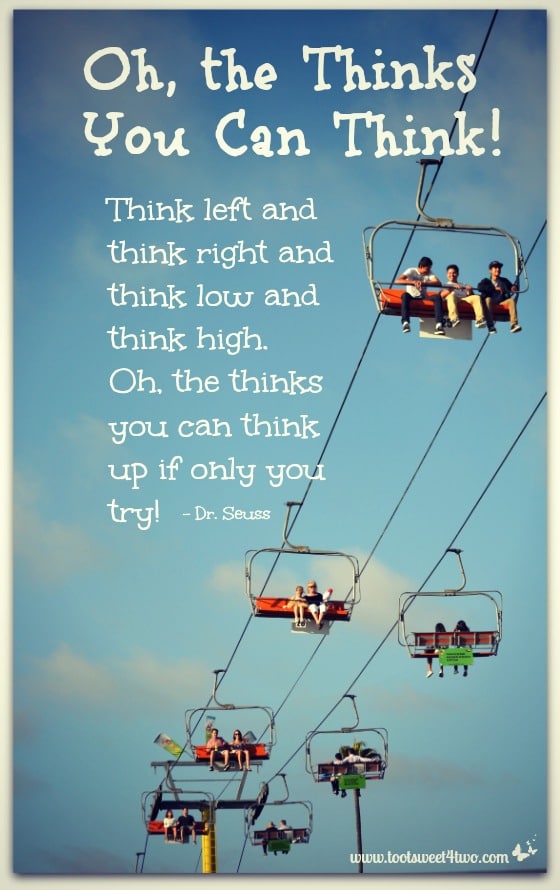
This is “Intrepid” (Royale).
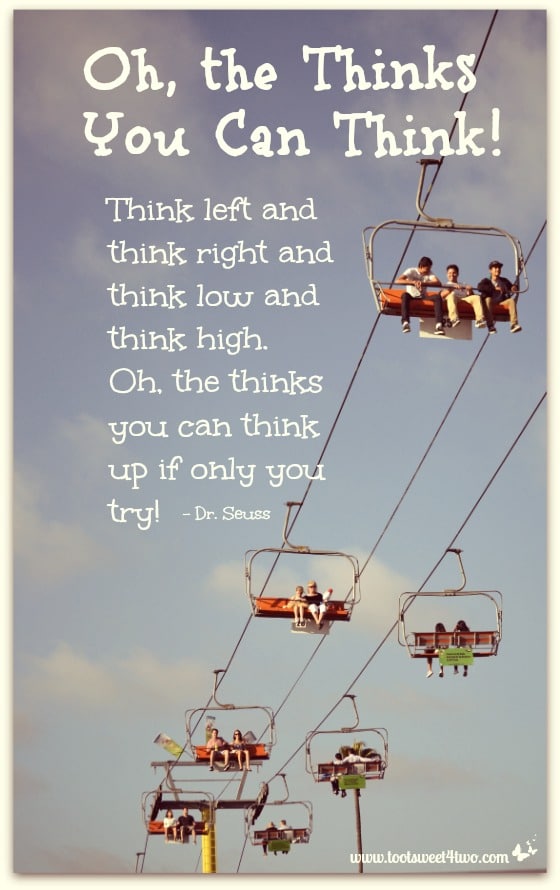
This is “Rapture” (Royale). As respects the “Drop Shadow” frame, if I apply the “Effect” first, in this case “Rapture” and then add the frame after, the shadowy frame around several of the above photos would disappear. Here’s a photo to show you what I mean:

Photo above: “Drop Shadow” frame added after applying “Effect”.
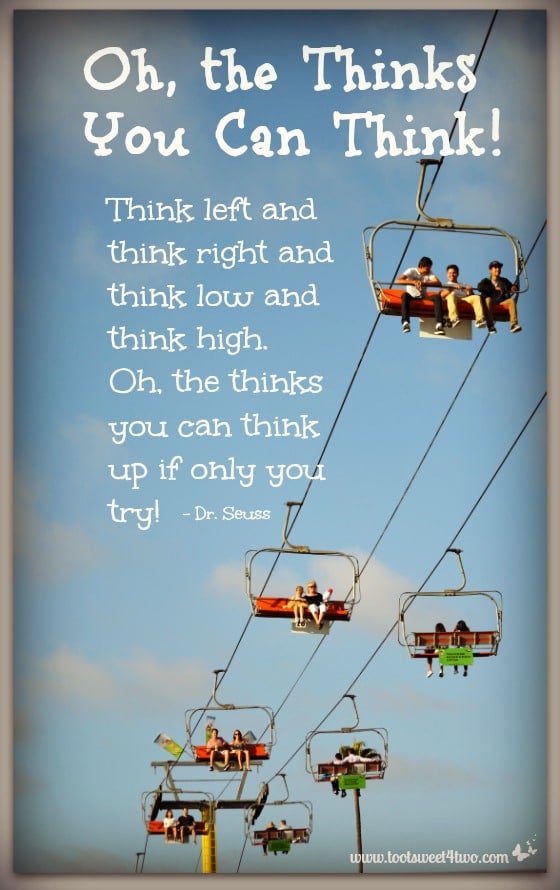
This is “Urbane” (Royal).
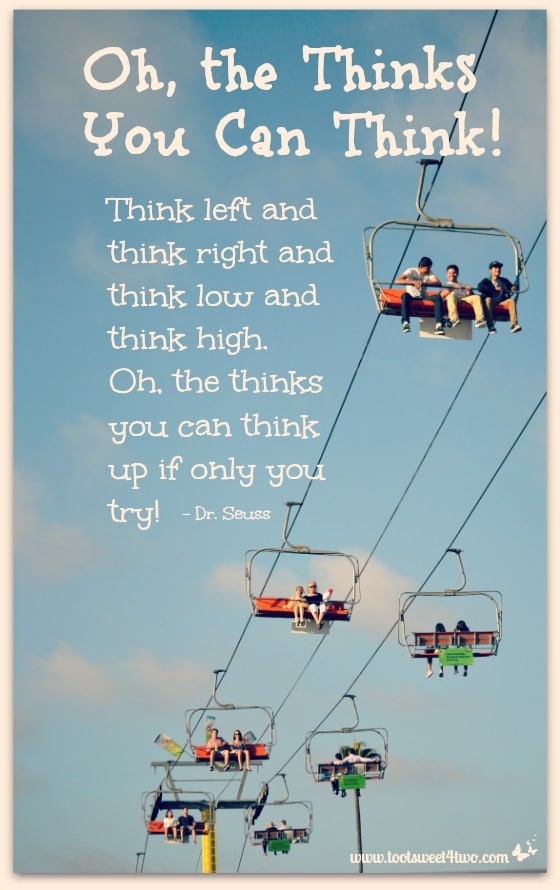
This is “Tranquil” (free).
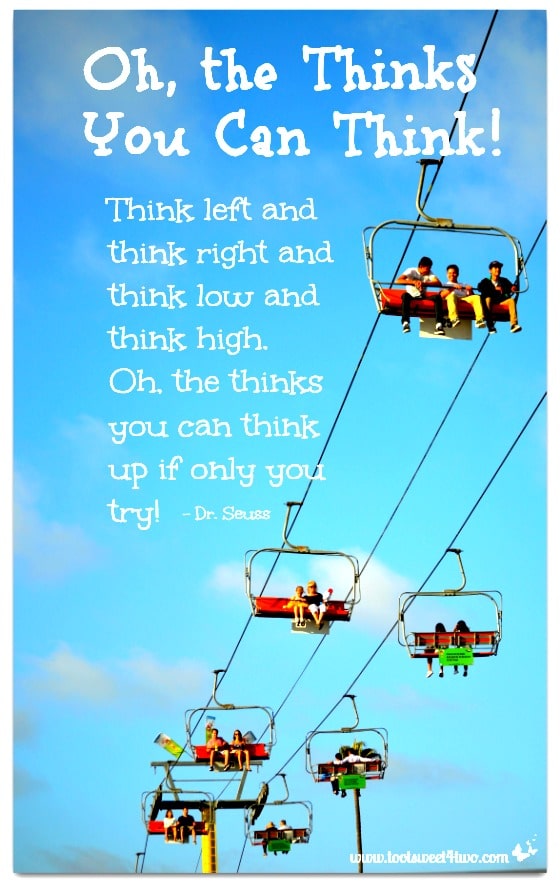
This is “Boost” (free).
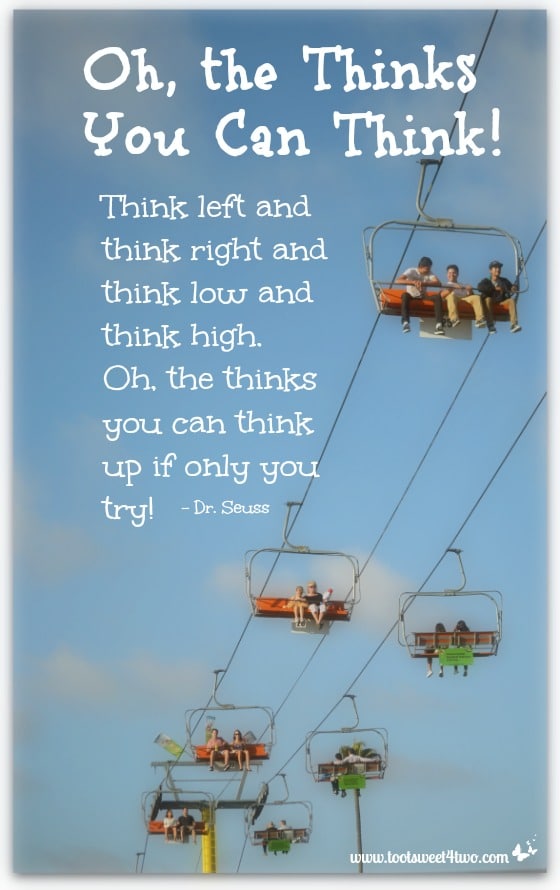
This is “Soften” (free).
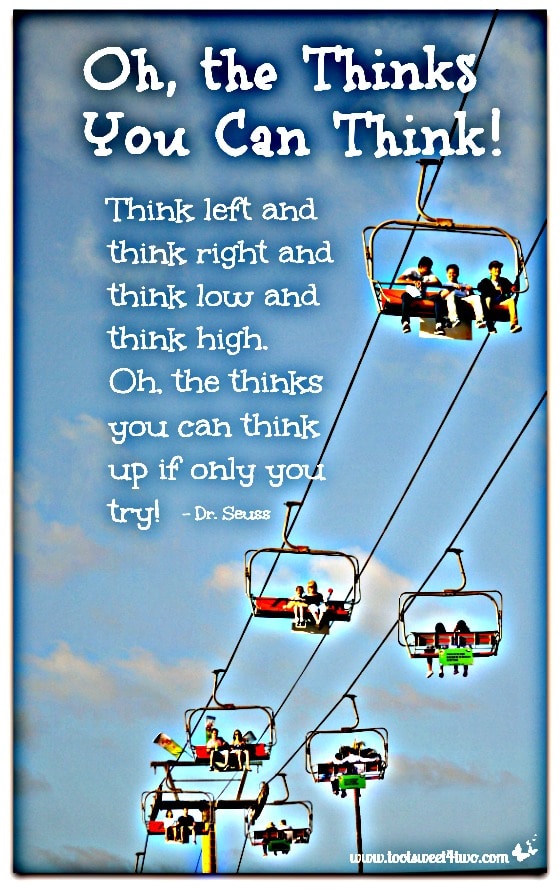
This is “HDR” (free).
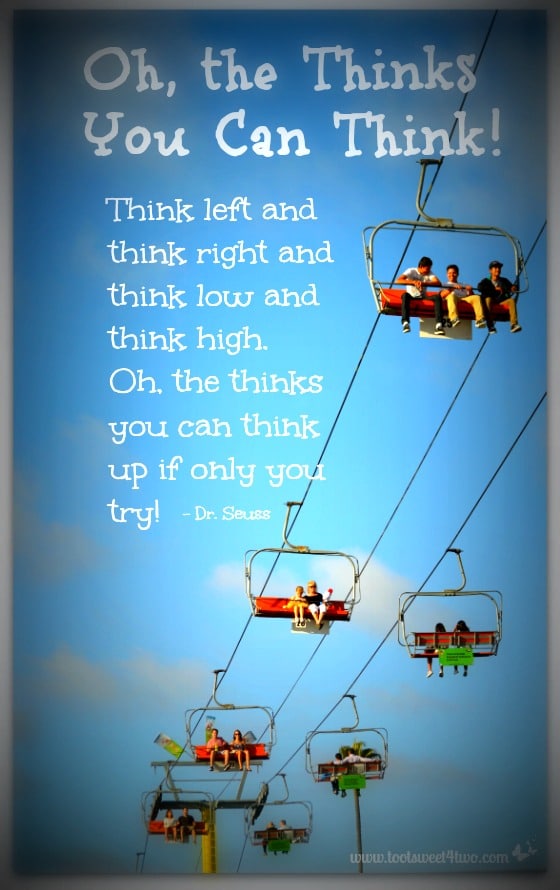
This is “Lomo” (free).
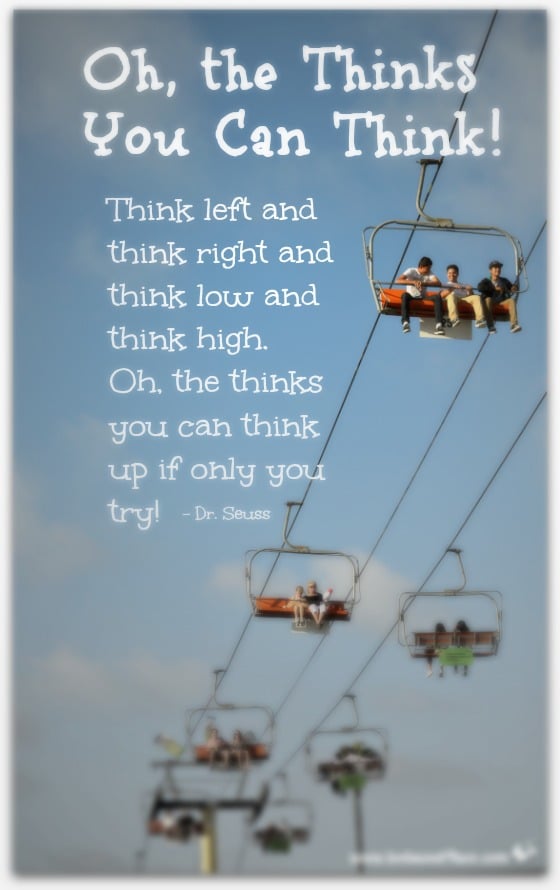
This is “Fancy Focus” (Royale).
All in all, there are 45 different “Effects” under the magic wand to play with and 28 of them are free!
By the way, in all these photos, accept the “Orton” one I “pumped up” a little, I just clicked on the effect, left the effect at its “default” and clicked “Apply”. It literally took a split second! So, to edit each of these photos and save them to my computer took me about 5 seconds each! Pretty supercalifragilisticexpialidocious, if I say so myself! The monkey is doing back flips!
So, what’s my favorite? For this application, it’s “Boost”. That’s why I chose it for the cover photo.
What’s yours?
Tootles,

P.S. A “shout out” and a big THANK YOU to the PicMonkey team for “the Thinks You Can Think” for developing a super easy, user-friendly, mostly free site that makes photo editing, graphics creation and collage making a breeze!
Related Posts:
(other PicMonkey tutorials or other posts that have PicMonkey tips in them)
- Call of the Wild
- DIY Valentine Bookmarks
- Here Comes Peter Cottontail – A PicMonkey Tutorial
- How Did You Do That? A PicMonkey Halloween Tutorial
- How to Make Easy Party Placecards using PicMonkey
- How to Make a Horizontal Photo a Pinterest-friendly Vertical Photo Using PicMonkey
- How to Make Easter Placecards for Your Holiday Table in PicMonkey
- PicMonkey Basics: Getting Started
- PicMonkey Basics: Edit a Photo
- PicMonkey Basics: Touch Up a Photo
- PicMonkey Basics: Design Your Own
- PicMonkey Basics: Create a Collage
And, here’s a FREE eCookbook, a gift to all from PicMonkey:
Thanks for showing how amazing our filters are. We love the way you think! Glad to see your a hard core Monkey fan!
Thanks, Anne, for your supportive comment! Yes, PicMonkey has revolutionized my blog and I’m a huge fan!