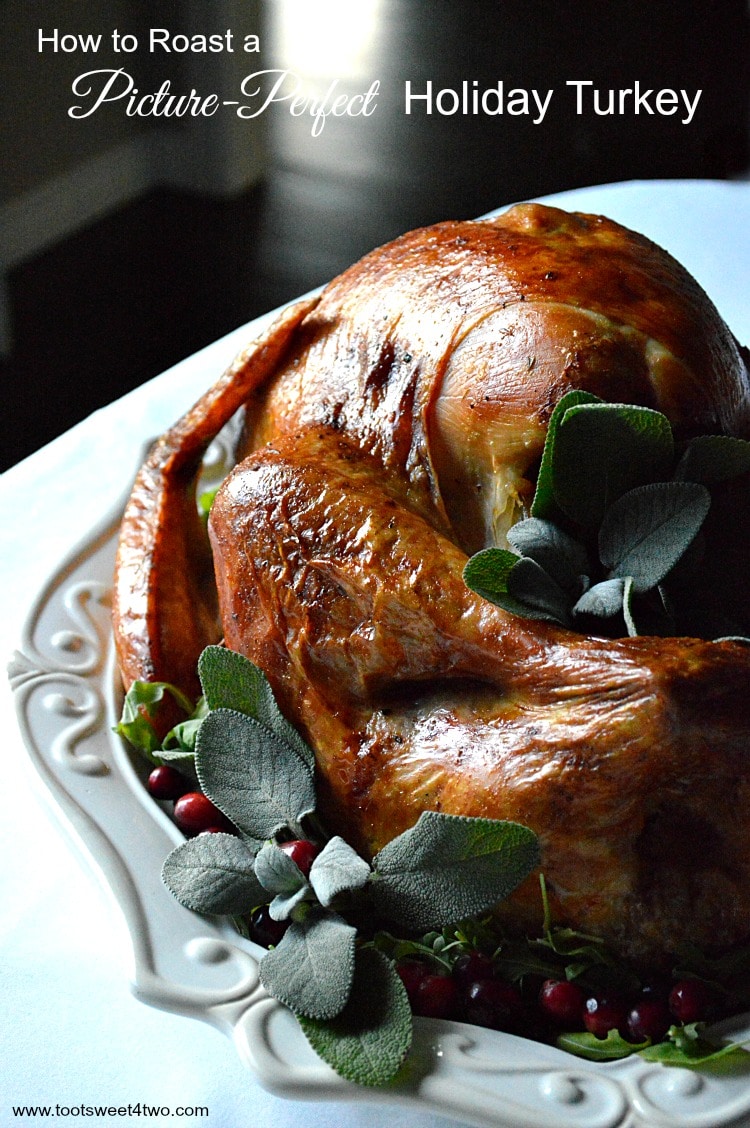
How to roast a picture-perfect holiday turkey has always alluded me. That’s because my parents preferred method of cooking roasted turkey was the Foil-wrapped Roasted Turkey method and since I learned from them, that’s what I always made. But, a Foil-wrapped Roasted Turkey does not guarantee a picture-perfect holiday turkey.
So, determined to learn how to roast a picture-perfect holiday turkey, I’ve reverted to a more classic, traditional cooking method to attain that picture-perfect result – the kind that Norman Rockwell made famous in his holiday pictures.
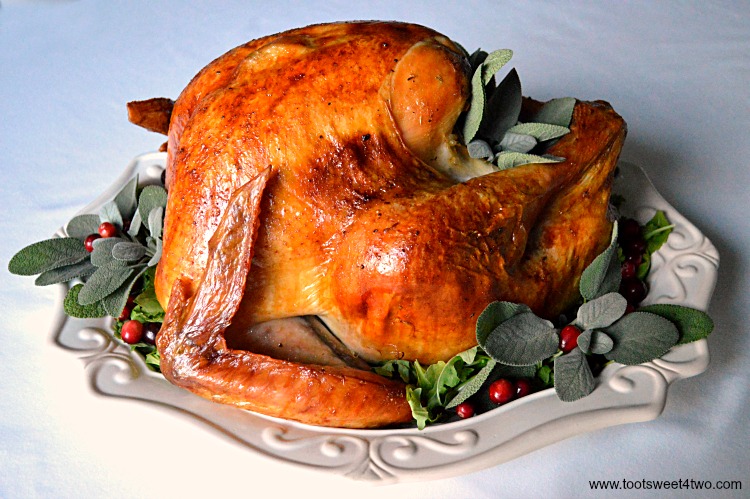
For years now, we’ve had roasted turkey for Christmas. Even though we have it at Thanksgiving, we cook another one a month later. We do that because my father had heart disease and other meat, like ham or roast beef, was off the table in the choice department. And, although he’s been gone for almost 3 years now, I think we will always have turkey on either Christmas Eve or Christmas Day to honor him.
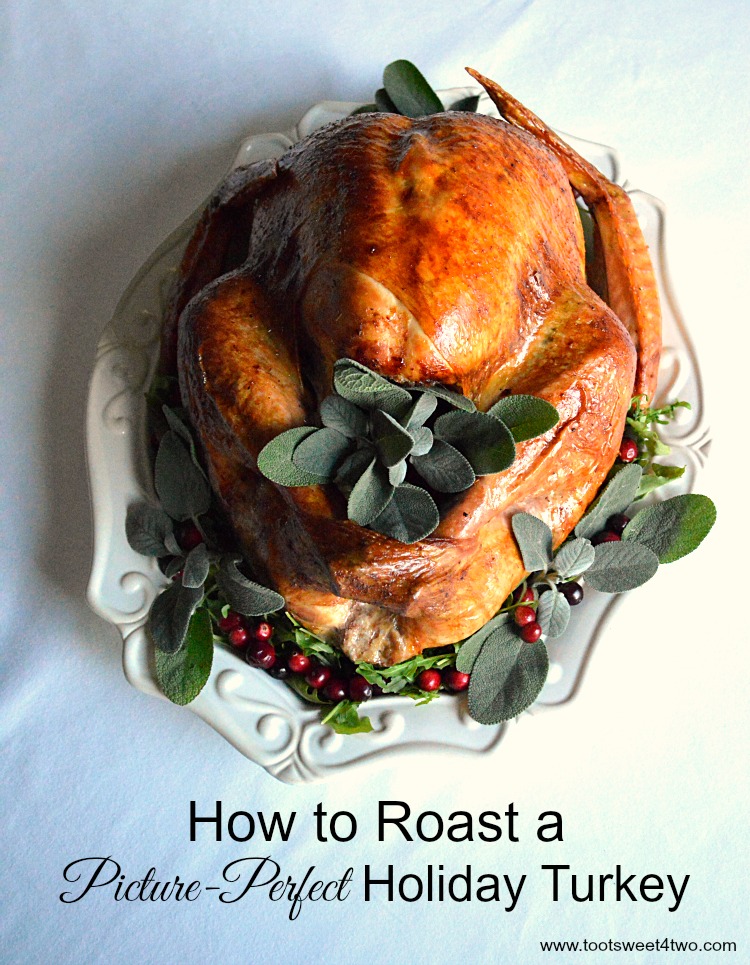
And, even though I’ve just now learned how to roast a picture-perfect holiday turkey (after 25+ years of making turkey), I think this effort would make my father proud and he’s smiling down on me from heaven!
I started out photographing my picture-perfect holiday turkey on one of my favorite throws. Here’s a picture:
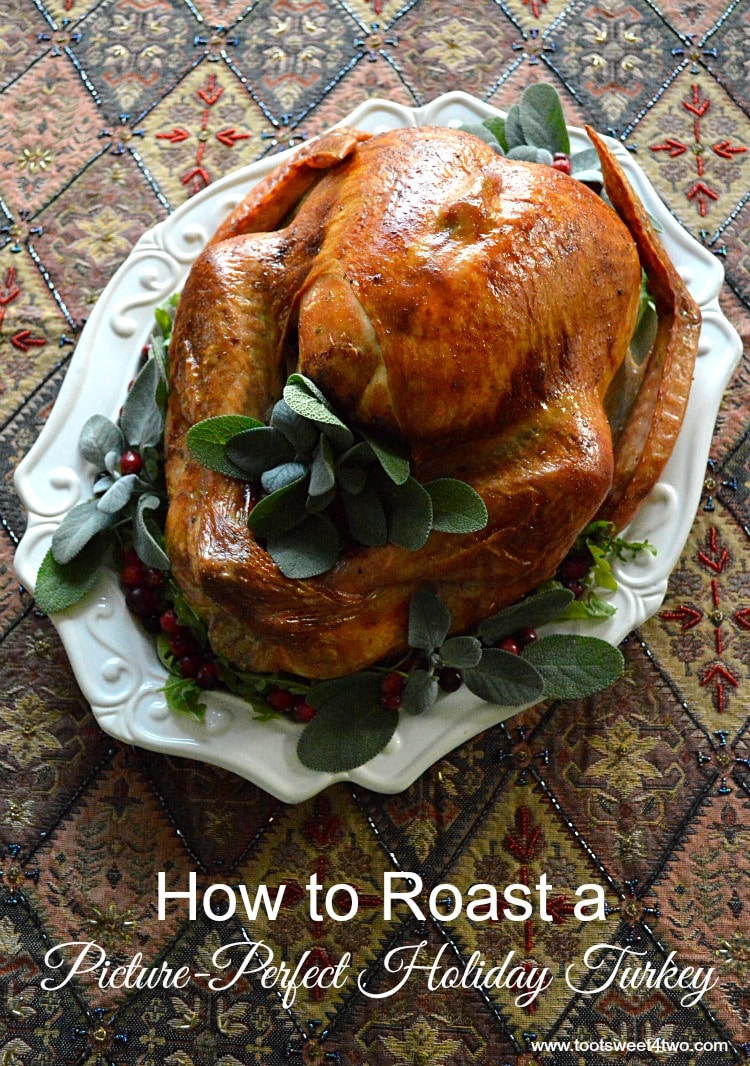
I’ve had this beautiful satin-lined throw for years, but have never used it as a throw because it’s sparkly with beads and fringe and I’m always afraid I’ll ruin it. But, I do use it for a tablecloth and decided it would be the perfect backdrop to showcase my picture-perfect holiday turkey. But, after a few shots, I thought maybe it was too busy and a white background would be better, so shot the rest of the photos on my dining room table.
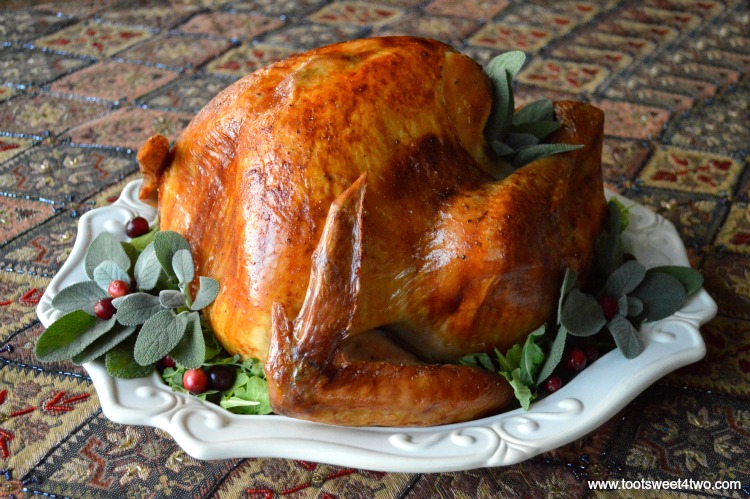
But during the photo-editing process, I couldn’t decide so you get the benefit of both!
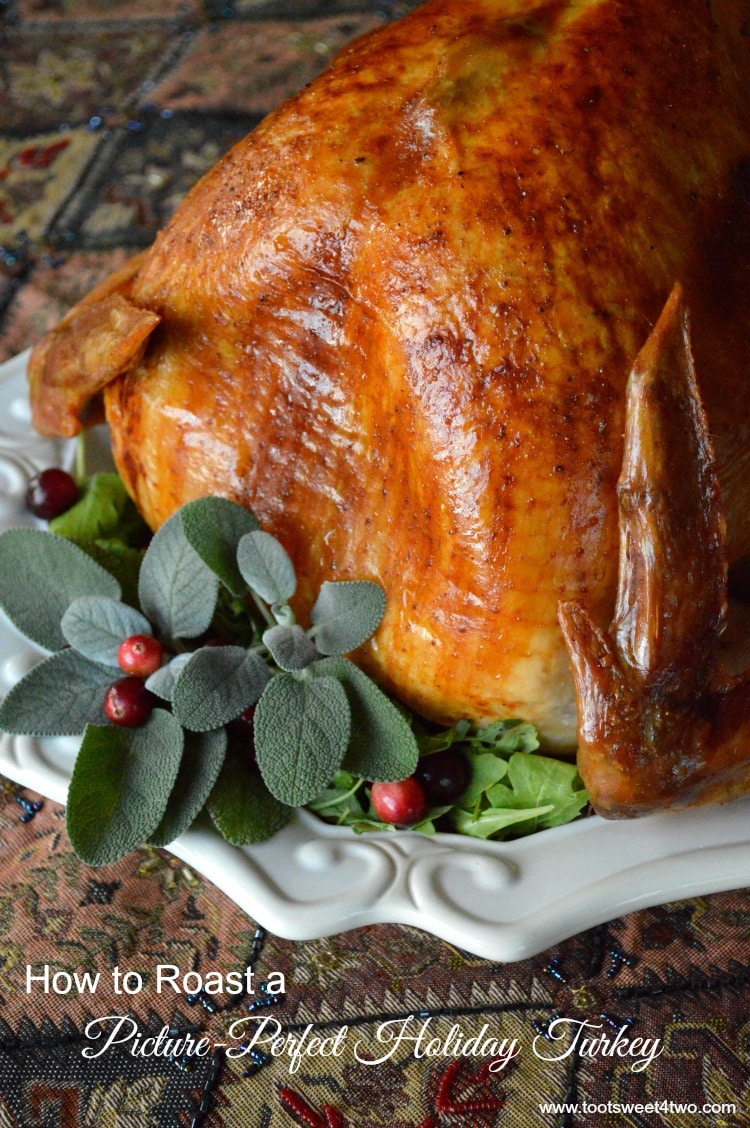
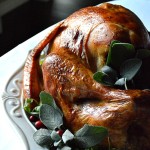
I tucked fresh sage, arugula and cranberries around the finished turkey – so pretty! For the life of me, I couldn’t get the wings tucked under this turkey! I struggled and struggled and even tried to break them to twist them under to no avail. Finally, I gave up and just covered them with foil during roasting so they wouldn’t get crusty and blackened!
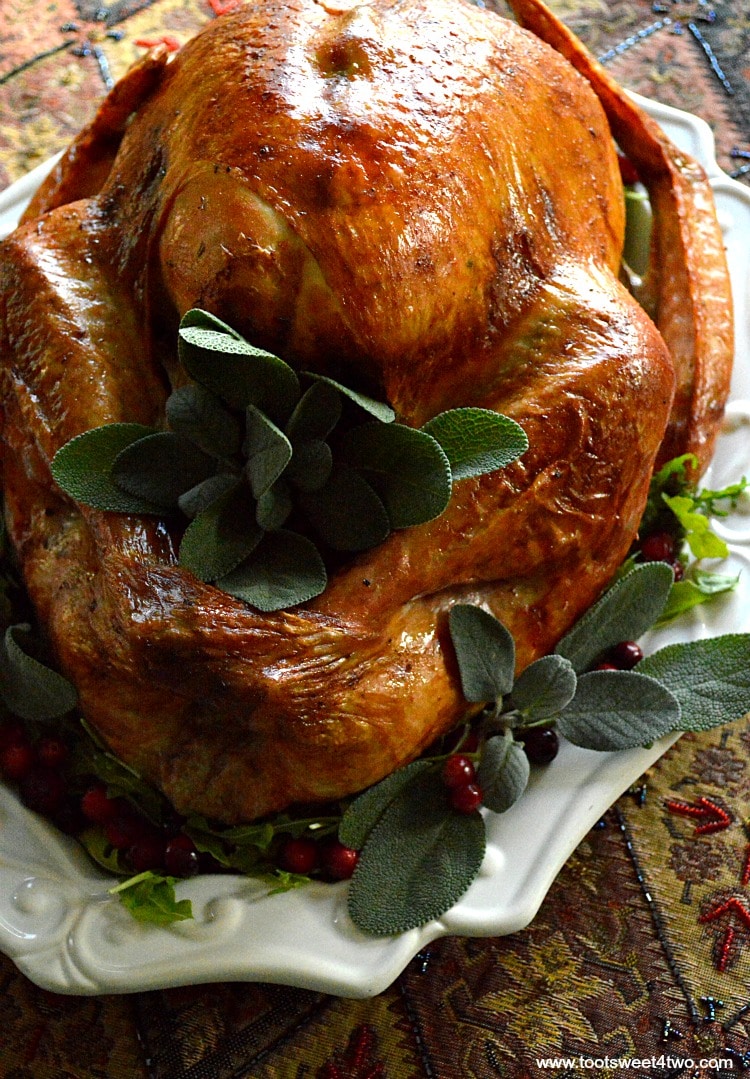
By the time the turkey came out of the oven and rested a bit, the light streaming through the window was just perfect! How did I get so lucky? Dad. Shining down on me from heaven.
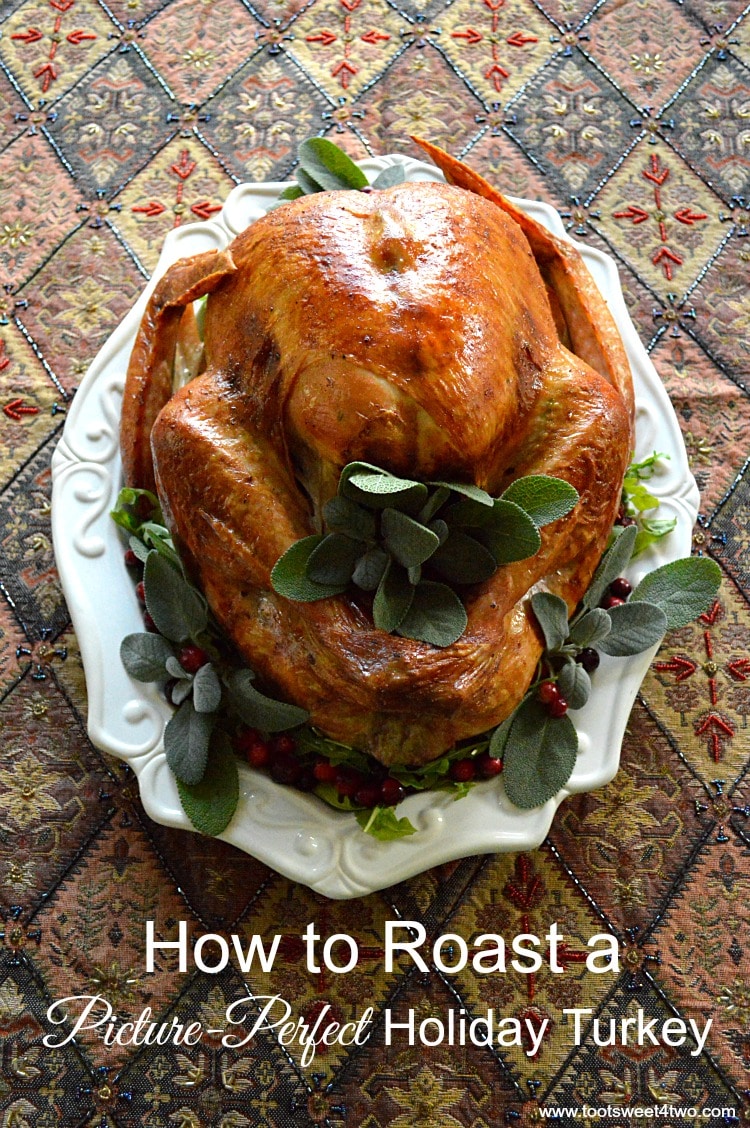
So, which do you prefer? The series on the white tablecloth or the series on the fancy throw? My favorite is this one:
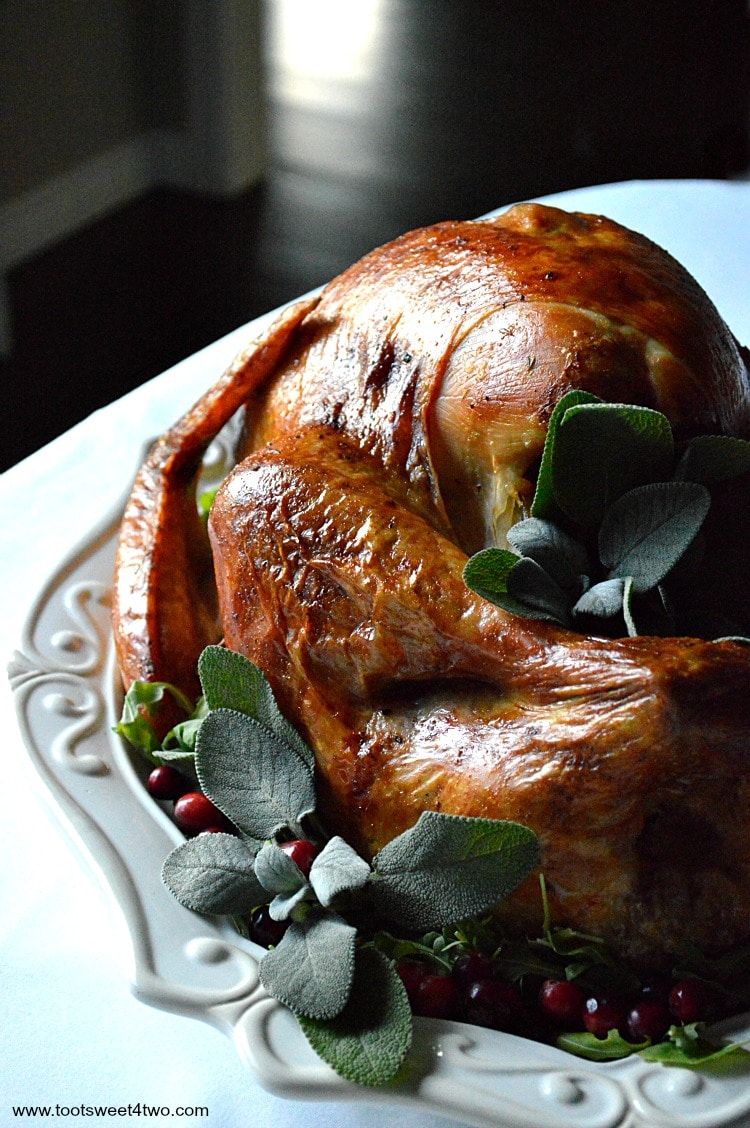
I love the light streaming in from the kitchen and our dark wood floors as part of the backdrop! Oh, did I mention that this turkey is not only picture-perfect but moist, succulent and delicious? Well, you and your family won’t be disappointed!
Here are two different collages to pin to your Pinterest board (thanks for sharing):


Here’s how to roast a picture-perfect holiday turkey:
PrintHow to Roast a Picture-Perfect Holiday Turkey
Whether having a turkey for Thanksgiving or Christmas, this recipe will result in not only a picture-perfect turkey, but a succulent, moist and delicious one, too.
- Prep Time: 30 mins
- Cook Time: 4 hours 30 mins
- Total Time: 5 hours
- Yield: 20 1x
- Category: Dinner
- Cuisine: American
Ingredients
- 1 – 20 pound turkey
- 2 large yellow onions, peeled and cut into sixths
- 3 stalks celery, washed and cut into fourths
- 1 stick butter (1/2 cup), softened to room temperature
- 1 tablespoon and 1 teaspoon Jane’s Krazy Mixed-Up Salt (or regular salt)
- 1 bouquet garni (fresh sage, thyme, rosemary tied together with kitchen twine)
- 1 head garlic, left whole but paper skin rubbed off and top trimmed
- 2 cups chicken broth
- Arugula, fresh sage and fresh cranberries for garnish (optional)
Instructions
To Prepare Turkey:
- Place frozen turkey (in its original packaging) in a large pan.
- Defrost in the refrigerator – this could take 5 days.
To Cook Turkey:
- Preheat oven to 325 degrees F.
- Once defrosted, place turkey in clean kitchen sink and remove packaging.
- Remove neck and giblet package and set aside (forPerfect Turkey Giblet Gravy).
- Rinse turkey under cold running water, thoroughly, drain and pat dry with paper towels.
- Place turkey in large roasting pan fitted with a V-rack inside the pan, breast side up.
- Twist wings under body.
- Salt inside turkey cavity with 1 tablespoon salt.
- Add bouquet garni, garlic, onions and celery to turkey cavity.
- Tie turkey legs together with kitchen twine.
- Cover outside of turkey with softened butter spreading over entire top and sides of turkey.
- Sprinkle with 1 teaspoon salt.
- Insert meat thermometer into meatiest part of leg.
- Add remaining onions and celery to bottom of roasting pan and pour chicken stock in bottom of pan.
- Place in preheated oven and roast 1 hour.
- Baste turkey with pan juices.
- Tent turkey loosely with aluminum foil to prevent over-browning.
- Continue roasting and baste every 20 minutes until thermometer reaches 165 degrees.
- Remove from oven and transfer to large cutting board.
- Cover with aluminum foil and allow to rest 30 minutes.
- Remove onions, celery, bouquet garni and garlic head from inside cavity.
- Transfer to serving platter and garnish with herbs, arugula and cranberries.
- Bring to Thanksgiving or Christmas table so that everyone can “ooohhh” and “ahhh” and clap just for you!
- Return turkey to chopping board, remove garnish from cavity.
- Carve turkey and arrange on serving platter and garnish with a few more cranberries and sage.
- Serve.
Notes
Roasting time will depend on the size of your turkey. Times given in this recipe are approximate and based on a 20-pound turkey. Turkey is done when instant-read thermometer inserted into breast reads 165 degrees F and 175 degrees F in leg.
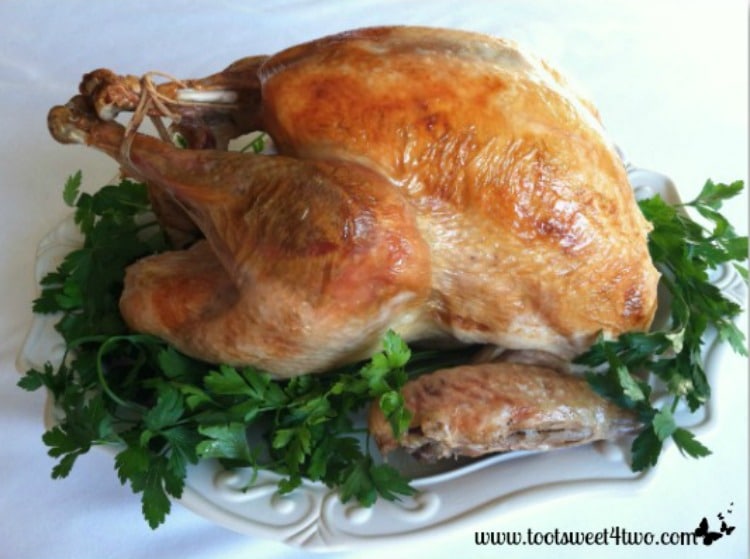
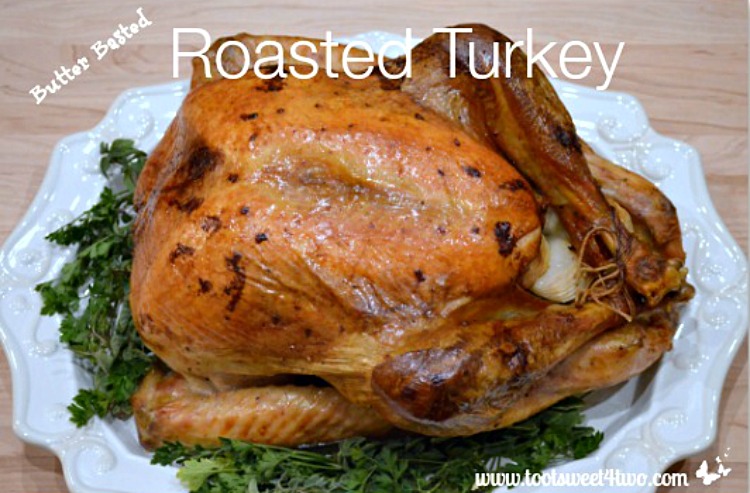
Here are other turkey recipes from the Toot Sweet 4 Two Archives:
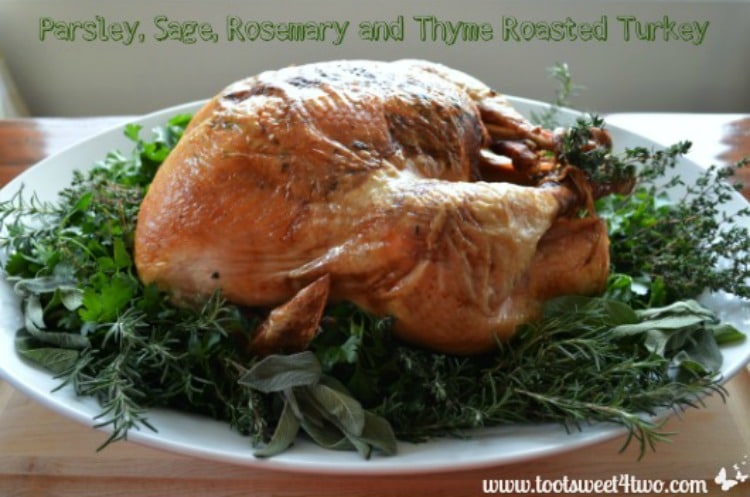
Parsley, Sage, Rosemary and Thyme Roasted Turkey
Merry Christmas!


Leave a Reply