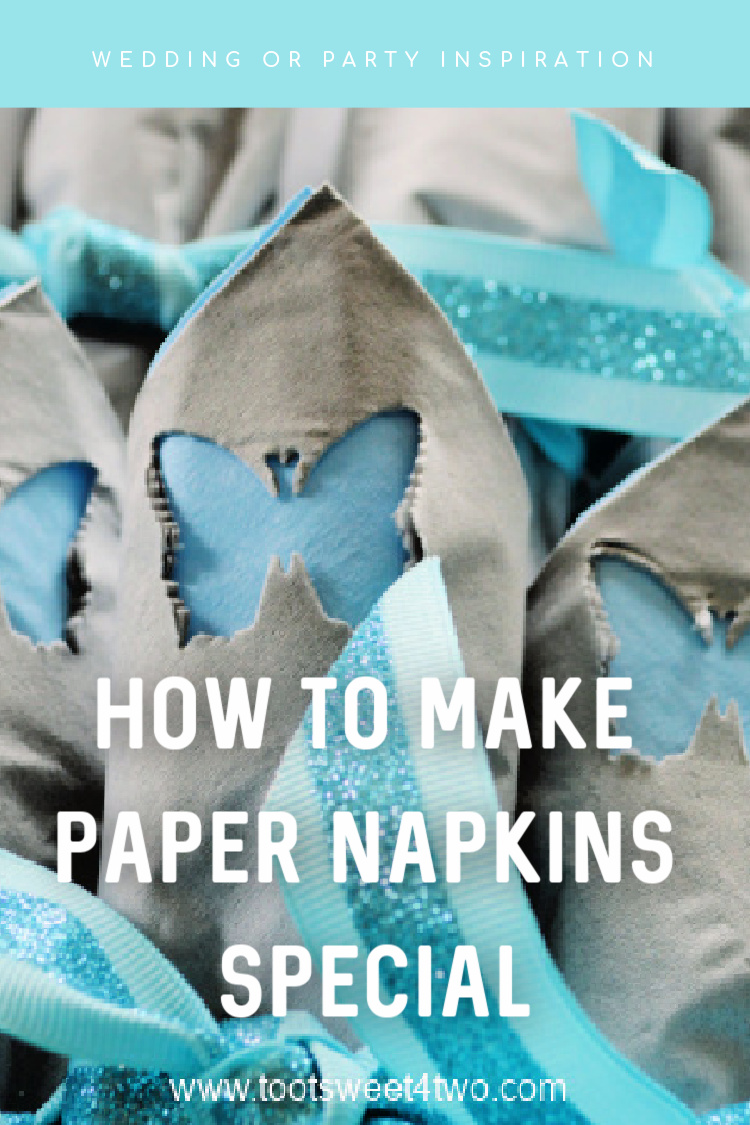
[Updated on September 8, 2020] Are you having a party or a special event, such as a wedding, and just haven’t been able to find the right paper napkins for your party’s theme? Well, I have an idea for you – make paper napkins special with a craft paper punch!
In 2013, we celebrated our first year as a blog by having a Blog-o-versary Party. This anniversary, our first as a blog, represented a significant milestone to us and we were so excited that we had to share every.stinkin.thing. that we were doing in preparation for this party by posting it on this blog! So, how to make paper napkins special was just one of the many projects we took on to make our party special (and, hopefully, memorable to our guests)!
At the time, we kinda sorta decided that butterflies were our blog’s “logo.” And, at the time (2013), our website colors are pale dusty blue, and gray. Well, looking for affordable paper napkins that would go with our butterfly motif turned out to be a waste of time. So, I decided to create our own.
[convertkit form=5280507]Here’s what I did to make pretty paper napkins
Disclosure: This post contains affiliate links for your convenience. Click here to read my full disclosure policy.
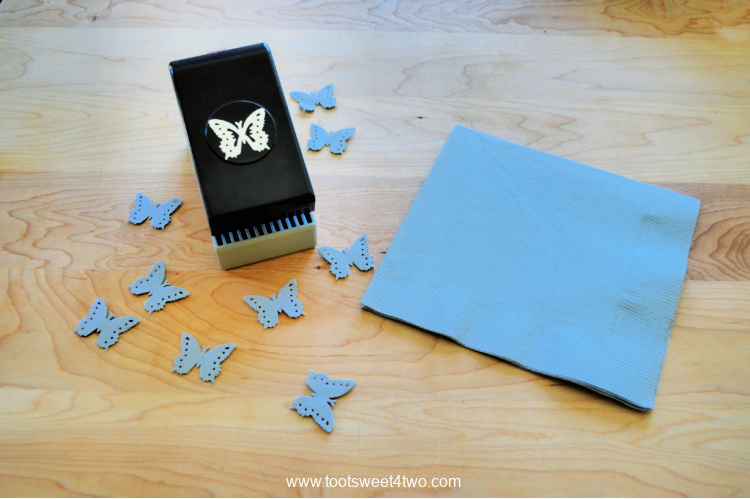
Tiffany, my niece and blogging partner at the time, found a cute butterfly craft paper punch at Michael’s. And, I found some pretty sparkly ribbon in blue at Michael’s. I ordered two different colored paper lunch napkins from Amazon in pale blue and gray and set to work.
First, set up an area with a hard flat surface. I put my large cutting board (upside down) on my kitchen table. Be sure you have extra napkins because you won’t get every one perfect and there will be some waste (save the ones that don’t turn out for personal use). And, take a moment to practice punching out your shape (in this case, butterflies), using one of the napkins. You can save the punched-out butterflies (or whatever shape) for another crafting project.
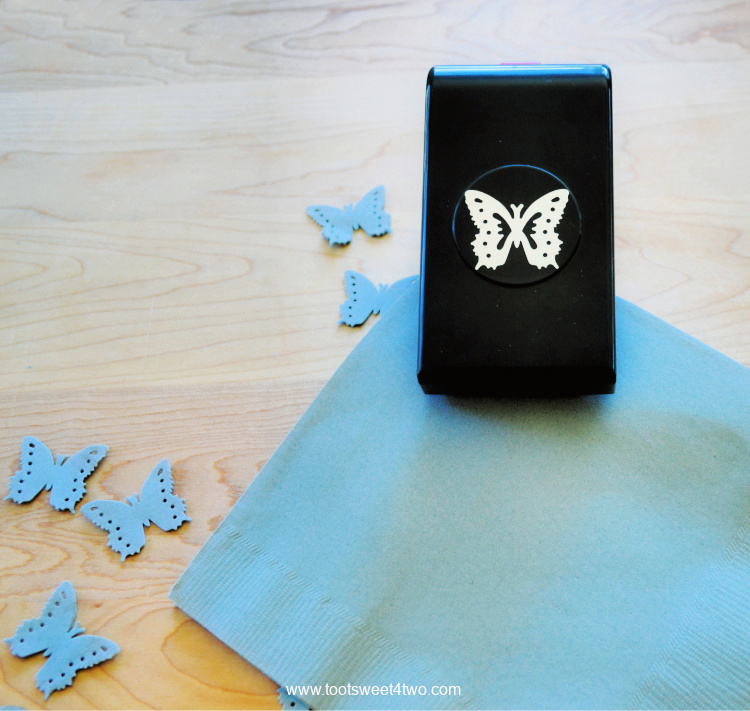
Center the butterfly hole punch (or a hole punch of your choice) over the area where you want the decorative hole to be. I wanted mine in the top corner of the napkin. I won’t gild the lily here – punching a decorative hole into a multi-layered napkin is hard work! You will probably need leverage like I did, so all of this was done standing up! Once you have the napkin centered on the punch, push down with all your might! The little butterflies on the left were the punches from the napkins. I saved them for another project (stay tuned).
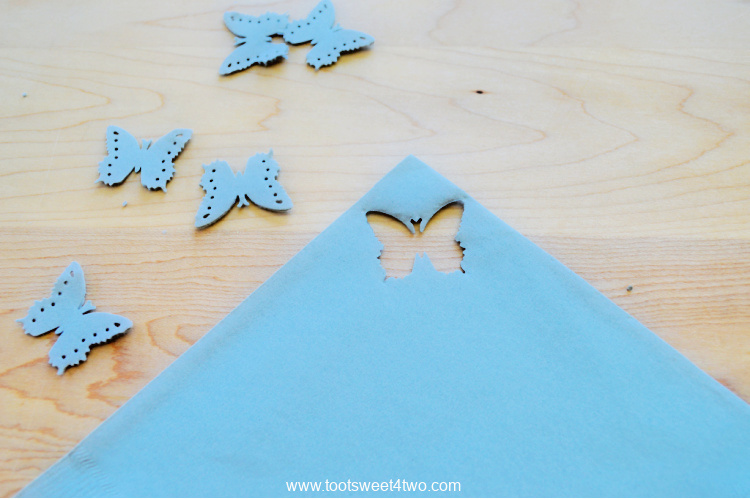
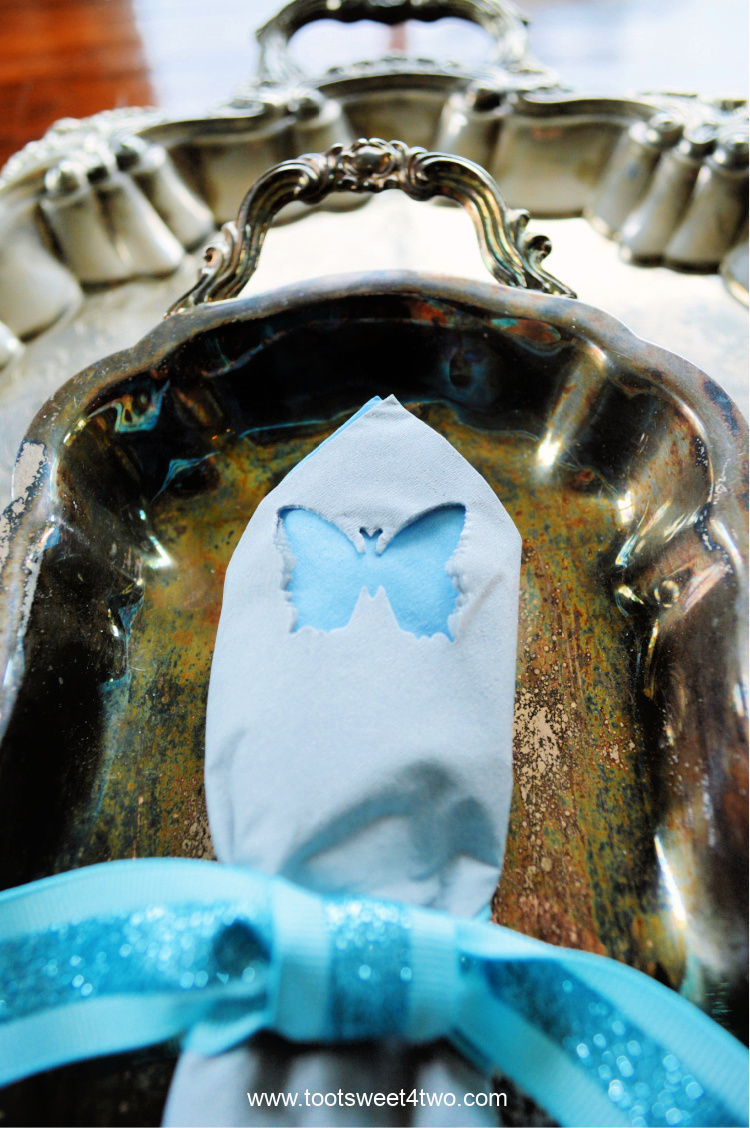
Here’s what it looked like once punched. After practicing a bit, I decided that I wanted the blue napkins to show through the gray, i.e., I wanted the gray napkins to be the napkins on the outside of the final folded napkin with the plastic utensils inside.
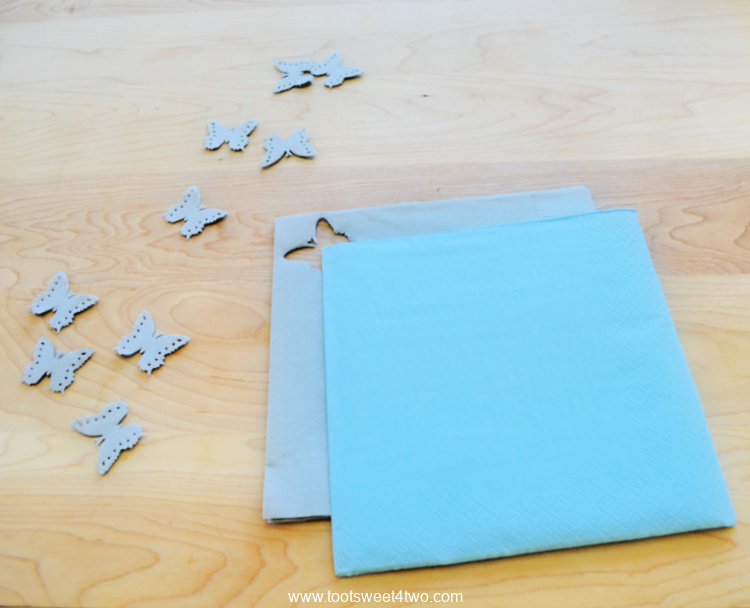
Once you have punched out all your napkins, you are ready to assemble. I made 40, so I punched out butterflies in 40 gray napkins. Next, place your second color (ours was baby blue) on top of your primary color with the punched hole (ours was gray).
How to Fold Paper Napkins for a Party
There are many napkin folding ideas, but this is the technique I used to fold paper napkins to hold silverware, in this case, plastic utensils.
Paper napkin folding with silverware inside how to:
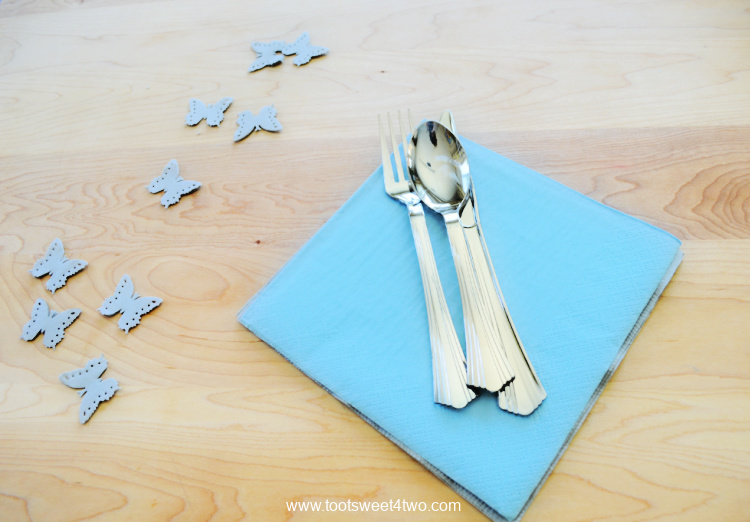
Place your silverware in the center of the two paper napkins. This plastic flatware is actually silver in color, so elevates my paper napkins and plastic utensils to a fancier level for this party!
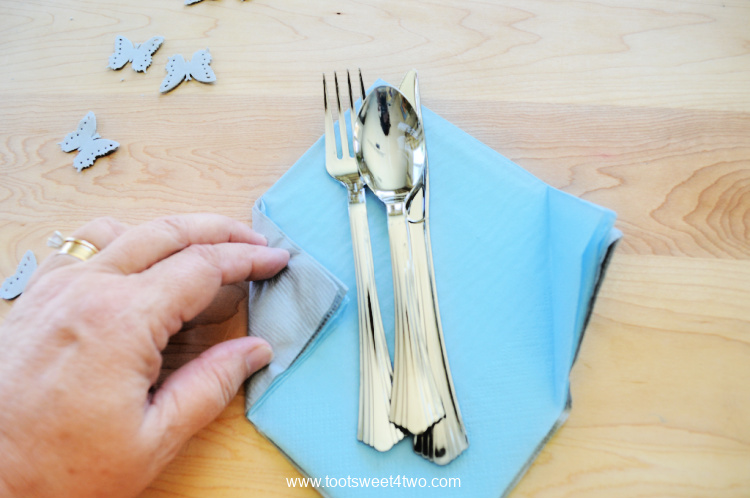
Fold the corners of the paper napkins in towards the center at both opposite corners. We wanted the finished paper napkins to be a relatively tight bundle so that the silverware wouldn’t fall out!
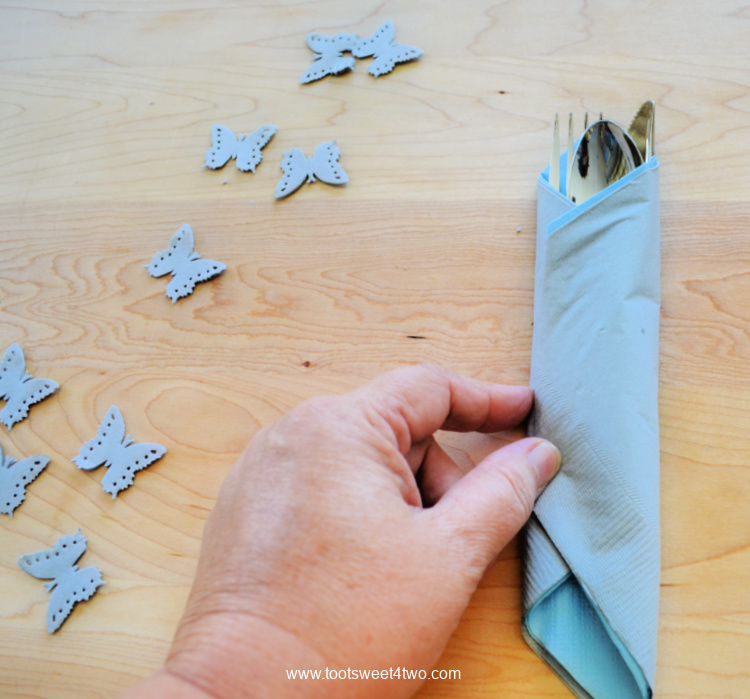
Then, fold the folded paper napkins one side over the silverware first, then the second side over the first to make your nice little tight bundle! I’m left-handed, so mine are folded left first, then right; but it doesn’t really matter! And, there you have it – simple and basic napkin folding!
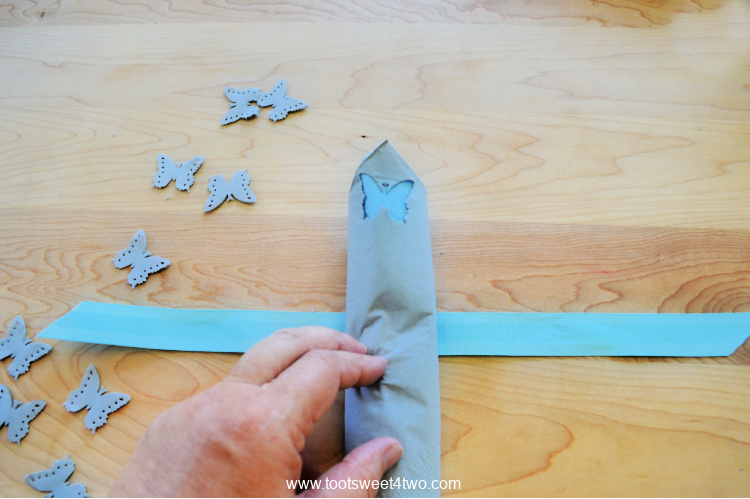
Next, cut your ribbon to the length you need. I made my lengths of ribbon about 10 inches and cut them all at once so they were ready to use. Turn your folded paper napkin over so that it is face-up on your ribbon and your butterfly cut-out (or your chosen shape) faces up.
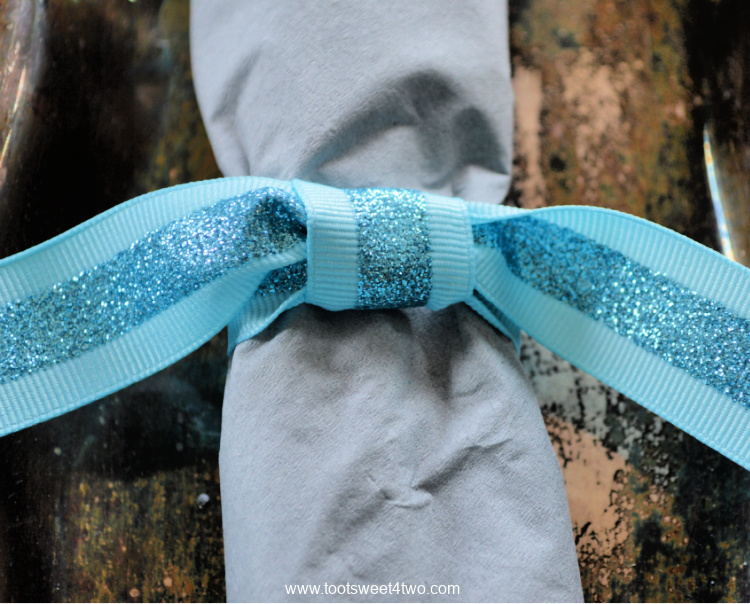
Then tie the ribbon in a square knot – right over left, left over right. Or, tie your ribbon in a bow. I decided to do a knot because the ribbon I chose to use was rather stiff from the sparkly insert and did not tie into a bow easily. Plus, it was not a wired ribbon. But, a knot was just fine!
Now repeat these steps until you have the desired number of folded party napkins needed. I punched all the holes first and my mother cut all the ribbon. Mom rolled about 22 of these napkins, but then got tired and wanted to go home to rest (she was 83 at the time!). So, I finished the rest until we had 40.
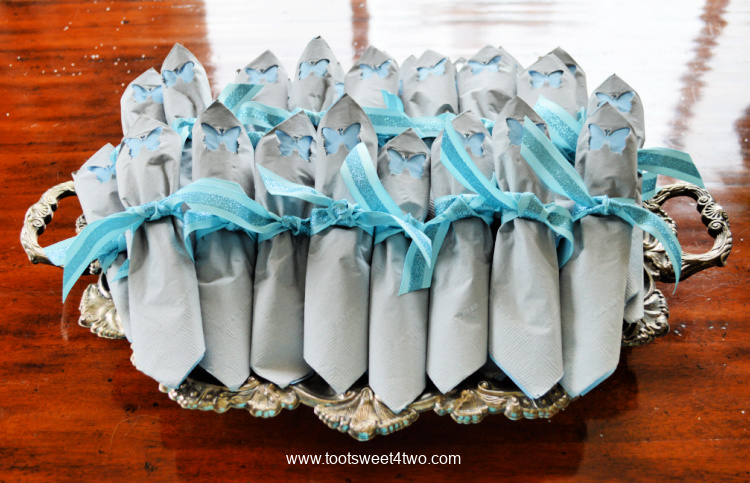
This is the first 20 finished – fancy paper napkins folded with silverware inside on a pretty silver tray. I realized that 40 rolled napkins weren’t going to fit on this tray, so I had to come up with Plan B!
So, since the party theme was blue and gray, I went looking for something else that was gray.
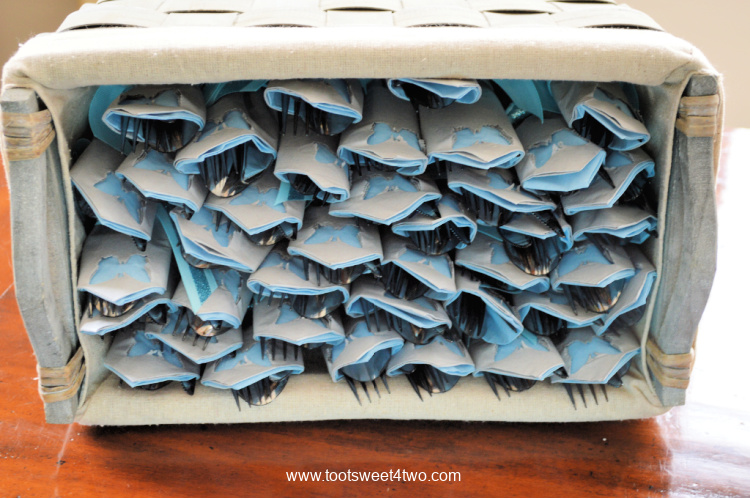
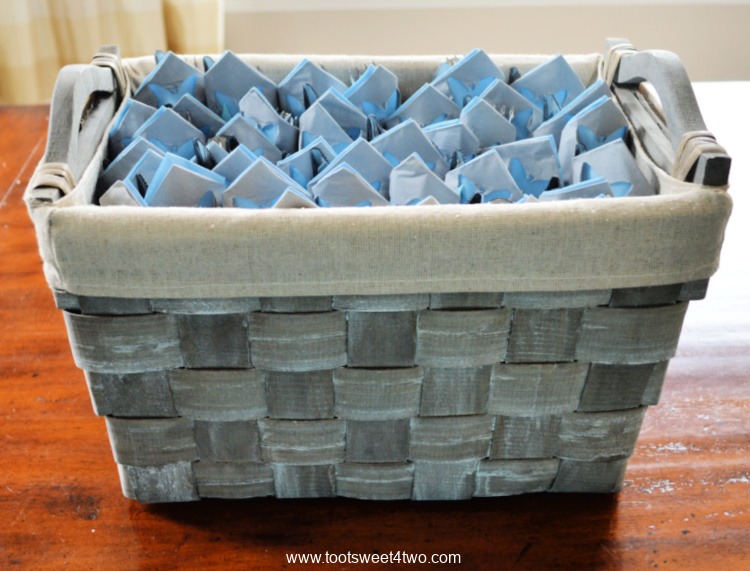
I found this pretty gray basket in my storage area and turned it on its side to load the napkins. Originally, I just started laying the paper napkins on top of each other in the basket, but that wasn’t working either (they weren’t level when stacked that way). So, doing it this way was the solution for me and this basket.
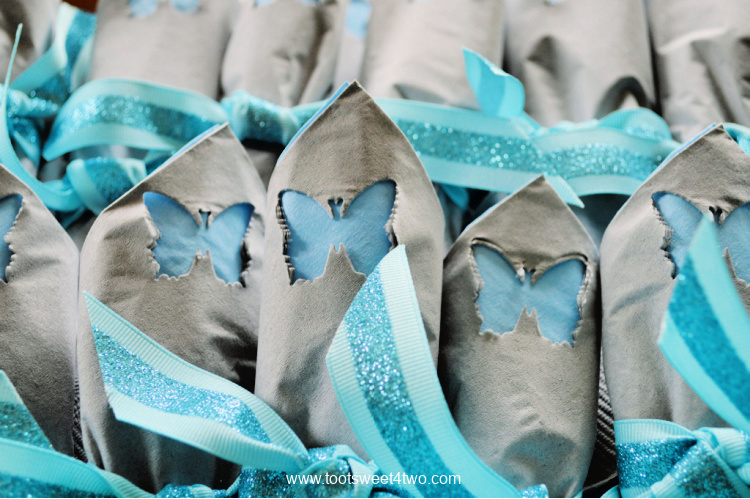
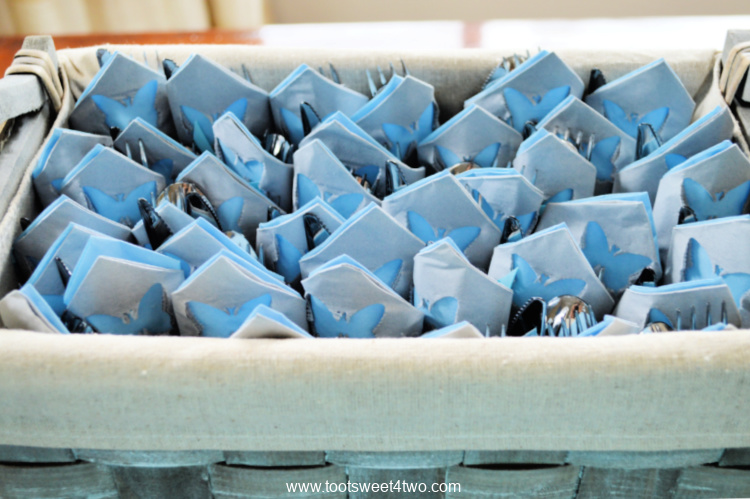
Pretty paper napkins all finished and ready for the party! Thanks, Mom, for your help!
Having double napkins for all the guests was an added bonus. They didn’t have to worry about getting up from their meal with messy hands and trying to find more napkins.
Step-by-Step Decorative Paper Napkins Tutorial
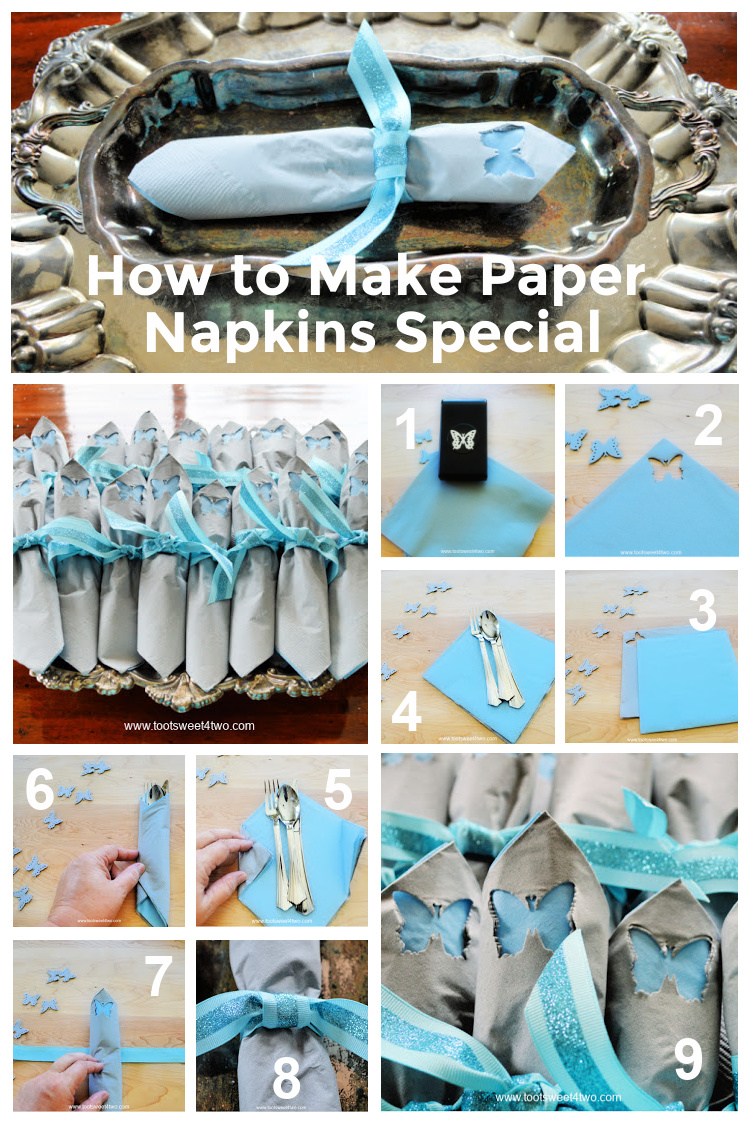
Here’s a step-by-step tutorial on how to fold paper napkins with plastic utensils that you can pin to your Pinterest board for easy reference.
Materials and Supplies Need to Make This Project:
Butterfly Crafting Paper Punch || Other Craft Paper Punches || Gray Dinner-size Paper Napkins || Blue Dinner-size Paper Napkins || Other Dinner-size Paper Napkins || Blue Glitter Ribbon || Other Glitter Ribbon || Other Crafting Ribbon || Scissors || Silver Plastic Flatware || Other Plastic Flatware || Decorative Silver Platter || Other Platters || Gray Basket || Other Baskets || Pre-rolled Plaster Silverware

Will you do me a favor? Would you share my post on social media? The pinnable images scattered throughout this post are for your Pinterest boards so that you can bookmark this post and come back to it later. Thanks for sharing!
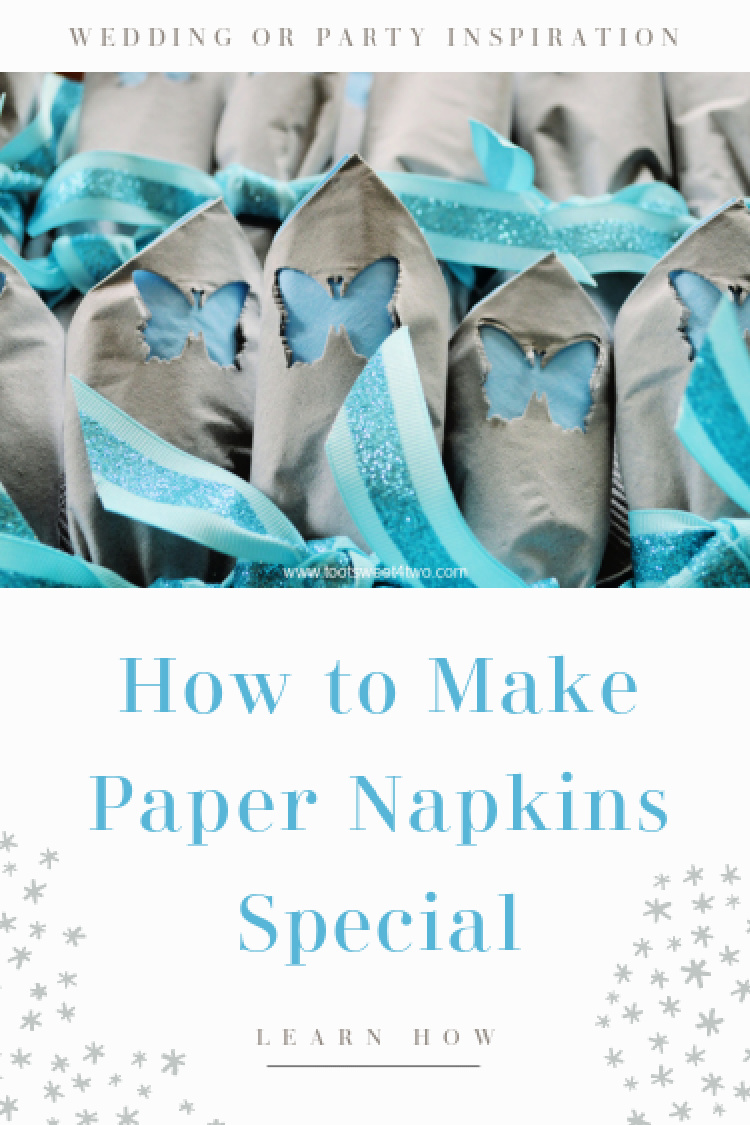
When you can’t find the right party paper napkins that fit your party theme, try this simple napkin folding project by making your own paper napkins special using crafting paper punches.
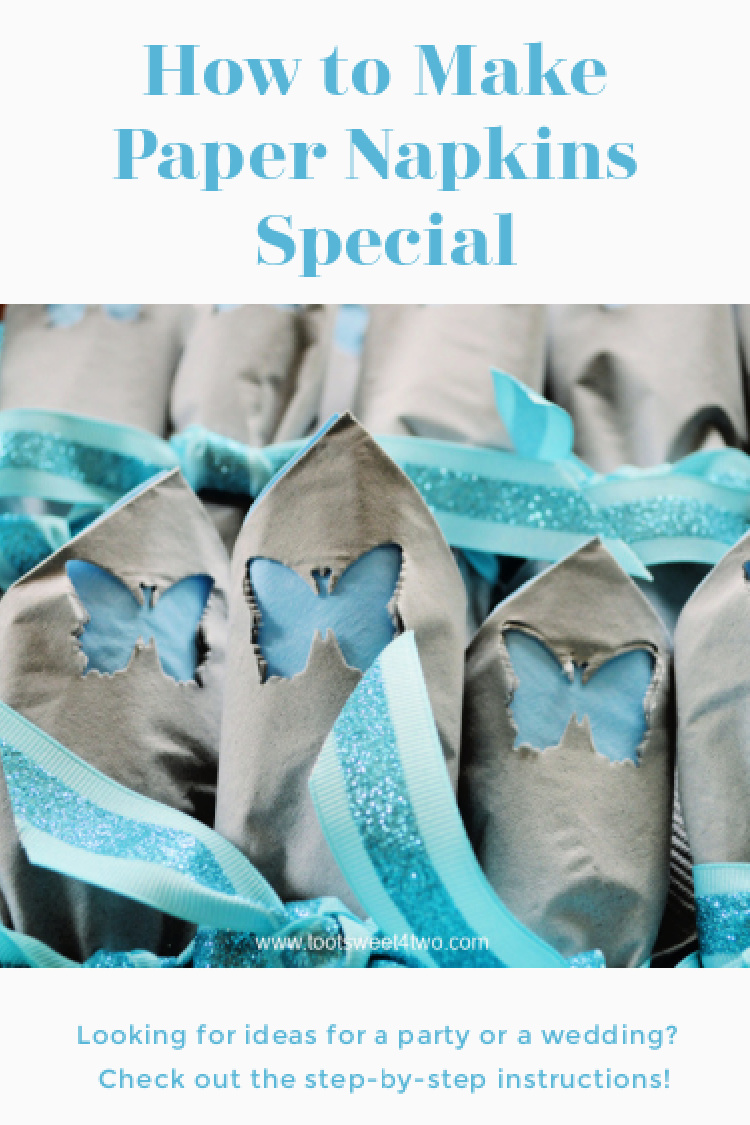
Do you have any party napkin ideas? Please share in the comments; we’d love to hear from you!
And don’t forget to sign up to receive my newsletter in your inbox. As a thank you, I’ll send you a freebie! Look for the sign-up boxes near the top of this post and again at the bottom of this post. Thanks so much!
Tootles,
Related Posts from Toot Sweet 4 Two’s Archives:
Toilet Paper Roll Crafts: How to Make Adorable Owl Napkin Rings
42 Things to Do When Planning Your Next Party
42 Party Supplies for Your Next Party
You Might Also Like:
20 Fabulous Food Bars for Entertaining by Lydi from Lydi Out Loud
Fun and Cheap DIY Party Decorations by Caroline from Caroline Vencil
“There’s No Place Like Home” Boho Rainbow Quarantine Party by Kara from Kara’s Party Ideas

This is such an awesome idea! Can you please tell me what size napkins you used?
Hi, Keelee: they were luncheon napkins 6 and 1/2 inches square. I’m so glad you like the idea! Thanks for visiting.