Do you use PicMonkey? I’m in love with the Monkey because he makes my photo editing so easy! How to make Easter placecards for your holiday table in PicMonkey is really easy, plus they are so darn stinkin’ cute! (This post contains affiliate links for your convenience. Click here to read my full disclosure policy.)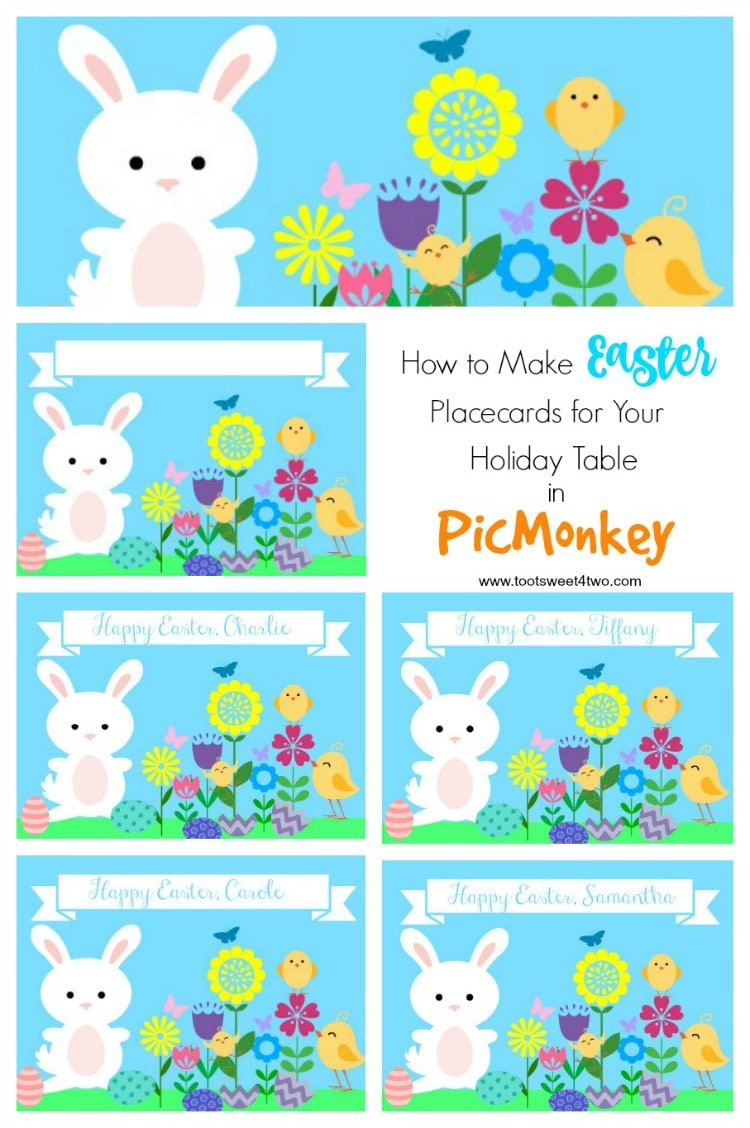
Inspired by the adorable Easter card I created the other day, Here Comes Peter Cottontail – a PicMonkey Tutorial, I decided to make placecards for my holiday table using this cute bunny because, well, my table is decorated with bunnies this year!
Because I’ve written instructions on how to add graphic overlays to a blank canvas in PicMonkey, I’m not going to rewrite virtually the same instructions for this tutorial. Instead, if you are new to PicMonkey, check out my post, Here Comes Peter Cottontail – a PicMonkey Tutorial, to learn the specific techniques.
Another note:
I created these cards with materials I already had on hand, i.e.,
blank printer/copy paper || scissors || blank index cards || double-sided tape
I didn’t want to run out to the store and buy specific things to make this project, because:
(1) I didn’t want to spend the extra money {grin},
(2) I didn’t want to take the time in my “toot sweet” life to get specific materials {grin} and
(3) I was all out of time because Easter is this Sunday and I wanted to get this on the blog in time for readers to do something similar for their holiday table {grin}!
How to Make These Easter Placecards
The Canvas
- Open a blank canvas in PicMonkey.
- Color it a shade of sky blue.
- Add a rectangular geometric overlay (it defaults to black) and drag it down to the bottom of your page; color it grass green and resize it to a thin strip.
Add Overlays
- Now start adding your cute overlays: bunny, flowers, chicks, eggs, butterflies.
- Drag each into position and resize, rotate, change color.
- Add a banner at the top of the design (not the top of the page, because your canvas will be large and we are going to crop it!).
- Once you are happy with the overlays’ positions, color, size, etc., click the “merge together” button at the top of your dashboard.
Edit Your Placecard
- Now you are ready to “edit” this developing masterpiece! So, click on “edit” button at the top of the dashboard and all the editing features are now available.
- Crop your canvas. You want it to look like a 3″ x 5″ index card, so keep that in mind when choosing your cropping proportions.
Add Text
- Next, add text in the label. If you are making a card for multiple people, save your first one and name it your guest’s name, like “Tiffany”, and then go back to the card still on your PicMonkey dashboard and change the name to the next guest. And, so on.
- But, to be on the safe side, so you don’t have to start from scratch, save the one with the blank label. You can upload that one over-and-over-and-over again to add text.
Save Your Placecards
- Save each of your placecard masterpieces to your computer’s hard drive.
Add Your Placecard to a Word Document
- Then, open a blank Word document.
- Click on “insert” from your menu bar, choose “picture”, locate the new placecard photo in your hard drive’s library and choose it to insert.
- Resize your photo by clicking and dragging upwards at a diagonal (this will keep the proportions correct). I was able to fit 3 on a page vertically. Keep adding and resizing your placecards until you have one for all guests.
- Print a sample page. If the size is what you want, finish printing all placecards that you’ve made.
Now comes the hard part {grin}:
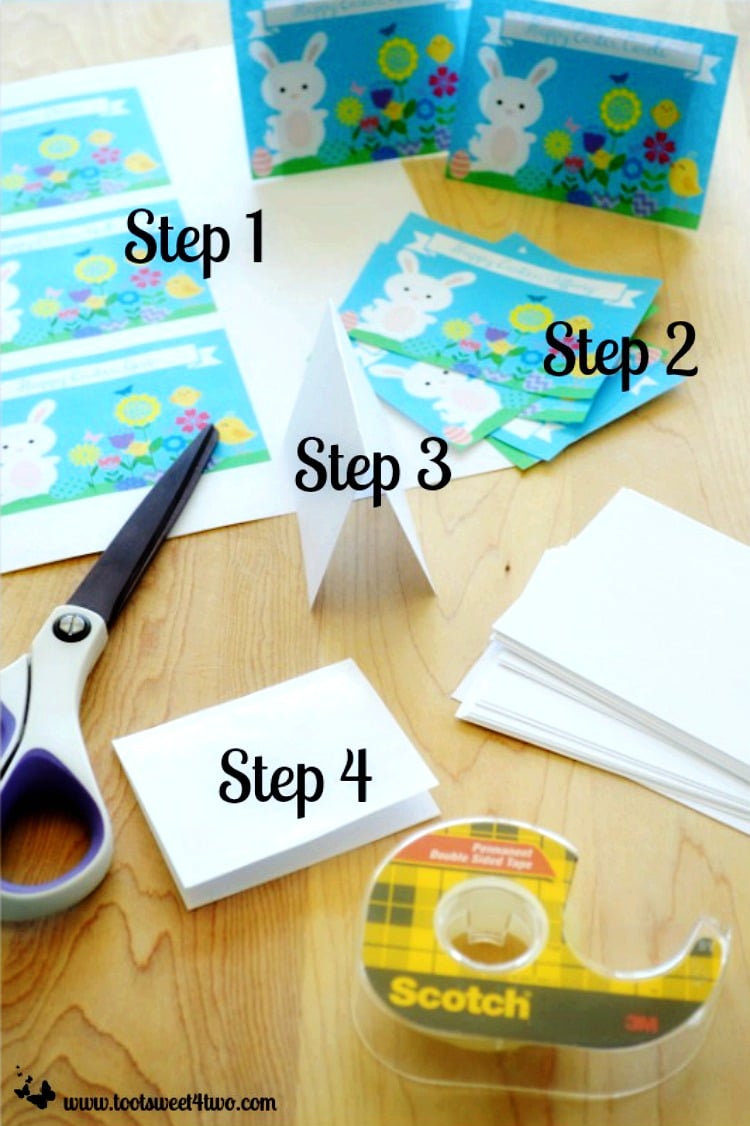
Step 1
Print our all placecards on blank printer/copy paper.
Step 2
Cut them out with scissors! If you have a paper cutter, even better! I don’t so I just used scissors.
Step 3
Fold index cards in half. I had blank index cards already. If you don’t have index cards, use card stock.
Step 4
Place double-stick tape on one side of the folded card.
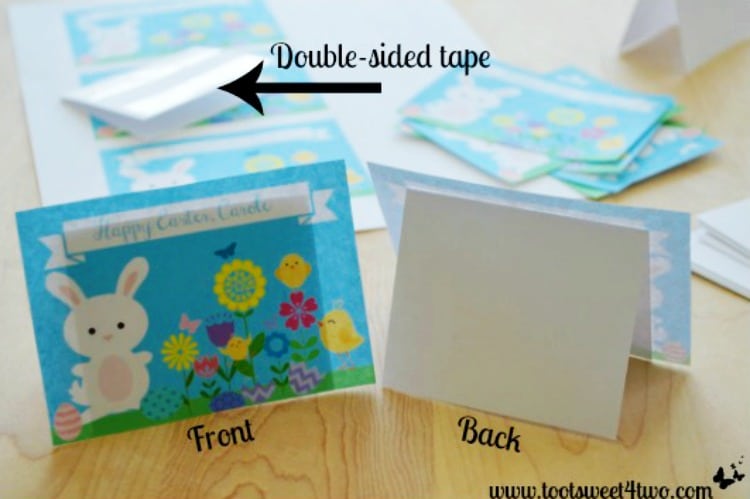
Lay your printed card face down on a flat surface and align the taped-side of the index card to the back side of the printed card. Voila! Finished placecard for your Easter table!
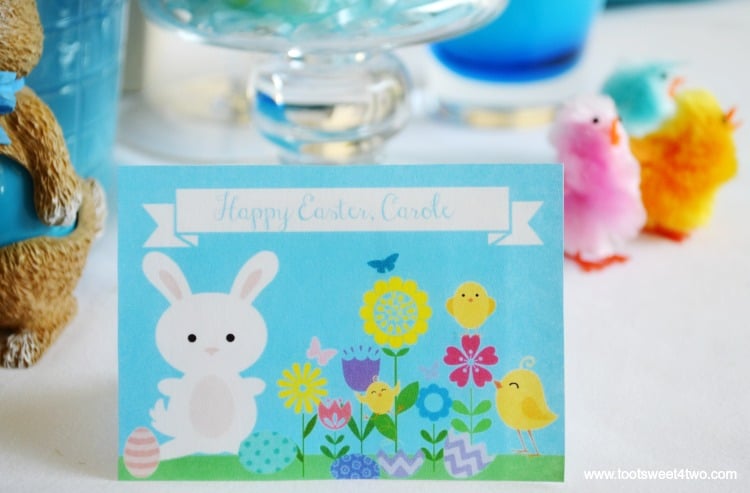
Here’s mine on my Easter table!
Learn how to make Easter placecards for your holiday table in PicMonkey. It's really easy, plus they are so darn stinkin' cute! #Eastercrafts Click To Tweet
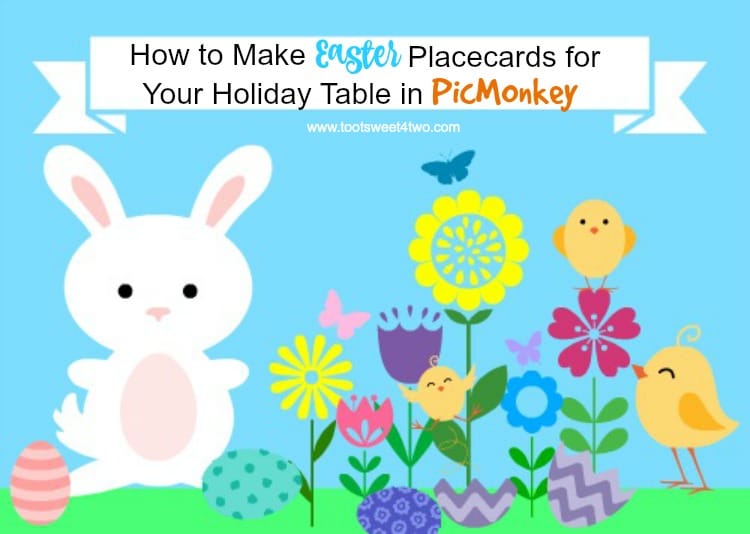
Guess what? Just in case you don’t have time to specifically recreate this exercise in PicMonkey by Sunday, I’ve created a FREE printable that you can print and hand write in your own guests’ names. How to make Easter Placecards for Your Holiday Table in PicMonkey is my Easter gift to you! Here it is: Easter Place Card Printables.
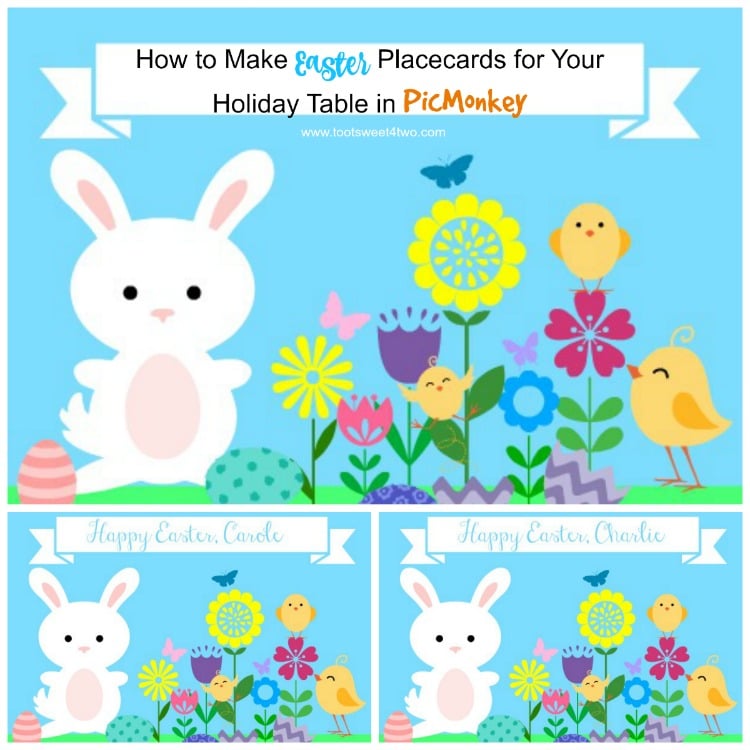
And, here’s bonus Easter gift number two: if you do have a little time, just a little time, you can save the photo below to your computer hard drive. It’ll have a Pinterest hover button over it; don’t be dissuaded! Just left click on it to bypass Pinterest and then it will open in a new location. Right click on it to save it to your hard drive. Then, upload it to PicMonkey to add your text. I’ve made it a size that will be easy to resize in Word.

Once you’ve used PicMonkey a few times, you’ll be hooked and in love with the Monkey, too!


Thanks for sharing this on Pinterest, Facebook, Google+, Twitter, etc. Happy Easter!
Tootles,
Other PicMonkey Tutorials from Toot Sweet 4 Two’s Archives:


You Might Also Like:
Easy Easter Bunny Bunting by Krista from The Happy Housie
Favorite Wood Pallet Easter Projects by Michelle from Crafty Morning
Easter Bunting with Pom Pom Bunnies by Jenn from Clean & Scentsible
how super cute what a great idea and so fun
Thanks! Have fun making your own!
Those are adorable – what a great way to personalize the table. 🙂 #SCBH2015
I’m so glad you like them! The were fun to make, but I like a challenge!