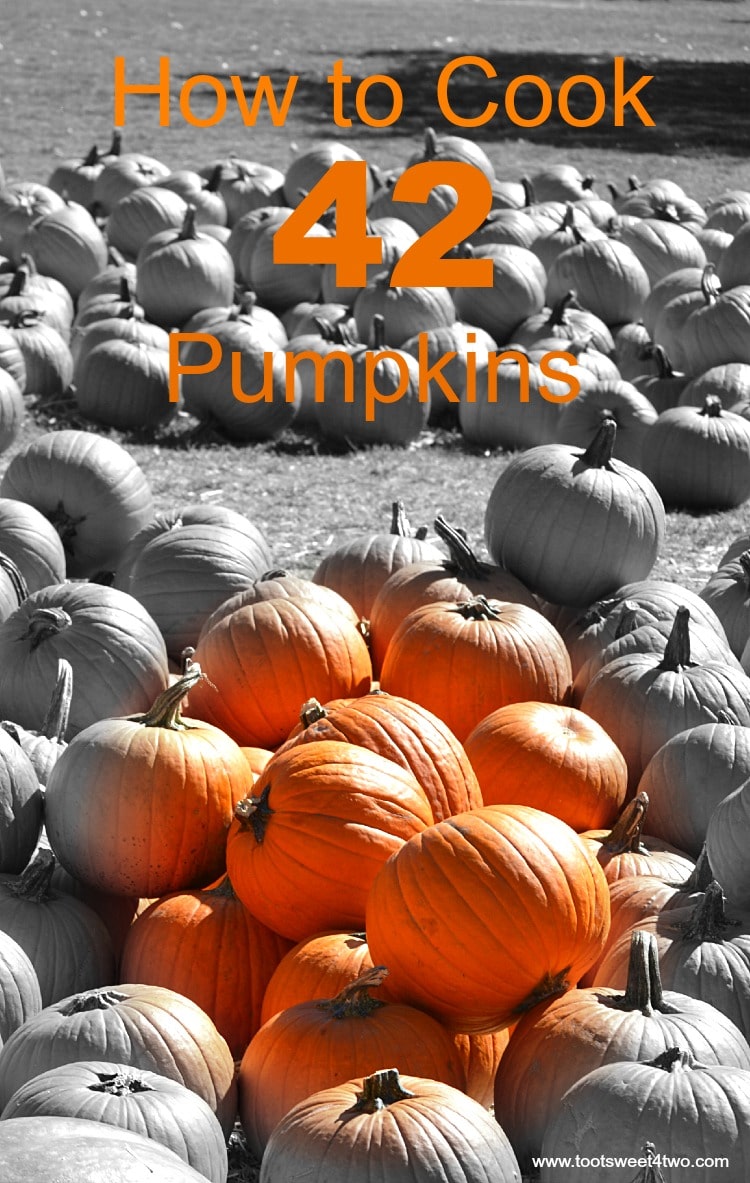
Don’t you love this cover photo for How to Cook 42 Pumpkins? It’s a photo from the pumpkin patch that I cropped vertically then, using PicMonkey’s “Effects” called “Focal B&W,” I zeroed in on the pumpkins in the front, leaving the rest of the photo black & white. So cool! Love that monkey; but, I digress…
How to cook 42 pumpkins? Well, not all at once, of course! Halloween is over and if you have Pumpkin Fever like me, you probably have way too many pumpkins. So what do you do with all your pumpkins?
The pumpkins above are Rock Star pumpkins. They are the perfect size to carve into jack-o-lanterns, so they are about 36 inches in diameter. I’m not great at pumpkin carving, so I use them as decorations in all their glory. And I usually keep them until they rot. After all, pumpkin season only comes once a year and besides, I can use pumpkins for Thanksgiving decorations, too (if they last that long). Keeping my pumpkins as long as possible is my way of acknowledging that it’s autumn when the weather outside is 90+ degrees in October and November!
But other pumpkins, the Pie Pumpkins especially, I roast and turn into pumpkin puree for future use. I have experimented roasting some of my 42 pumpkins over the years…
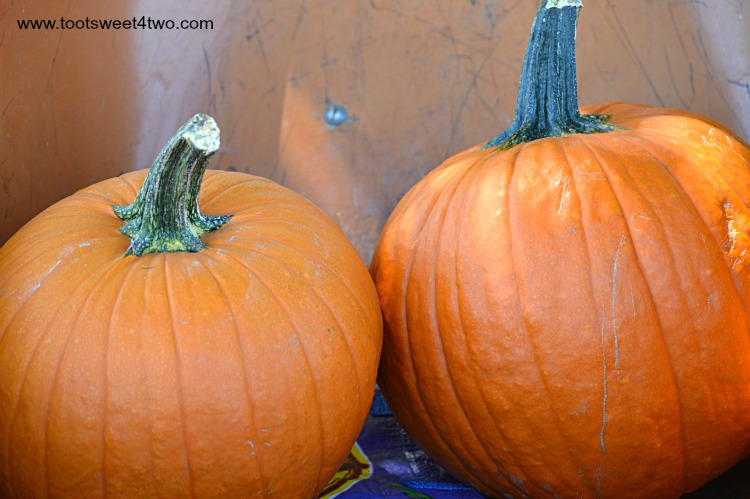
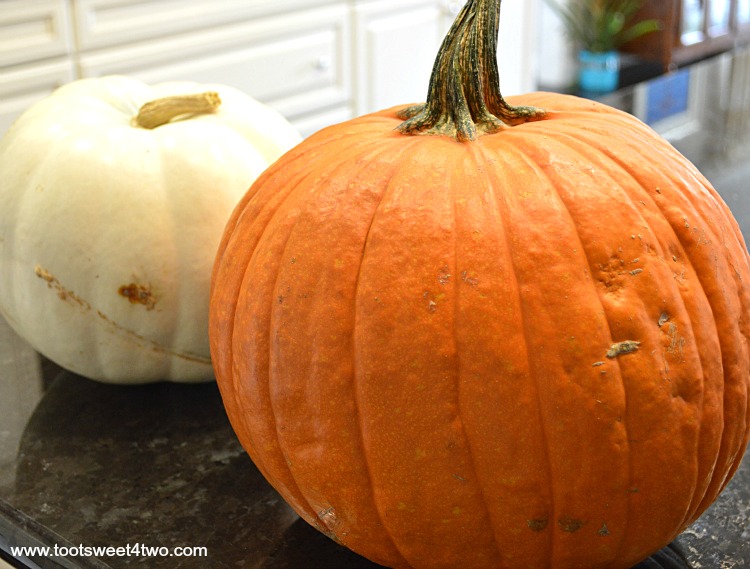
This particular Rock Star pumpkin measures 37 1/2 inches in diameter. I know because I measured it. You try putting a tape measure around a pumpkin with no help! The white pumpkin, either a White Ghost, Casper or Lumina pumpkin (I can’t tell the difference), measures 28 inches. Both are pretty large to roast in the oven.
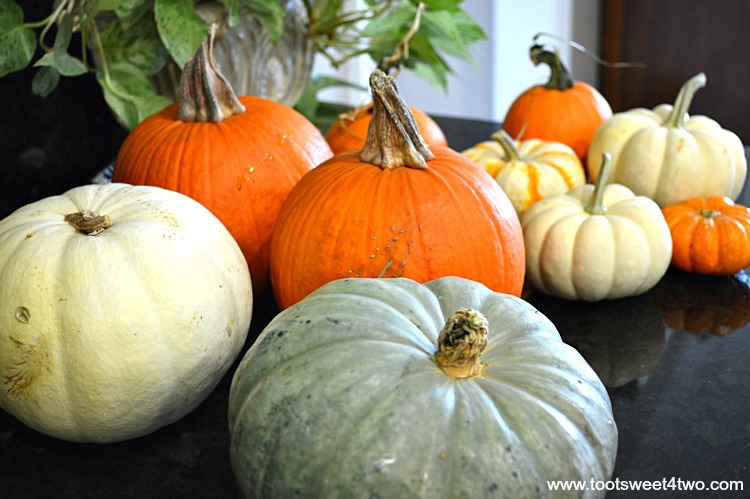
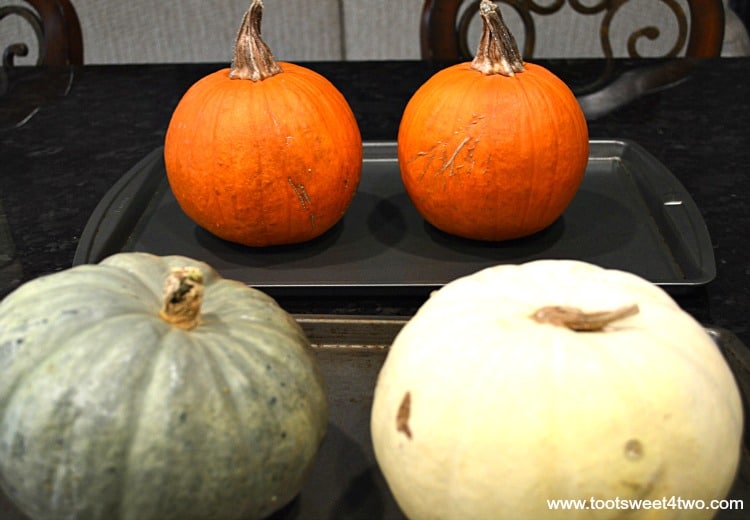
Here are more pumpkins on my kitchen counter. The blue one in front is a Jarrahdale pumpkin, to the left another white pumpkin, behind them 2 Pie Pumpkins and behind them a collection of various mini pumpkins – Jack-Be-Little, Wee-Be-Little, , Baby Boo, Munchkin and Lil’ Pumpkemon. I decided NOT to roast the mini pumpkins – they are too cute to sacrifice!
I have 2 ovens, so I decided to roast pumpkins in both. First up are the Pie Pumpkins (in the background) and the Jarrahdale and White Ghost (in the foreground). I roast my pumpkins whole – that’s my preference.
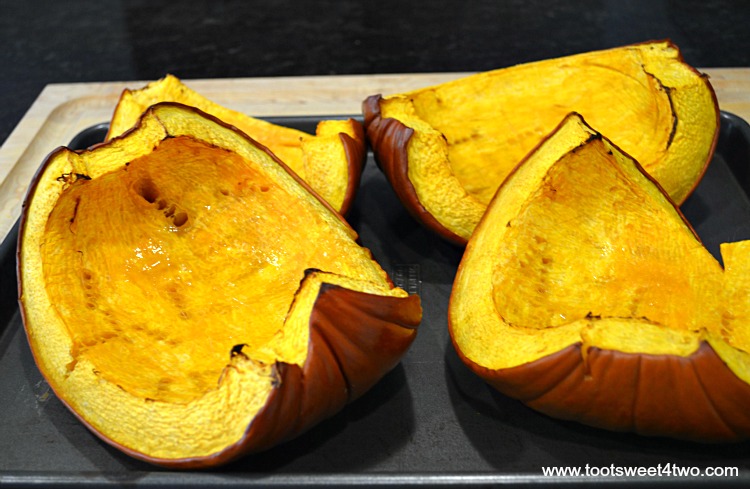
I have, in the past, roasted my pumpkins in quarters. But, I think it’s really hard. Pumpkins are not easy to cut when they are “fresh”. It takes a good amount of strength and a long, sharp knife to cut through an uncooked pumpkin, scoop out the guts and then quarter it or cut it into even more pieces (an accident waiting to happen!). So, I roast my pumpkins whole.
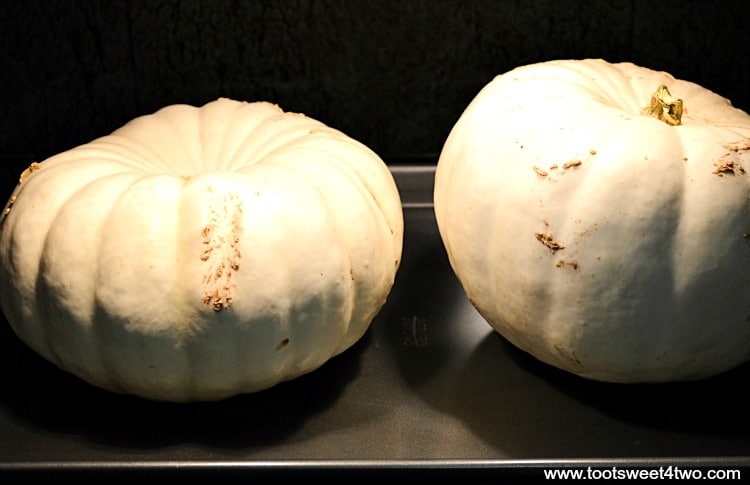
Here are two White Ghost pumpkins roasting in my oven. I took this photo through the oven’s glass door with the oven light on, so pardon the poor quality photograph. But, I wanted to show you that two pumpkins around 28 to 30 inches will fit on a large cookie sheet in your oven.
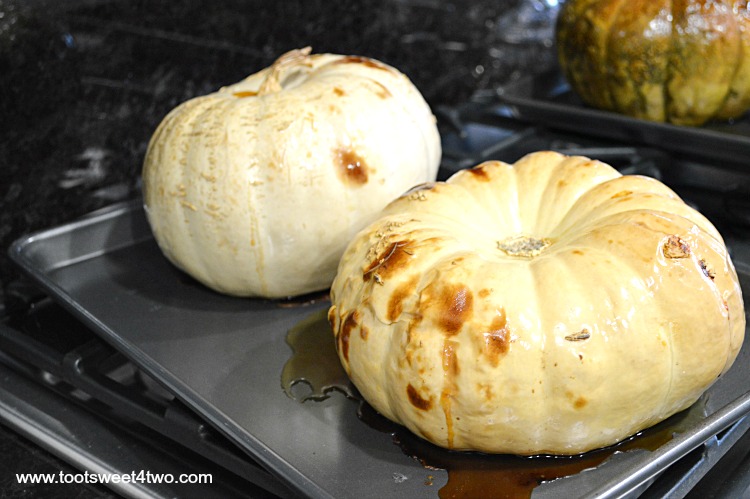
Here are the two White Ghost pumpkins out of the oven and cooling on the stovetop (burners off, of course). You can see that the “flatter” pumpkin’s shape started to degrade and juice oozed from it, while the more perfectly round pumpkin pretty much retained its shape (you can see the Jarrahdale pumpkin resting in the background). I wanted to share this photo to point out that cooking time for various sizes and shapes of pumpkins will be different. How do you know that your pumpkin is done? I poked a large carving knife in each and if it went in cleanly without hesitation, I knew it was done.
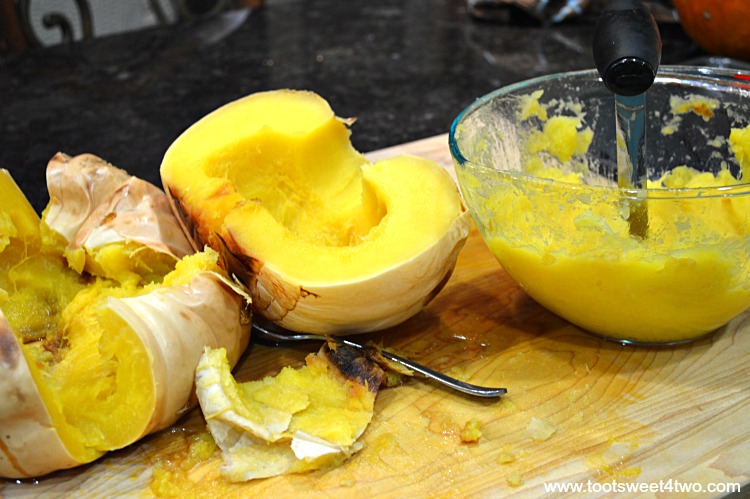
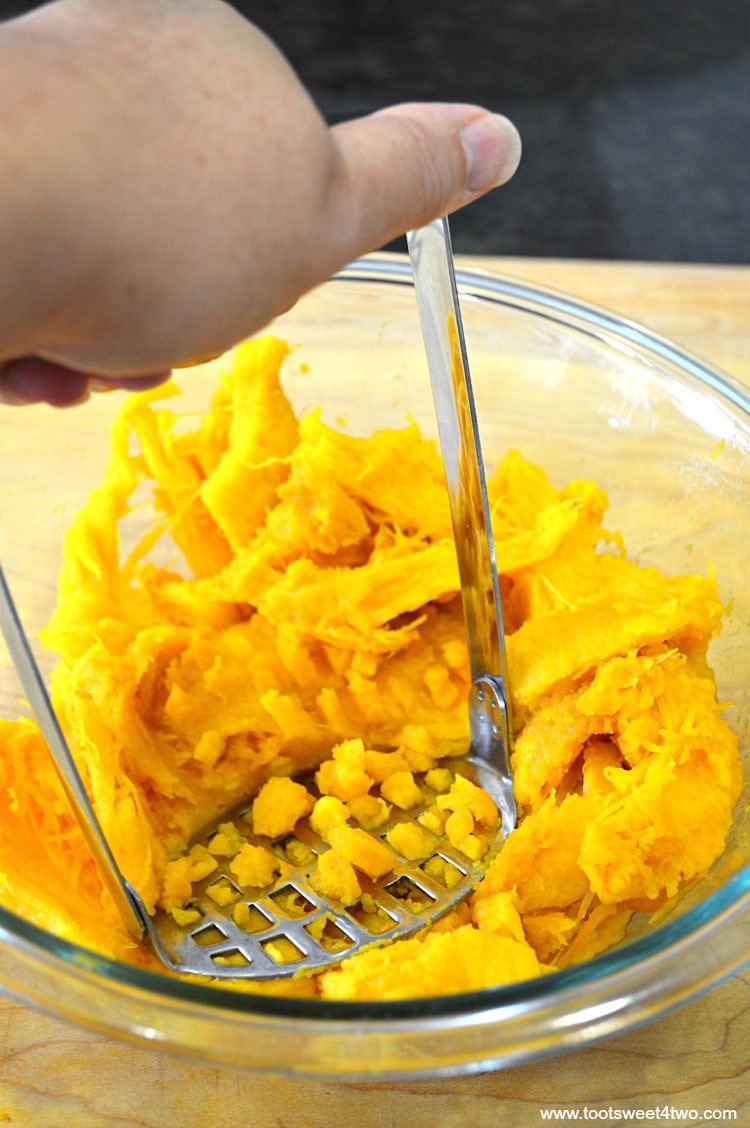
So, after they cooled completely (which was literally hours and hours and hours…), I cut them in half (very easily) and scooped out the guts (again very easily because it was cooked as opposed to not cooked), scooped the pulp into a bowl (again, very easily) and using a potato masher, got out all my aggression for the day! This is my preferred method – mashing with a potato masher. You can also use a potato ricer, a blender or a food processor, but if you use one of the electrical appliances (blender or food processor), do so carefully because pumpkin meat is very moist and you might end up with liquefied pumpkin instead of puree!
Here’s my reasoning for using a potato masher and a bowl: with very little effort, I can mash the pumpkin; plus the bowl and potato masher go into the dishwasher. If I use my food processor, I have to get it out (it doesn’t live on my countertop), assemble it, cut the pumpkin into smaller pieces, run the food processor, scrape the puree out of the food processor, disassemble the food processor, rinse the parts off before putting them in the dishwasher (or hand washing them) and then reassemble the food processor and put it away. Seems like a lot of extra steps (and dirty dishes) to me!
So, then I tasted this white pumpkin puree and I was not blown away. Not very tasty to me. It seems to me that the larger the pumpkin, the less flavorful it is. So, I now only cook Pie pumpkins for pumpkin puree.
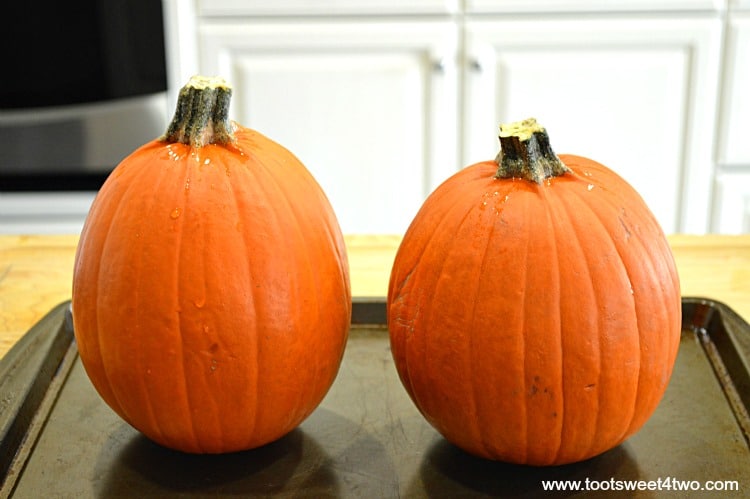
Here are two adorable Pie pumpkins ready for their close-up. See the droplets of water? I do rinse them off with cool water to make sure there is no dirt on them before I place them on the cookie sheet for roasting.
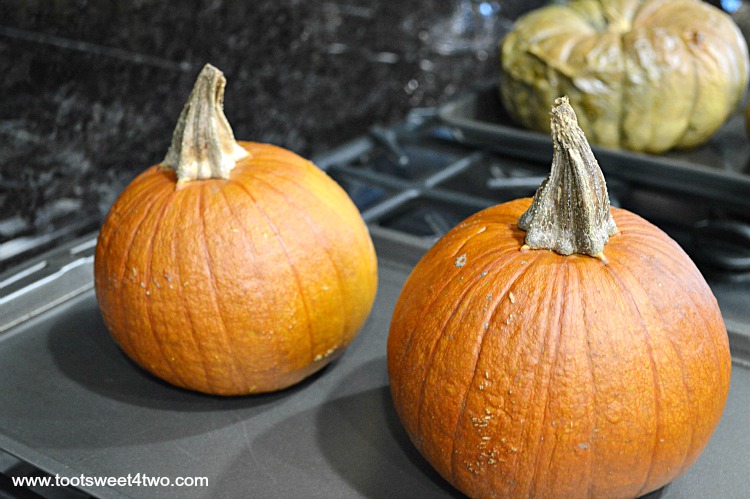
Here are 2 roasted Pie pumpkins cooling on the stovetop. Look closely – these aren’t the same Pie pumpkins as in the photo above.
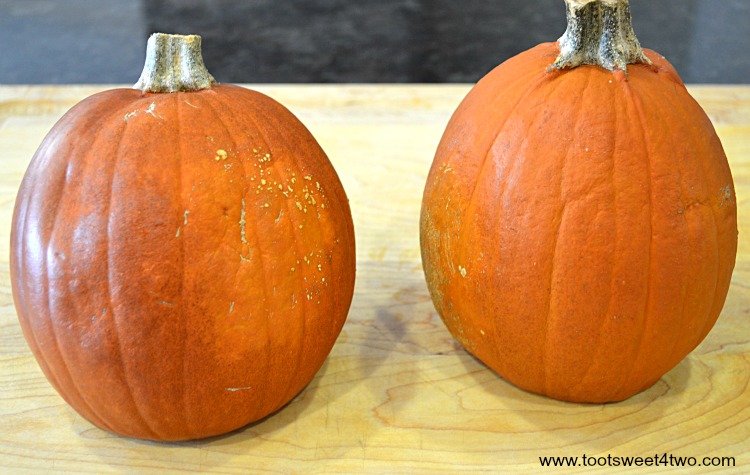
Here are the original 2 roasted Pie pumpkins, now cooled and moved to a cutting board for mutilation.
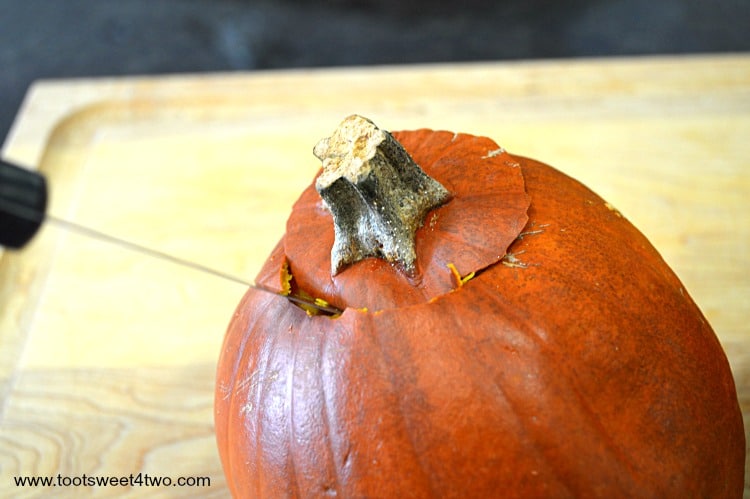
Using a large sharp knife, cut around the stem to remove it. This isn’t hard, at all, because the pumpkin is soft from roasting so its like cutting through butter. Picture this in your mind: I’m left-handed (thank goodness), so I’m carving out the stem of this pumpkin with my left hand as I’m taking this photo with my right hand! What we solo (as in no photography assistant!) food photographers do to get a shot!
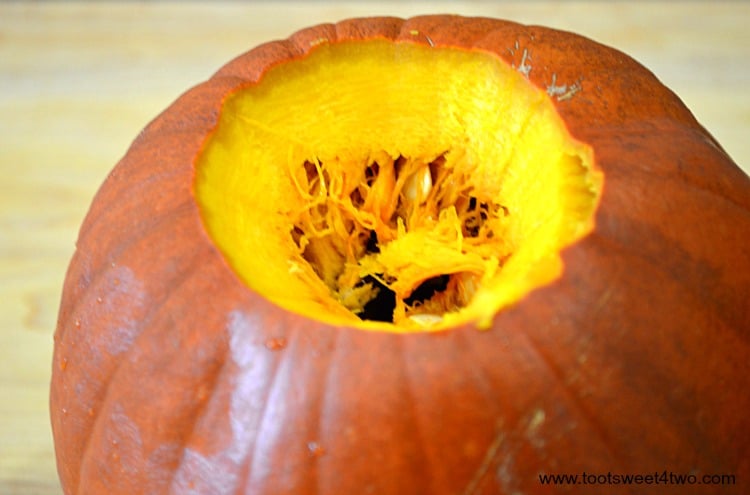
Pretty roasted Pie pumpkin with stem removed.
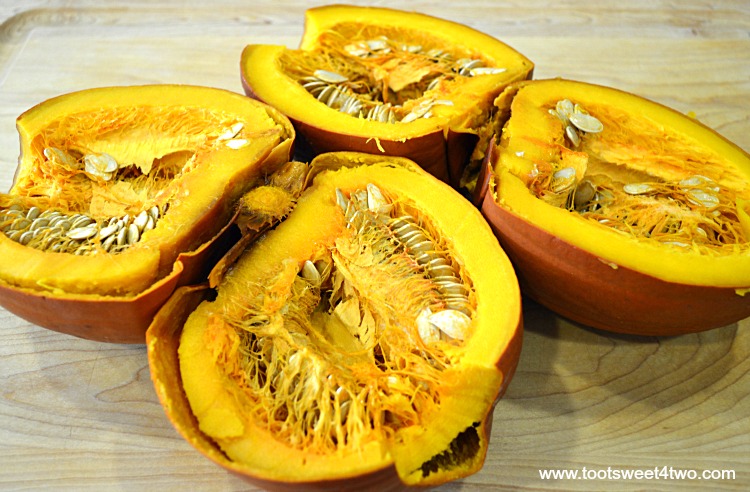
This is two roasted Pie pumpkins cut in half (it’s a very large wooden chopping board; each of these pumpkins is about 22 inches in diameter!). Again, this was super easy because the knife blade just glides through the pumpkins.
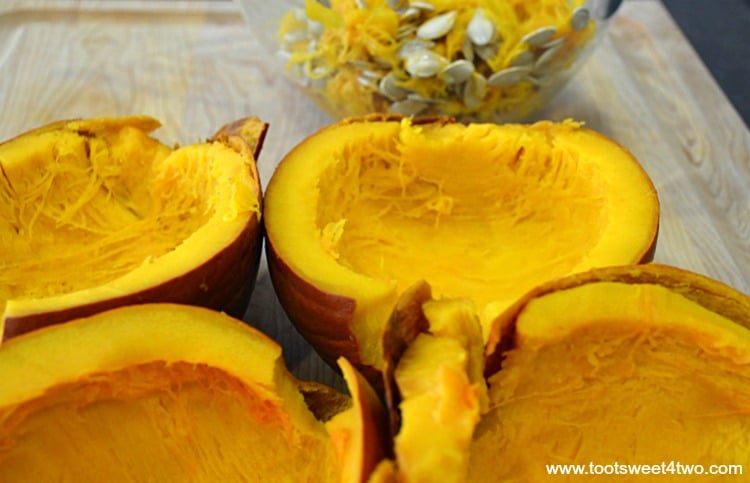
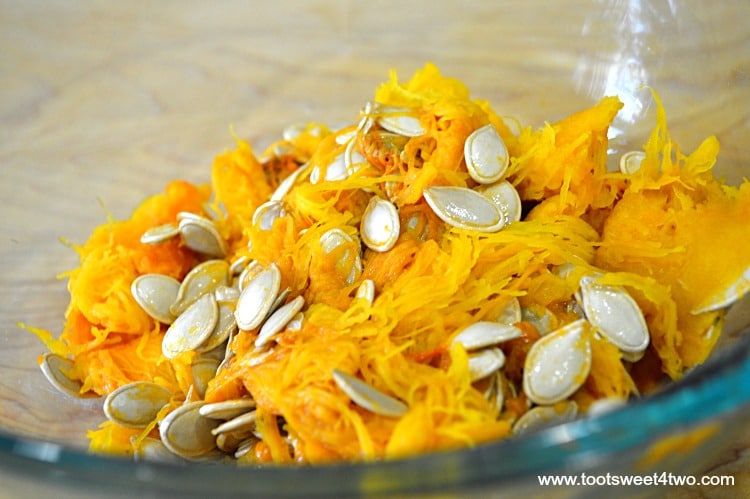
Next, using a soup spoon, I scraped the guts from the roasted Pie pumpkin. Piece of cake (oops! I mean pie!).
You can save the pumpkin seeds by rinsing them off (for roasting later) or discard them.
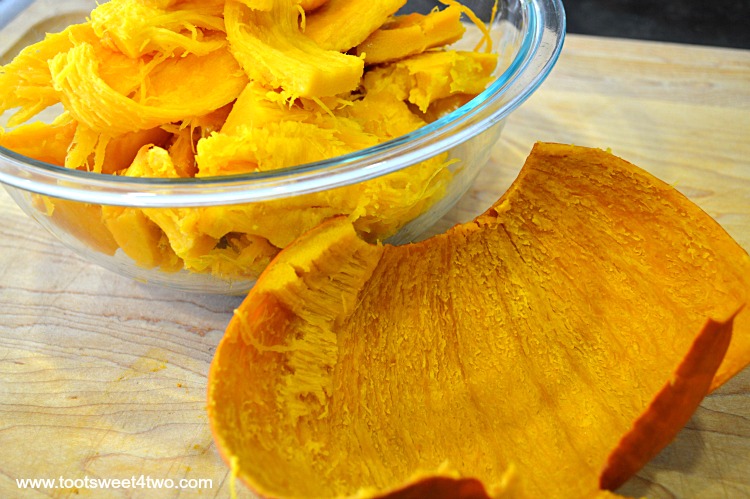
Then, using a soup spoon, I scraped the pumpkin pulp from the skin and placed it in a bowl to mash.
Here I am mashing with my left hand as I snap this photo with my right hand!
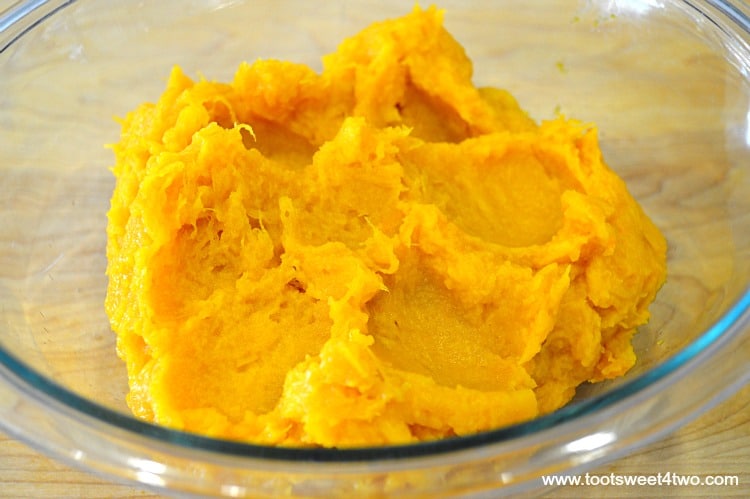
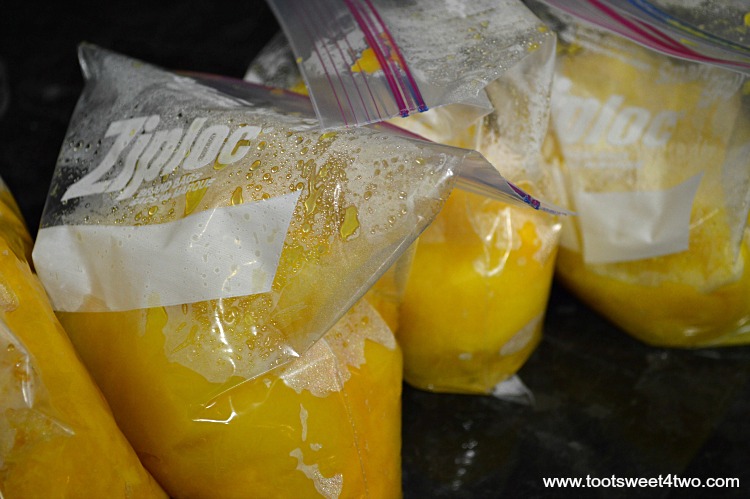
Mashed pumpkin puree – I found it easier to mash a little at a time, then transferred the puree to multiple Ziploc bags.
I placed 2 cups of pumpkin puree in each quart-sized Ziploc bag. I did this because pumpkin recipes often call for one 16-ounce can of pumpkin puree, which is 2 cups.
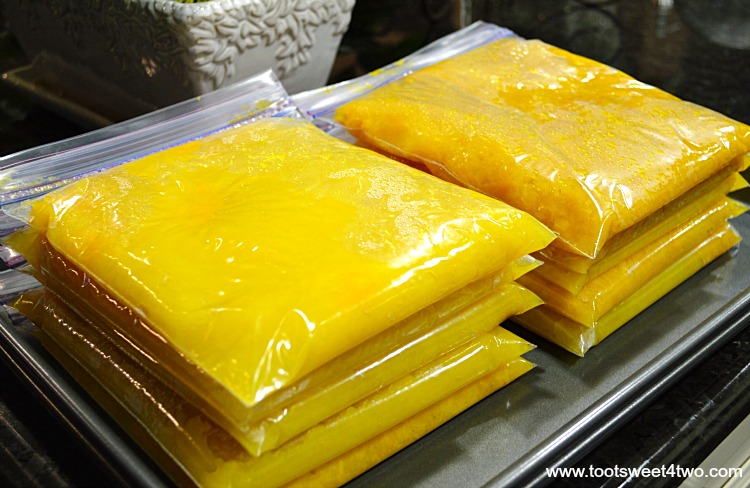
From this adventure of roasting pumpkins I ended up with 10 bags of pumpkin puree. I flattened them (carefully) and stacked them on a large cookie sheet for the freezer. Once they were frozen, I removed the cookie sheet (you can then stack them anywhere you want in your freezer once they are frozen).
Here’s the recipe:
PrintHow to Cook 42 Pumpkins
How to make pumpkin puree from fresh pumpkins is easier than you think!
- Prep Time: 6 hours
- Cook Time: 1 hour
- Total Time: 7 hours
- Yield: 4 cups 1x
- Category: Cooking Basics
- Cuisine: American
Ingredients
- 2 Pie pumpkins (about 22 inches in diameter and approximately the same size for even cooking)
Instructions
- Preheat oven to 375 degrees F.
- Rinse the Pie pumpkins in cold water and pat dry.
- Place on baking sheet and roast for 45 minutes to 1 hour, cooking until knife inserted in center goes in easily.
- Remove from oven and allow to cool completely (this could take 4 hours or more, so you might want to finish the pumpkins the next day).
- Place cooled pumpkins on a large chopping board.
- Using long, sharp knife, remove the stem of each pumpkin.
- Cut each pumpkin in half (you will have 4 halves).
- Use a soup spoon to scrape out pumpkin guts including seeds (reserve seeds for roasting or discard along with guts).
- Using the soup spoon, scrape pumpkin pulp from pumpkin skin and place in large mixing bowl.
- Using a potato masher, mash pumpkin to the consistency of puree.
- Measure into either 1 cup or 2 cup servings and spoon into a freezer-safe bag.
- Seal bag, squeezing out air.
- Lay bags of pumpkin puree flat on a cookie sheet and transfer to freezer.
- Freeze until firm (several hours).
- To use pumpkin puree for recipes, defrost in refrigerator and add to your recipe.
Notes
Two small Pie pumpkins will make about 4 cups of pumpkin puree. Preparation time includes cooling time and freezer time. Actual preparation time is about 20 minutes to wash, remove stem, cut in half, scoop and mash. Food freezing experts will tell you to use your frozen pumpkin puree within 3 months, but in all honesty, I’ve used pumpkin puree that has been frozen a year and it’s still fine.
So, now that I’ve taught you how to cook 42 pumpkins, what did I do with my 20 cups of pumpkin puree? Made wonderful pumpkin recipes, of course!
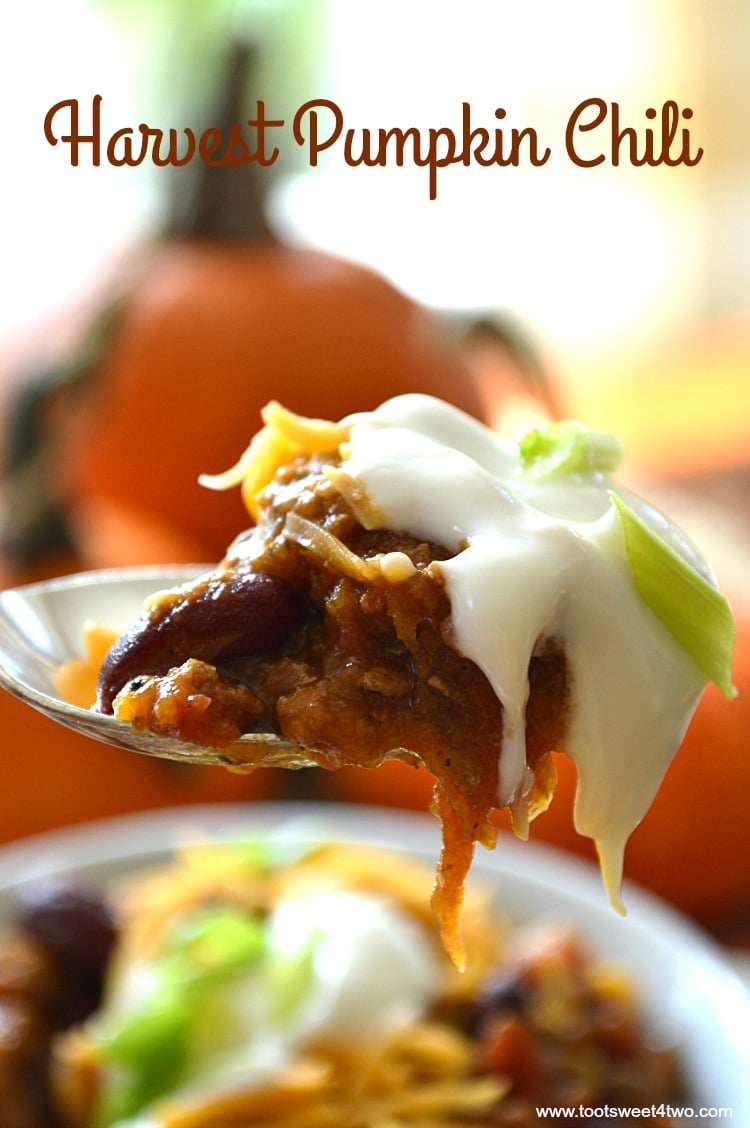
Harvest Pumpkin Chili (this is my absolute favorite chili! EVER!).
Creamy Pumpkin Soup (my mother’s favorite soup! EVER!)
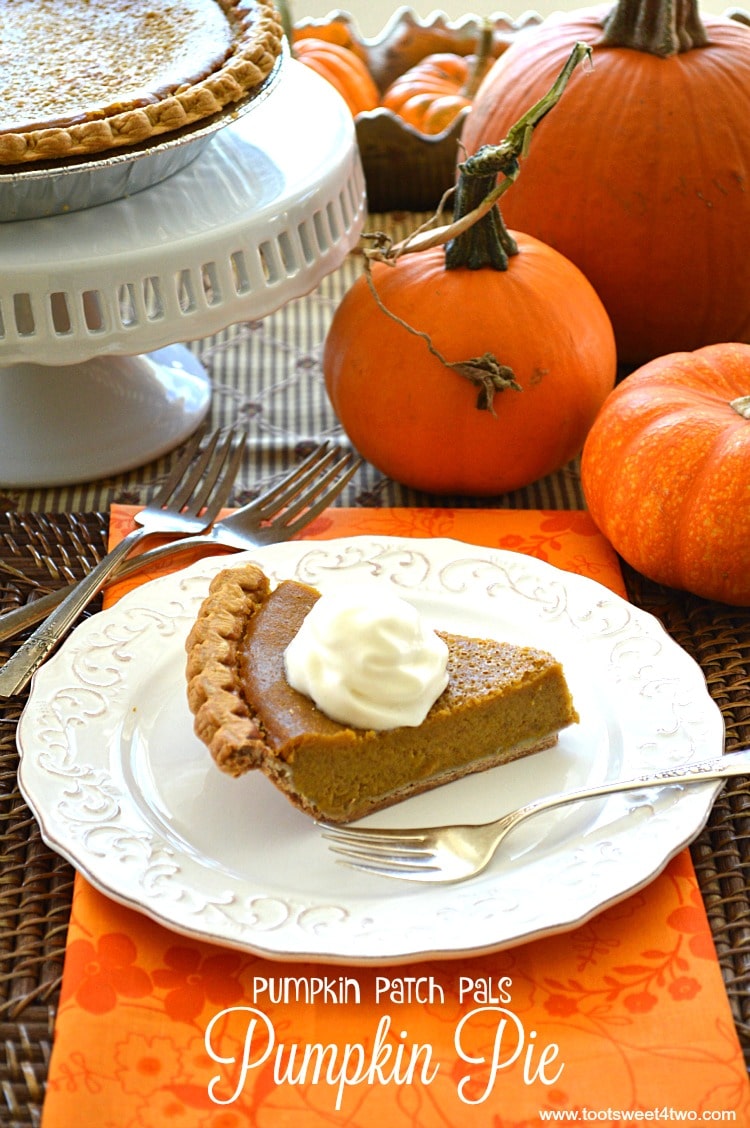
Pumpkin Patch Pals Pumpkin Pie (a truly traditional and delicious pumpkin pie)
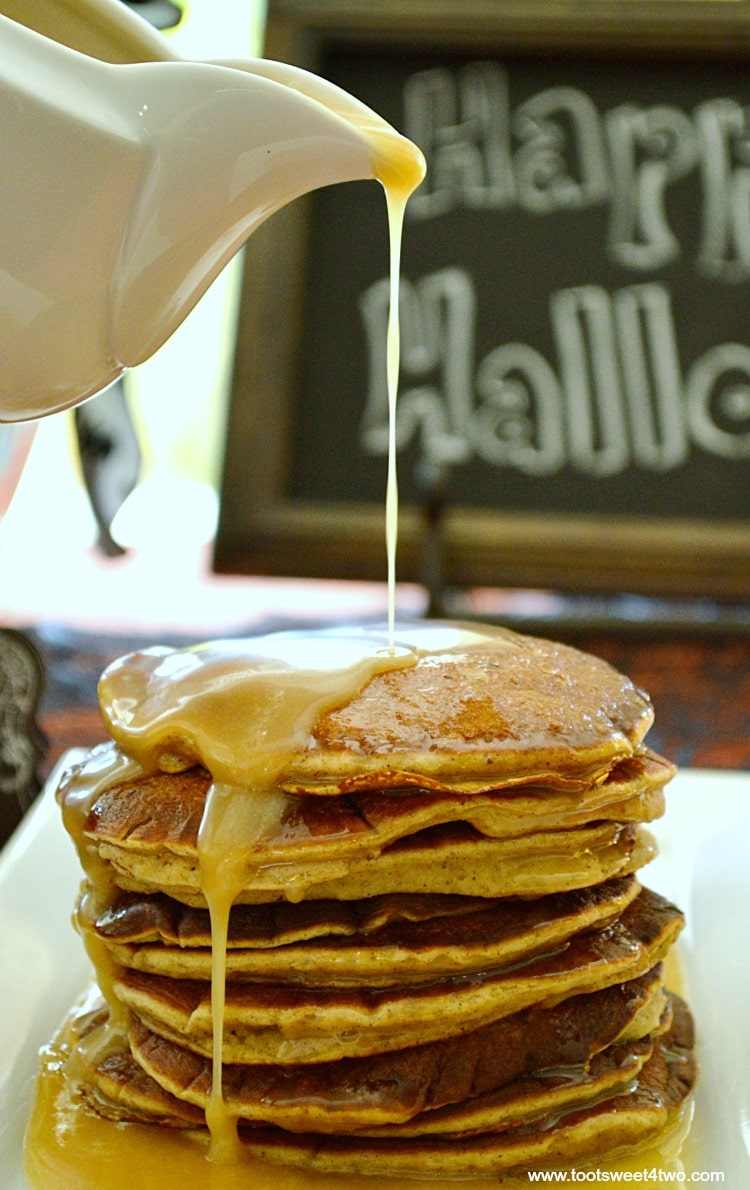
Pumpkin Pancakes with Maple Butter Glaze (so delicious!)
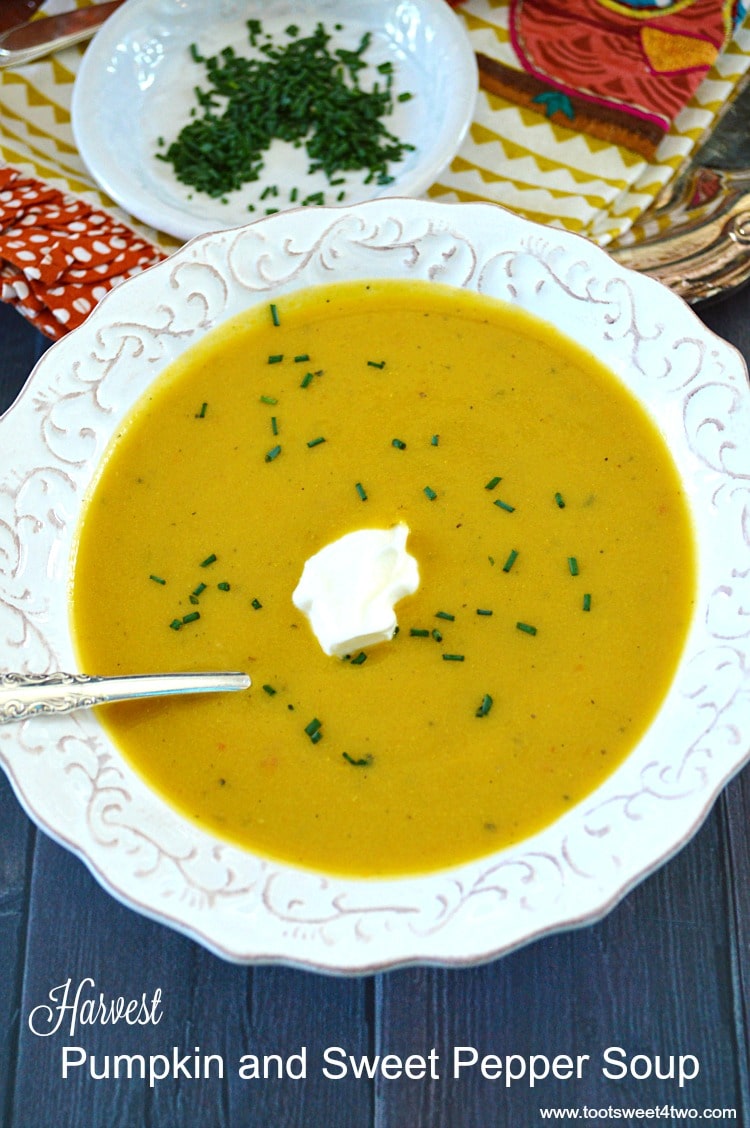
Harvest Pumpkin and Sweet Pepper Soup (a savory soup with a hint of sweetness)
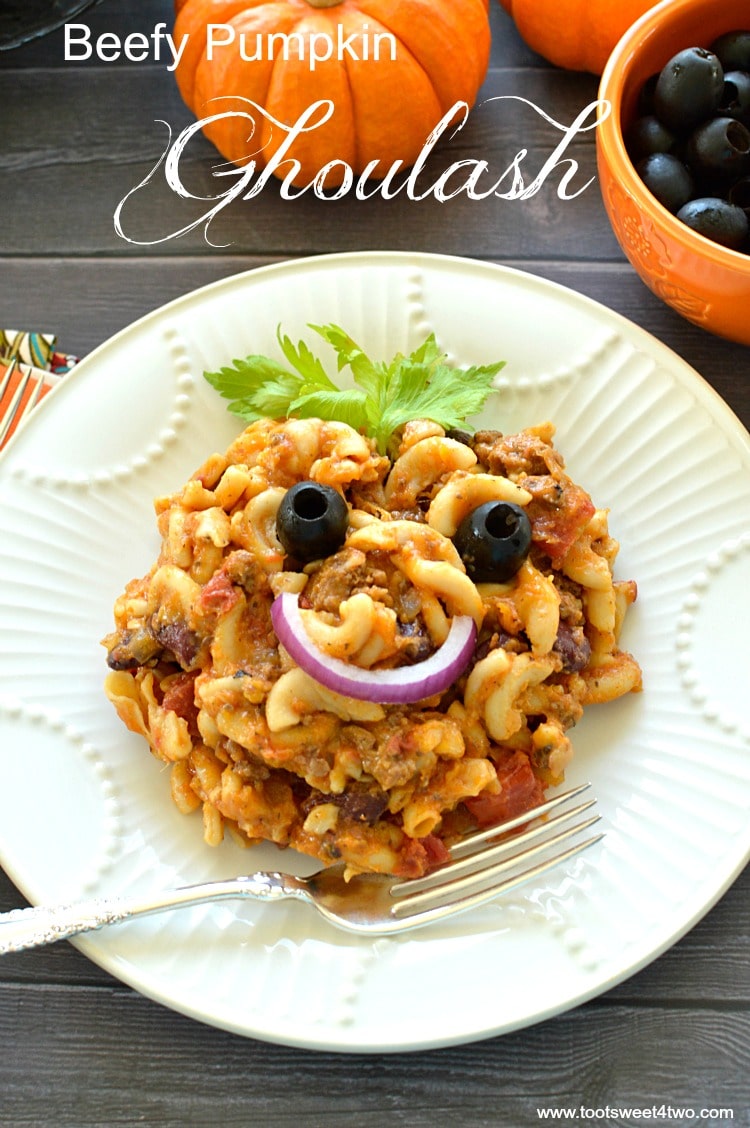
Beefy Pumpkin Ghoulash (so cute and a real kid-pleaser)
How to cook 42 pumpkins? For days…and days…and days…
Tootles,




Leave a Reply