This post contains affiliate links for your convenience. Click here to read my full disclosure policy.
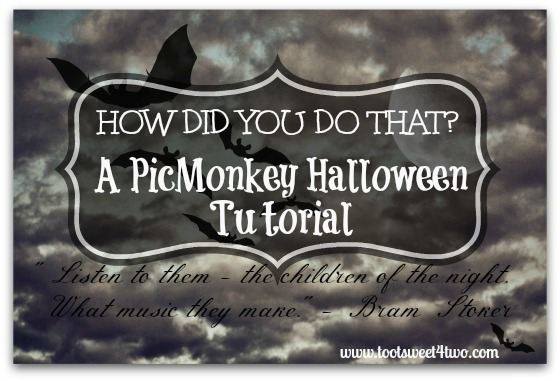
I’ve posted a few pictures over that last few weeks that have generated interest. Here’s one:
Here’s another:
And, here’s another:
So, I decided that I’d write a post and teach our readers! This post contains affiliate links for your convenience. Click here to read my full disclosure policy.
How Did You Do That? A PicMonkey Halloween Tutorial takes you step-by-step through some of PicMonkey’s fun Halloween themes.
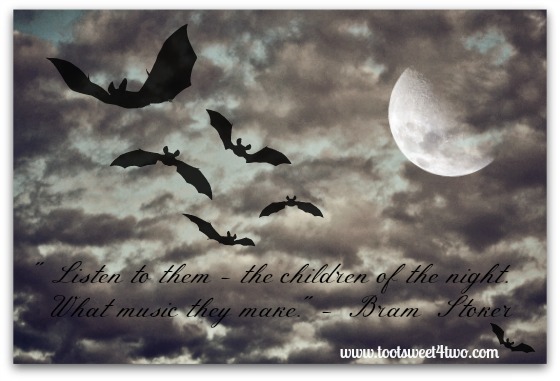
In this lesson, we are going to concentrate on the Children of the Night photo. But, here’s a brief rundown on the other two photos:
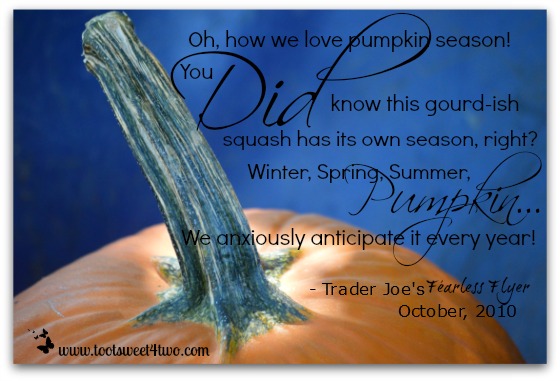
Pumpkin Season
This is an actual photo that I took of a pumpkin in a blue wheelbarrow. I took the picture with the idea that I would use it for a motivational quote, so allowed space around the pumpkin for a caption. I uploaded the photo in PicMonkey, cropped it, sized it and then added the quote using several different fonts.
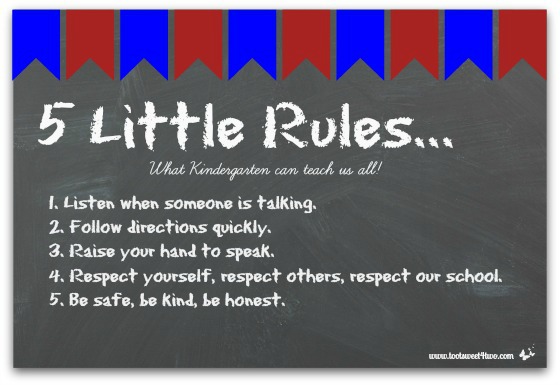
5 Little Rules
There is no photo involved with this technique. I opened the “collage” feature in PicMonkey, saved one of the templates as a blank jpeg. Then, I uploaded the blank jpeg in the “Edit a Photo” feature and chose the chalkboard background. Next, I sized it to the size I wanted the finished picture to be. I chose the banner overlay and sized it across the top. Finally, I added the text.
Completely confused now? Well, it’s really not too hard; just like any new software product you are trying to master, it takes a bit of trial and error and practice! But, PicMonkey is extremely “user-friendly”. In addition, many of the features are free, so even if you work only with the free features, there are lots of options!
How to Use PicMonkey
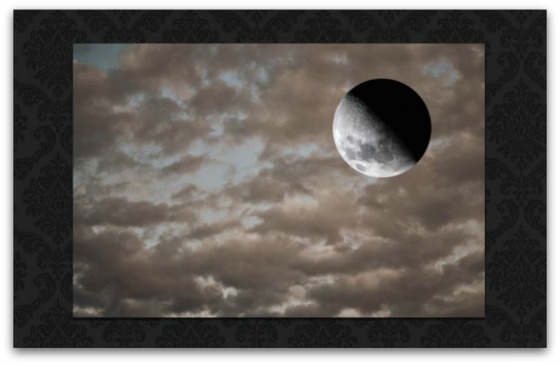
So, here’s what I did on the Children of the Night photo:
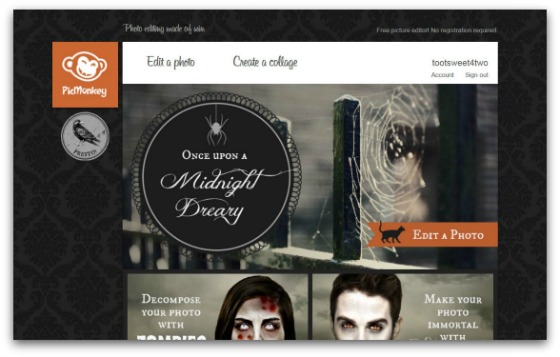
PicMonkey is free with the option to have a “Royal” account, which gives you access to all their features.
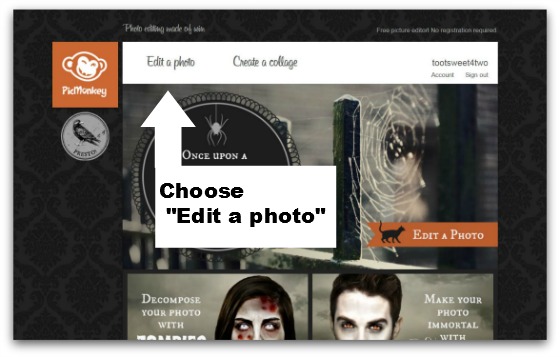
Select “edit a photo”.
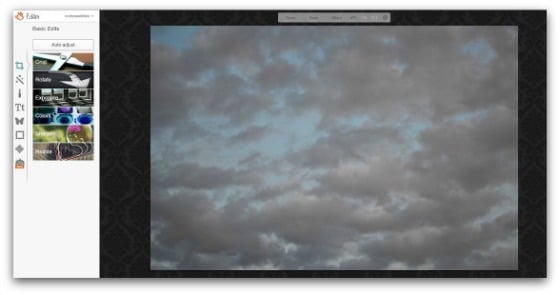
Choose the photo, from your personal library on your computer, to download into PicMonkey. I had a dark, cloudy sky photo that I thought would work perfectly for my quote!
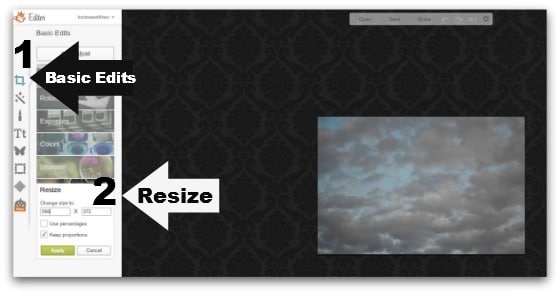
Because I have a fancy, dancy DSLR camera, my digital photos are quite large. While it’s easier to see what you are doing on a large, downloaded photo, the large size of the photo sometimes makes PicMonkey hiccup and you’ll get some kind of cute message like “the hamster is treading as fast as it can” letting you know that it’s difficult for PicMonkey to keep up with you, when working on a large photo. So, through trial and error, I’ve learned that to resize my photo, first, avoids this unnecessary hiccup. Since most of the time I’m creating a photo for our blog, I resize it to the appropriate size to fit on our blog.

PicMonkey’s Editing Tools
Each one of the icons on the left side bar menu are various tools:
-
The crop box icon includes all “Basic Edits” tools.
-
The magic wand under the basic tools are all the “Effects”.
-
The lipstick icon represents all the “Touch Up” tools available.
-
The capital “T” and lower case “t” are all the fonts available.
-
The butterfly represents all the “Overlays” available.
-
The ruffled frame icon represents all “Frames” available.
-
The cross hash checkerboard includes the “Textures” available.
-
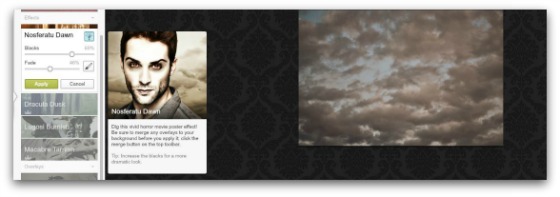
The last icon, currently represented by a jack-o-lantern, is “Themes”. PicMonkey released a whole slew of new features for Halloween and lumped them together under various Halloween-type themes (Vampires, Zombies, etc.) to make it fast and easy to edit your photo for Halloween. Within “Themes”, are additional themes other than Halloween, such as “School U”, “Winterland” and “Sweethearts”, so be sure to check those out too!
How to Place a Moon on Your Photo
The great thing about PicMonkey is that you can try all these effects until you get the right one for your photo. You can either “cancel” an effect if you don’t like it, or if you “apply” it and then change your mind, you can “undo” it.
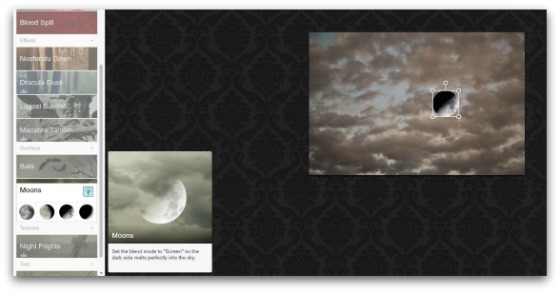
Next, choose “moons” and select one of the four moon choices. This will place the moon somewhere on your photo with a box around it with handles. Click, hold and drag the box with the moon to the location you want it to appear on your photo.
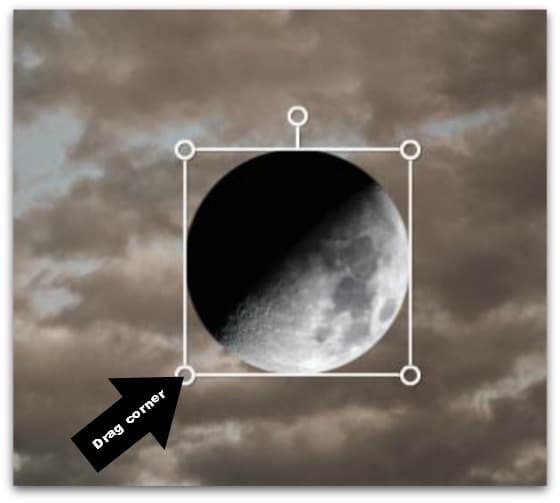
Then resize your moon, by choosing a corner with a handle and dragging it until it is the size you want. If your moon ends up not being exactly where you want it, move it again.
Next, using the handle at the top of the box, click, hold and drag the handle around (clockwise or counter-clockwise) until the moon is positioned.
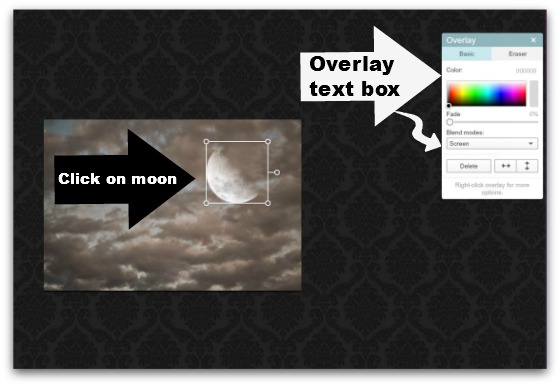
Once your moon is in position, click on the moon so that the editing box around the moon appears. This will open the “Overlay” editing box which gives you additional editing features. From “Blend Modes”, choose “Screen” from the dropdown arrow. This will blend the black half of the moon into your photo causing it to look like the moon is peaking out through a dark, cloudy sky.
How to Place Bats on Your Photo
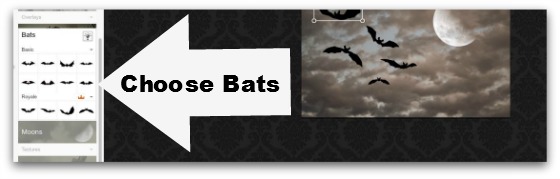
Now we are ready for the bats. While we do have bats in Southern California, it’s not often that we see bats! Or, have the ability to photograph bats! So, choose “Bats” from the “Overlay” menu.
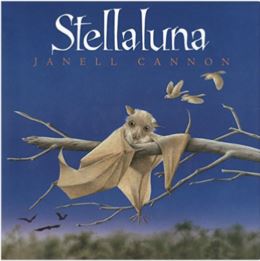
We had a bat in our house once. I named her (really don’t know whether it was a him or a her!) Bellaluna after the children’s book, Stellaluna by Janel Cannon. Love her books! Here’s a picture of the book on Amazon:
Here’s an old picture of Bellaluna:
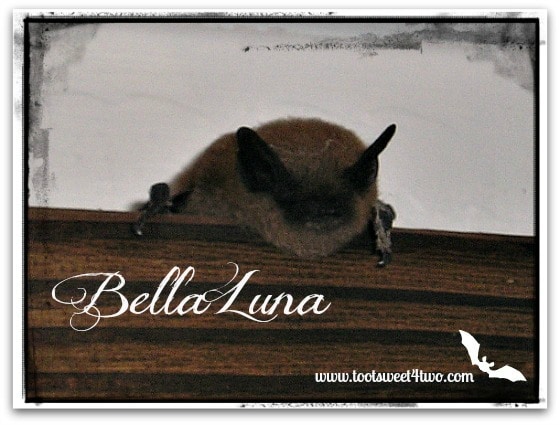
This picture was taken about 10 years ago in our old house. I didn’t have a fancy, dancy camera at the time and you can sure tell by the picture quality! Anyway, one day this bat showed up and perched on one of the beams inside our old house! She’s about 5 feet over my head and this was the best picture of the many that I took! She stayed there all day until she was finished resting and then flew out our open door! So cute!
How to Resize and Reposition
Anyway, back to our PicMonkey Halloween tutorial!
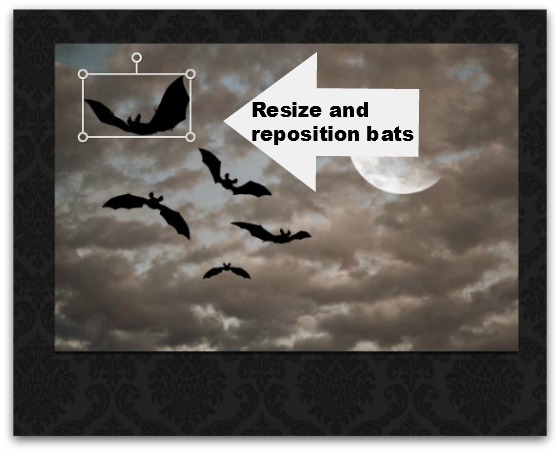
There are several bat choices. Just keep choosing bats, OR, right-click on a bat and from the pop-up menu, select “Duplicate Overlay”. This choice will create another bat overlay of the same bat. After you have all the bats you want on your photo, click on each separate bat to move them around your photo, click on the handles to twirl and reposition your bats and resize them. I made them several different sizes to make them appear like a colony (or are bats a camp?) with some in the foreground and others in the distance.
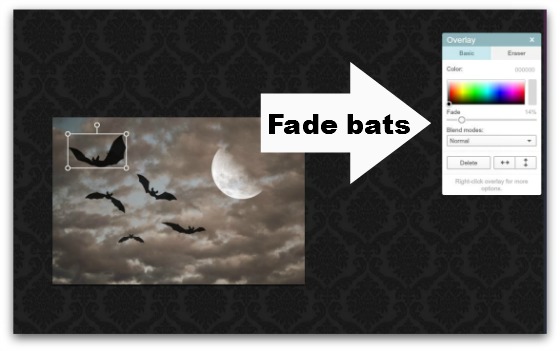
Next, I faded them slightly to make them appear more life-like.
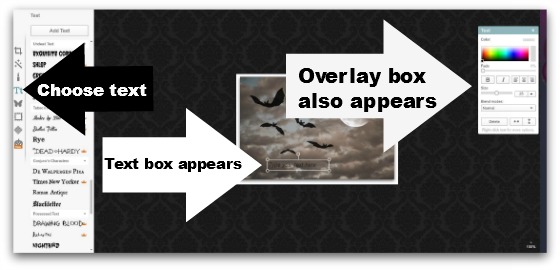
How to Add Text
Next, it’s time to add text. Choose the “text” icon on the left side menu bar. A text box appears. Also, an overlay box appears. Choose one of the available text choices and make sure your cursor is blinking inside the text box. It doesn’t matter which you select – you can always change it!
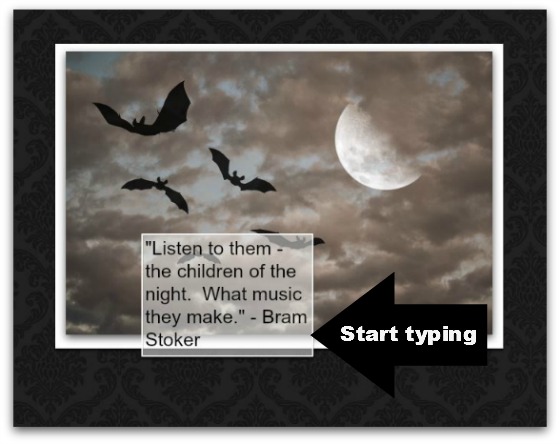
Then, start typing.
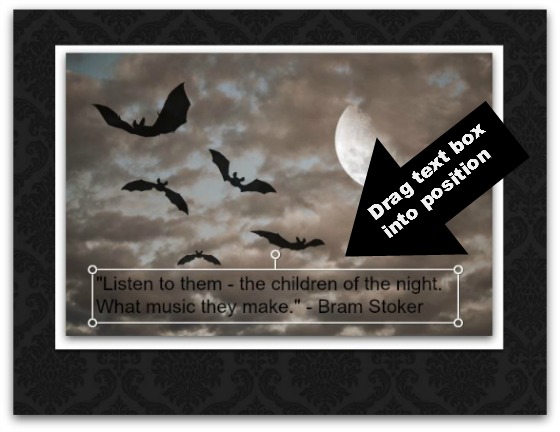
Drag the text box into position, making it larger or smaller to fit the chosen space.
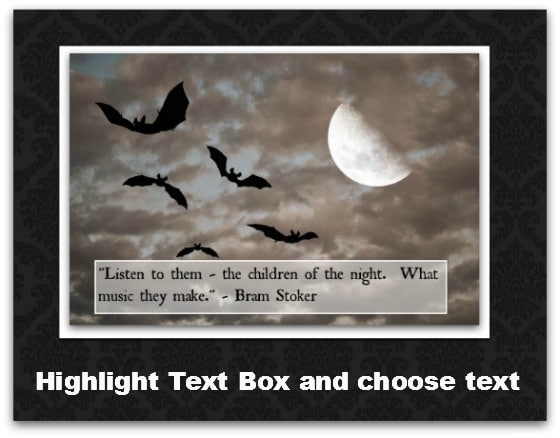
Click on the text box to highlight it and then choose a different font if you didn’t like your first choice.
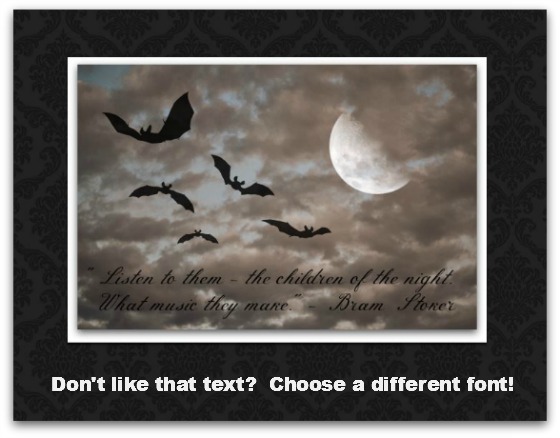
Still not doing it for you? Choose another font! You can also choose the color you want for your text. I left mine black (the default) because it’s the month of Halloween and I wanted it dark and gloomy to match the dark and gloomy quote!
Add a Frame
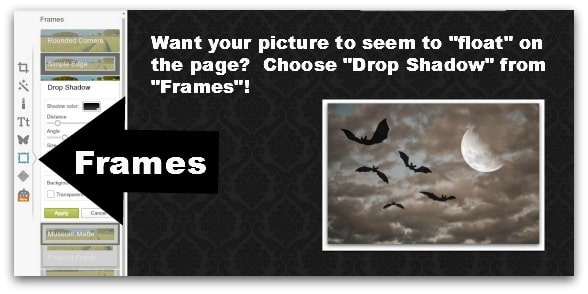
You can also choose a frame for your photo. We use the “drop shadow” choice on our blog because we like the appearance of our photos “floating” on the page.

Don’t forget to save your masterpiece somewhere on your computer so that you can find it, share it, print it, etc.!
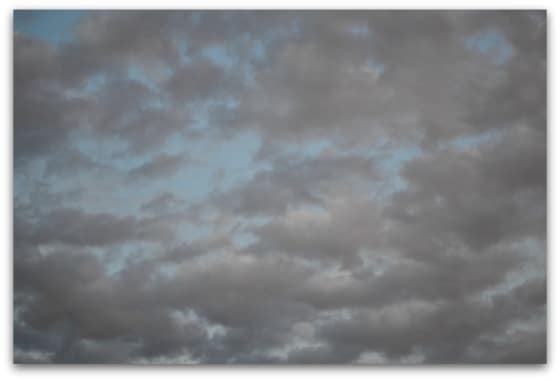
Here’s my dark, cloudy sky photo that I used to create this masterpiece! It’s my FREE gift to you so that you have your own dark, cloudy sky to practice with! NOTE: this has been resized to 560 x 381 pixels to fit our blog, so if you want a larger photo, you will need to import it into PicMonkey (or some other photo editing software) and resize it to a larger size!
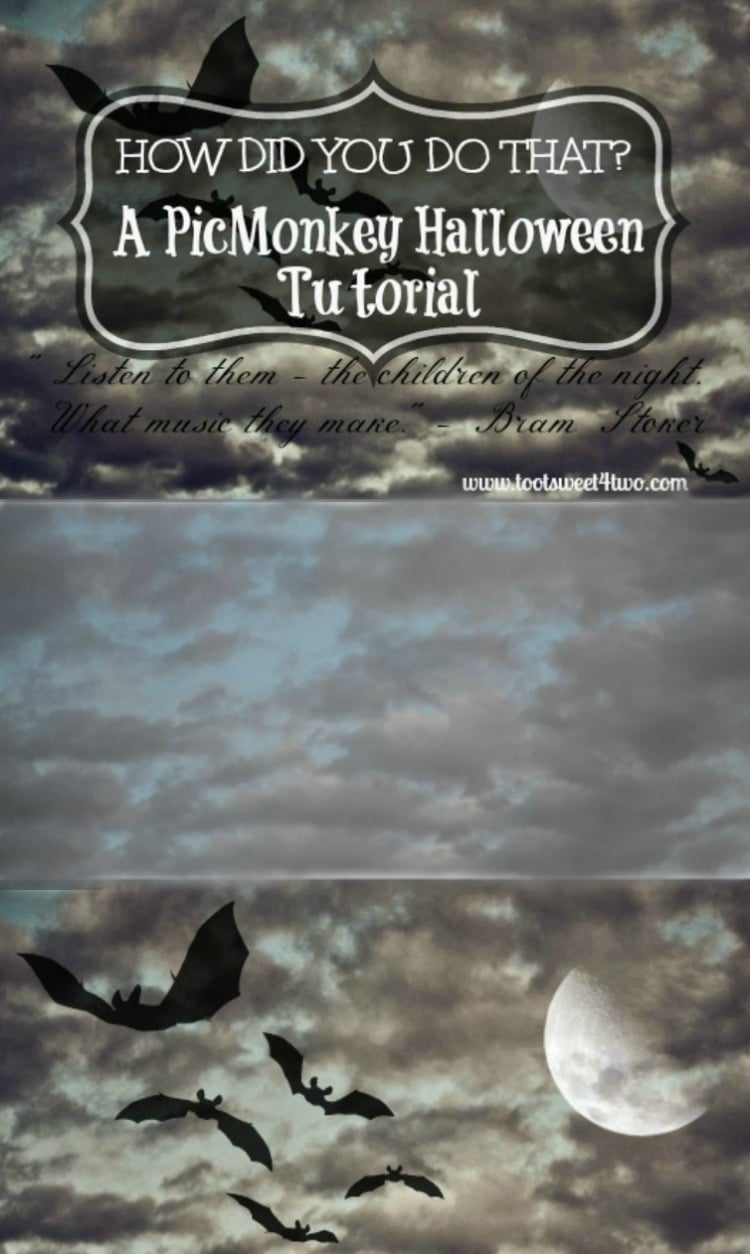
And, here’s one more photo for Pinterest:
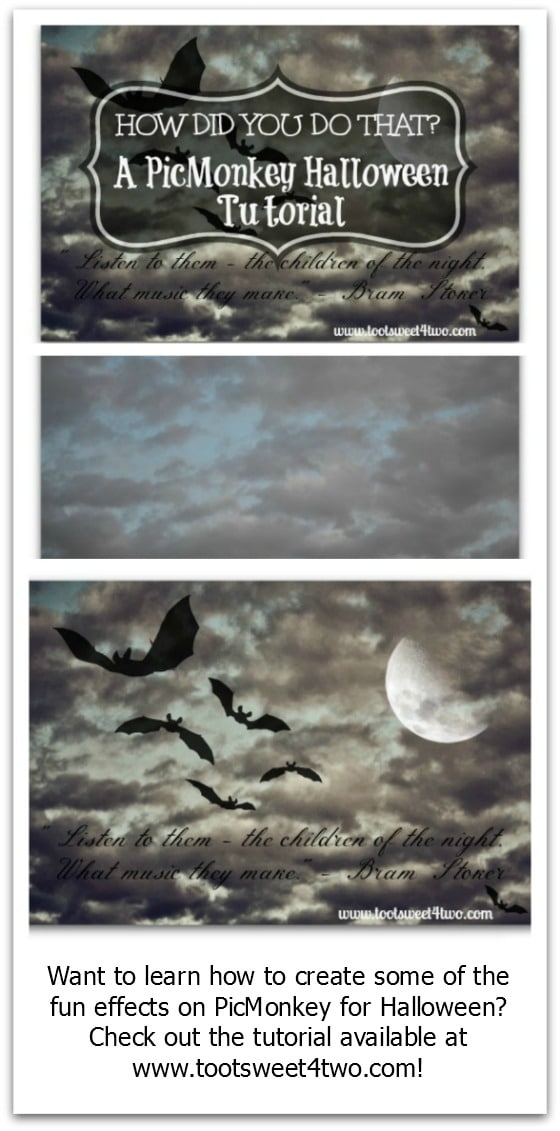
Pinterest is all about the vertical space, so I made a nice long one to pin to Pinterest!
P.S. I created all the tutorial photos on PicMonkey using the Snippet tool and the arrows in PicMonkey (one of the overlay choices). Want to know how to use the Snippet tool? See our post, We Heart the Snipping Tool, for instructions!
I hope How Did You Do That? A PicMonkey Halloween Tutorial was a fun and informative read for you! Have you created a special Halloween photo on PicMonkey? We’d love to hear about it in our comments section!
Tootles,

Related Posts:
(other tutorials)
I really liked this tutorial. Even though you showed me, I haven’t used Picmonkey in awhile; so I like that all the instructions are right there.
Thanks, Dawn. I’m so happy you found it useful!