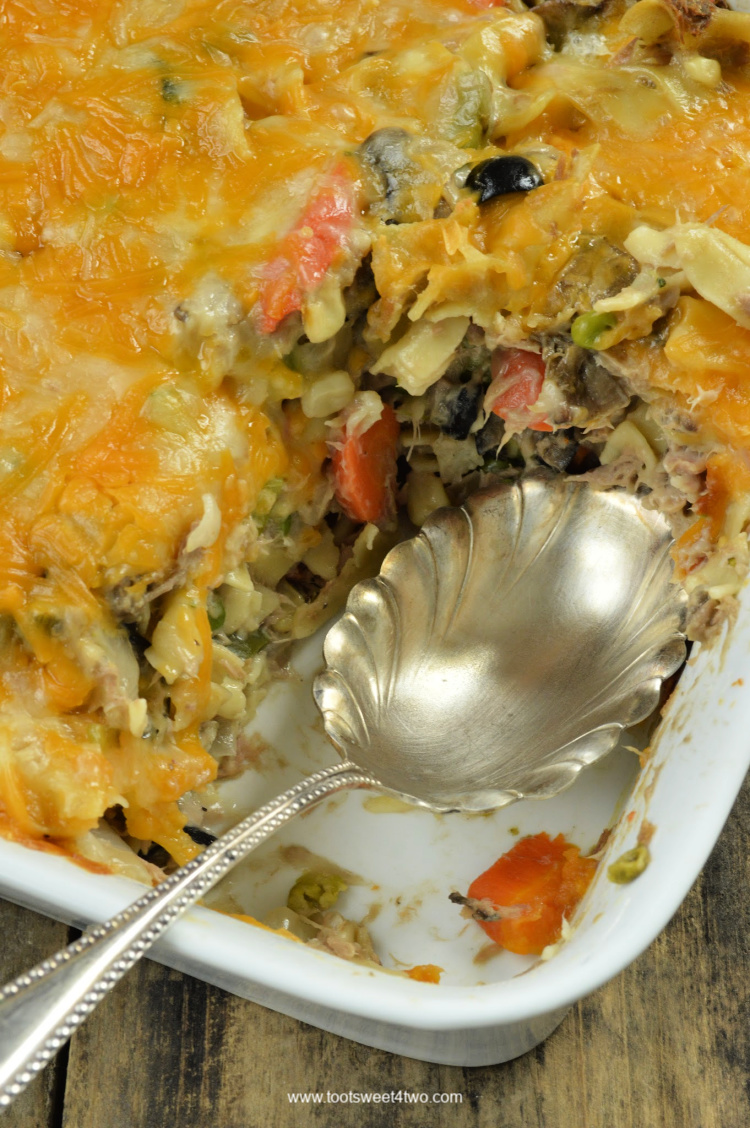
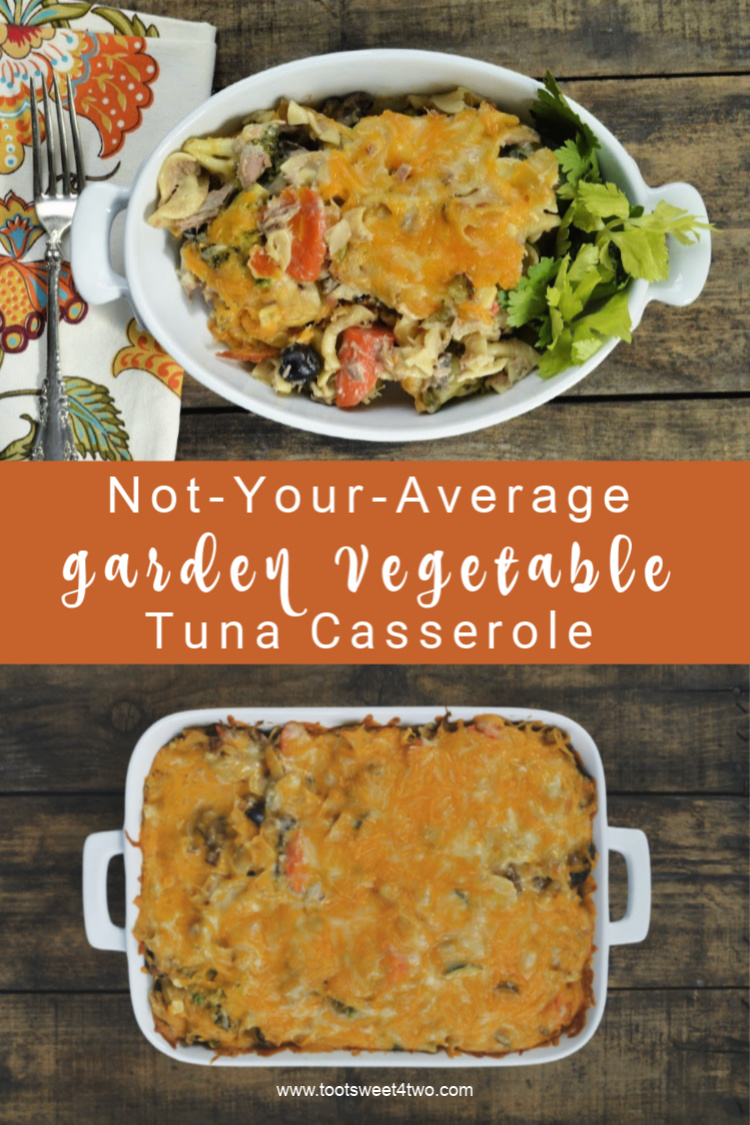
[Updated on June 24, 2020] Garden Vegetable Tuna Casserole is definitely not one of your average tuna recipes! Chockful of fresh vegetables cooked to perfection and topped with shredded cheese melted to cheesy goodness, each bite of this healthy-ish tuna noodle casserole is a little bit of heaven leaving you wanting more.
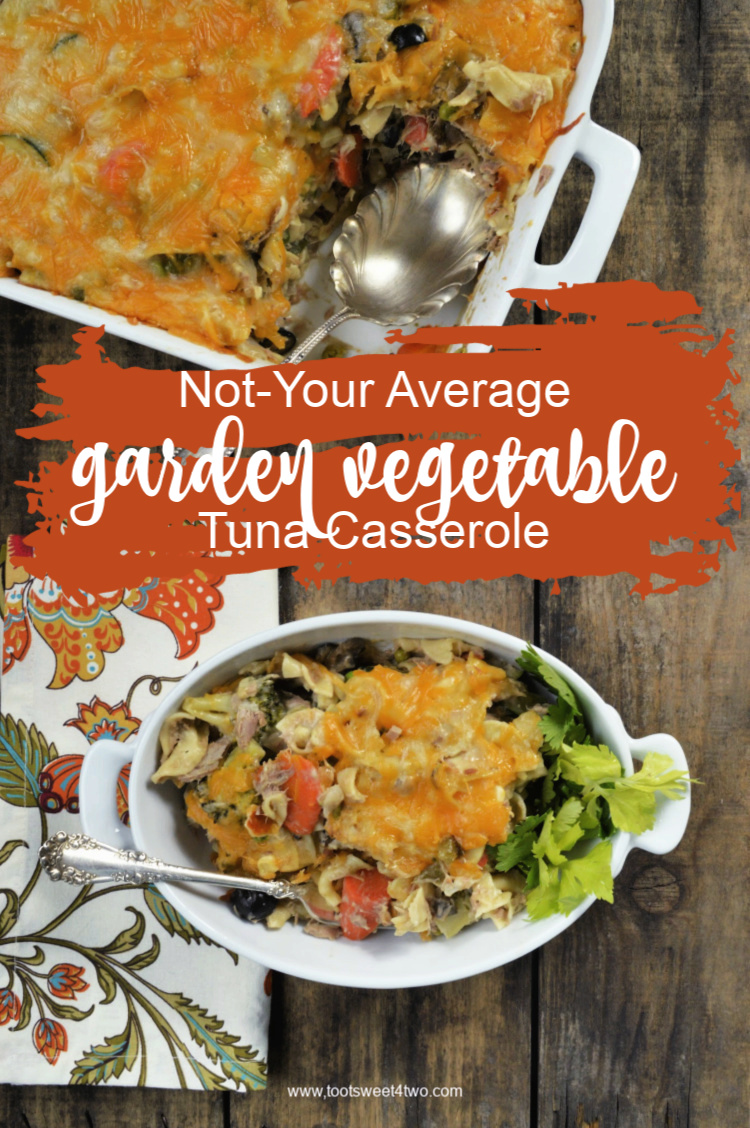
And my Garden Vegetable Tuna Casserole is a family favorite! They think it’s the best tuna casserole ever invented! I realized the other day, when making my Veggielicious Crunchy Tuna Salad, that I’d not made my tuna casserole recipe in over a year! Imagine that – not making a family favorite in over a year!
And I’m proud to say that this is my recipe reinterpreted from the classic tuna casserole recipe in an old cookbook. Here’s a rundown on how it came to be…
Old Fashioned Tuna Casserole – a blast from the past
I did not grow up in a family that ate casseroles for dinner. In fact, we didn’t even eat meatloaf! So I hadn’t had either until I was an adult living on my own and started cooking for myself.
You see my mother didn’t like to cook (though she liked to bake) so she had her own repertoire of simple recipes that she used to feed us. My father liked to cook, but he was often gone (a pilot in the Air Force). So, left to her own devices with four kids, Mom stuck to what was easy and what we would eat, but casseroles were never part of the plan.
[convertkit form = 5145210]Fast forward to around 1998 – my parents, by then elderly, decided to downsize from their large home to a condo. While helping them pack and move, I stumbled upon the ONLY cookbook my mother owned, a very old (as in more than 50 years) Better Homes and Gardens Cookbook. Since she really didn’t cook much even then (my dad did most of the cooking once he retired from the Air Force), I asked her if I could have it and she said yes. Inside that cookbook was/is a recipe for tuna noodle casserole.
That recipe calls for noodles, of course, mixed with mayonnaise and cream of celery soup. And it says to use celery, onion, green peppers, and pimentos that you put into the casserole raw. Plus, that particular tuna noodle casserole recipe instructed to top it with slivered almonds and bake it for 20 minutes. So one day I decided to give this recipe a test drive, but I couldn’t wrap my head around throwing raw vegetables into a casserole that’s only baked for 20 minutes and the veggies still not being somewhat raw.
So, in addition to sauteing those particular veggies (and leaving out the pimentos because I didn’t have any), I added a bunch more veggies and substituted the soup for cream of mushroom soup. Plus, instead of mixing the cheese into the sauce (the instructions were to blend the soup with milk and heat on the stovetop, then add the cheese to make a cheese sauce), I decided to just melt the cheese on top to make it a cheesy tuna casserole.
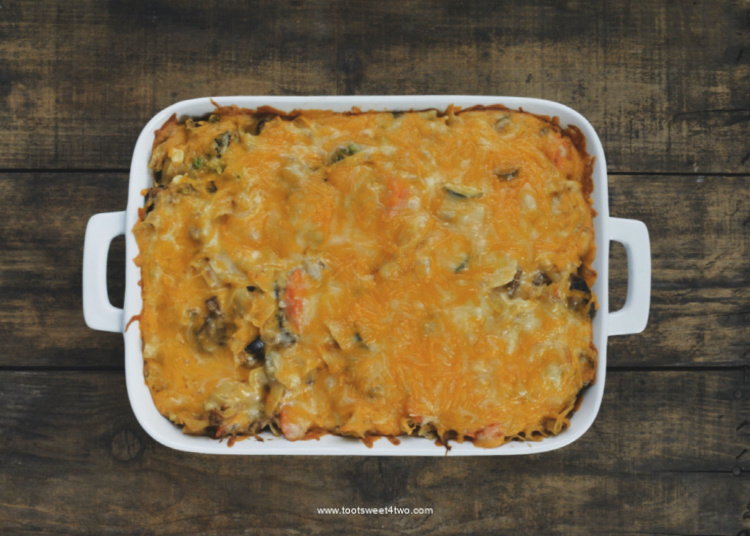
Can I say it’s yummy? Let me put it to you this way – my mother, the woman who professed to not like casseroles (she claimed to have too many as a child and my dad claimed to have too much meatloaf as a child) and who never made a casserole while I was growing up, whenever I told her I was making my family famous tuna casserole recipe, she would say “please save me some!” So, over the years whenever I made one, I made a small version for her!
A confession – my Garden Vegetable Tuna Casserole is somewhat labor-intensive. It is, definitely, not a “toot sweet” recipe. So, when I make it, I make a lot! This time, I tripled the recipe and gave a casserole to my neighbor for her family of seven and gave a smaller version to my brother-in-law who absolutely loves this casserole.
Yes, this casserole freezes beautifully! So, my recommendations are:
- make this casserole because it is yummy, and
- make enough to freeze for another meal or two!
Plus, unbelievably, this casserole is kid-friendly. I have lots of nieces and nephews of various ages and each one of them, without exception, loves this casserole. And, it’s a good way to add more vegetables to your diet!
Four items of caution to ensure the best tuna noodle casserole from scratch:
- If you make my Garden Vegetable Tuna Casserole with frozen vegetables (other than the corn and peas), it will not be as delicious. Plus, you will not have the added “crunch factor” from the large-size veggie pieces that are cooked al dente’.
- This version is “lightened-up” because I’m on a diet. You can use full-fat versions of the soup, mayonnaise, and cheese and will have a much richer casserole. But, you will also have extra fat and calories. This lighter version is STILL absolutely delicious and unless you tell your family and/or guests, they will not know the difference!
- All of the vegetable choices are “optional”. However, leaving one or more out will alter the taste of the dish. You can substitute veggies and “make it your own”, but each one of the veggies I’ve added is “time-tested” for many years and adds to the overall deliciousness of this casserole.
- You can substitute the tuna for chicken. BUT, and this is a big BUT, it will NOT taste the same. With chicken, it just isn’t as good!
Disclosure: This post contains affiliate links for your convenience. Click here to read my full disclosure policy.
How do you make tuna casserole from scratch?
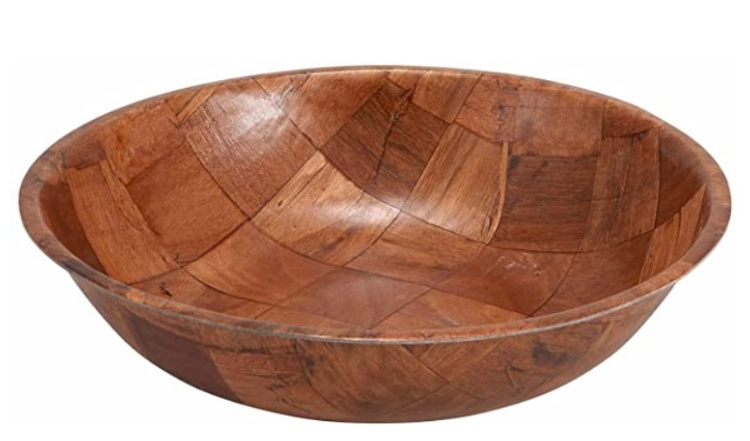
Chose your mixing bowl. You’ll need a very large mixing bowl. The super-duper bowl that I use for mixing tuna casserole, is a commercial restaurant service salad bowl and it is 18 inches across.
I recommend it because it’s large, lightweight, and easy to mix all the ingredients together by hand, especially if you double the recipe! 25+ years ago, Charlie and I “catered” our own wedding and I purchased some supplies from a restaurant supply store (pre-Amazon). This is the one remaining bowl I have left from our wedding, as the rest burned up in the fire! This one was not in our house, at the time of the wildfire, but in our storage shed.
Step #1 – add frozen vegetables to your large mixing bowl
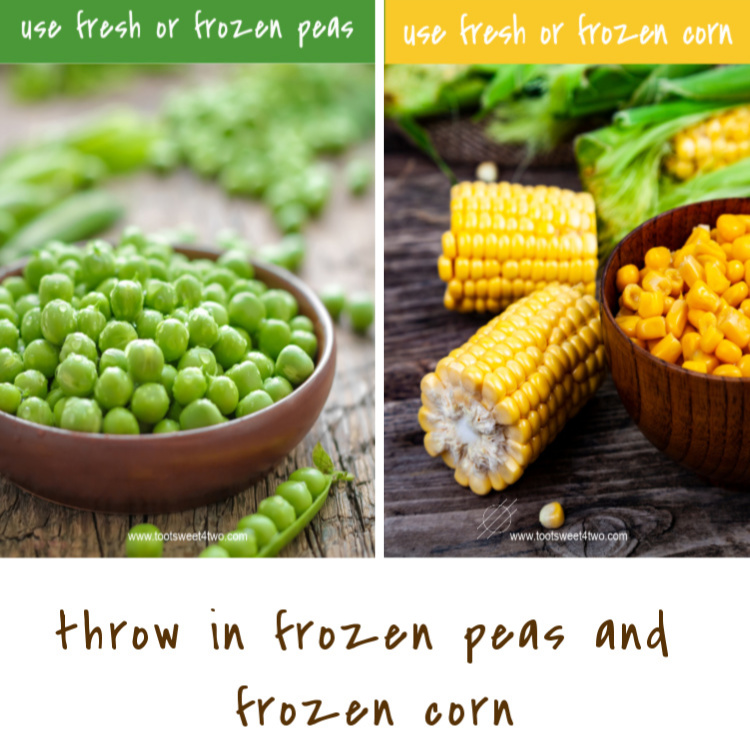
I put the frozen corn and frozen peas in the large bowl and let them defrost at room temperature while I work on the other vegetables. And as I cook the other vegetables, I add them to these frozen vegetables in the bowl, so they “cook” and defrost at the same time!
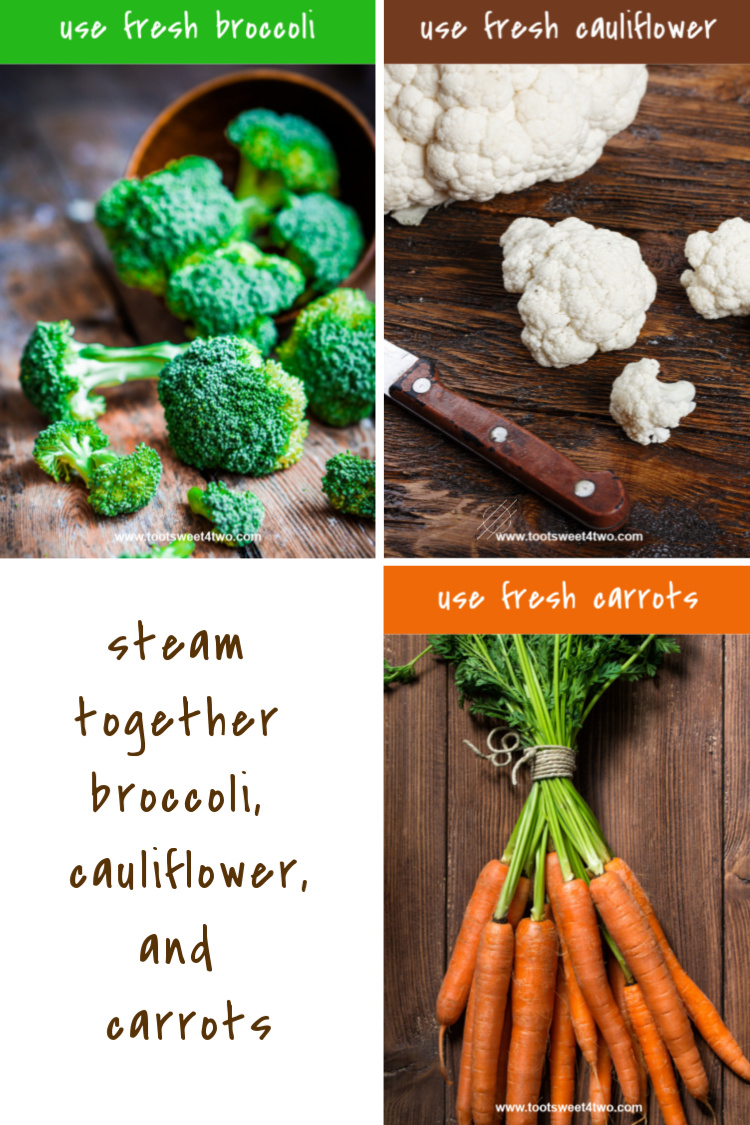
Step #2 – steam the broccoli, cauliflower, and carrots
Start by chopping your vegetables. Sometimes, Charlie will be my sous chef, but most of the time, I’m making this casserole by myself. If you want to chop your carrots, broccoli, and cauliflower and steam them together, you can. But, since I chop each vegetable one at a time, when I’m finished, I place that particular vegetable in a microwave-safe bowl and microwave it while I’m chopping the next vegetable. This technique has worked well for me all these years, but you can, instead, place all three of these vegetables into a steamer basket in a large pot and steam them until tender-crisp.
So, here’s how to prepare and cook these vegetables for maximum flavor:
- Wash, peel, and slice the carrots. I like to cut mine on the diagonal, but then I end up cutting them in half again because, depending on the size of the carrot, diagonally-cut pieces can be a little too big. Don’t make the slices too thin. You want to be able to taste the delicious carrot!
-
Place in a microwave-safe bowl and cover with water. Microwave on high until carrots are not quite fork-tender. You want them to have a little “bite” to them. In my microwave, it takes 5 minutes to get the desired doneness. But, my microwave is very low-powered (just a little tiny microwave; mainly used for reheating!), so if you have a normal microwave, test your veggies after two or three minutes!
- In the meantime, wash your broccoli and cut into bite-size florets.
-
Next, wash and trim your cauliflower and cut into bite-size florets.
-
Once the carrots are done in the microwave, remove them, drain them, and add them to your mixing bowl on top of the peas and corn.
-
Then, repeat the microwave process with the broccoli and cauliflower OR steam all together on the stovetop in a pot fitted with a steamer basket until all are tender-crisp and then drain and add them to your large mixing bowl.
IMPORTANT: Do not overcook your vegetables. You want them bright and al dente’.
Step #3 – prepare the other vegetables for sauteing
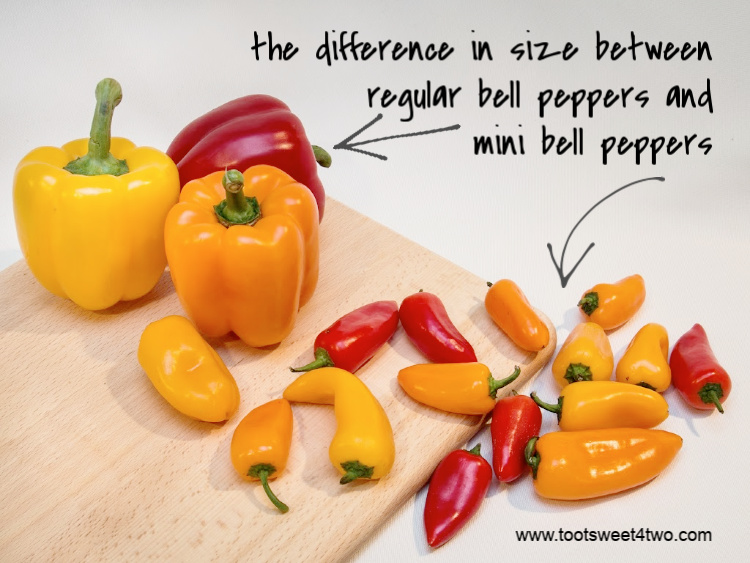
In the meantime, start working on the vegetables that you will be sautéing instead of steaming. NOTE: while I choose to use mini bell peppers for this recipe, you can substitute regular bell pepper instead (your choice of color).
I choose to use the mini bell peppers because I always have a bag of them in the refrigerator, ready to use for different recipes. It is, of course, easier to core, seed, and chop a regular bell pepper than a bunch of mini ones, but I like all the different colors that come in a bag of mini bell peppers.
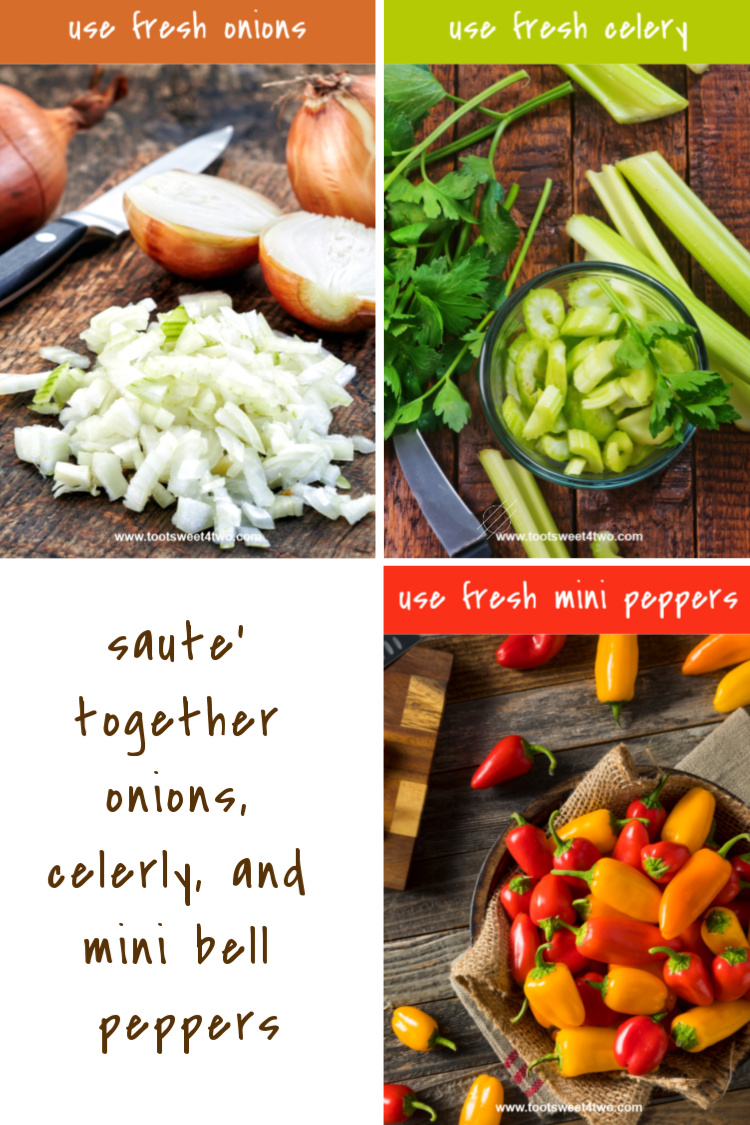
Start by chopping and sautéing your vegetables as you go.
- Chop your onion and saute in a large non-stick skillet in 1 tablespoon of olive oil.
- While the onion is sauteing, chop the celery and add to the skillet, stirring to combine.
- Next, chop the mini-bell peppers and add them to the skillet and continue to sauté.
- Once they are soft and translucent, remove them from the stovetop and add them to your large mixing bowl.
Step #4 – prepare your mushrooms and zucchini
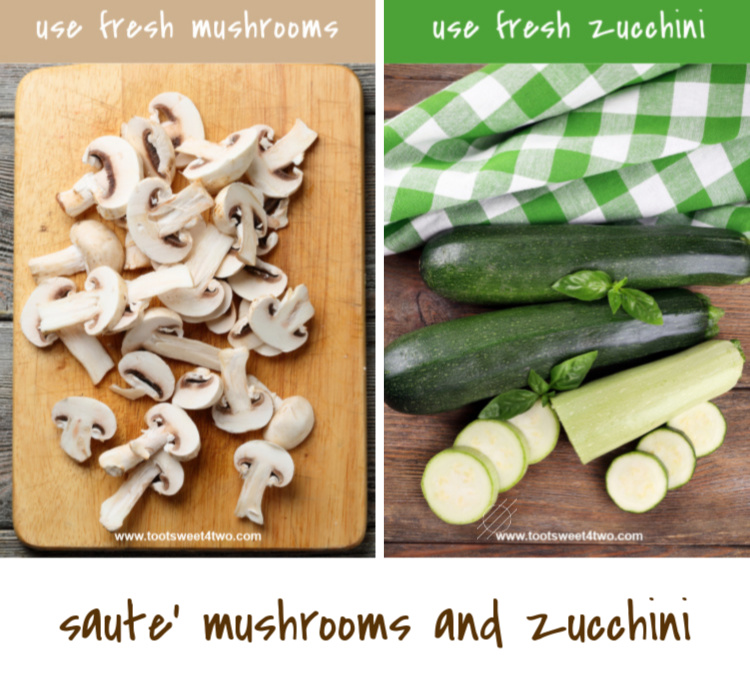
- Slice the zucchini lengthwise in half and then into half-inch slices. Don’t slice them too thin because like the carrots, broccoli, and cauliflower, you want to be able to taste them.
- Add zucchini to your now empty non-stick skillet, add another tablespoon of olive oil, and sauté, stirring occasionally.
- In the meantime, clean and slice the mushrooms. Again, don’t slice or make the pieces too small. Part of the deliciousness of this casserole is tasting all the different chunks of vegetables!
- Add mushrooms to the zucchini in the skillet and continue to sauté stirring occasionally until both are lightly browned, but not overcooked.
- Once done, add these sautéed veggies to the other veggies in a large mixing bowl.
Step #5 – slice the olives and drain the canned tuna
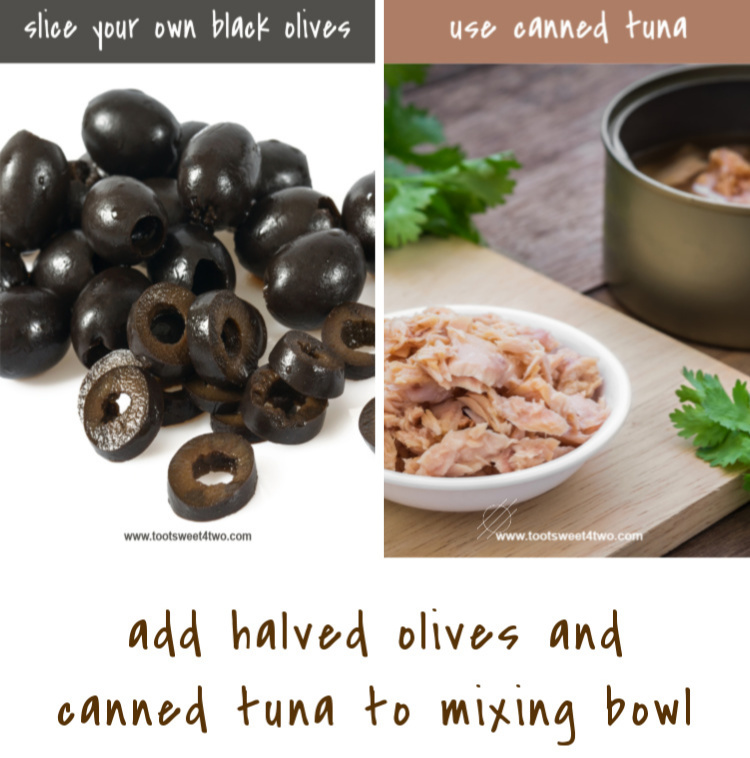
- I use black olives in this casserole. About 1/2 to 1/3 of a 6-ounce can. I drain them and slice them in half. Why don’t I buy pre-sliced black olives? Because I think the sliced olives sold in the can are sliced too thinly for this casserole. Remember: this casserole is all about getting the taste of every single component of the casserole.
-
I stir all the vegetables around in the big bowl to mix them all up before adding the remaining ingredients.
-
Open your cans of tuna and drain well. I save the tuna juice for Coco; it’s one of his favorite treats! Add the cans of tuna to the veggie mixture in your large bowl and stir to combine, breaking up any big chunks of tuna.
Step #6 – make tuna casserole with egg noodles
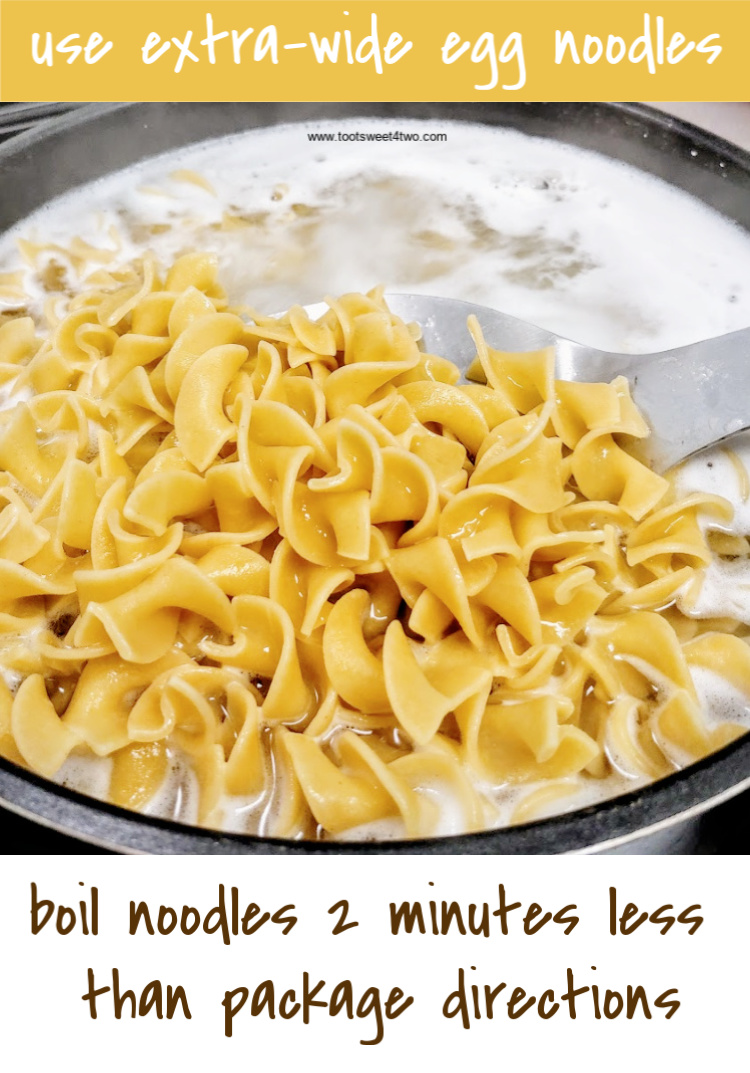 Be sure to cook and drain the egg noodles before adding to your tuna casserole!
- While you are preparing all the vegetables, bring a large pot of water to a boil.
- Add a teaspoon of salt and a tablespoon of olive oil and once the water is at a rolling boil, add your noodles. This tuna casserole is made with extra-wide egg noodles. While I’m sure using other noodles would be just fine, again it will not be the same recipe and you may not have the same taste results.
- Cook noodles per package directions BUT undercook them by 2 minutes. The noodles will continue to cook in the oven, so you want them slightly undercooked. I have a large pasta pot fitted with a strainer basket that makes this job easy!
- Once cooked, drain the noodles, and set aside to cool while you continue preparing the various veggies. Once all the veggies are in the bowl, add the cooked egg noodles on top of the veggies.
- Take a moment to stir the noodles and vegetables together until all are well combined.
Step #7 – add the mayo and soup
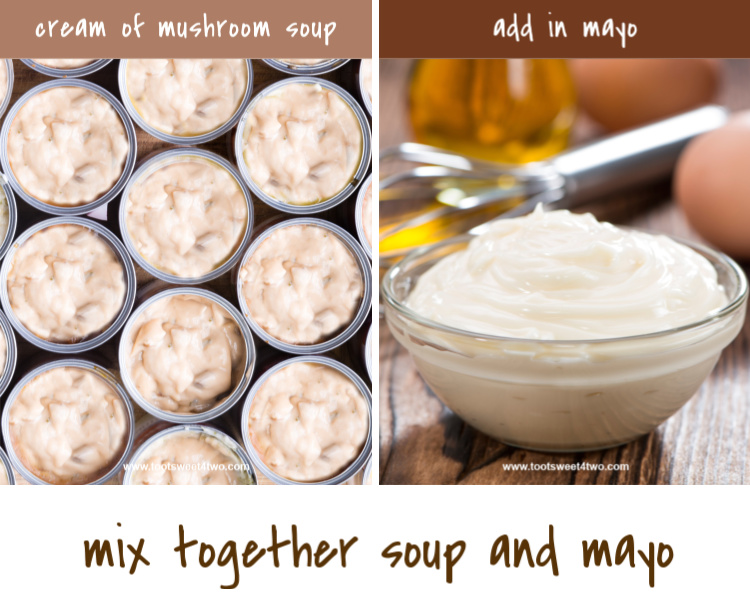
Who doesn’t love tuna casserole with mayo or any casserole with mayo for that matter? And while we are discussing one of man’s greatest culinary inventions, cream of mushroom soup is certainly up there, too. For ease of convenience alone, canned cream soups have upped the home cook’s game. So don’t leave these two ingredients out!
- In the meantime, in a small bowl, combine the can of cream of mushroom soup and the mayonnaise. While you can add them separately to the bowl of noodles, veggies, and tuna, it’s not a large amount of soup/mayo, and doing it separately just means you have to stir the noodles/veggies/tuna mixture twice. Just trying to save you a bit of time!
- Spoon the combined mixture into a 9″ x 13″ baking pan.
Step #8 – add the shredded cheese over the top of the casserole
- Add 2 cups of grated cheese over the entire top of the tuna casserole.
- Cover casserole dish loosely with foil and bake in a preheated 350-degree oven for one hour. After one hour, test for doneness: insert a dinner knife into the center of the casserole and remove it. Then, touch the knife where it was inserted and if it’s not hot to the touch, leave the casserole in the oven for another 15 minutes to heat through.
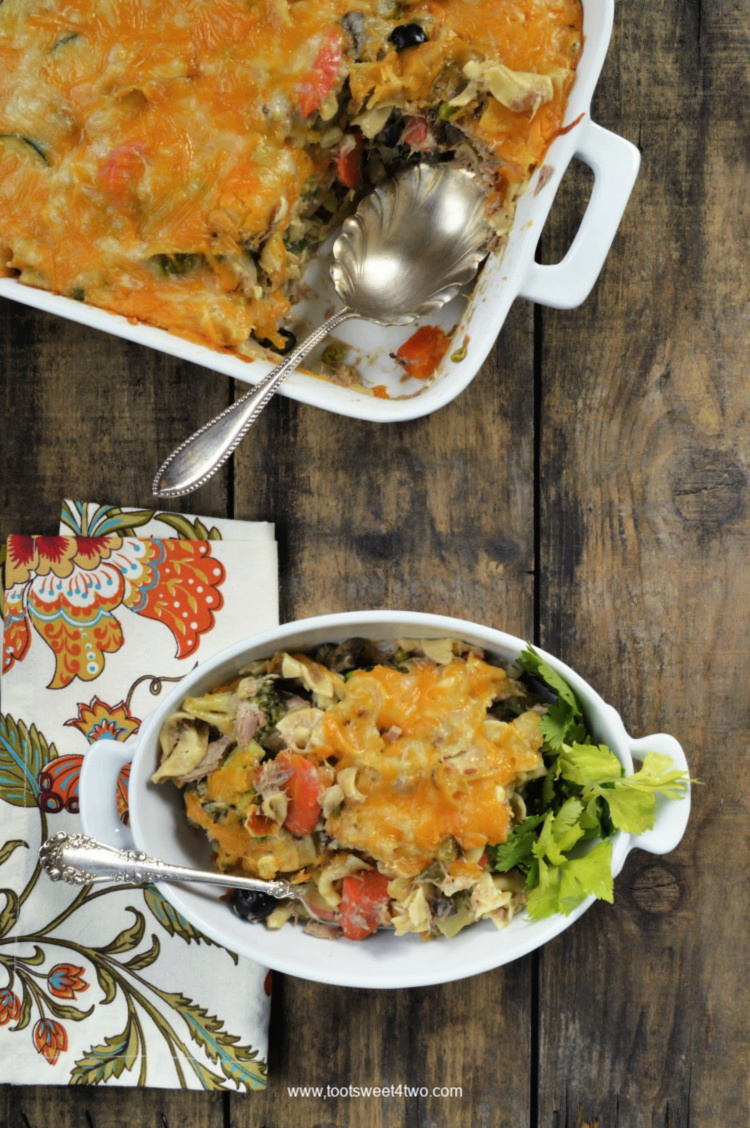
Out of the oven and ready to eat!
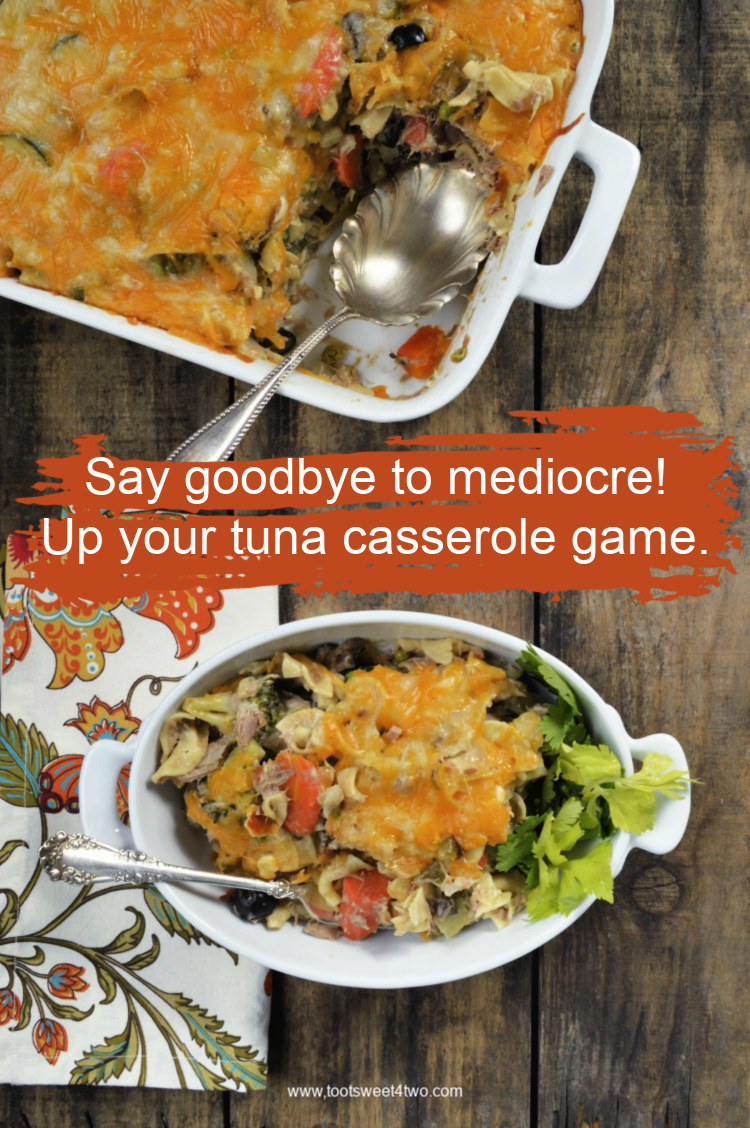
Below are several photos made especially for your Pinterest board! Will you do me a favor? Would you share my post on social media? There are several pinnable images scattered throughout this post for your Pinterest boards so that you have lots of choices and can bookmark this post and come back to it later. Thanks for sharing!
And another one for Pinterest!
Time-Saving Tips for Making Tuna Casserole
Here are some time-saving tips for making tuna casserole that won’t affect the overall deliciousness of this casserole:
- Use fresh crinkle-cut carrots or baby carrots. Do not slice either of these further, but use right out of the package. You do still have to pre-cook them. Time Saver: no peeling or chopping your carrots!
- Buy pre-chopped red or white onions. Grocery stores usually have pre-chopped onions available in the refrigerator section of the produce aisle. Time Saver: no peeling and chopping your onions and no tears!
- Buy pre-chopped celery and bell peppers. Again, most grocery stores carry these. Time saver: no cleaning and chopping celery and no coring, seeding, and chopping bell peppers!
- Buy a bag of mixed fresh broccoli and cauliflower florets. Again, most grocery stores carry these. Sometimes the mix includes carrots, but even if your bag includes carrots, I would add more carrots. You can’t have too many carrots, in my opinion! Time saver: no cutting and trimming fresh broccoli and cauliflower (well, maybe a little; some of those florets are large!).
- Buy pre-sliced mushrooms. These, too, are available at your grocery store. Time saver: no cleaning and slicing of mushrooms!
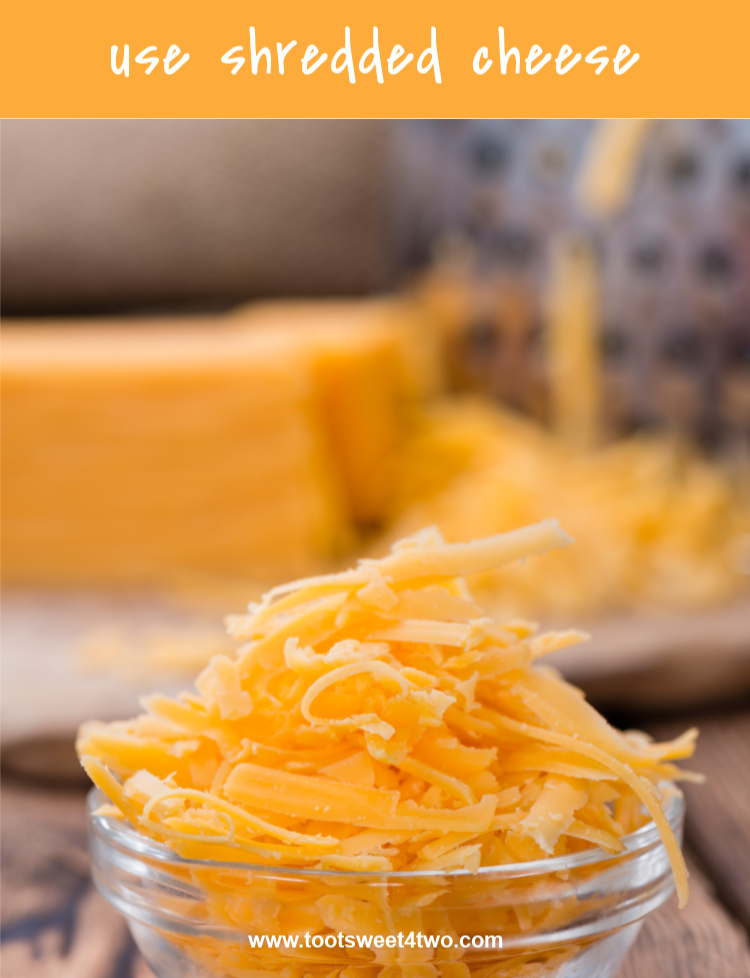
- Buy pre-shredded cheese. I choose to use a 4-cheese blend, but any shredded cheddar-based cheese will work. Time saver: no grating cheese and getting your cheese grater dirty!
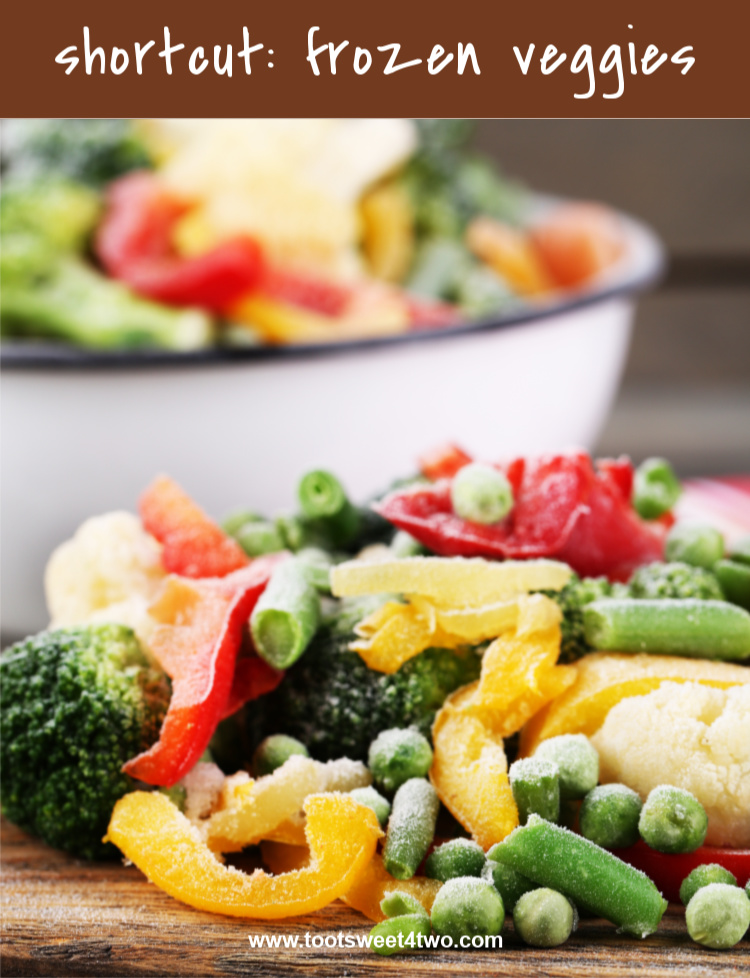
In a pinch, you can use frozen mixed vegetables. But, if you do, while this tuna casserole is still good, it isn’t as good as using fresh. And, if you do decide to go the frozen mixed vegetable route, choose a bag that includes as many of the different vegetables listed in the ingredients for this recipe as you can find. And, if necessary, combine two different kinds of frozen mixed vegetables. Defrost them at room temperature and add to your cooked egg noodles, tuna, and cream of mushroom soup/mayo mixture. The frozen mixed vegetables will finish cooking in the oven.
Tips for Freezing and Reheating Tuna Casserole
Yes! You can, indeed, freeze this casserole! I have frozen it many, many times over the years. I freeze it BEFORE I cook it, so once it’s completely assembled including the grated cheese. But, you can also freeze it after you’ve cooked it. If you are freezing it, here are a couple of tips:
- Assemble your tuna casserole in an aluminum pan, cover with foil, tape a note on the foil with the contents, and write the date you are placing it in your freezer. It will keep for 3 months in your freezer, so knowing the date you placed it in the freezer will help you decide your “use by” date.
- When you are ready to cook and heat the frozen tuna casserole, defrost in the refrigerator first. This will take at least 24 hours, but it’s even better if you give yourself two days. That way you know for sure that the casserole is defrosted.
- Once defrosted, remove the casserole from the refrigerator for 30 minutes before cooking. Also, loosen the foil (tent the casserole dish) so that the cheese will not stick to the foil as it cooks. Place the aluminum pan on a cookie sheet (for support) and place it in a pre-heated oven and cook for one hour, per the original recipe. Test for doneness per the recipe.
If you don’t have an aluminum pan handy, but you do have aluminum foil, here are the tips to freeze in your glass or metal pan:
- Line your glass or metal casserole with foil before you place all the ingredients in the pan.
- Use enough foil so that the foil will overlap and allow you to cover the casserole in its entirety.
- Place the lined pan full of all this tuna casserole goodness in the freezer and freeze overnight.
- Remove the frozen casserole from the freezer and lift it out of the casserole dish. Doing this allows you to use your casserole dish for other things rather than it languishing in your freezer until you cook and eat the tuna casserole!
- Cover the now frozen tuna casserole (sans casserole dish) with more foil and place back in the freezer with your note attached with the date and what it is.
- When you are ready to cook this frozen casserole, remove from the freezer and place it in the original pan and defrost in the refrigerator at least 24 hours. Be sure to loosen the foil over the top of the casserole before baking so that the cheese doesn’t stick to the foil.
Here’s a BONUS tip for freezing tuna casserole:
Freeze it in smaller batches. Yes, if your family is small or if there are just two of you (like me and Charlie) or if it’s just you, as you create and assemble this recipe, divide it into smaller servings to freeze. While you can freeze this casserole in freezer-safe plastic containers, you will need to remove them from the plastic containers to bake the casserole. So, line your plastic containers with foil so that you can easily remove the casserole before baking. And, of course, place the frozen casserole in an oven-safe dish as it defrosts so that you can just pop it in the oven or microwave!
Kitchen Tools and Supplies Needed to Make This Tuna Casserole Recipe:
Large Mixing Bowl || Small Mixing Bowl || Large Wooden Spoon || Chopping Board || Vegetable Peeler || Kitchen Knife || Measuring Cup Set || Chop Wizard || Measuring Spoon Set || Can Opener || Non-stick Skillet || Pasta Pot with Strainer || Casserole Dish || Aluminum Foil || Aluminnum Foil Pans || Freezer-Safe Plastic Storage Containers || Olive Oil || Black Olives || Canned Tuna || Cream of Mushroom Soup || Mayonnaise || Extra-Wide Egg Noodles
Where to get all the fresh vegetables needed for the best tuna noodle casserole made from scratch? Farm Fresh To You is a great option. Since 1976, this family-owned and operated operation has sought to share only the best organic produce with their customers. For also 20 years now, they have delivered a variety of fresh organic fruits and vegetables straight to your door. With a selection of boxes to choose from, you can also select specific items for your box through their customization option or just wait for your surprise. Their flexible plans allow you to adjust how often you receive your box of wonderfulness.
Here’s the recipe for Not-Your-Average Garden Vegetable Tuna Casserole:
PrintNot-Your-Average Garden Vegetable Tuna Casserole
This Garden Vegetable Tuna Casserole is definitely not your average! Chockful of a variety of fresh vegetables cooked to perfection in a variety of different ways, the canned tuna is combined with comforting extra-wide egg noodles, tossed together with a creamy mayo-soup mixture, topped with shredded cheese, and baked in the oven until melty and gooey. Each bite is a little bit of heaven leaving you wanting more. Make two casseroles and freeze the second so that you have an amazing dinner ready for a busy night!
- Prep Time: 30 mins
- Cook Time: 1 hour
- Total Time: 1 hour 30 mins
- Yield: 8 1x
- Category: Casserole
- Cuisine: American
Ingredients
- 1/2 cup frozen corn
- 1/2 cup frozen peas
- 1 cup carrots, washed, peeled and cut into coins or on the diagonal (about 2 whole carrots)
- 1 cup broccoli, washed, trimmed and cut into florets (about one small stalk)
- 1 cup cauliflower, washed, trimmed and cut into florets (about 1/4 of a head)
- 1 small onion (your choice of color: yellow, white, or red), peeled and diced
- 3 tablespoons olive oil, divided
- 6 mini bell peppers or 1 bell pepper in (your choice of color: red, yellow, orange or green), washed, seeded and chopped
- 1 medium zucchini, washed, cut in half lengthwise and then cut into 1/2 inch moons
- 1 cup of mushrooms, wiped clean and sliced (8-ounce carton)
- 3 ounces whole black olives, drained and cut in half
- 3 – 5-ounce cans of water-packed tuna, drained
- 6 ounces extra-wide eggs noodles
- 1 teaspoon salt
- 1 – 10 3/4 ounce can of Campbell’s Healthy Request Cream of Mushroom Soup
- 1/2 cup of light mayonnaise
- 2 cups of reduced-fat shredded four-cheese blend
Instructions
- Place a large pot of water on the stove (preferably with a pasta strainer) and bring it to a boil on high.
- Add 1 teaspoon of salt and 1 tablespoon olive oil to boiling water.
- Add extra-wide egg noodles to boiling water and cook per package directions minus 2 minutes (so about 5 minutes).
- Once cooked, drain noodles from water and allow to cool while you prepare everything else.
- Place frozen corn and frozen peas in a large mixing bowl.
- Prepare carrots, broccoli, and cauliflower per above (cleaning and chopping) and cook each in the microwave until not quite fork-tender (about 5 minutes, each).
- Drain and add cooked carrots, broccoli, and cauliflower to the frozen corn and peas in the mixing bowl.
- In the meantime, prepare the onion, celery, peppers, zucchini, and mushrooms per above.
- Add 1 tablespoon of olive oil to a large skillet.
- Add onions, celery, and bell peppers and sauté until translucent.
- Add these cooked veggies to the large mixing bowl.
- Add another tablespoon of olive oil to skillet.
- Add zucchini and sauté until tender.
- Add mushrooms and sauté until tender.
- Add sautéed veggies to the rest of the veggies in large mixing bowl.
- Preheat oven to 350 degrees.
- Add olives and tuna to the veggies in the large mixing bowl and mix together until well combined.
- Add drained egg noodles to veggies in the large bowl and mix together.
- In a separate small bowl, add cream of mushroom soup and mayonnaise and stir to combine.
- Add soup/mayo mixture to the large bowl and stir to combine all.
- Spoon into 9″ x 13″ baking dish.
- Cover with shredded cheese.
- Loosely cover with aluminum foil (you don’t want the cheese to stick to the foil, so “tent” it).
- Bake for 1 hour and test for doneness by inserting a knife in the center and checking whether it is hot or cold.
- If the knife is cold, cook for another 15 minutes.
Notes
Refrigerate any leftovers. Either reheat in the oven or in the microwave. If reheating in the oven, remove the casserole dish from the refrigerator at least 30 minutes before placing in a preheated oven. Be sure to tent with foil. Test for doneness by inserting a knife in the center to see if it is hot after about 40 minutes. If reheating in the microwave, place a serving portion in a microwave-safe dish and cover with a piece of wax paper. Microwave on high for 1 minute and if not hot enough, microwave for 30 more seconds.
Keywords: tuna casserole
Don’t forget to sign up to receive my newsletter in your inbox. As a thank you, I’ll send you a freebie! Look for the sign-up boxes near the top of this post and again at the bottom of this post. One last thing… check out my ebooks here and here! Thanks so much!
Tootles,
Related Posts from Toot Sweet 4 Two’s Archives:
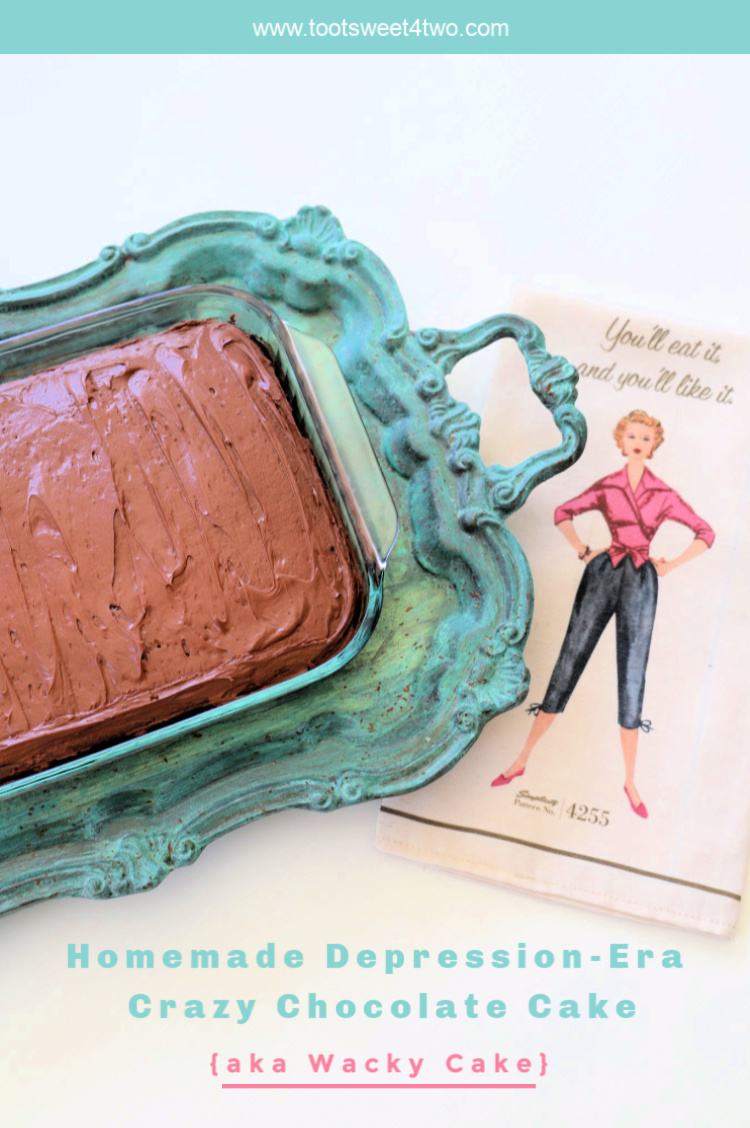
Homemade Depression-Era Crazy Chocolate Cake {aka Wacky Cake}
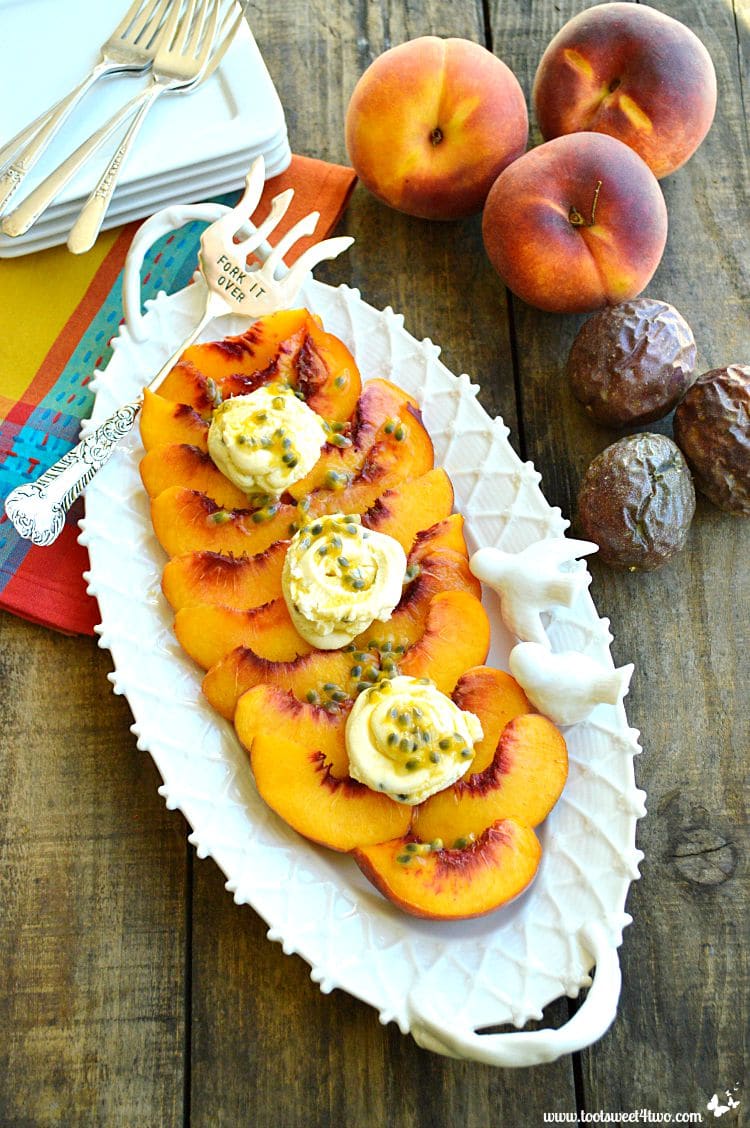
Summer’s Best Peaches with Mascarpone and Passionfruit Drizzle
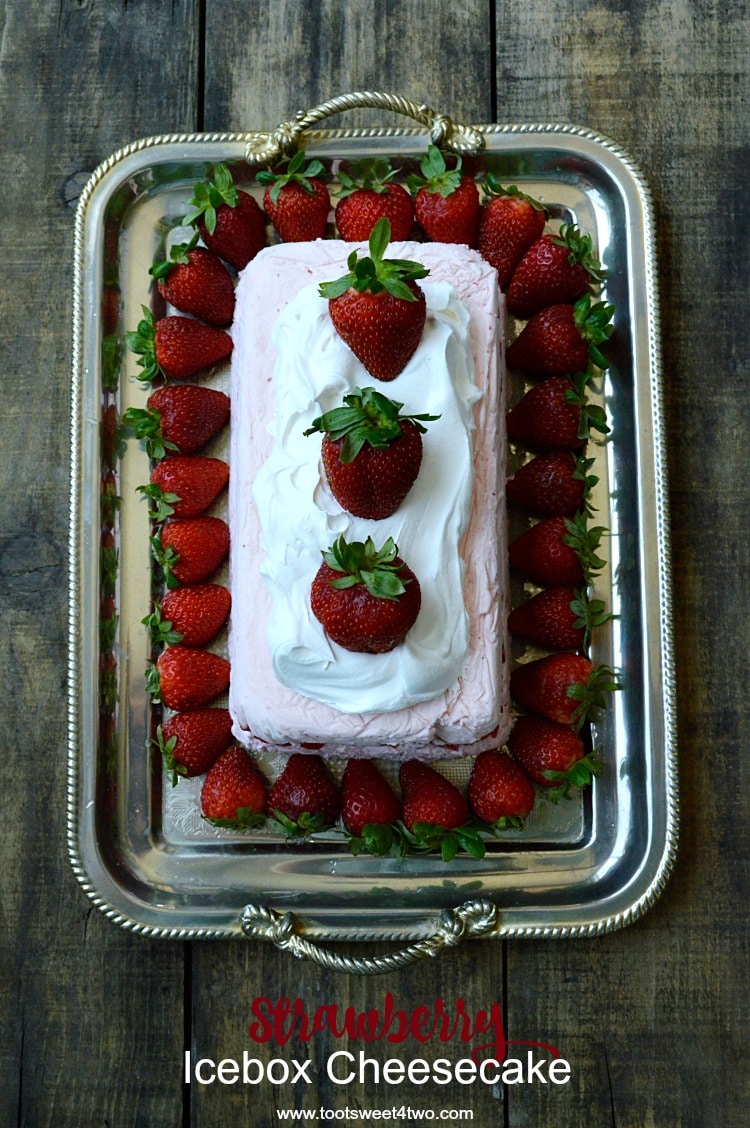
Endless Summer Strawberry Icebox Cheesecake
You Might Also Like:
Easy Tuna Patties from Corey at Family Fresh Meals
Six-Minute Seared Ahi Tuna Steaks from Elizabeth at Bowl of Delicious
Avocado Tuna Salad Recipe from Kat and Melinda at Home Made Interest
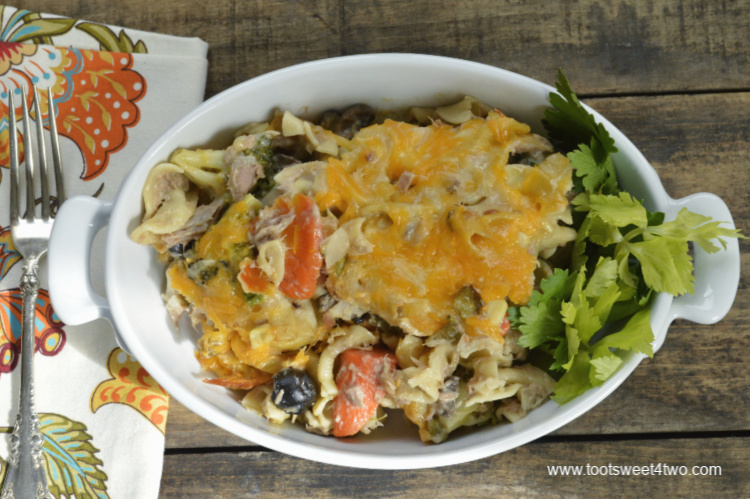



This recipe is wonderful!! The whole family loved it and my youngest (22 months) even asked for seconds. Will be making this again! Thank you very much!!
★★★★★
Your comment makes me glow with happiness! Nothing makes me feel better than to know someone made my recipe and loves it! A great way to add veggies to your child’s diet. You are most welcome and thanks for sharing your story!