
Something happened in New York while I was living my life in California. My New York nieces and nephews grew up! Suddenly they are no longer children but young adults in high school and college leading very active lives and pursuing many interests.
This is Erin…

Erin is my brother’s oldest child, now a 21-year-old adult and a senior in college. She is also an expert baker. Learning from her mom (Missy, the blur behind Erin) from the time she was a little girl, Erin loves to bake and is a master at decorating cookies and cupcakes.
From a young age, Erin would just get out a bowl, start dumping ingredients into the bowl, whirling them around with an electric mixer and voila’ – cookies, cupcakes and other bakery confections magically appeared to the delight of her younger siblings.
Speaking of younger siblings, I love the picture below even though it shows the back sides of my nieces…

I love this picture for a couple of reasons:
- It reminds me of when Erin was little and would get a bee in her bonnet and decide she wanted to make something. She would just go to the cupboard and start gathering ingredients. Of course, when she was little, she had to use a step stool or ask her mom or dad to help her.
- Another reason I love this photo is because it represents the “team work” this family has developed. Encouraged by their parents, these kids band together and work together all the time. So refreshing!
- It also shows how tiny Erin, who is the oldest, is. In this photo, Erin is on her tip-toes. Bizzy (on the left), the next oldest sister, is standing normally, as is Molly (on the right). Molly is the youngest of all my brother’s children and the tallest girl. She’s inches taller than Erin and 7 years younger. But, you’ll notice that more in the pictures that follow as this story unfolds.

One night, during my recent visit to New York, Erin decided to make cookies. But they weren’t just any cookies. They were special cookies – Erin’s Iced Sugar Cookie Cutouts – a special request from younger sister, Molly. Molly has a friend who was having a special party and Molly asked Erin if she would make cookies for her friend. Apparently, Erin doesn’t need much arm twisting or have to be coaxed too hard, because making fancy, iced cookies is one of her hobbies.

So Erin said “yes” and they went to work, Molly assisting and learning from the master.
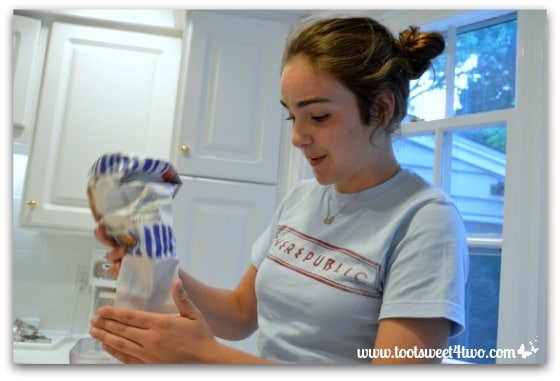
You’ll notice that when they started this project, it was daylight. Actually, twilight.

Molly lining up ingredients and reading the recipe while Erin starts mixing.

Whirling away…
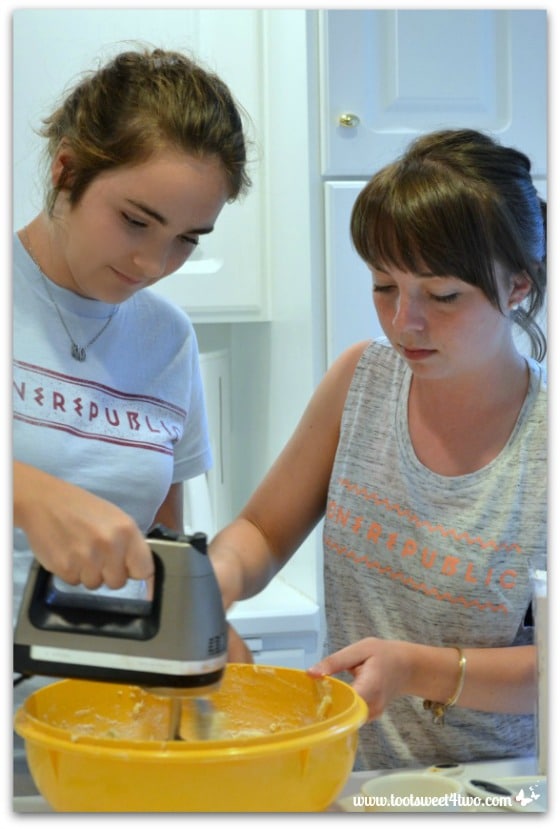
Molly asks to take over and Erin assists…
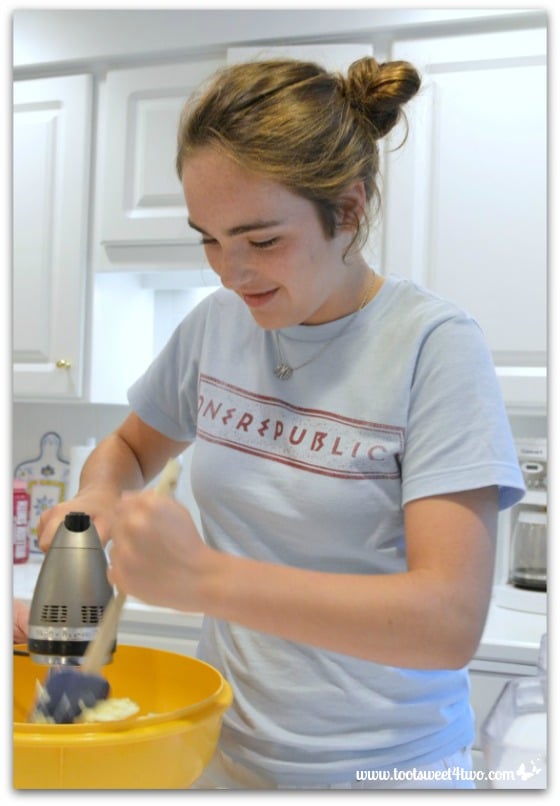
Molly made her cooking debut on this blog two years ago with this post: GuacaMolly. Check it out!
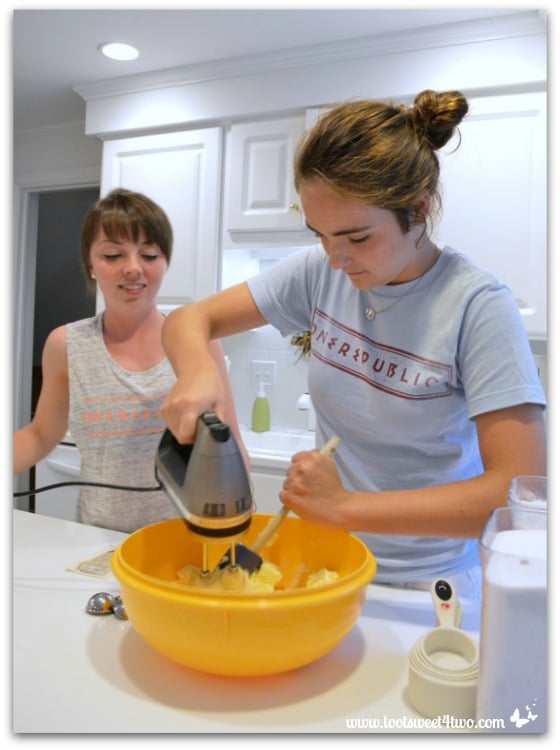
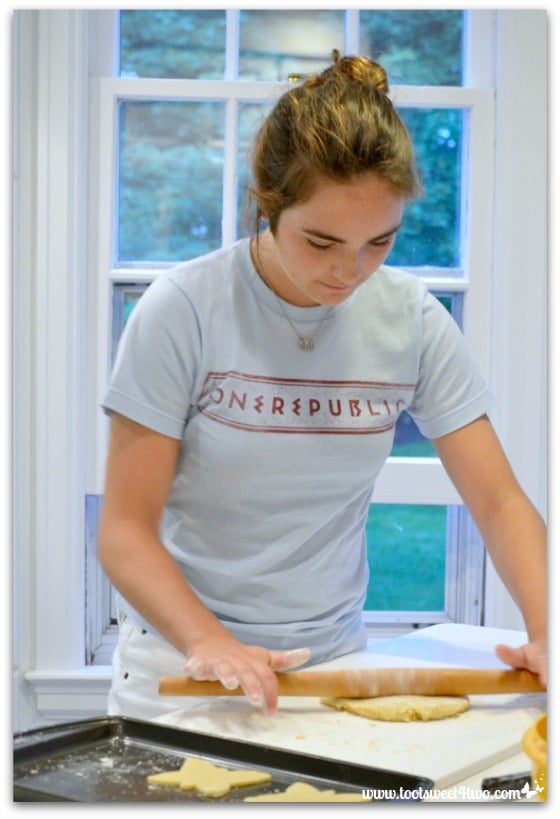
Then Molly rolled out the dough…


Erin cut them out…

And gently placed them on a cookie sheet using a spatula.
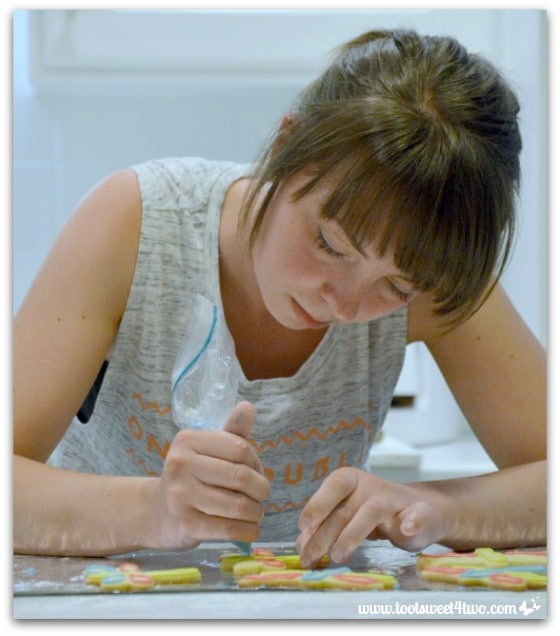
Once they were baked and cooled to the touch, Erin started working her magic! She made a big batch of icing, dividing it into various bowls and colored each bowl of icing a different pastel shade.
Then she placed each color of icing into a sandwich-size Ziploc baggie, squeezed the frosting down to one corner and snipped an ever so small opening in the baggie using scissors. This is important because if you make the hole too big, you won’t be able to draw a fine outline border and will have to start over by placing your icing into a new bag!
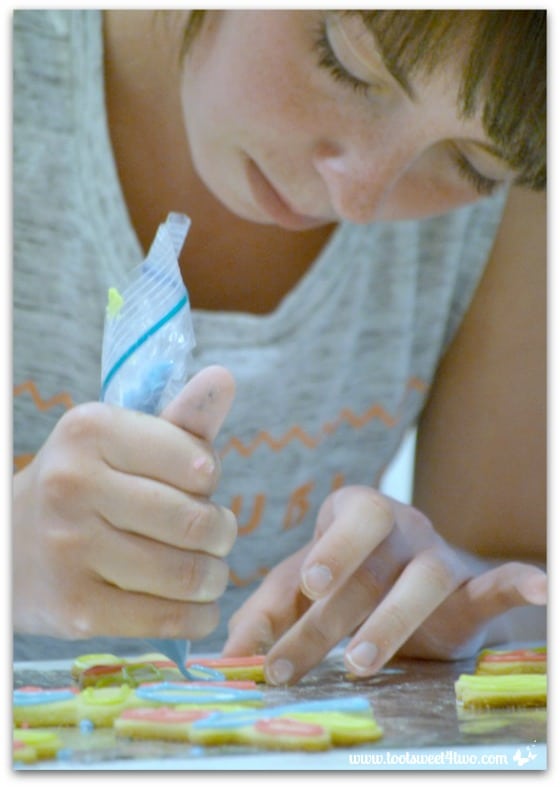
She carefully and meticulously outlined each cookie with a border (these are dragonflies)…

Once the cookies’ borders were dry, she “flooded” the centers with white icing (this is a butterfly).

Once the “flooded” cookies were dry, she started the decorating. On the left are butterfly cookies – some bordered and waiting for “flooding” and some “flooded” with Erin adding stripes of colored icing. On the right are bordered dragonfly cookies, awaiting “flooding”.
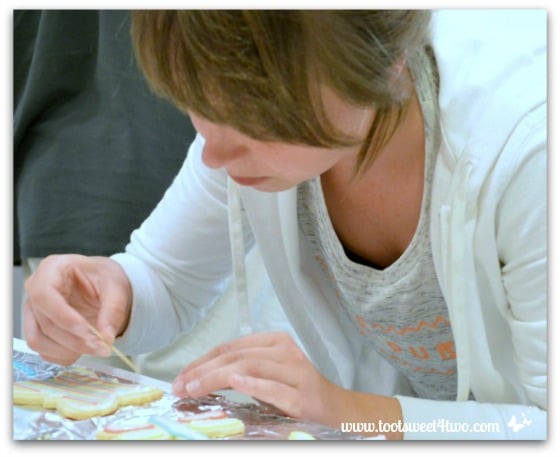
Here she’s using a toothpick to turn the butterfly’s stripes into a marbleized effect.
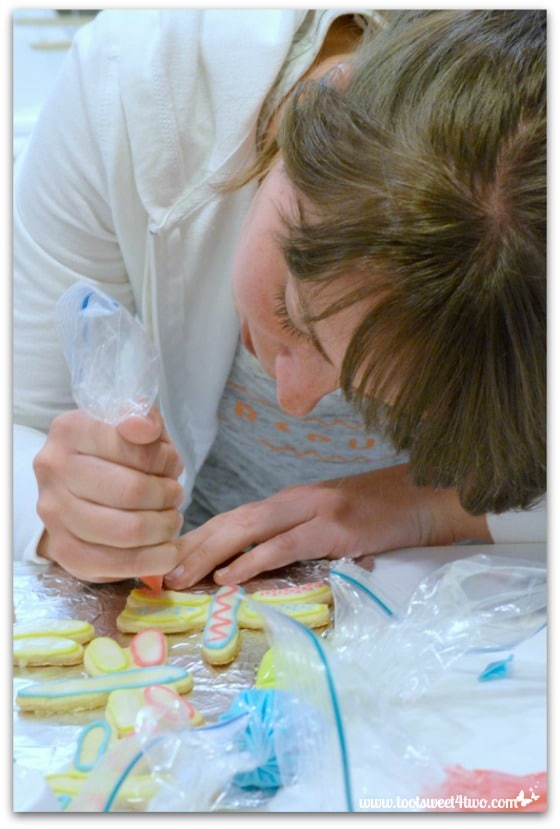
Here she’s adding zig-zags and dots to the dragonflies. See the bags of icing piled up on the right?

Here are the finished marbleized, zip-zagged, squiggly-circled and dotted butterfly cookies drying on a cookie sheet (to avoid accidents!).

And here are the finished dragonfly cookies drying on a strip of aluminum foil. Aren’t they gorgeous? Successful iced sugar cookies need to dry at least overnight and up to 24 hours, so plan ahead!
Guess what? We aren’t done yet!
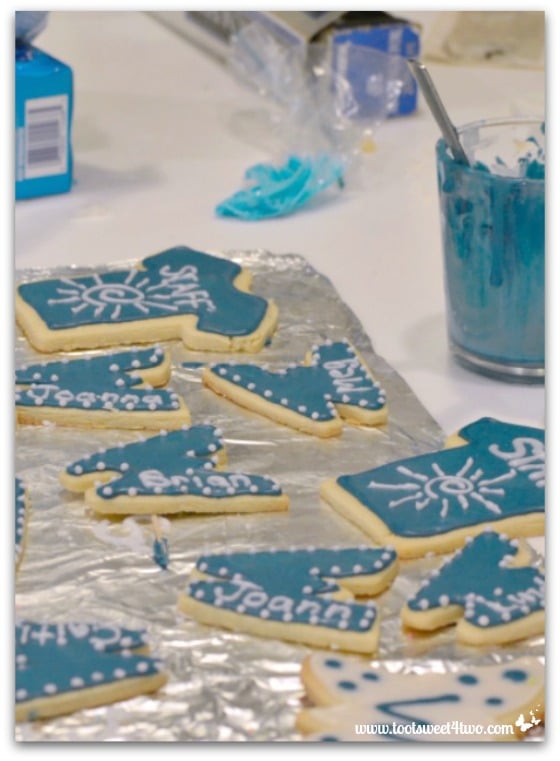
Erin decided to make special cookies for the last day of camp! She’s a camp counselor at a summer day camp for kids and wanted to make and take her special cookies to her co-workers. So, the next night, she whipped up another batch and this time made T-shirts, butterflies and W’s for her colleagues.
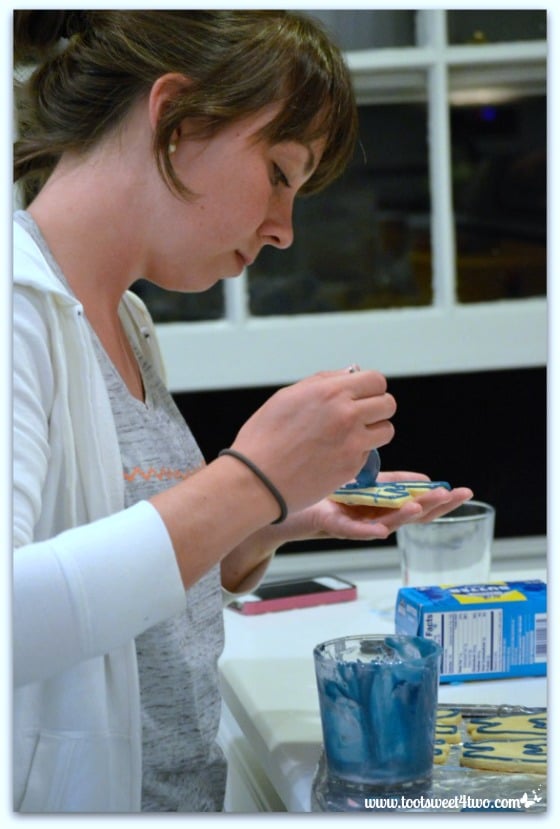
Here she is flooding one of the W’s…
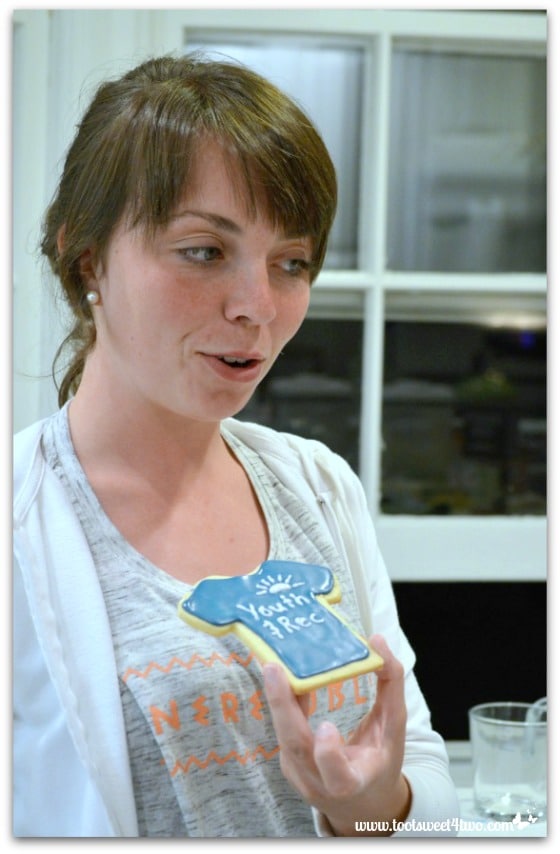
And here she’s showing off one of the finished T-shirts.

Here are the finished cookies, on aluminum foil drying. As you can see from the dark windows in two of the above photos, it was very late at night by the time she was done. I wanted to set up her beautiful cookies up for a photo-shoot on a nice platter, but we needed to wait for them to dry!
So, with that decision made, we went off to bed. The next morning, I slept in late and missed my opportunity because she took her cookies to camp and Molly took her cookies over to her friend!
Oh, well! They are still beautiful on the foil and cookie sheet!
What was Ryan doing during all this?
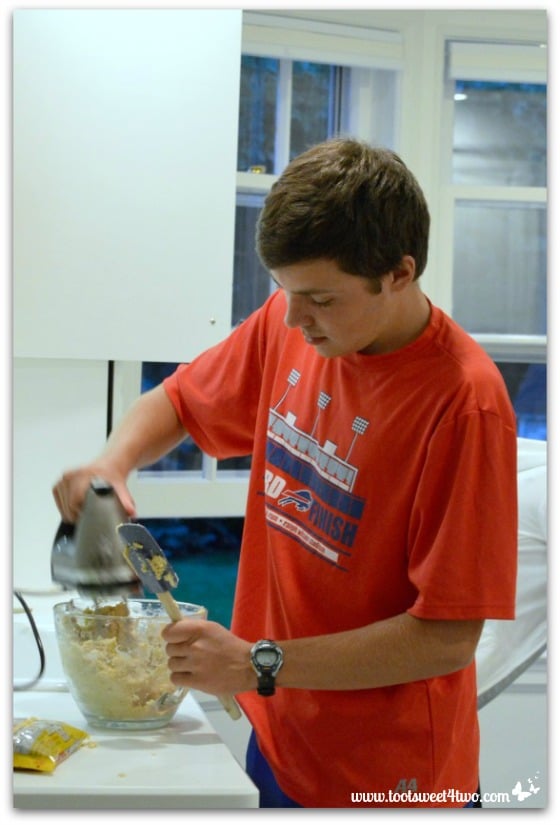
He made cookies, too! He made his family’s secret recipe chocolate chip cookies because with two days of cookie making and no cookies for them to eat, he wanted cookies!

So he made a batch and I forgot to photograph the finished product because we were all too busy eating Ryan’s cookies!

Ryan just being silly!
Where was Bizzy in all this cookie making, baking, decorating frenzy? Well, she was making cupcakes! But, you’ll have to wait until next week to see her cupcakes and get the recipe so stay tuned!
Here’s the recipe for Erin’s Iced Sugar Cookie Cutouts:
PrintErin’s Iced Sugar Cookie Cutouts
With patience and a bit of practice, you too can make Erin’s beautiful cookies! Simple ingredients, but delicious cookies for a special occasion!
- Prep Time: 24 hours
- Cook Time: 10 mins
- Total Time: 24 hours 10 mins
- Category: Dessert
- Method: Baked
- Cuisine: American
Ingredients
For the cookies:
- 1 cup butter, softened
- ¾ cup sugar
- 1 egg
- 3 cups all-purpose flour
For the icing:
- 2 cup powdered (confectioner’s) sugar, divided
- 5 tablespoons milk, divided
- Assorted food coloring
Instructions
For the cookies:
- Preheat oven to 375 degrees F.
- In a mixing bowl, beat butter with electric mixer on medium speed for 30 seconds.
- Add sugar and beat until combined.
- Add egg and beat until combined.
- Beat in as much flour as your can (mixture will be thick) and then stir in any remaining flour.
- Divide dough in half.
- On floured surface, roll half the dough at a time until ⅛ inch thick.
- Cut out cookies with desired cookie cutters.
- Re-roll trimmings and cut out more cookies.
- Arrange on greased baking sheets and bake 6 to 10 minutes, depending on how wide and thick the cookies are.
- Cool on rack.
- Decorate with icing.
For the icing:
- In a small mixing bowl, mix together 1 cup of the sugar and 2 tablespoons milk until smooth.
- Divide icing into desired number of bowls (if making cookies with 4 different colors, divide icing into 4 bowls).
- Add food coloring to each bowl, drop by drop, stirring to combine and until you get the desired color.
- Spoon icing into separate baggies.
- Squeeze icing in baggie down into one corner of baggie, twisting baggie to remove air bubbles.
- With scissors, cut a tiny hole in the tip of each baggie.
- Place cookies on flat surface on top of parchment paper, wax paper or aluminum foil.
- Carefully outline each cookie with border color.
- Allow cookies to dry to the touch (about 30 minutes).
- Set remaining icing aside to decorate cookies further.
- In another bowl, make more icing.
- Mix together remaining 1 cup of sugar, this time with 3 tablespoons milk (this is for the “flooding” icing).
- When bordered cookies have dried, “flood” the interior parts of each cookie with icing (you can use the baggie method or a spoon).
- Allow cookies to dry again, this time probably an hour.
- Finally, when the cookies with “flooding” icing are dry to the touch, decorate with lines, dots, zig-zags and squigglies using the leftover border icing (or make a new batch).
- If “marbleizing” cookies, draw horizontal straight lines across each cookie with several different colors of icing.
- Use a toothpick and draw vertical lines through the colored icing to create a wavy, marbleized look.
- Allow finished cookies to dry overnight at least 12 hours (24 hours is ideal).
Notes
Makes 2 dozen 2-inch cookies. So depending on the size of your cookie cutters, it will make more or less. For Erin’s project, she made about 3 batches of cookie dough for her larger cookies.
Keywords: Iced Sugar Cookie Cutouts, Iced Sugar Cookies
Tootles,

Related Posts:
(other cookie and cookie bar recipes)
- Best Ever Oatmeal Cookies
- Butterscotch Walnuts Squares a la Chris
- Cake Batter 50/50 Bars
- Cake Batter Chess Bars
- Cake Batter Fudge Bars
- Cake Batter Oatmeal Walnut Bars
- Cake Batter Triple-Chocolate Caramel Bars
- Christmas Chocolate Chip Cookie Bars
- Firecracker Brownie Pie
- Firecracker Pie Crust Stars
- Gail’s Potato Chip Cookies
- Sweetheart Pie Crust Cookies


Leave a Reply