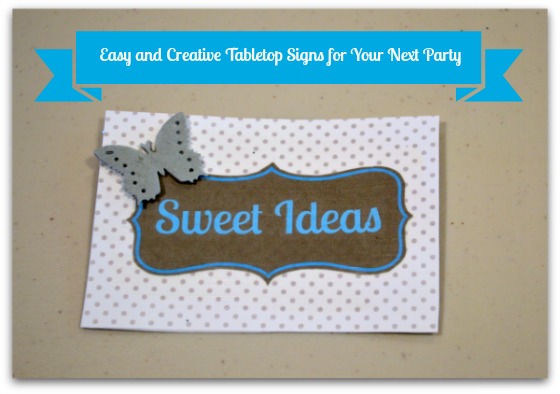
Easy and Creative Tabletop Signs
We had a party last Saturday – our Blog-o-versary Party! The “party recap” post is in the works and will launch soon. In anticipation of the party, I crafted several things to make our party special and my Easy and Creative Tabletop Signs for Your Next Party is just one of those projects. Projects done for this party that have already posted include:
- Cute and Easy Party Name Tags
- Easy Party Favors Featuring You!
- How to Make Paper Napkins Special
- Tea Light Tutorial: Adding Edible Sprinkles for a Bit of Sparkle
Do you see a pattern here? I’m all about easy! {grin}
For this project, this is what you need:
Materials and Supplies
- Computer
- Printer
- Printer ink
- Printer paper
- Scrapbook cardstock or paper (I used 8 different patterns, but you can use as many different patterns as you like)
- Pen or pencil
- Ruler
- Scissors
- Decorative punch
- Mod Podge
- Sponge applicator
- Work surface
- Double-stick tape
- Glue pen
Here’s what you do:
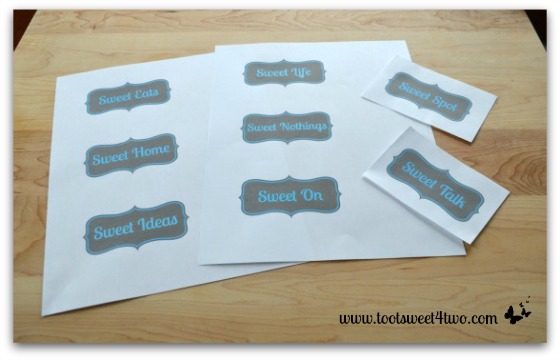
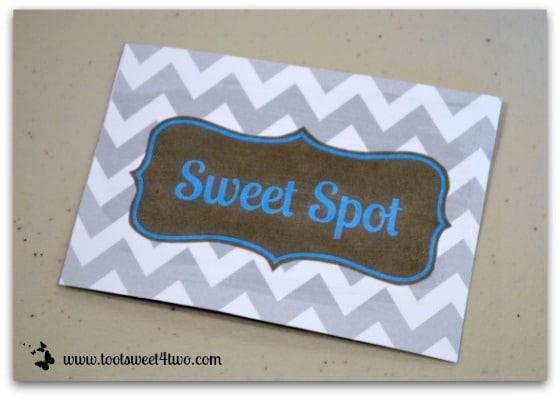
Signs created on PicMonkey and transferred to Word
First, create a sign on your computer. I used PicMonkey to create the sign, saved it to a JPG, then transferred it to Word to size it correctly and print it. I made eight different signs, one for each of the Categories on our blog:
- Sweet Eats
- Sweet Home
- Sweet Ideas
- Sweet Life
- Sweet Nothings
- Sweet On
- Sweet Spot
- Sweet Talk
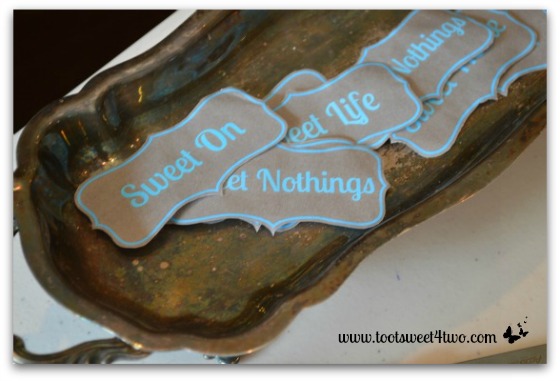
Cut out table signs
Then, I cut them out along the border. BTW – I did finally polish this cute little silver tray for the party. So, now it’s all shiny and bright instead of old and corroded! It turned out beautifully, but I kinda miss the “aged” look {grin}.
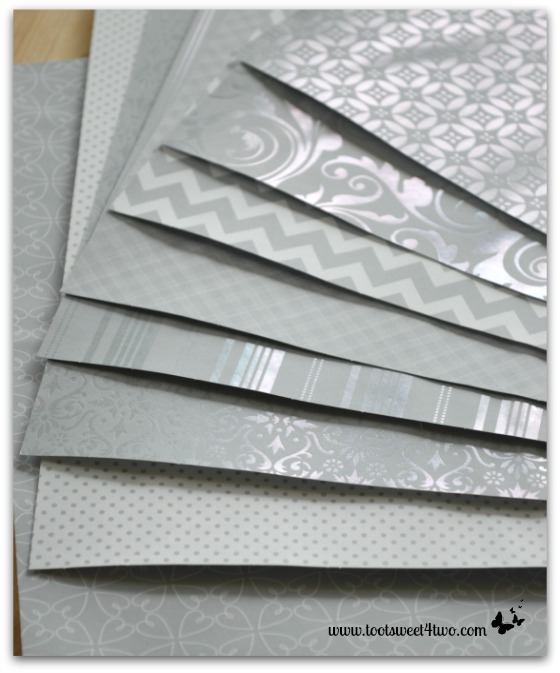
Select scrapbook cardstock for the signs
Next, select the cardstock you want to use. I ended up using 8 different patterns in shades of silver because I couldn’t decide on one! Our blog (in case you haven’t noticed!) is shades of gray and a light dusty blue. We used these colors for our party so beautiful, shiny silver cardstock was in order!
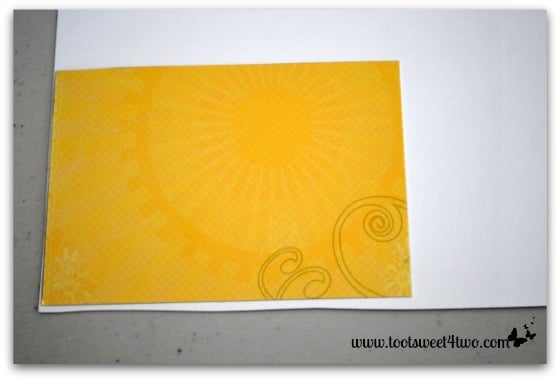
Cardboard template for signs
Then, create a template on a piece of cardboard in the size you want your signs to be. My signs are about 3 inches by 5 inches, but I didn’t want to use a 3 x 5 card because all of mine where white! And a white template is hard to see on a white background! Also, the scrapbook cardstock had uneven edges from ripping it out of the scrapbook paper book I purchased (I used a wedding theme scrapbook paper bundle). The yellow template above is just a scrap of cardboard included with some three-dimensional butterflies I purchased for another project. I just cut it down to size.
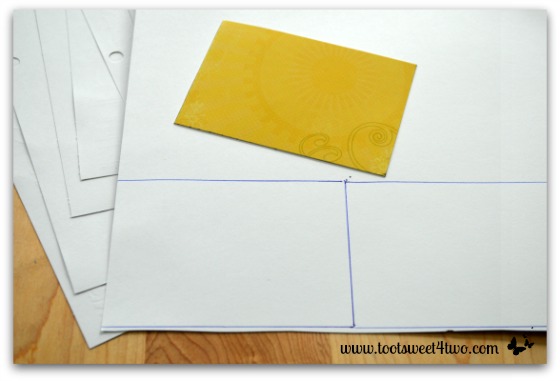
Using template to create signs
Using your template, trace the pattern on the back side of the scrapbook cardstock. You will need 2 of the same patterns for each sign that you plan to make.
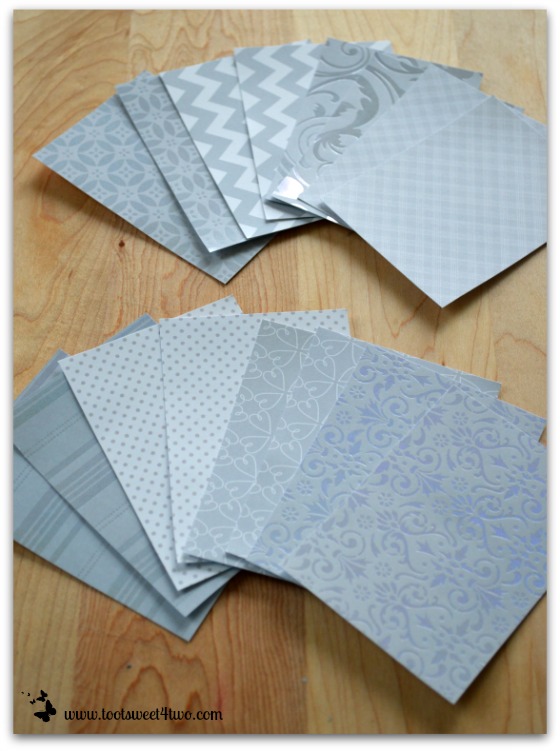
Cut-out cardstock
Above are the cut-out cardstock signs; two of each for my 8 tabletop signs.
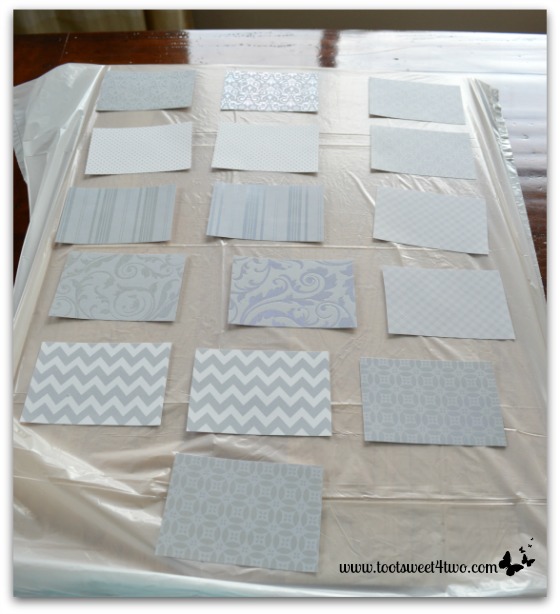
Cardstock laid out on plastic
Next, create a work surface. Since I was only making 8 signs, I didn’t need an entire table. So, I placed a wooden cutting board inside of a clean plastic trash bag and laid out my cardstock cut-outs.
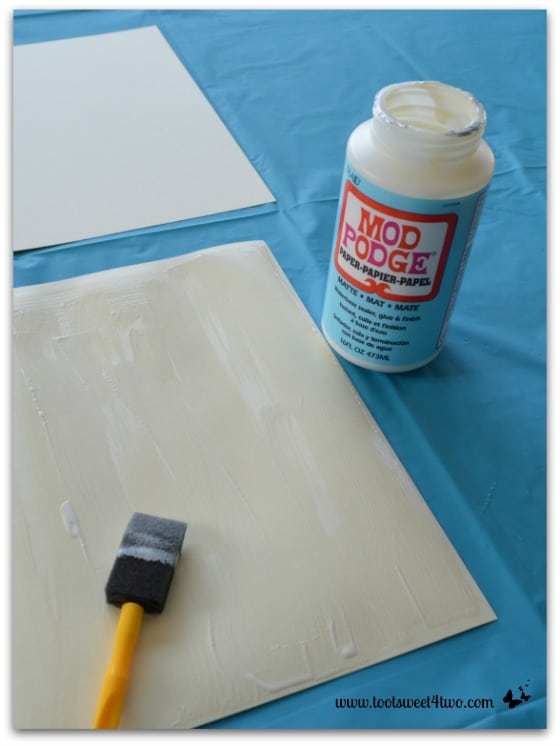
Mod Podge for paper
Using a sponge applicator, apply Mod Podge to the back side of your cut-out signs (the ones you created on our computer). I forgot to take a picture of this step, so you are seeing the back side of another project!!! Follow the Mod Podge instructions.
Use Mod Podge to glue signs to cardstock
If you look closely, you can see the striations of the Mod Podge on this little tabletop sign. After you adhere the computer cut-outs to the cardstock cut-outs, you will need to wait about 2 hours. Then you will need to apply a “top coat” to the entire surface and allow it to dry for another 2 hours before beginning your next step.
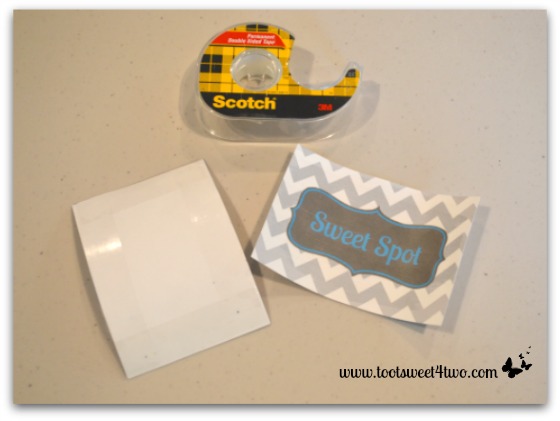
Use double-stick tape to tape both sides together
Once they are completely dry, use double-stick tape to adhere the two cards together.
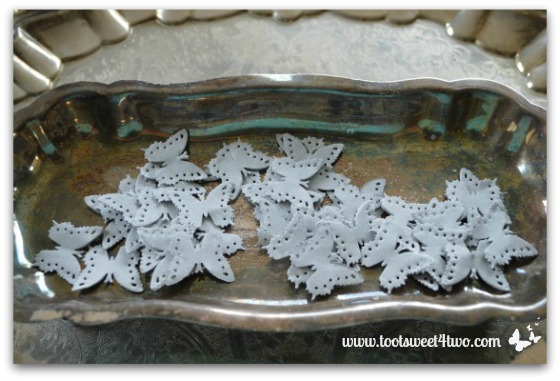
Napkin butterflies in silver tray
I had all of these cute little paper napkin butterfly punch outs from my How to Make Paper Napkins Special project. So, I decided to use them {grin}. But, you don’t have to go to the trouble of punching out something if you can find what you want as a sticker in the scrapbook store. You could use anything you like depending on the theme of your party.
Glue paper butterflies to each sign
Paper napkin butterflies are very fragile. I used a glue pen and just a drop of glue to adhere them to the tabletop signs.
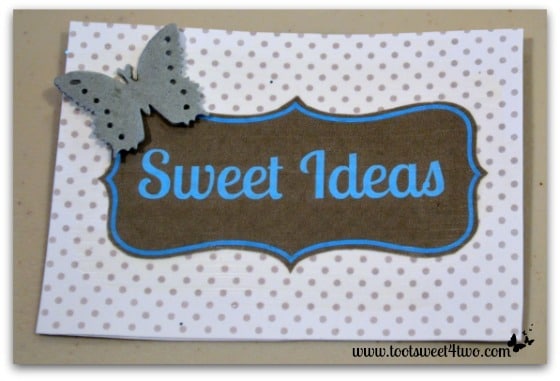
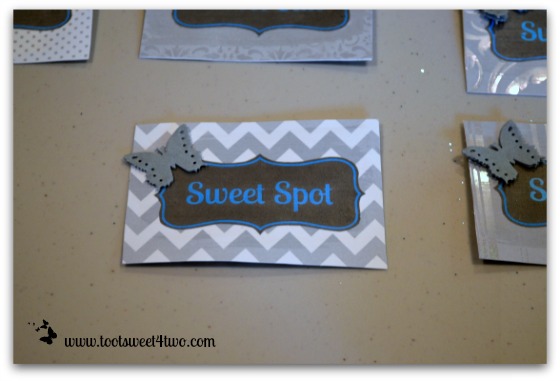
Finished tabletop sign
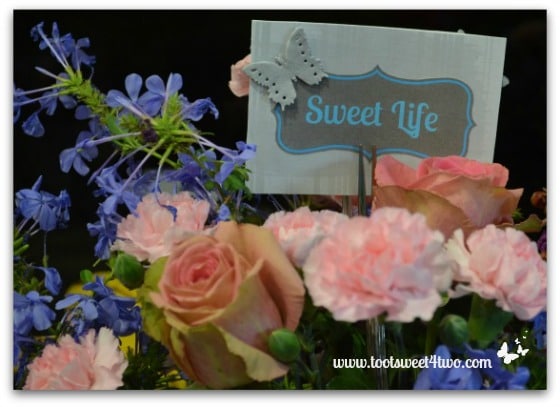
Sweet Life sign placed in a bouquet
Then, I inserted each sign in a fork. I used a plastic silver fork, but if your party is super-duper fancy dancy, you could use a real silver fork! I was going for easy clean-up with this party, so used one of the forks that I’d purchased for the party. I just placed the sign on the fork into the bouquet. No need to shove it into oasis; it balanced just fine among the flowers in the bouquet!
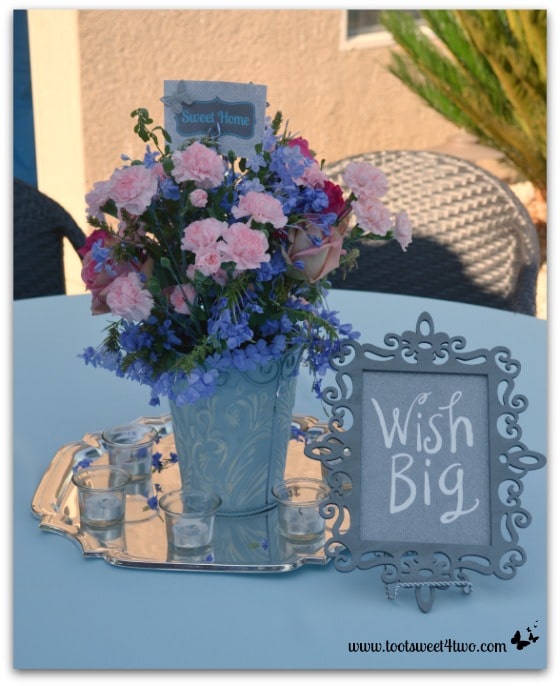
Sweet Home tabletop sign
Here’s the Sweet Home tabletop sign on one of the tables, just before the party started! I used silver trays on each table, with a bouquet on top and my party tea lights. Plus, a sparkly sign I created (stay tuned for that tutorial!). Doesn’t it look just beautiful in the afternoon glow? My sister, Dawn, took this picture. Thanks, Dawn!
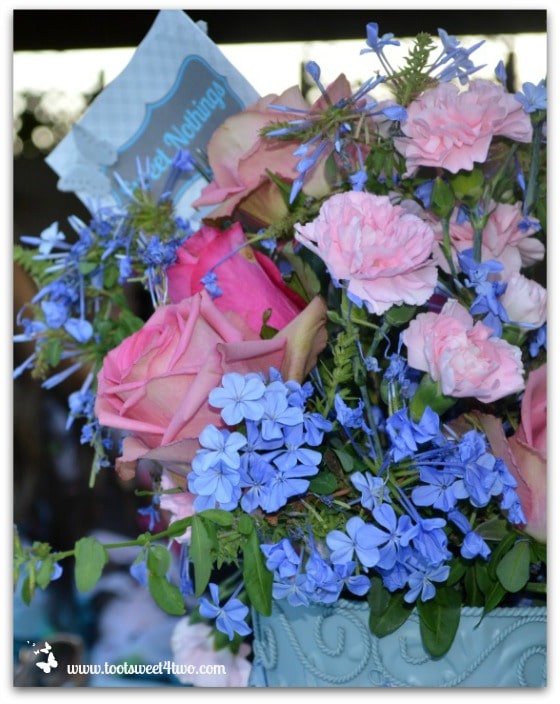
Sweet Nothings tabletop sign
My friend, Happy, took the above picture (yes, her name is Happy!). She was taking a picture of me, but I cropped me right out of the picture {grin}! Thanks, Happy, for the beautiful picture!
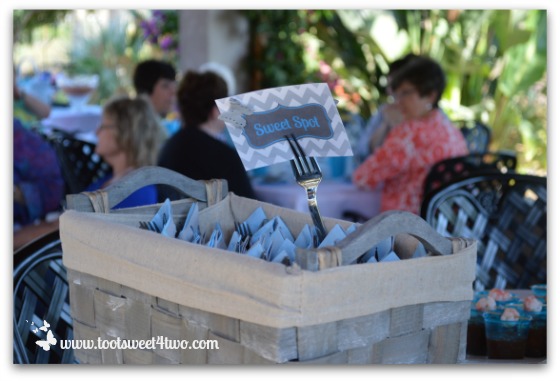
Sweet Spot sign in napkins
We only had 7 bouquets (it’s a long story!) and 8 tabletop signs, so Tiffany stuck one in the napkins! Isn’t she clever?
Although I did this project over several days, it really was easy. The drying time between coats of Mod Podge is was takes time. You could do the project in one day and do other things while the Mod Podge is drying.
These cute little tabletop signs could be used in so many different ways at your next party. They’d even be cute for a wedding! Instead of my little “category” signs, how about special places that have meaning for the bride and groom, like the place that they had their first date, the place where they fell in love, the place of the proposal? Ideas are limitless! Also, how about tabletop signs for your child’s next birthday? You could make one for every year (their age) and include a picture from each year instead of my categories.
Can you think of other creative uses for tabletop signs? Please share; we’d love to hear your comments!
Tootles,

Related Posts:
(other craft projects for our Blog-o-versary Party)
We have an upcoming dinner party – this will be perfect! Thanks for the idea…
You’re welcome! Hope you have a wonderful party!
Hey, I’m going to use this idea for Nicole’s baby shower. I don’t know what I’ll put on the signs yet, but I like them in the bouquets, Very cute and EASY idea.
thanks,
I like that! Maybe one could have a sonogram picture, one a baby picture of Nicole, one a baby picture of Rob…