Sunday was packed full of things that we HAD TO DO for Princess P’s upcoming week at school. DIY Valentine Bookmarks were not one of the things on the “To-Do List”.
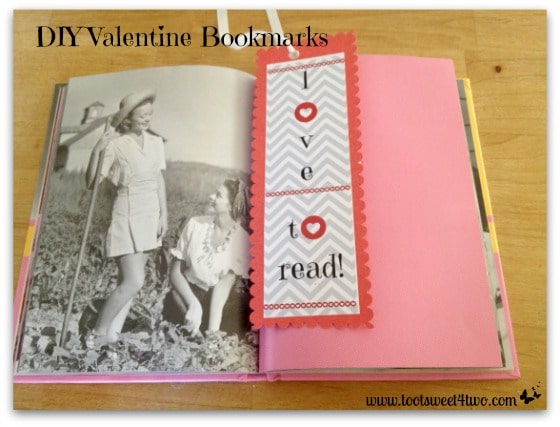
It is an exciting week for this little one, she was chosen to be “Star Student” and Valentine’s day…ALL IN THE SAME WEEK! Seriously, Kindergarten is where it’s at!
What does this mean to mommy?? Hmmmm…while one would think mommy is ecstatic and proud (that was honestly my first reaction), the reality is that this mommy has homework. Princess P got to complete an “All About Me” poster, choose special sharing, etc…this translates to mommy trying to find photos to match the chosen “abouts”, find super cool things to share, etc…
Back to Sunday and DIY Valentine Bookmarks…
I had dragged my heels all morning, not wanting to get out of my jammies on a cool, cloudy day. I HAD to get to the store to get Valentine’s for Princess P’s class though. I wasn’t sure why, but she insisted that they had to be ready Monday.
As any mommy of a Princess would, I took her highness very seriously, but still could not get myself out the door. Then in my recently found crafty-mind, I thought to myself, “Why not just make Valentines?” How hard could it be?
Not so hard, but also not so quick…these DIY things take time, something that I lack in this Toot Sweet life of mine.
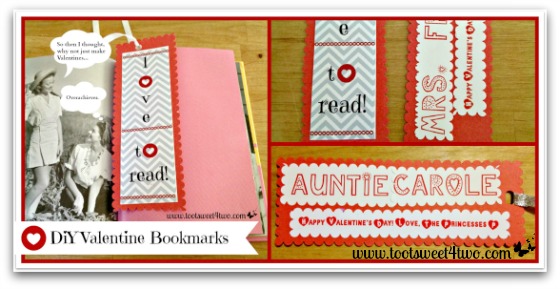
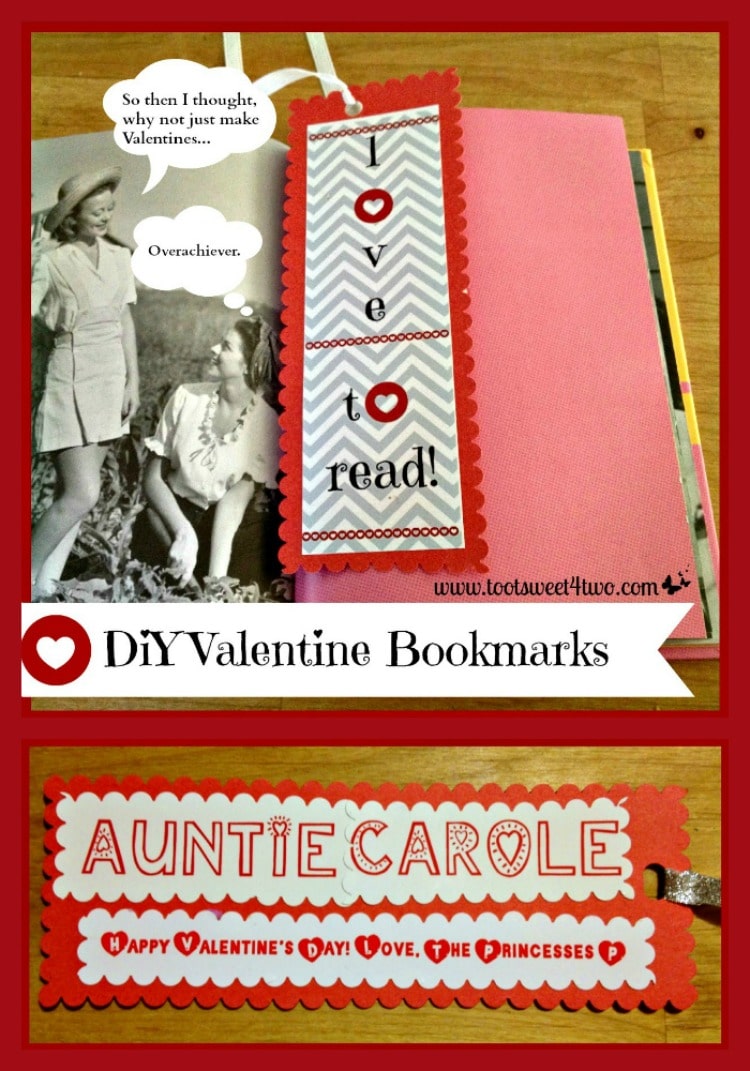
Needless to say, these bookmarks turned out adorable. I’m quite proud of myself really. Bonus: the kids will have something they can use, yay!
So here you go…DIY Valentine Bookmarks, if you need to make some last-minute cuteness!
This post contains affiliate links for your convenience. Click here to read my full disclosure policy.
Supplies and Materials Needed to Make DIY Valentine Bookmarks
Picmonkey is an amazing and free (there is a paid upgrade version available for more fun options) photo editing website. First, choose “Create a Collage”.
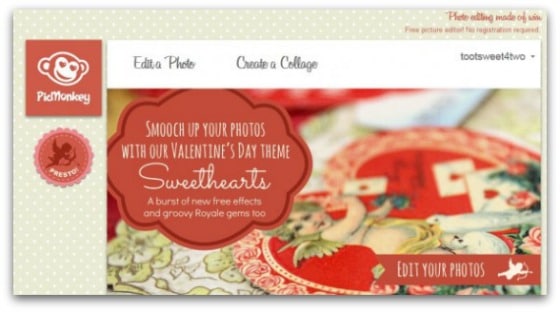
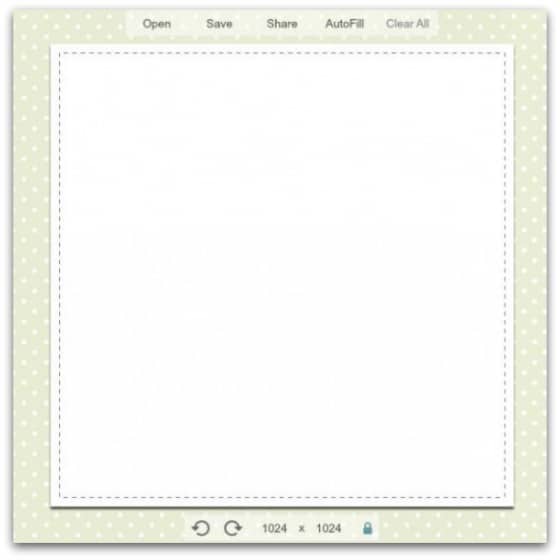
Next, remove all the “cells” in the collage, leaving one big square.
Choose a “swatch” for your bookmark background. This swatch in under the Winterland collection of swatches.
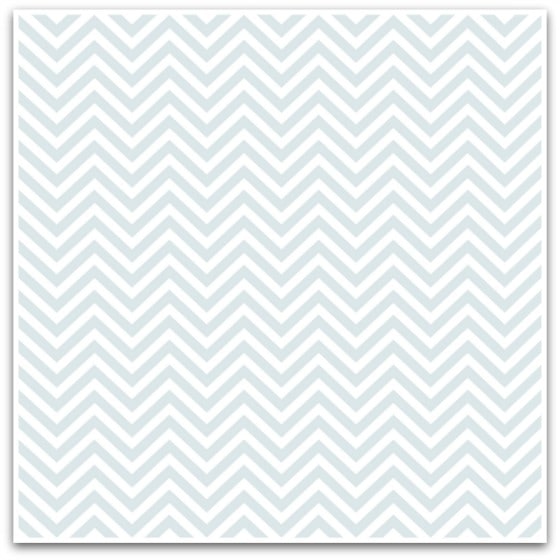
Save this creation.
In Picmonkey, open “edit a photo”.
Choose your background that you just created. Now you can choose fonts and fun images to create a one of a kind Valentine!
Print your bookmarks, cut them out and glue to poster board or card stock. Cut around each bookmark with the pinking shears. Repeat these steps on the back side with the name of each Valentine and who they are from. I got these fancy fonts from www.dafont.com for free.
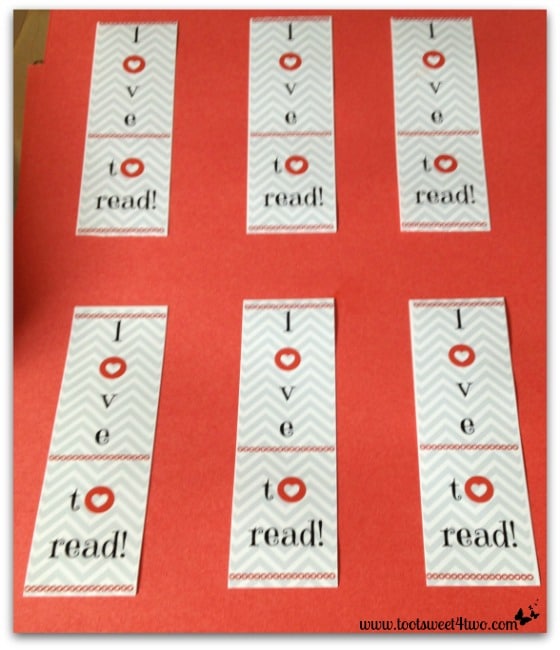
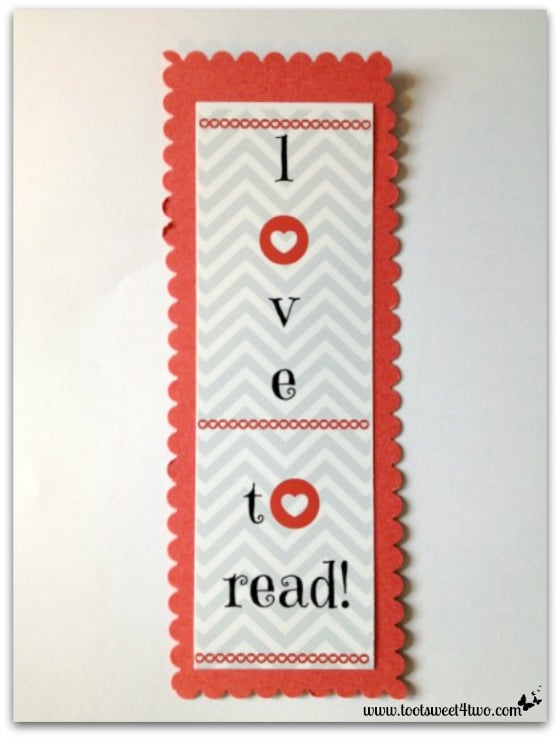
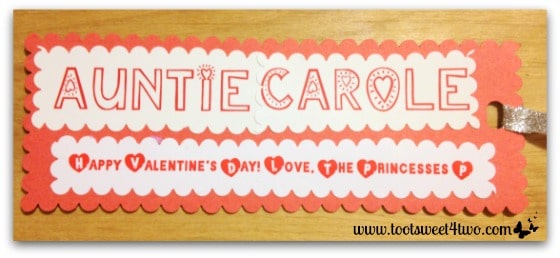
Finally, punch a hole at the top of the bookmark, tie ribbon through the hole and viola! A very special DIY Valentine Bookmark, perfect for all ages!
Have you ever made your own Valentines? What did you make, how did they turn out?
Tootles,

Find more PicMonkey tutorials in Toot Sweet 4 Two’s archives! Here are links to a few:
PicMonkey Basics: Getting Started
PicMonkey Basics: Edit a Photo
PicMonkey Basics: Touch Up a Photo
A very cute idea! I used to give bookmarks as well, but not nearly as cute! I love the tip about dafont. I can’t wait to check it out. thanks!
Thank you Dawn! I was impressed, I used to always just buy valentines so this is a big step in crafty mommyness! Dafont is great! So many cute and fun fonts and very easy to install!