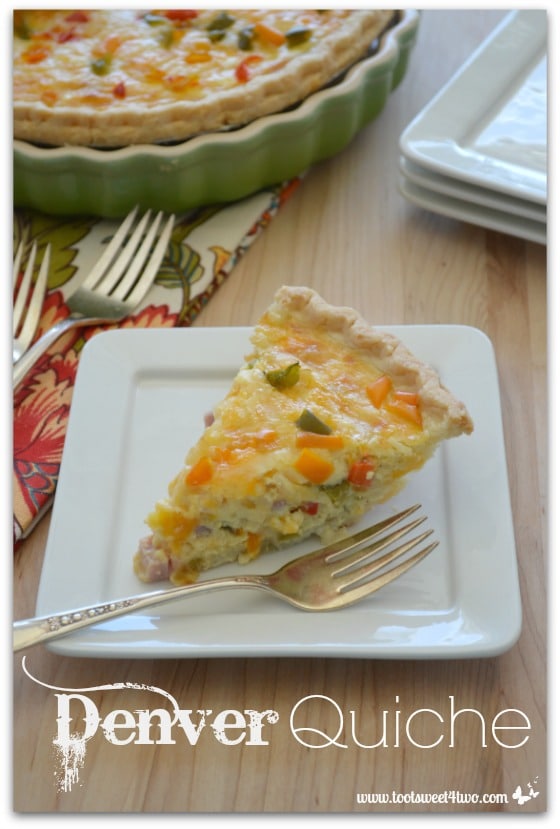
I love Quiché. Charlie would prefer an omelet. So, I’ve combined the two and made a Denver Omelet in Quiché form – a Denver Quiché!
What’s that saying…that real men don’t eat Quiché? Well, Charlie’s been eating Denver Quiché everyday for almost a week. Because, well, I made two!
Why the heck would I make 2 Quiché when there’s just the 2 of us? Well, this food photography thing is a tricky business. Especially things that you have to cut into slices or rectangles or squares – like Quiché, cake, cookie bars, casseroles. Anything that you have to cut into pieces, well, you can very possibly ruin them before you take the winning shot!
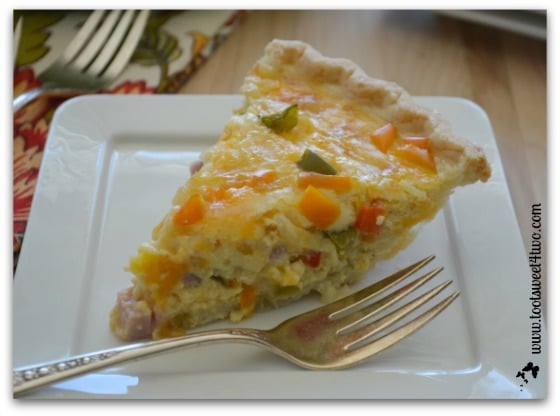
So, just to be on the safe side, I made two. I guess I won’t be making another for awhile because we will have had our fill of Quiché by the end of this week!
In spite of the fact that we’ve eaten a lot of Quiché the last several days, my Denver Quiché is delicious! The cheese to egg ratio is just perfect (not too cheesy) and the ham is just salty enough that you don’t need to add additional salt. Plus, the onions and peppers provide just enough of a savory balance to make this a scrumptious breakfast, brunch or lunch.
By the way, I make Denver Quiché with green, yellow, red and orange peppers. I use them all because when grocery shopping, I buy the “colors of the rainbow” to make sure that we have a steady variety of fresh vegetables and fruits in our diets.
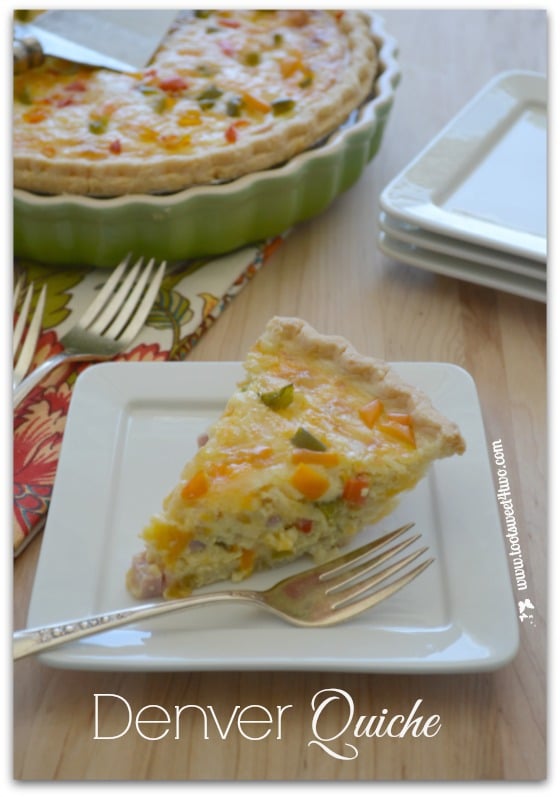
Want to know a secret? How about three? I’ll share three food styling and photography tips (really tricks) about these photos of my Denver Quiché.
(1) The slice of Denver Quiché that you are looking at is propped up by a cookie! Yep, it’s propped up with a thick vanilla wafer cookie from Trader Joe’s! The weight of the wide end of the slice of Quiché made the slice droopy! No droopy Quiché in this photo-op! No siree! Cookie to the rescue…
(2) The second secret is that I used a pre-made pie crust, but didn’t want to display it in the aluminum pan it comes in! Le Creuset tart dish to the rescue!
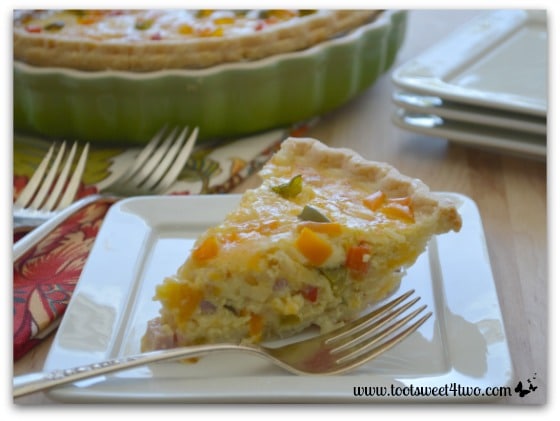
And, yes, the slice of Denver Quiché was sliced from the Quiché featured in the photos. I just hid the “slice” in the pan from view. The other Denver Quiché, Quiché number two, sprung a leak. The pie crust cracked, so the milk and egg mixture seeped through the crack, making it near impossible to get a slice out of that Quiché that didn’t come out in bits and pieces! Still delicious, but it’s always good to have a backup plan – a Plan B.

(3) Another food photography trick (oops – I mean tip!) is to put your food on small plates or in small bowls. That way the food appears to be larger than it truly is. These plates are appetizer plates and are about 5 and a half inches square.
Now you know all my tricks!
Here’s the recipe:
Denver Quiche
Savory and delicious, Denver Quiche is easy to make and the leftovers keep well in the refrigerator for several days.
- Prep Time: 10 mins
- Cook Time: 50 mins
- Total Time: 1 hour
- Yield: 6 1x
- Category: Breakfast
- Cuisine: American
Ingredients
- 1 frozen 9-inch pie crust
- 2 teaspoons canola oil
- 1/4 cup chopped yellow onion
- 3/4 cup chopped mixed bell peppers (I used a mixture of green, red, yellow and orange)
- 1 cup cooked chopped ham (I used leftover ham)
- 1 cup shredded Gruyere cheese
- 1/2 cup shredded medium cheddar cheese
- 4 eggs
- 1 cup evaporated milk
Instructions
- Preheat oven to 350 degrees.
- Add canola oil to non-stick skillet and turn heat to medium.
- Add onion and peppers and sauté until translucent, about 5 minutes; remove from heat and set aside.
- Place frozen pie crust on a baking sheet (to stabilize and prevent overflowing).
- Add chopped ham to frozen pie crust and spread around covering the bottom of the pie crust evenly.
- Add cooked onion and peppers, spreading on top of ham.
- Mix both cheeses together and sprinkle over onion and peppers.
- In small bowl, crack eggs and whisk.
- Add milk to eggs and whisk again.
- Pour eggs and milk mixture over cheese/veggies/ham in pie crust.
- Place quiche (on baking sheet) in preheated oven and bake for 20 minutes.
- Check your quiche; if the crust is browning too quickly, cover the edges of the crust with a pie shield.
- Return to oven and cook 20 to 30 minutes more.
- Insert toothpick in center of quiche; when the toothpick comes out clean, quiche is done (may require additional cooking time depending on your oven).
- Remove from oven and allow to cool for 5 minutes before slicing and serving.
Notes
You can make your own pie shield using aluminum foil. Twist a length of aluminum foil into a long ribbon and join the two ends to form a circle the circumference of your pie plate. Gently lay over your browned pie crust to prevent further browning.
Tootles,

Related Posts:
(other breakfast recipes)
- Brown Sugar Bacon
- Cheesy Mexican Omelet
- Easter Egg Pancakes
- French Toast with Maple Pecan Clusters Crunch
- Goldenrod Eggs
- Hawaiian Honeymoon Waffles
- Heart in the Hole
- Irish Rainbow Country Potatoes
- Leprechaun Bagels
- Pancetta, Potato and Broccoli Frittata
- Sweetheart Maple and Sage Sausage Patties
- The Casa Bella Swedish Pancake Factory


Can I substitute half and half or heavy cream instead of evaporated milk?
Yes, I’m sure either will work fine. However, heavy cream will make the quiche richer. I’d use a combination of heavy cream mixed with whole milk.
I love the way this printed. Good job! Can’t wait to try this. Thanks, Diana
I’m so glad! Thanks for letting me know! I hope you enjoy it – it’s delicious!