I know I’ve said this before: I love PicMonkey! I use it to edit all of the photos on this blog and have for 3 years now. And, I like writing tutorials on how to use PicMonkey because they give me an excuse to use some of my photos in a creative way. Dementors, Demons and Ghouls: A PicMonkey Halloween Tutorial is actually the 3rd PicMonkey Halloween tutorial I’ve written. If you’d like to read my earlier PicMonkey Halloween posts, here are links:
- How Did You Do That? A PicMonkey Halloween Tutorial
- Zombie Apocalypse: Fun Halloween Photo Editing Themes in PicMonkey
I don’t always intend to write an annual PicMonkey Halloween tutorial; it just seems that the opportunity lands in my lap. This year, Tiffany’s daughters, collectively known as the Princesses P on this blog (and my great-nieces) came over one afternoon and evening with their grandmother (my sister, Gail) while Tiffany was at work. I’d bought pre-made, undecorated Halloween sugar cookies at the grocery store that day (the “toot sweet” Tip of the Day: no time to bake? Look for help in your local grocery store’s bakery where they might have the start of something ready for you – like unfrosted Halloween sugar cookies) plus frosting. It was serendipitous – just something I stumbled upon and thought I’d used later. Later became that day!
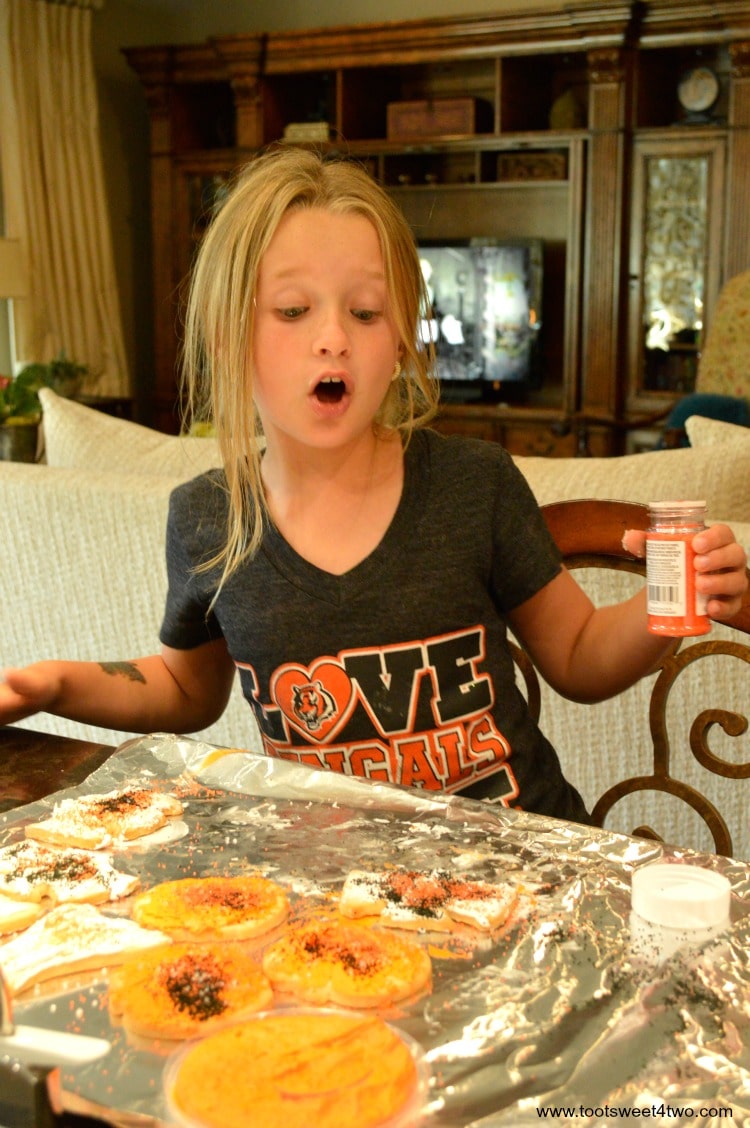
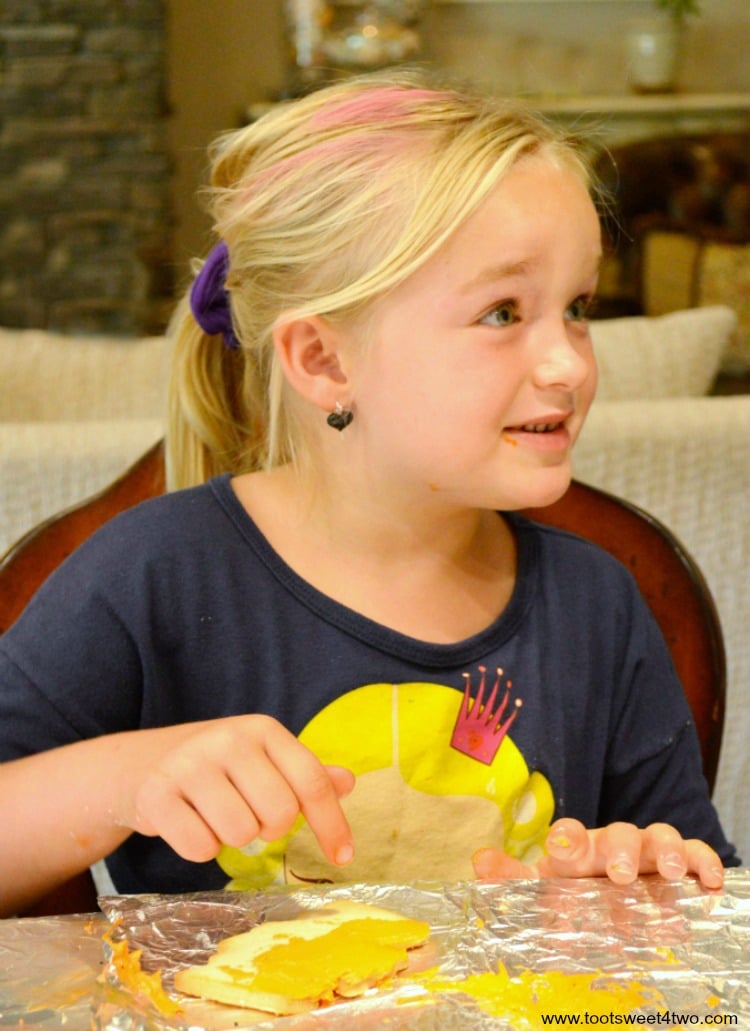
While I was unpacking the groceries, I set the Princesses P places at the kitchen counter to start decorating their cookies:
Princess P decorating Halloween cookies
Princess Sweetie Pie decorating Halloween cookies
They had great fun making a mess and licking their fingers and then they helped me decorate my house for Halloween and we sat down to dinner and we ate cookies afterwards. Whew! It was a busy afternoon and evening! Anyway, after eating a cookie or two, they noticed they had black tongues from the black sprinkles. This led to all kinds of silliness and I got out my camera and started taking pictures.
They wanted to make scary faces at each other and, of course, look at their tongues in the mirror. While all this was going on, I told them I would make their photos into scary creatures for Halloween and then they really got into the posing!
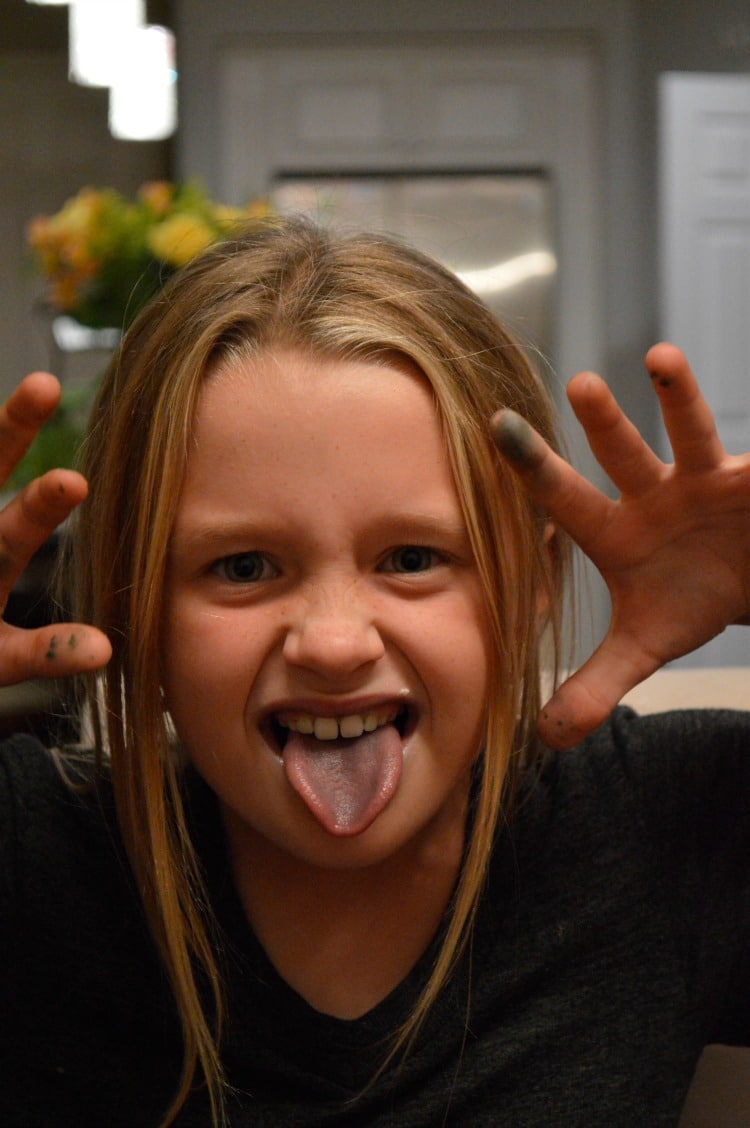
This is a completely unedited photo of Princess P making her scary face. So, you are getting the benefit of poor lighting in a kitchen. The only thing I did to this photo was to resize it to fit on this blog.
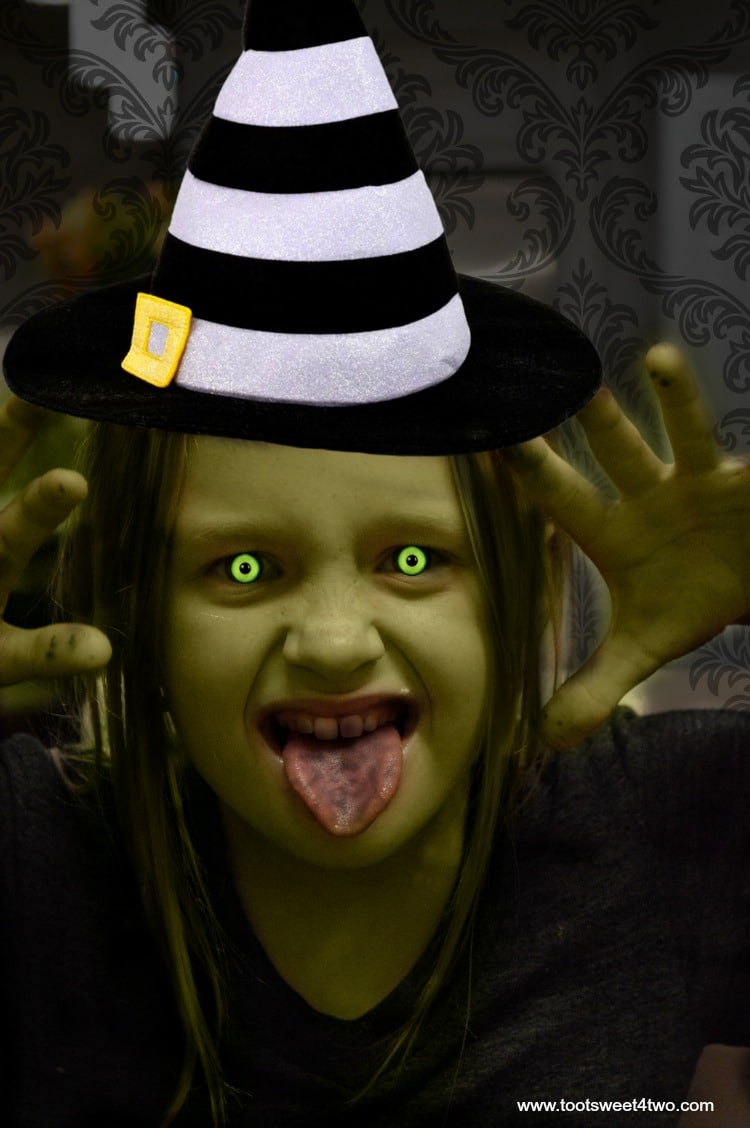
This is Princess P as a witch. Under the “Witches” Theme in PicMonkey, I gave her the following:
- Coven Complexion
- Hag Eyes
- Pockmarked her tongue
- Gave her some tooth decay
- Added a witch hat
- Then I added the “Antiquated” texture and erased it from her face, hat, etc. leaving it in the background.
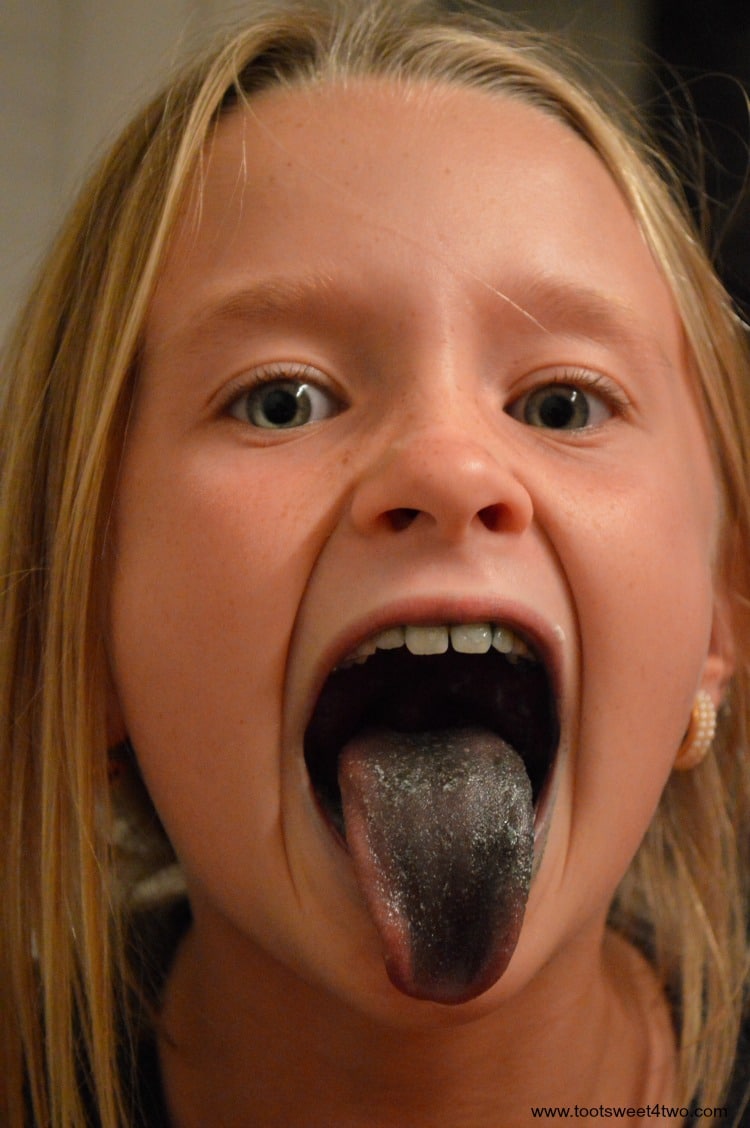
And, here’s another unedited picture of Princess P showing me her black tongue and black-tinged teeth.
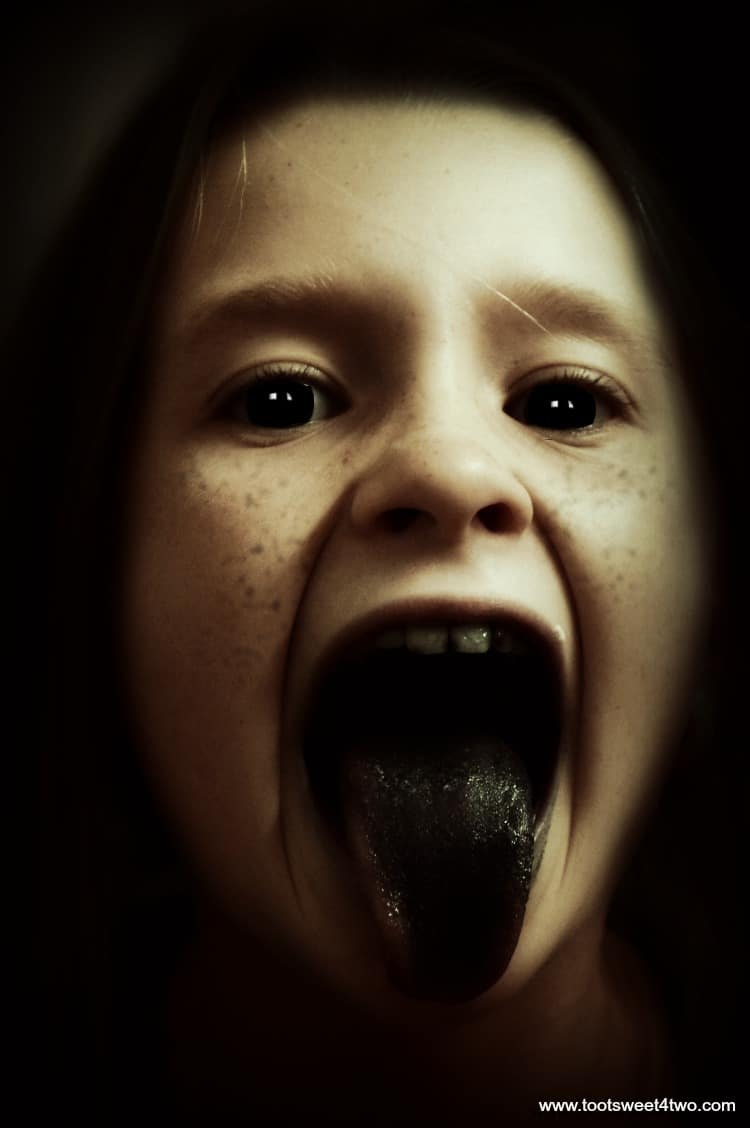
I made her into a demented child. This is what I did:
- Under “Witches” I choose “Spellbound Miasma” to get the skin tone.
- Then under “Demons,” I used “Mottler” to get the black spots; plus I gave her “Demonic Eyes”. I even used the “Mottler” to decay her teeth a bit more.
- Next, under “Effects,” I used “Dark Edges” twice to get the darkened ring around her face, which covered her hair. Finis!
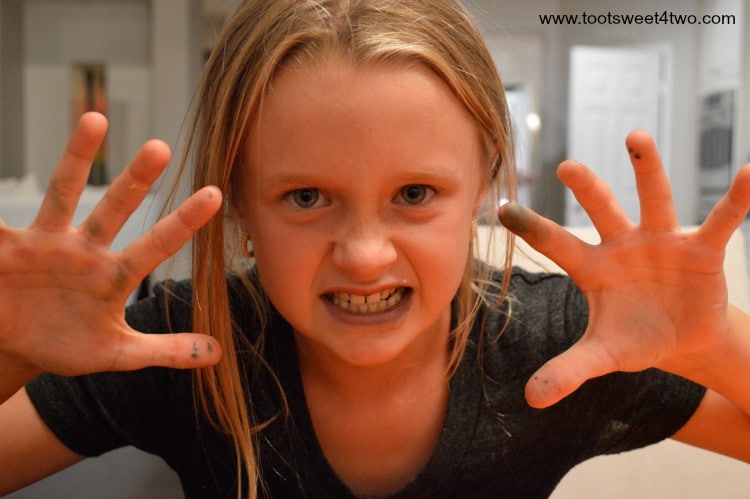
Another unedited photo of Princess P – she was really into this!
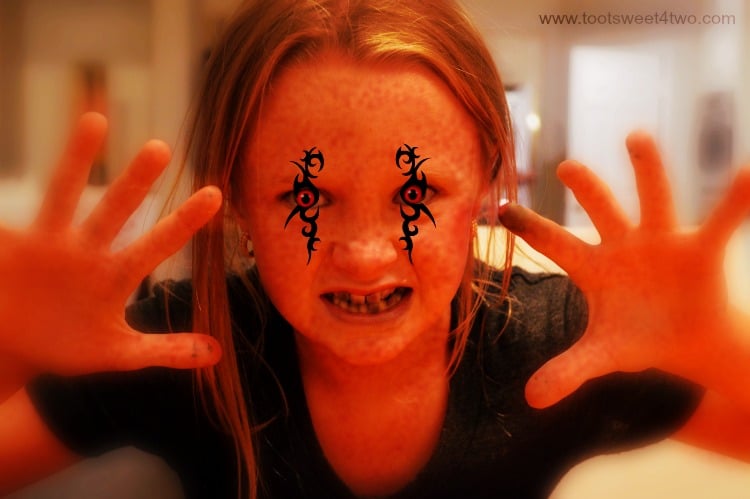
Demon Princess P! Here’s what I did:
- Under the “Demons” theme, I applied “Tribal Tats” around her eyes.
- Then I gave her “Demonic Eyes”.
- Next I used the “Gnarlifier” to squish up her nose a bit, followed by the “Mottler” to give her the mottled skin, hands and teeth.
- Under “Touch-Ups,” I applied “Highlights” to her hair and added “Eyeliner” around her eyes.
- Under “Effects,” I used “Focal Soften”, “Burst” and “Cross Process – Red” to finish this photo.
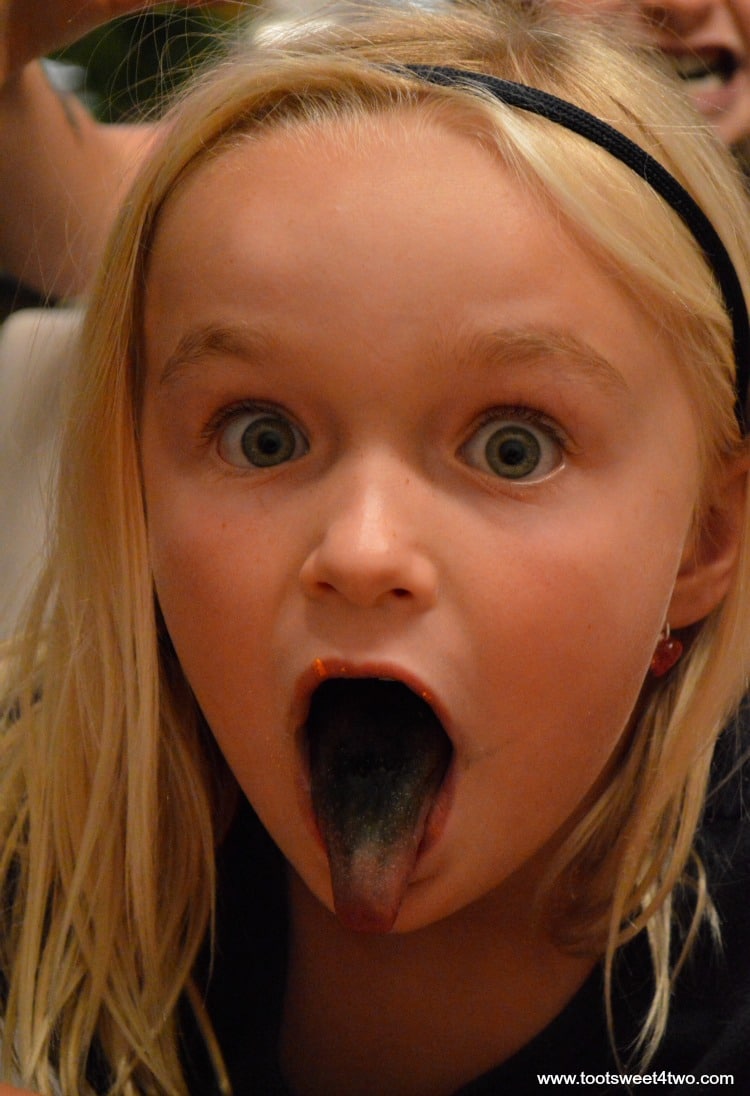
Princess Sweetie Pie wasn’t as enthusiastic (she’s a little scared of spooky things) and only shared her black tongue.
Princess Sweetie Pie’s unedited photo of her black tongue!
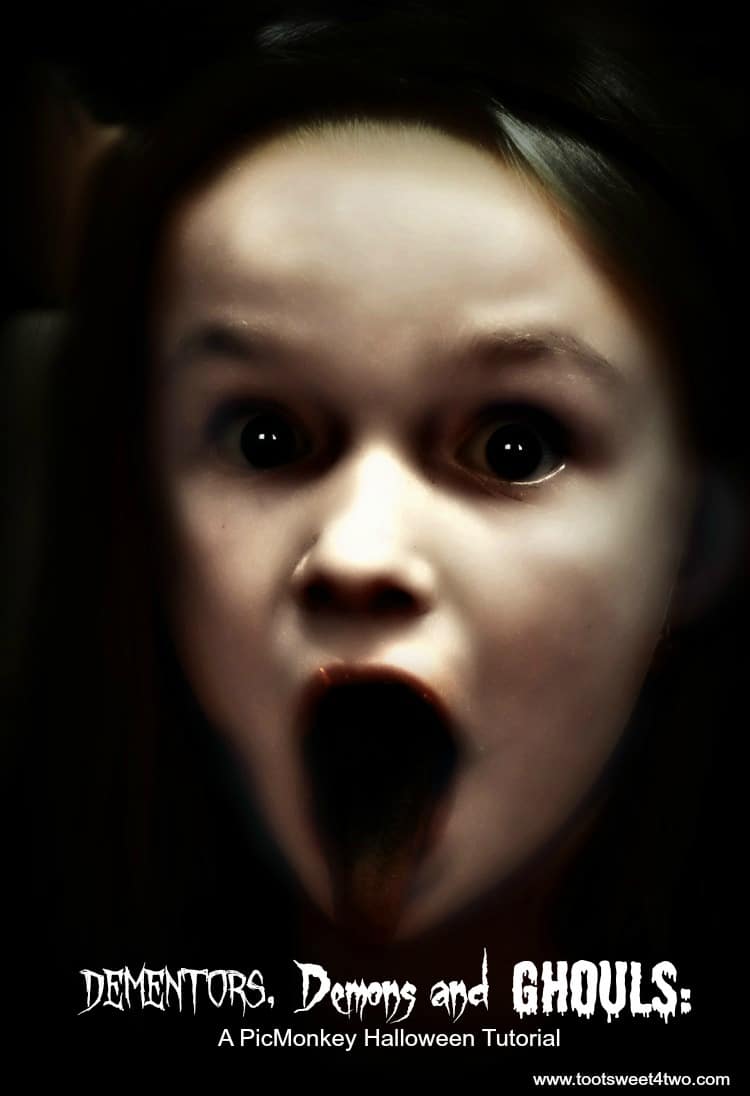
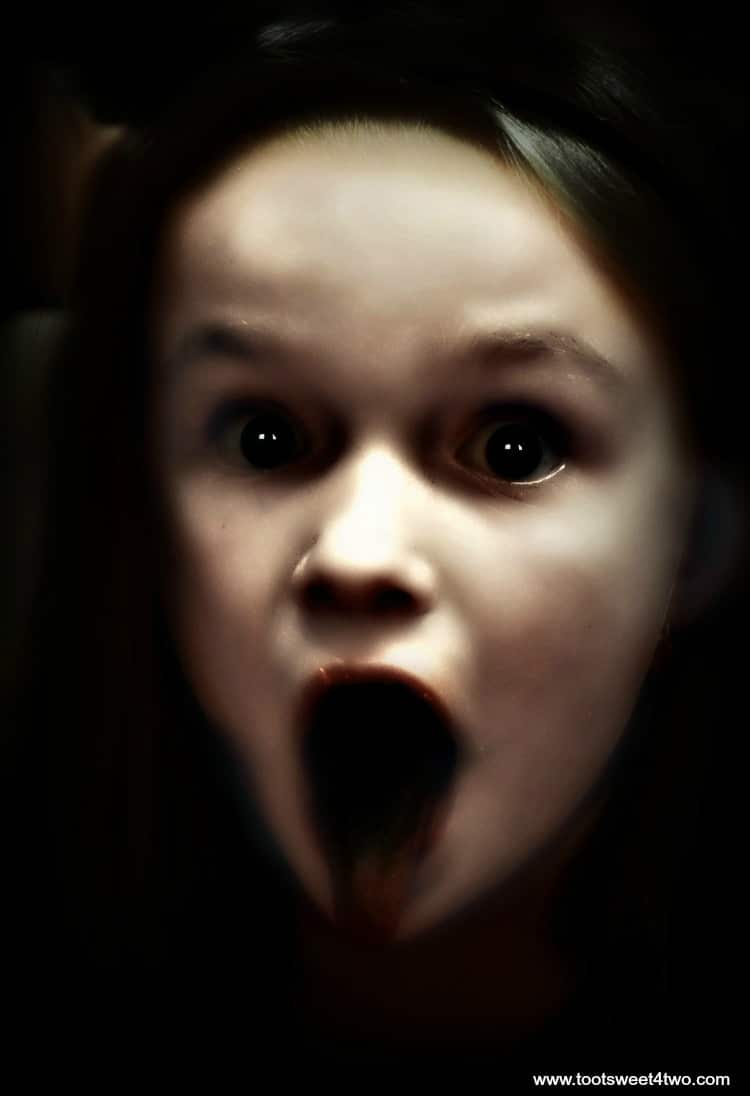
So, I made her the cover photo of this blog post and made her into my version of a dementor. This is what I did…
- Under “Vampires,” I used the “Alabaster Skin” and faded it a little.
- Then, also under “Vampires,” I used the “Monster Morph” to thin out (melt) her cheeks.
- I gave her some “Dark Shadows” under her eyes and gave her “Demonic Eyes” from “Demons.”
- Finally, under “Effects”, I “Softened” then back to “Demons” to “Ghostify” using the “fade”, “focal size” and “brightness” sliders until I reached the desired effect.
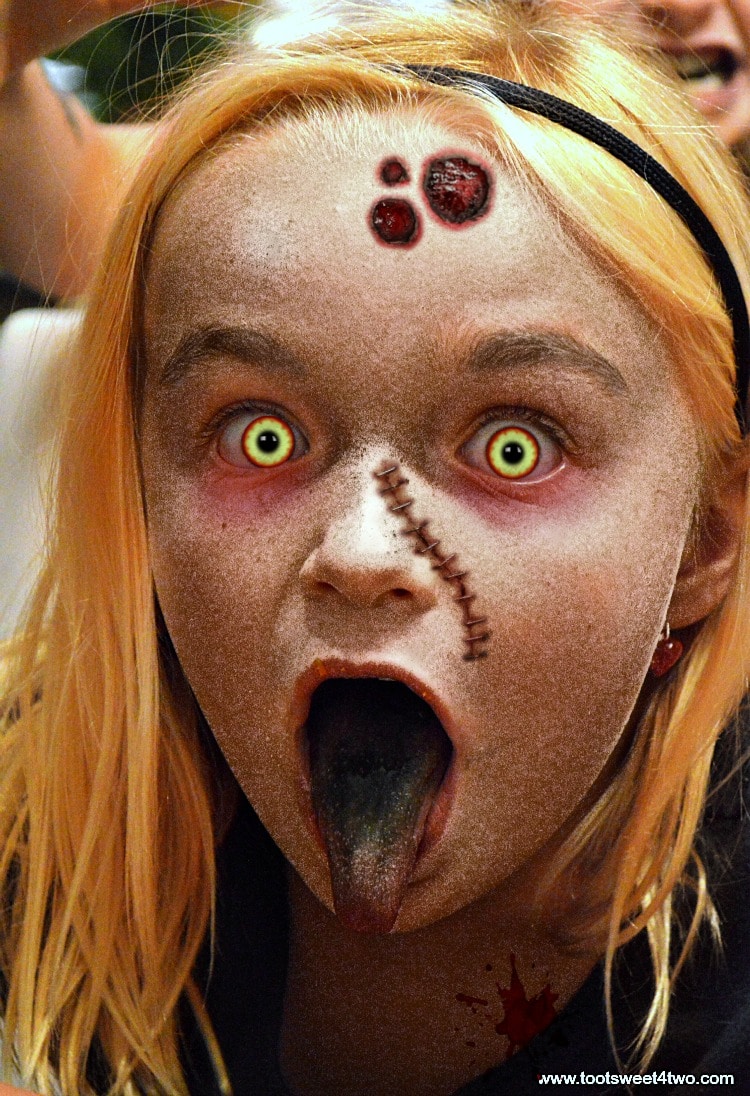
Using the same photo, I made Princess Sweetie Pie into a Zombie Princess! Here’s what I did:
- Under the “Zombie” theme, I “Zomulated” her skin.
- Next I applied “Zombie Bruise” to her eyes and gave her “Corpse Eyes”.
- Then I added “Gashes and Slashes” to her face and “Blood Splatters” from the “Vampire” theme.
- Under “Touch Up,” I applied “Eyebrow Pencil” and “Highlights” to her hair. Voila’! Pretty scary!
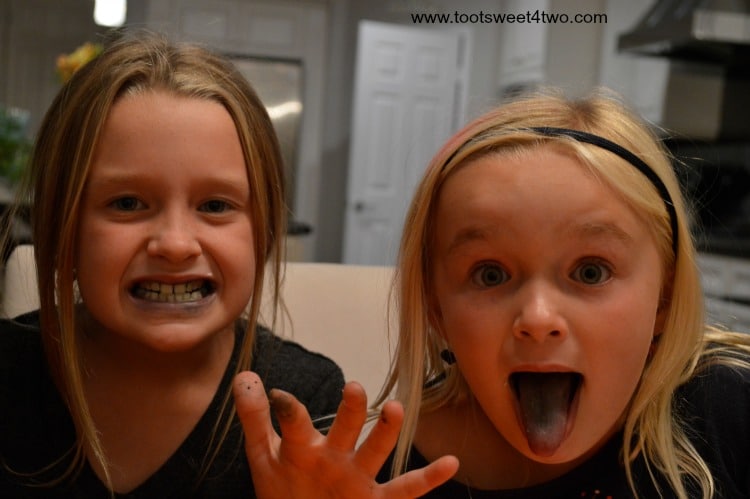
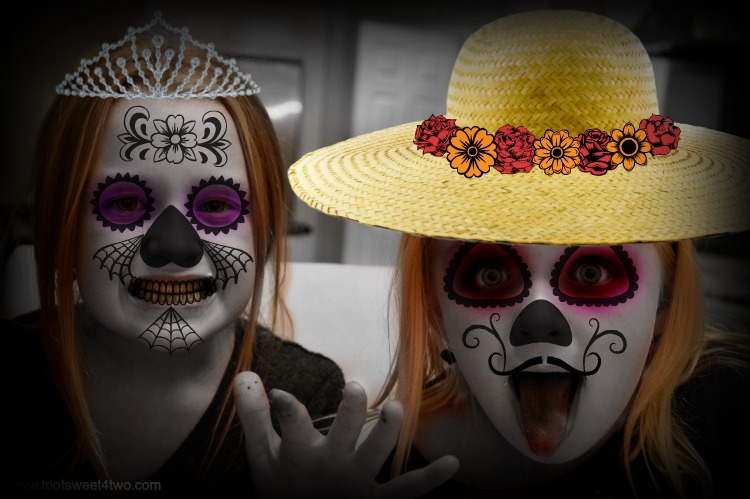
Last photo – the Princesses P together showing me their best scary faces.
I did this all under the “Day of the Dead” theme except for the party hats, which are under “Overlays,” then “Party Hats.” I did add some “Day of the Dead” flowers to Princess Sweetie Pie’s party hat.
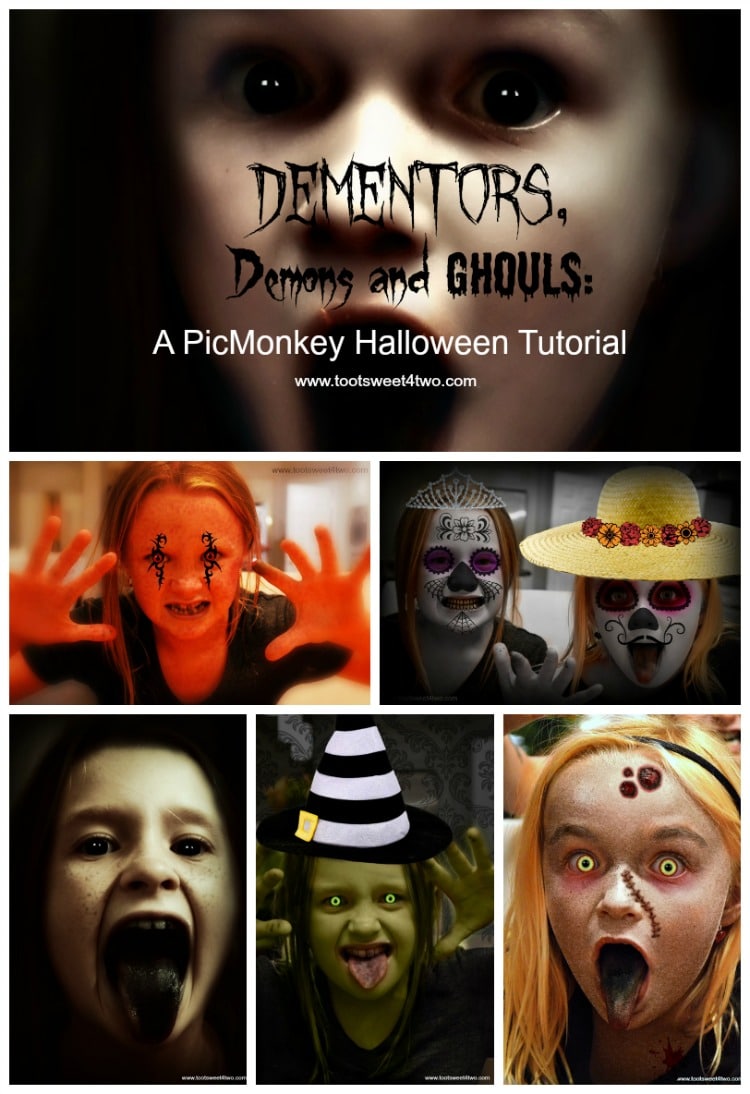
Here’s a Pinterest-ready collage so that you can pin this to your Pinterest board so that you can come back to this post over-and-over again!
So fun! Give PicMonkey a try. It’s free with an optional upgrade to use a few of their “Royal Features”.
Need more PicMonkey tutorials to get you started? Here are other PicMonkey posts I’ve written:
PicMonkey Basics: Getting Started (Part One of a 5-Part Series)
Oh, The Thinks You Can Think: 15 PicMonkey Effects to Make Your Photos Pop!
How to Make a Horizontal Photo a Pinterest-friendly Vertical Photo using PicMonkey
Here Comes Peter Cottontail – A PicMonkey Tutorial
Tootles,


Leave a Reply