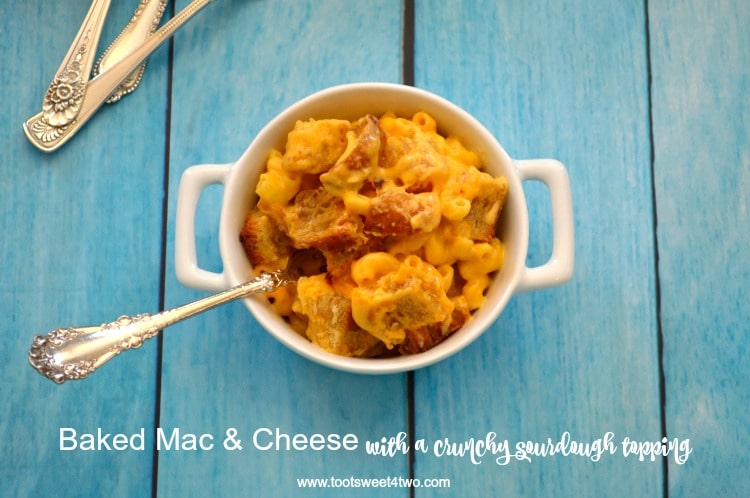
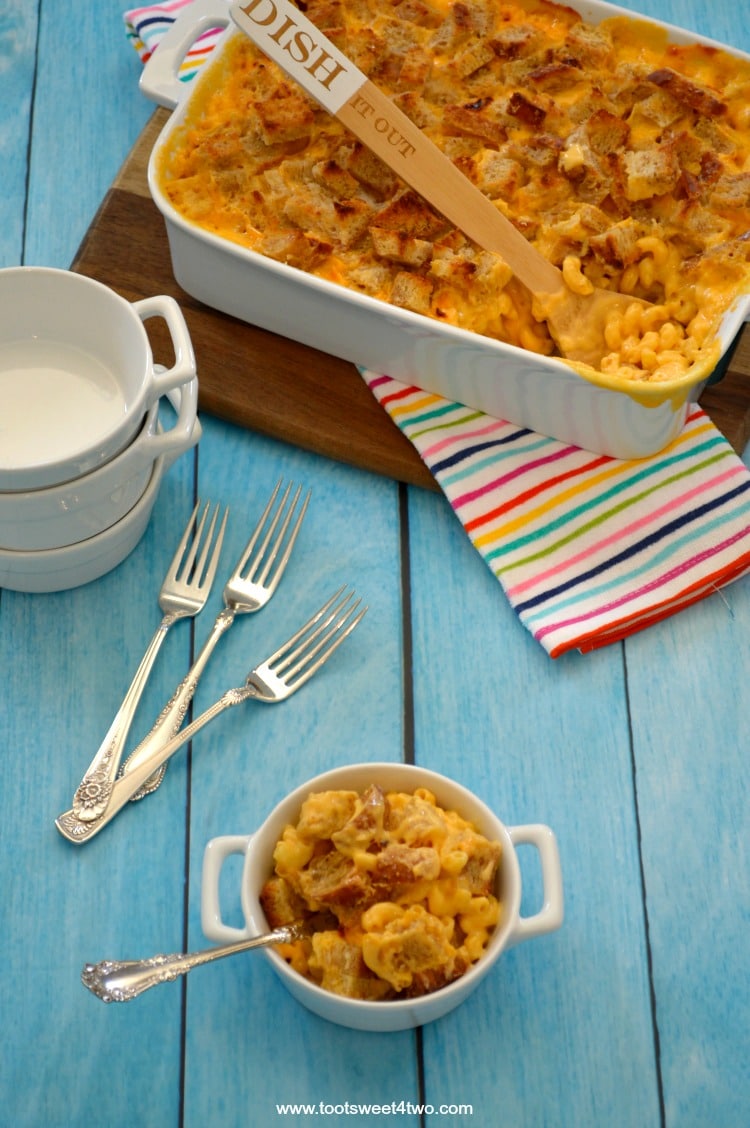
Baked Mac & Cheese with a Crunchy Sourdough Topping is the ultimate comfort food when you need a hug. Creamy, rich and scrumptious, each bite is a little bit of heaven.
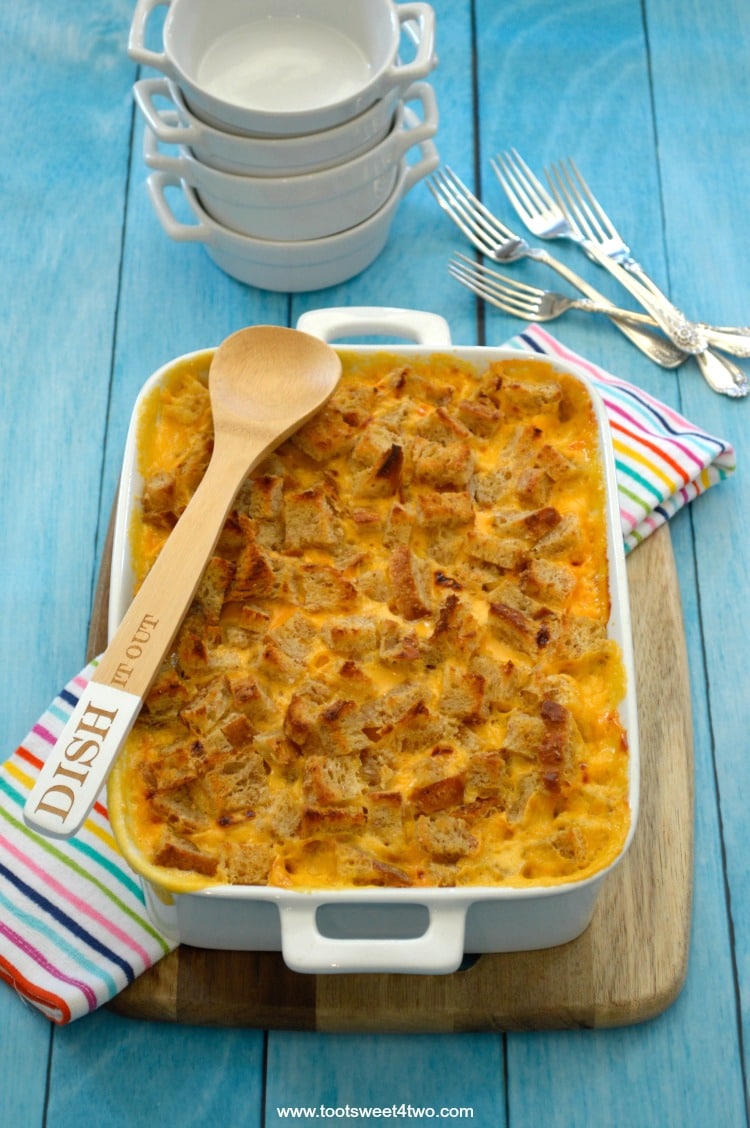
Okay, I’ll confess right now. Even though this baked mac and cheese recipe is from scratch, it’s made with Velveeta cheese. Shoot me now!
But, here’s the thing and a little funny backstory:
I love watching cooking shows and one day I was watching one of my favorites and the star was making mac & cheese in a crockpot. She had a pile of grated cheddar cheese on her chopping board and said that it was 5 cups of cheese. And, she scooped it all up into her crockpot and carried on with her recipe.
I thought to myself, “what a great idea!” I was having a girls luncheon in a few months and making lots of different dishes and I thought this would be ideal to add to the menu because:
- who doesn’t like mac & cheese
- it could be made in a crockpot, saving valuable oven space and/or stovetop space
- I could make it and fugetaboutit!
So, next time at the grocery store I bought the ingredients: a 32-ounce bag of shredded cheese plus another 8-ounce bag because I didn’t want to shred it myself. Excited about this project, I went right home and followed the recipe (which I printed from the website) and added 40 ounces of cheese (5 cups in my mind – one cup equals 8 ounces, therefore, 5 cups equals 40 ounces).
Can you guess what happened?
It was horrible! Gritty, too thick, and if that is even possible, too cheesy. After a couple of bites, Charlie and I looked at each other in desperation and I said “it’s okay; we can throw it out. I admit it’s terrible.” So, we did and ate a PB&J sandwich for dinner!
Am I ever glad that I made that recipe ahead of time and not.the.day of my luncheon! And, if I can make that mistake (a seasoned, and I mean really seasoned as in years, home cook), anybody can make that mistake. So, it’s important to clarify these types of things in writing recipes!
In other words, I would have written that recipe to read something like this:
- 5 cups (not in ounces, so not by weight), OR
- 5 measured cups (not ounces)
Since this was a failure in my mind and I didn’t have the heart to try it again and be disappointed again (plus the luncheon was now a few days away), I went back to my roots and used a tried-and-true recipe given to me many years ago by my niece and former blogging partner, Tiffany.
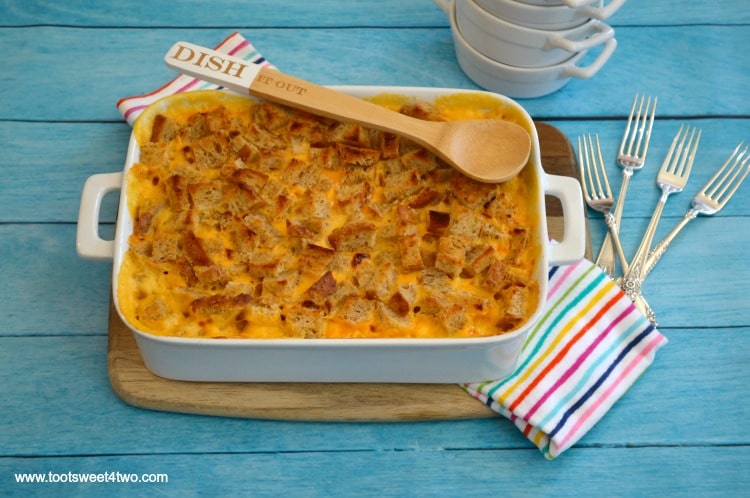
I remember the first time I had this baked mac and cheese recipe – we were having a potluck backyard party at my house for family and Tiffany showed up with this dish in a disposable aluminum pan. In a hurry (she’s the mom of two young girls), she had a bag of sourdough bread perched on top of the covered pan. I was intrigued by the bread – bread chunks on mac & cheese instead of bread crumbs or cracker crumbs? Who knew! It was a revelation! We brought it into the house and she proceeded to tear the sourdough bread into chunks and toss them in melted butter.
Now, she had baked this recipe ahead of time at her house before coming over. So, the only thing left to do was put the sourdough chunks on top, heat the casserole through and toast up the bread cubes. I’m mentioning this because this is a great dish for a large crowd such as a luncheon, potluck or backyard party and can be made ahead. You just have to adjust the cooking time if you are making it ahead.
Hot out of the oven, it is a bit runny. Alarmed, Tiffany assured me that it would “tighten up” in a few minutes and that it would be just fine. Was it ever fantastic! The buttery, crunchy sourdough chunks set this dish apart and elevate it to a whole new level. Truly yummy!
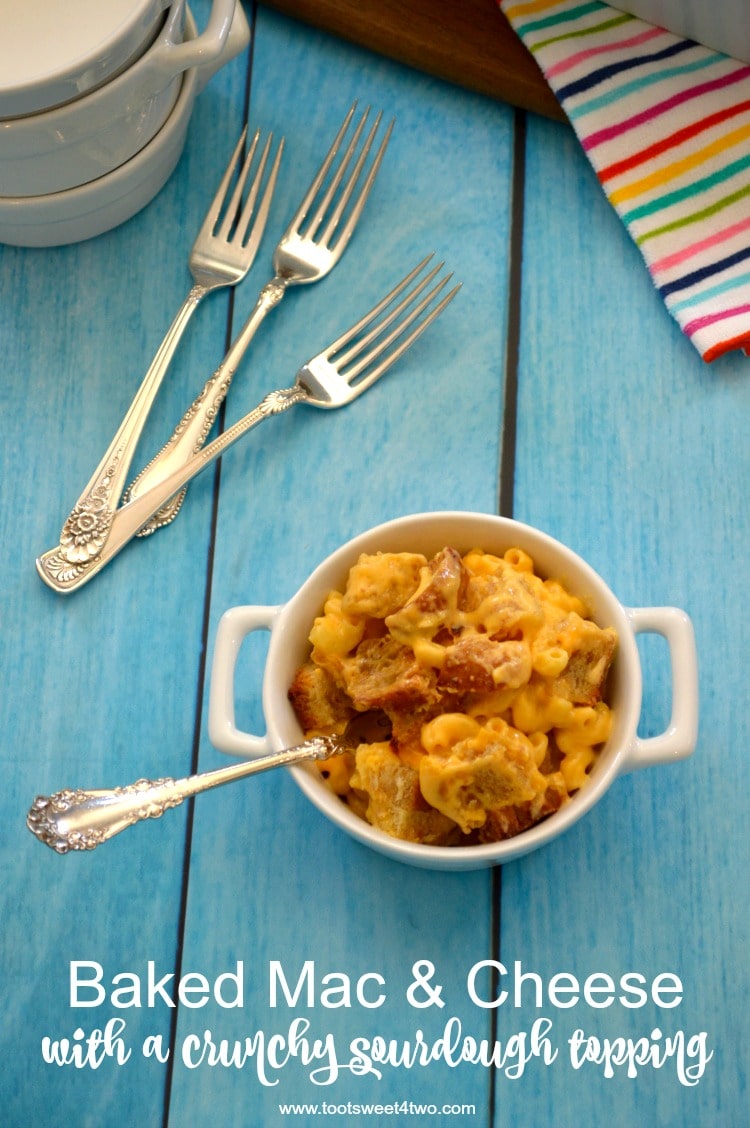
And, here’s additional information about this Velveeta mac and cheese recipe: it keeps well. So, if you have leftovers, cover and refrigerate it. Then, you can scoop out a portion and heat it in the microwave. This makes a great lunch to take to work the next day. A small disclaimer though: the bread topping will be a bit soggy. But, trust me – it’s not a bad thing! If you’ve toasted the bread cubes in the first place, they will be a combination of soggy and crunchy. It, in my opinion, does not detract from making this an easy and still delicious leftover dish.
However, if you are not into soggy bits of bread, just remove them (probably after you reheat it in the microwave; they are kinda glued into the casserole, so heating it will make it easier to pluck them out).
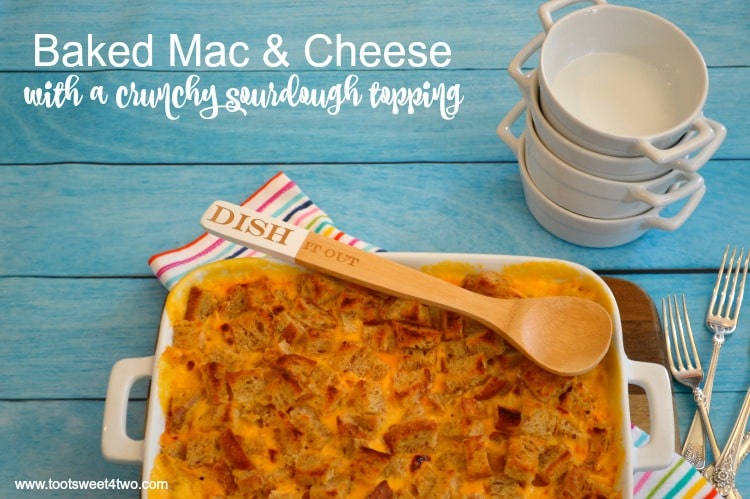
It goes without saying that this is not a diet-friendly meal, but a decadent, rich, and yummy meal for special occasions.
Here’s the recipe for Baked Mac & Cheese with a Crunchy Sourdough Topping:
PrintBaked Mac & Cheese with a Crunchy Sourdough Topping
Baked Mac & Cheese with a Crunchy Sourdough Topping is the ultimate comfort food – creamy, rich, and scrumptious. Plus, it’s so easy; with just a few simple steps you will have an ooey, gooey, cheesy casserole full of deliciousness to share with family and friends (or hoard it for yourself – it keeps well).
- Prep Time: 15 mins
- Cook Time: 30 mins
- Total Time: 45 mins
- Yield: 12 1x
- Category: Casserole
- Cuisine: American
Ingredients
- 1 teaspoon salt
- 4 cups (measured) macaroni noodles, uncooked
- 32-ounce box processed cheese product (I used Velveeta), cubed
- 1/2 loaf sourdough bread (approximately 8 ounces), either cubed or torn into chunks
- 3 sticks butter (1 1/2 cups), divided
- 2 cups milk
Instructions
- Preheat oven to 350 degrees Fahrenheit.
- Grease 9″ x 13″ baking dish (I used a 12″ x 8″ x 2″ baking dish) with 1 tablespoon butter and set aside.
- Add salt to a large pot of water and bring to a boil.
- Add macaroni to boiling water and cook per package instructions (about 7-8 minutes).
- Drain macaroni and pour into prepared, greased baking dish.
- In a 2-quart saucepan, melt 2 sticks of butter (reserve the 3rd stick for later) over low heat.
- Add milk and cubed Velveeta.
- Cook on low, stirring constantly until cheese is melted.
- Pour over macaroni in baking dish.
- Melt 3rd stick of butter and in a separate bowl, toss with sourdough bread cubes.
- Spread bread cubes over macaroni in baking dish.
- Place in preheated oven and bake for 15 to 20 minutes until bubbly and bread cubes are toasted.
Notes
Can be made ahead of time and refrigerated. If refrigerating, omit bread cubes until last 10 minutes of baking time. Take casserole out of refrigerator 1 hour before reheating. Bake in preheated 350-degree oven for 30 to 40 minutes until knife inserted in center is warm to the touch. Add bread cubes and bake for 10 to 15 minutes more. CAUTION: Don’t burn bread cubes! Also, can be reheated in the microwave in single-serving portions. NOTE: Bread will be a bit soggy, but still have a crunch to it.


Kitchen Essentials Needed:
This post contains affiliate links for your convenience. Click here to read my full disclosure Policy.
Pasta Pot with Strainer Insert || Wooden Spoon || Mixing Bowls || Liquid Measuring Cup || Chopping Board || Bread Knife || Casserole Dish or 9″ x 13″ Baking Dish or 12″ x 8″ x 2″ Baking Dish
Tootles,
Other Recipes from Toot Sweet 4 Two’s Archives:
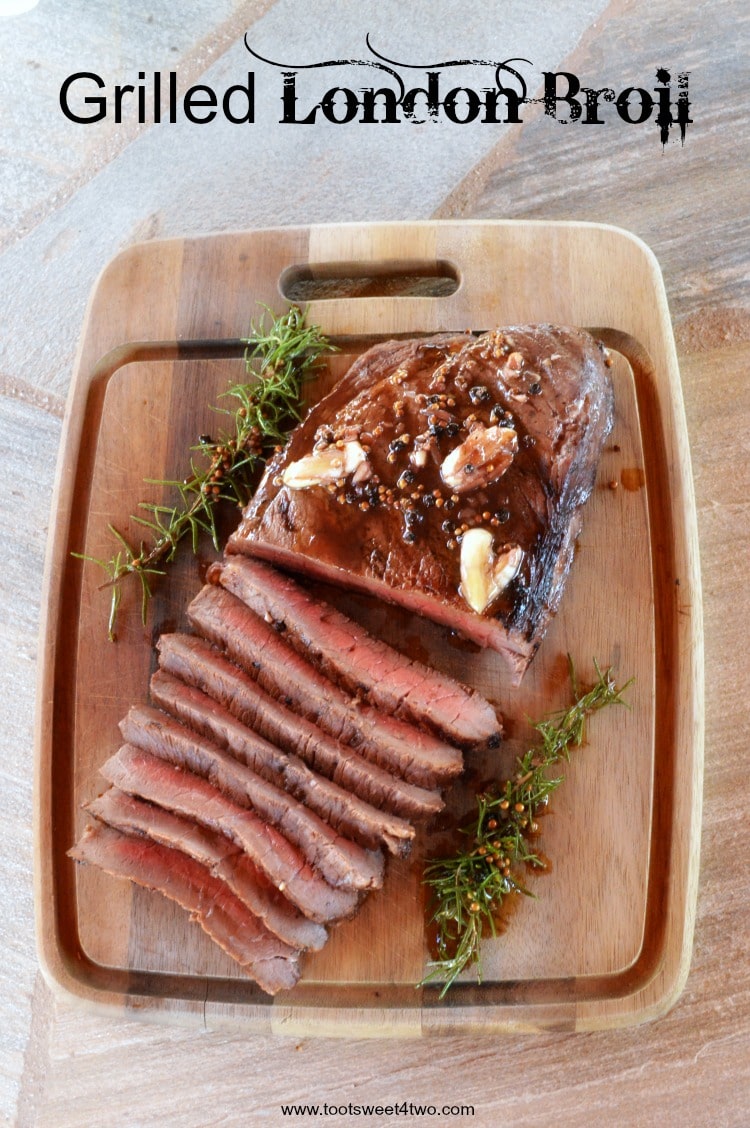
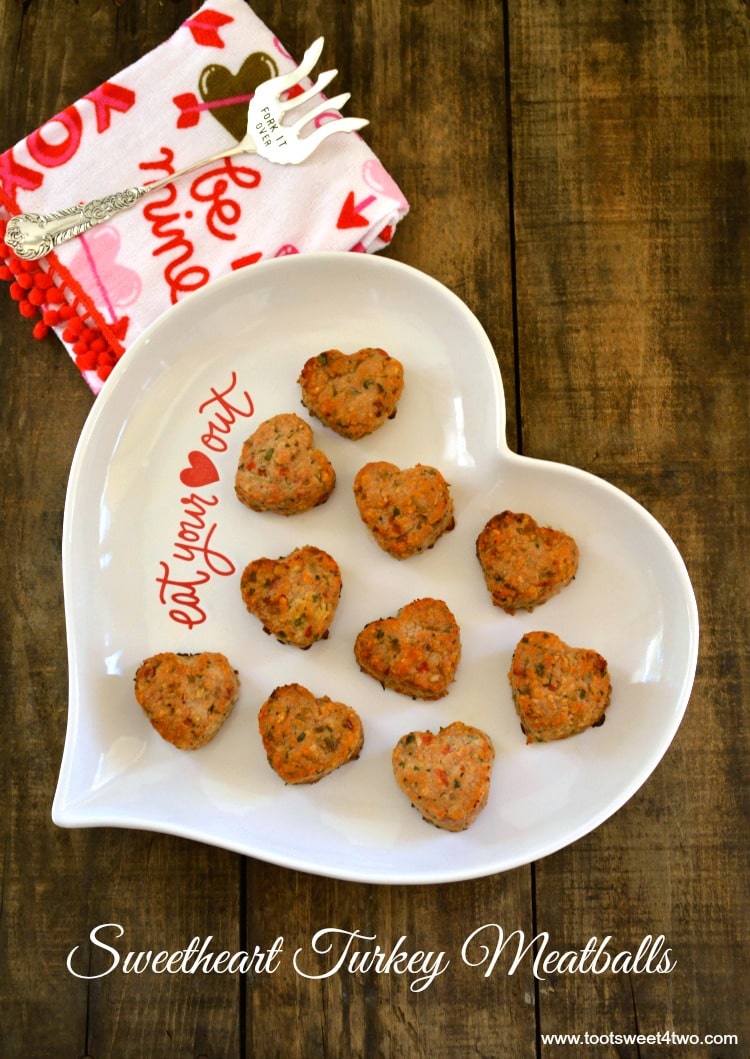
Making Baked Mac & Cheese with a Crunchy Sourdough Topping as a side dish? Here are a few recipes that would make good main dish recipes!
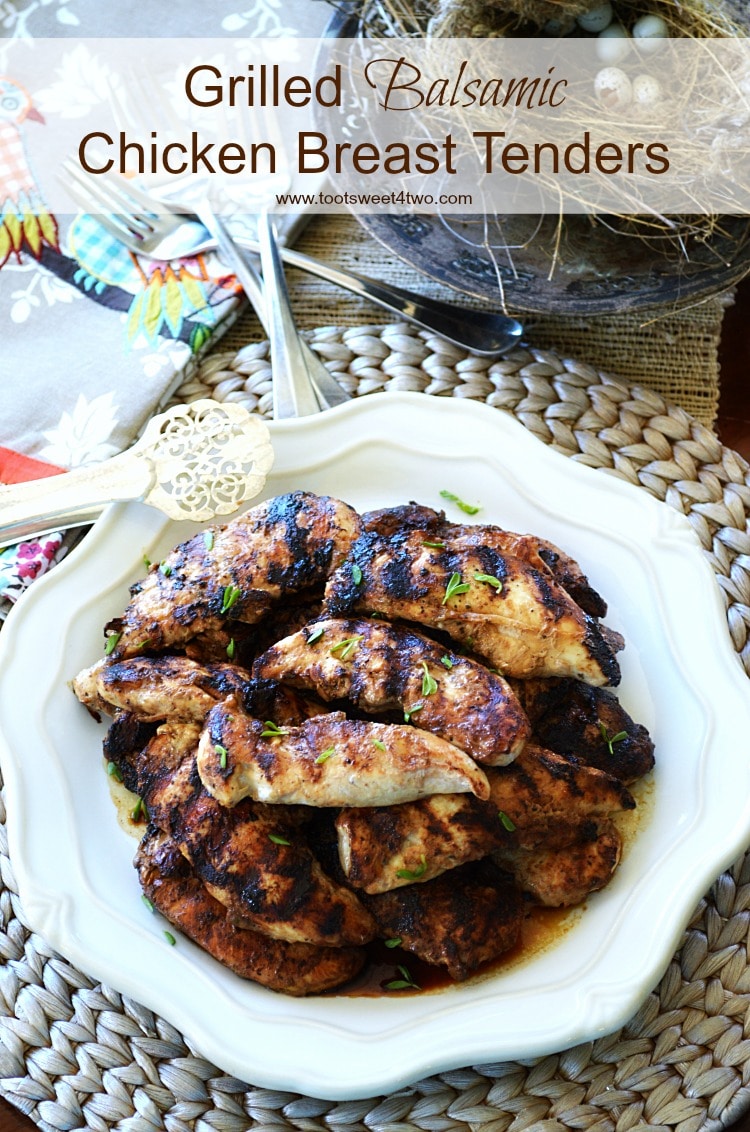
Grilled Balsamic Chicken Breast Tenders
You Might Also Like:
100 Cheap & Easy Casserole Recipes, a round-up brought to you by Stephy at Prudent Penny Pincher
Biscuits and Gravy Casserole from Erin at Lemon Sugar
Chicken Noodle Casserole from Brandie at The Country Cook

Leave a Reply